

Begin with sanding the affected areas using medium-grit sandpaper. This effective approach helps eliminate the discolouration and uneven texture created by improper cleaning methods. Work carefully along the grain to ensure a uniform finish, gradually progressing to finer grit for best results.
For deeper blemishes, a wood brightener can be a game changer. These products typically contain oxalic acid, which restores the natural hue of the timber and diminishes stark contrasts. Apply the brightener according to the manufacturer’s instructions, giving it adequate time to work its magic before rinsing it off.
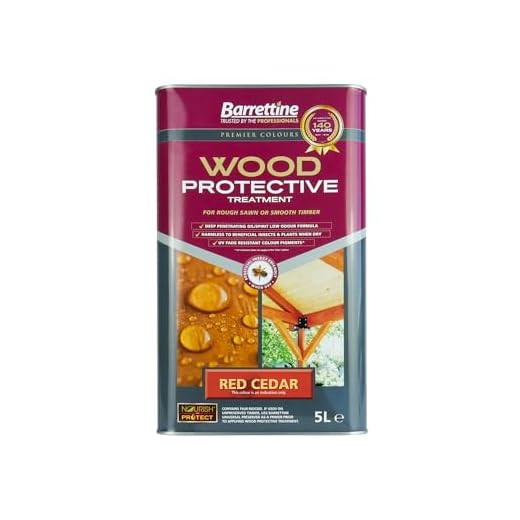
After treating the surface, sealing it with an appropriate finish is crucial. Choose a quality stain or sealant designed for outdoor use to protect against moisture and UV damage. Apply it in thin layers, allowing sufficient drying time between applications for durable results that enhance the wood’s natural beauty.
Take preventative measures going forward by opting for gentler cleaning techniques and equipment when maintaining your outdoor elements. Regular maintenance and gentle care will prolong the lifespan and appearance of your timber surfaces.
Understanding Pressure Washer Marks on Wood
Identifying the root cause of lines on surfaces treated with high-powered cleaners is paramount. Often, these blemishes stem from excessive force or an inappropriate nozzle attachment during cleaning. The high pressure can strip the protective layer off the timber, leading to uneven pigmentation and raised grain, which results in visual imperfections.
Types of Damage
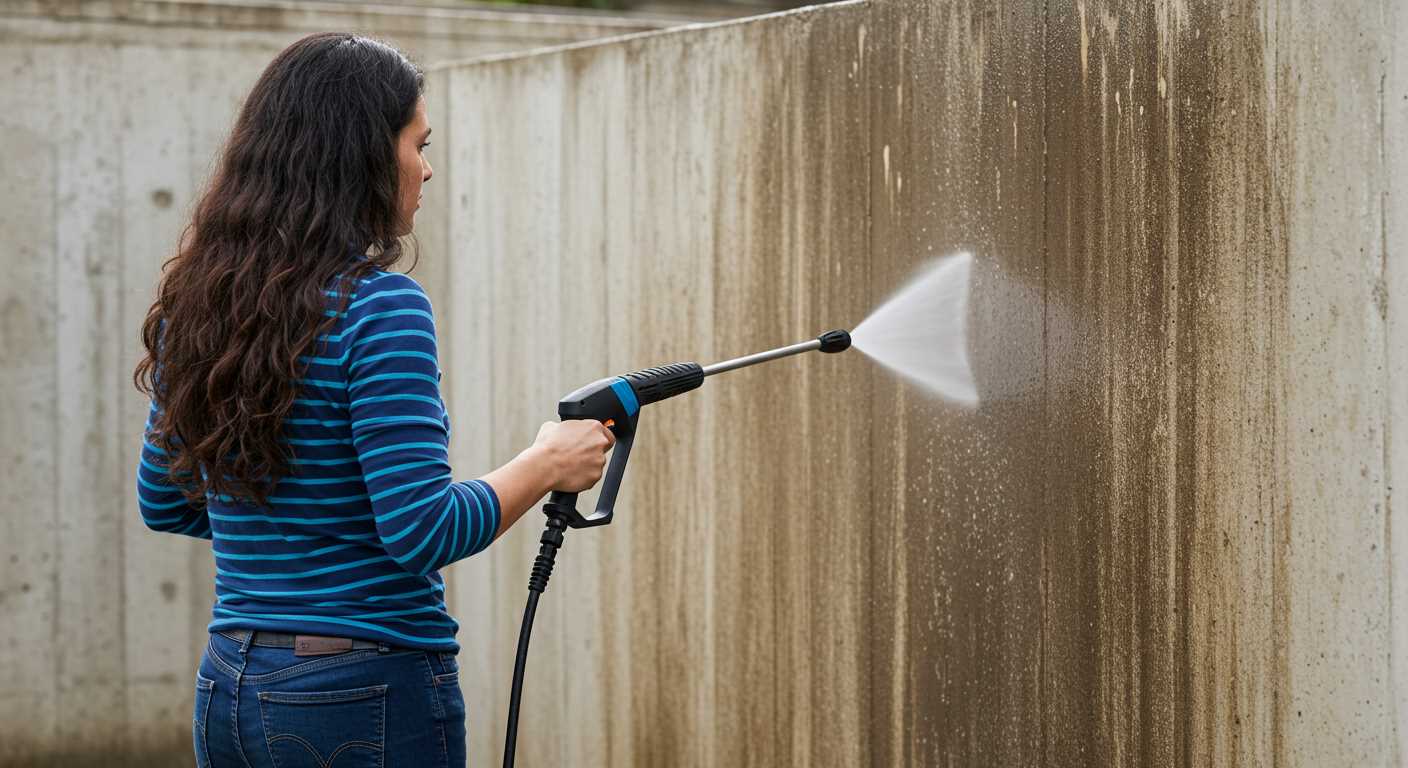
Common issues include streaking, discolouration and etching. Streaking occurs when water flows unevenly, while discolouration results from removing the wood’s natural oils. Etching happens due to abrasive action on softer grain compared to harder sections. Understanding these types ensures a targeted approach for restoration.
Prevention Techniques

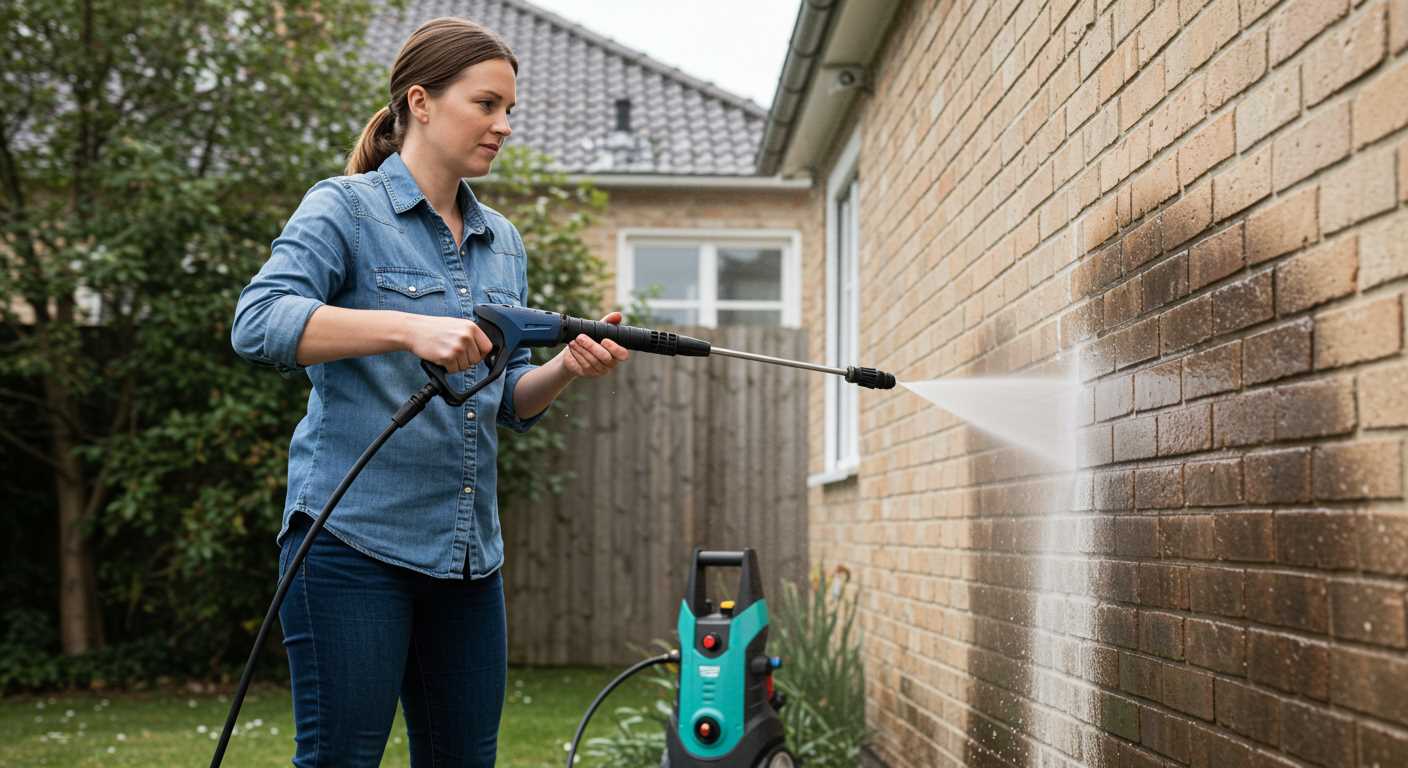
To avert these issues, adjusting the pressure setting is crucial. A lower PSI can provide effective cleaning without damaging the surface. Additionally, employing a fan or wide-angle nozzle aids in distributing the force over a larger area. Keeping a consistent distance from the surface also mitigates the risk of causing harm.
Preparing the Surface for Treatment
Begin by cleaning the surface thoroughly. A soft broom or vacuum can remove loose debris, leaves, and dust. Avoid using a stiff brush, as it may cause further damage to the texture. Afterward, inspect for any grime or stains that may remain; a damp cloth can help lift these without aggravating the wood.
Inspect for Damage
Carefully examine the area for any splintering or deep gouges. Use sandpaper, preferably 80 to 120 grit, on affected spots. Sanding smooths out unevenness and prepares the timber for treatment. Always sand in the direction of the grain to prevent further cosmetic issues.
Choose Your Treatment Method
Based on your findings, select a suitable product, whether it’s a wood conditioner, stain, or sealant. Make sure the timber is completely dry before applying any treatment; this ensures better adhesion and an even finish. The ideal ambient temperature for application ranges around 10 to 30 degrees Celsius.
Choosing the Right Cleaning Solution
Opt for a biodegradable cleaner specifically designed for timber. These solutions are less abrasive and help in maintaining the integrity of the surface while effectively addressing stains and discolouration.
Look for products that contain natural enzymes. These enzymes break down grime without harming the wood. One brand I recommend is OxiClean, which offers a range of solutions that target different types of contaminants.
For stubborn stains, a mixture of vinegar and water can be effective. Combine one part vinegar with two parts water, apply it to the affected area, allowing it to sit for a few minutes before scrubbing gently with a soft-bristle brush.
Another option is to use a commercial deck cleaner that includes oxalic acid. This acid works exceptionally well in brightening and restoring the timber’s natural colour without causing damage. Always follow the instructions on the label for optimal results.
Test any solution on a small, inconspicuous section first. This prevents unexpected reactions and ensures compatibility with the wood’s finish. After the treatment, rinse thoroughly to remove any remaining residue.
Techniques for Removing Pressure Washer Imprints
Start with sanding the affected areas. Use a medium-grit sandpaper (around 120 grit) to smooth out the surface. Be cautious not to sand too deeply, which can cause further damage. Follow this with a finer grit (220 grit) for a seamless finish.
Using a Chemical Stripper
If sanding doesn’t yield satisfactory results, a chemical wood stripper can effectively remove stubborn impressions. Apply it according to manufacturer instructions, ensuring to wear protective gear. Scrape off the residue with a putty knife after the recommended dwell time.
Staining and Sealing
After treatment, consider applying a stain to blend the repaired areas with the surrounding surface. Use a brush for even application, and choose a product compatible with the existing finish. Once dry, seal the entire surface to protect against future damage.
Always test methods in inconspicuous areas first to ensure desirable outcomes and avoid further complications.
Finishing Options After Cleaning
Once the surface has been refreshed, selecting an appropriate finish is vital to restore its original beauty and protect it from future wear and damage.
Wood Sealers
- Opt for a high-quality exterior sealer that ensures long-lasting protection against moisture and UV rays.
- Consider using penetrating sealers that soak into the surface, enhancing the natural grain and providing a more authentic look.
- Apply sealants in thin coats, allowing adequate drying time between applications to ensure maximum durability.
Stains and Finishes

- Choose a semi-transparent stain to add colour while showcasing the wood’s natural texture.
- Test a small area first to observe the final shade, as different woods can absorb stains differently.
- Ensure the surface is completely dry before applying any finish; this prevents trapping moisture, which can lead to peeling.
Regular maintenance is necessary to keep the surface looking its best. Reapply your chosen products according to the manufacturer’s recommendations, typically every few years or after significant weather exposure.
Preventing Future Equipment Damage
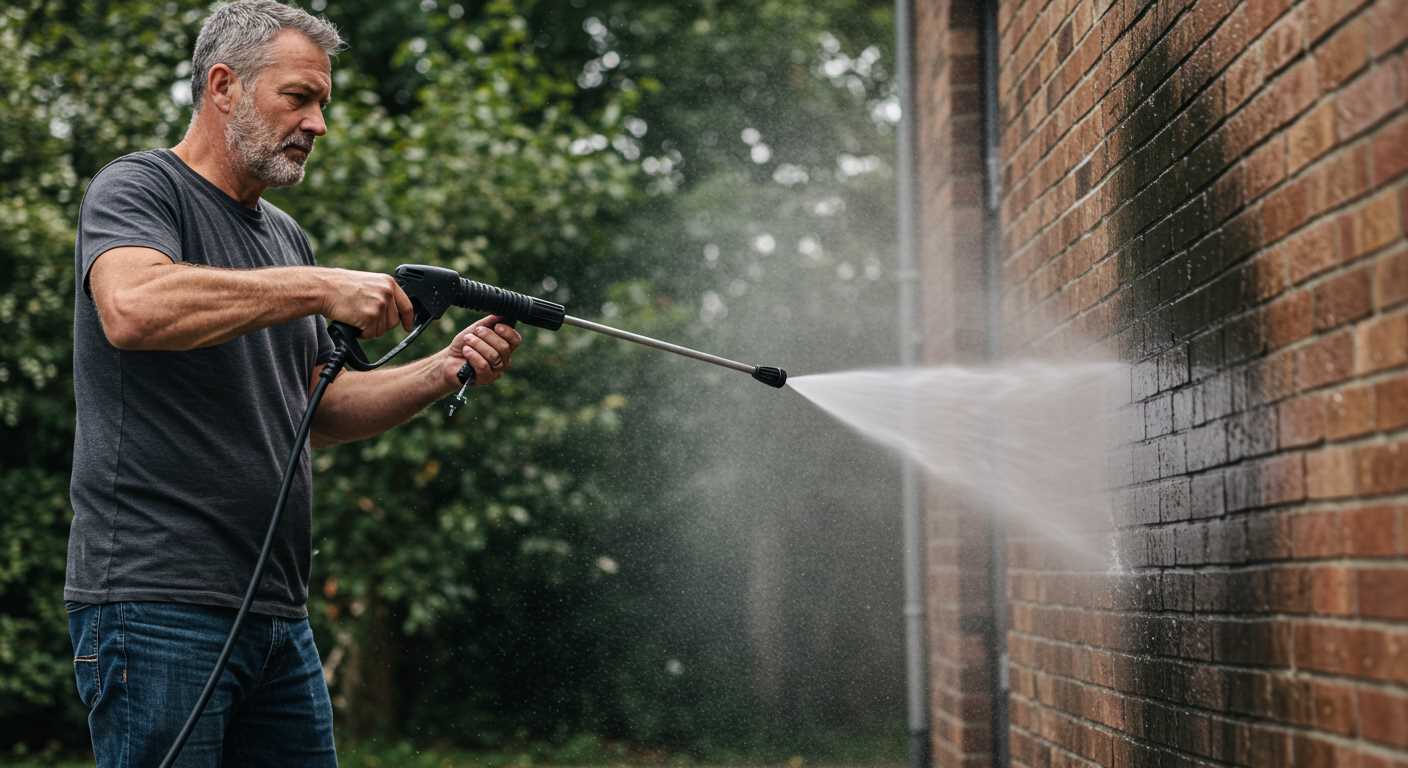
Always use the lowest effective pressure setting for any cleaning task. Adjusting the nozzle to a wide spray pattern reduces concentration on specific areas, minimising the risk of surface harm.
Apply a protective sealant after cleaning. This helps shield the surface against moisture and stains, extending its longevity and preventing future issues.
Conduct routine inspections. Look for wear or damage on surfaces regularly, allowing for timely maintenance and repairs before significant degradation occurs.
Consider using alternative cleaning methods for delicate surfaces. Techniques such as soft washing with a sponge or cloth can maintain cleanliness without the aggressive force of high-pressure equipment.
Educate yourself about your cleaning materials, ensuring they are appropriate for the surface type. Utilising specific cleaners designed for certain finishes can effectively maintain the appearance without causing deterioration.
Regular maintenance of your equipment is crucial. Keeping hoses and attachments clean and in good working condition enhances performance and reduces the likelihood of unintentional damage during use.
Training users on proper techniques is vital. Ensuring everyone understands how to operate the equipment correctly can significantly lower the risk of accidents and damage.
Lastly, store cleaning equipment appropriately. Keeping it in a dry, protected environment prevents wear on hoses and mechanical parts, prolonging its lifespan and ensuring optimal performance when needed.


