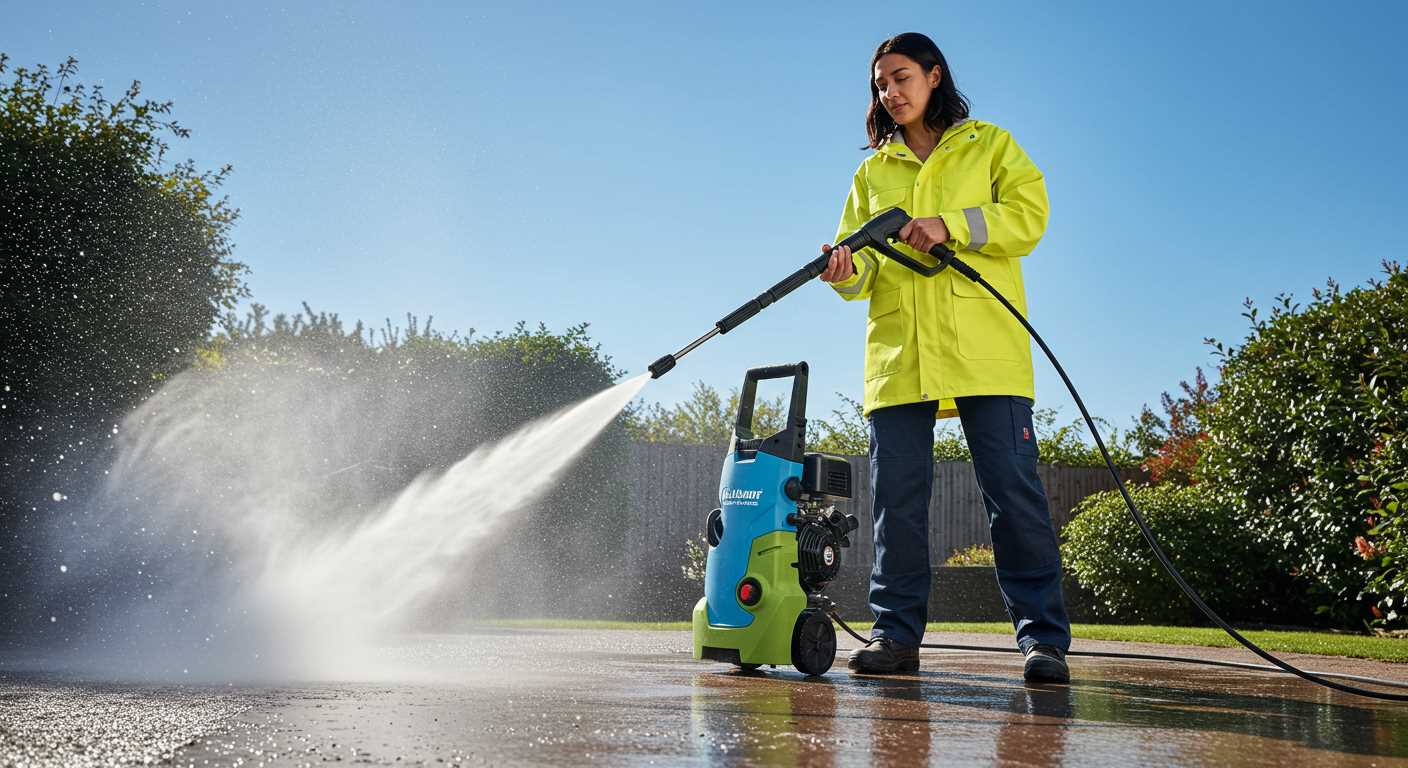


Ensure your unit is equipped with the correct nozzle type, preferably a soap or chemical nozzle, to achieve the desired output of cleaning agent. These nozzles are specifically designed to create the appropriate suction needed for drawing the solution from the reservoir into the machine.
Next, verify that the detergent tank is filled with quality cleaning solution. If the tank is empty or contains a formula not suitable for pressurised applications, the performance will be hindered. Additionally, it’s essential to check the pickup tube for any blockages that could interfere with the flow.
Propel your cleaning task by adjusting the machine’s pressure settings. Lowering the pressure can enhance the solution drawing capabilities, promoting a steady stream of the cleaning agent. Once these steps are meticulously executed, you’ll notice a marked improvement in the application of the cleaning product, ensuring effective results.
Selecting the Right Shampoo for Your Equipment
Opt for a specific formulation designed for heavy-duty cleaning tasks. Look for products that are biodegradable and free from harsh chemicals, ensuring they won’t damage surfaces while effectively cutting through grime.
Concentrated solutions deliver better performance. Choose a product that dilutes easily with water and offers a strong cleaning action. Check labels for pH neutrality, as this prevents surface damage and reduces the risk of corrosion on metal components.
Compatibility Matters
Ensure the chosen cleaner is compatible with your device’s materials. Certain formulations might react negatively with plastic or rubber seals, leading to damaging leaks. Review manufacturer recommendations to avoid voiding warranties.
Intended Use

Select a cleaner tailored for your specific cleaning needs. For residential use, basic formulations suffice, while professional-grade solutions might be necessary for commercial applications or stubborn stains. Investing in the right product enhances efficiency and leads to superior results.
Preparing the Equipment for Cleaning Agent Application
Begin with ensuring the device is completely powered off and disconnected from any water source to prevent accidental activation during setup.
Follow these steps for efficient preparation:
- Examine the detergent tank: Verify the tank is clean and free from any residue. A contaminated tank can affect performance.
- Choose the right nozzle: Select a low-pressure nozzle compatible with the detergent application. This helps prevent foaming or spattering.
- Mix the solution: Dilute the selected cleaning liquid according to the manufacturer’s guidelines. A concentrated formula may clog the system, so accurate measurement is key.
- Fill the detergent tank: Pour the prepared mixture into the tank carefully, avoiding spills that could damage components.
- Attach the tank: Securely fix the detergent reservoir back onto the machine, ensuring it is tightly closed to prevent leaks during operation.
- Check hoses and fittings: Inspect all hoses and connectors for wear or damage to avoid pressure loss. Replace any faulty parts before proceeding.
Complete these preparatory actions to ensure a smooth and effective cleansing experience. Regular maintenance enhances functionality and longevity of your equipment.
Connecting the Shampoo Dispensing System
For optimal performance, the connection of the dispensing unit is paramount. Begin by ensuring compatibility between the unit and your cleaning apparatus. Follow the manufacturer’s guidelines strictly during installation to avoid incorrect setups.
Steps for Installation
1. Locate the correct attachment point for the dispensing unit on the machine. This is often near the detergent inlet, accessible on the device’s exterior.
2. Use the appropriate fittings; most units require a straightforward twist-on mechanism. Ensure a snug fit but avoid over-tightening which could lead to leaks.
3. After securing the connections, attach the suction hose to the shampoo container. Make sure the hose is free from kinks or bends to facilitate unimpeded flow.
Testing the Connection
Before engaging the cleaning apparatus, perform a brief test. Activate the unit without any additional chemical to ensure water circulates correctly through the system. This step verifies that all connections are secure and there are no blockages.
| Connection Step | Description |
|---|---|
| 1 | Locate detergent inlet for effective attachment. |
| 2 | Install using proper fittings to avoid leaks. |
| 3 | Ensure suction hose is free from obstructions. |
| 4 | Test the unit to confirm water circulation. |
A flawless installation primes the system for effective cleaning, enhancing your results. Proper maintenance of connections prolongs the lifespan of equipment, reducing future costs and ensuring reliability.
Adjusting Pressure Settings for Optimal Flow

The key to ensuring the correct application of detergent is to modify the pressure settings according to the specific requirements of the chosen cleaning agent. For most formulations, a lower pressure is ideal, typically range around 1000 to 1500 PSI. This facilitates a steady release of the product while preventing excessive foaming or splatter.
Utilising a surface cleaner along with your machine can also affect the dynamics. I recommend starting with the nozzle set to a wide fan spray; this further aids in the even distribution of the solution across surfaces. If the solution isn’t dispensed effectively, tweak the pressure down by small increments until the balance is struck.
For particular types of detergents, such as foam-based cleaners, maintaining an optimal ratio of air and liquid is essential. Lowering the pressure allows for a thicker consistency that clings better to vertical surfaces, enhancing the overall cleaning efficacy.
Finally, it’s wise to regularly check for blockages in the detergent system, which can affect performance. If adjusting the settings doesn’t yield results, inspecting the line for kinks or obstructions should be your follow-up step.
Testing the Shampoo Flow and Making Adjustments
Commence by activating the unit with a low-pressure setting while directing the nozzle towards a surface. Observe the mist of detergent; it should emit evenly. If the mist appears weak or non-existent, adjustments are necessary. Check the detergent reservoir to ensure it is adequately filled and that the intake tube is correctly positioned.
Assess the nozzle type. A soap nozzle with a wider angle will enhance the distribution of the cleaner. If adjustments do not yield satisfactory results, consider examining and cleaning the detergent filter. Debris can obstruct the path, causing insufficient dispensing.
Troubleshooting Dispensing Issues
If tests reveal inconsistent output, explore the possibility of kinks in the tubing or loose connections. Tighten any loose fittings and ensure no leaks are present. If using dilution ratios, verify that they are in line with manufacturer recommendations for optimal performance.
Final Adjustments for Consistent Application

After rectifying potential issues, conduct a secondary test. If the output has improved, gradually increase the pressure to gauge performance at higher settings. Aim for a balance where the cleaner adheres to surfaces effectively without excessive runoff. Regularly monitor performance to maintain efficacy during operations.
Cleaning and Maintenance After Use
Rinse the dispensing system thoroughly with clean water immediately after use. This prevents any residual products from clogging the lines or nozzles. Fill the tank with fresh water, run the unit briefly to flush the system, and then empty the tank completely.
Daily Inspection
After each cleaning session, inspect all components for wear and damage. Look specifically at hoses and connectors for leaks and ensure that filters are free from debris. Replace any worn parts to maintain optimal operation.
Storing the Equipment

Store the unit in a dry area, away from direct sunlight and extreme temperatures. Coiling the hoses neatly helps to prevent kinks, which could lead to future blockages. Ensure all compartments are sealed to protect against dust and moisture.
Regular maintenance, including checking and replacing oil if applicable, will prolong the lifespan of the apparatus. Following these steps will keep it ready for future tasks, ensuring it performs efficiently each time it’s needed.
FAQ:
What are the steps to connect shampoo to a pressure washer?
Firstly, ensure that your pressure washer has a soap nozzle attachment. This nozzle is specifically designed to mix detergent with water. Begin by filling the shampoo tank of the pressure washer with the appropriate detergent diluted as per the manufacturer’s instructions. Attach the soap nozzle and set the pressure washer to low pressure. Finally, turn on the machine, and the pressure generated will help the shampoo to flow out through the nozzle, creating a foamy spray.
Can I use any shampoo with my pressure washer?
Not all shampoos are suitable for pressure washers. It’s important to use a detergent specifically formulated for pressure washing. These detergents are designed to be compatible with the pressure washer’s system. Regular shampoos or household cleaners may cause damage to the machine or not produce the desired cleaning effect. Always check the user manual or manufacturer’s guidelines for recommended detergents to ensure safe and effective use.
What should I do if the shampoo is not flowing through the pressure washer?
If the shampoo is not flowing, first check that the detergent tank is filled with the appropriate shampoo. Ensure that the soap nozzle is correctly attached and not blocked. If everything seems in order, inspect the pressure washer’s settings; it should be set to low pressure for soap application. Additionally, check for any clogs or kinks in the hose. If the problem persists, consult the user manual or contact customer support for further troubleshooting.
How much shampoo should I use in my pressure washer?
The amount of shampoo to use typically depends on the size of the detergent tank in your pressure washer and the concentration of the detergent. As a general guideline, fill the tank to approximately one-third to half full with concentrated detergent, then fill the rest with water. Always refer to the manufacturer’s recommendations on the detergent packaging for the best ratio, as using too much can lead to excessive foam and potentially damage the machine.
Is it safe to use pressure washers for my car with shampoo?
Yes, you can use a pressure washer with shampoo on your car, provided you use the proper soap designed for automotive cleaning. Remember to set the pressure to a lower level to prevent damage to the paint and glass. Using a shampoo specifically formulated for cars will help remove dirt without stripping wax or damaging finishes. Always rinse the car thoroughly after applying shampoo to remove any residue.


