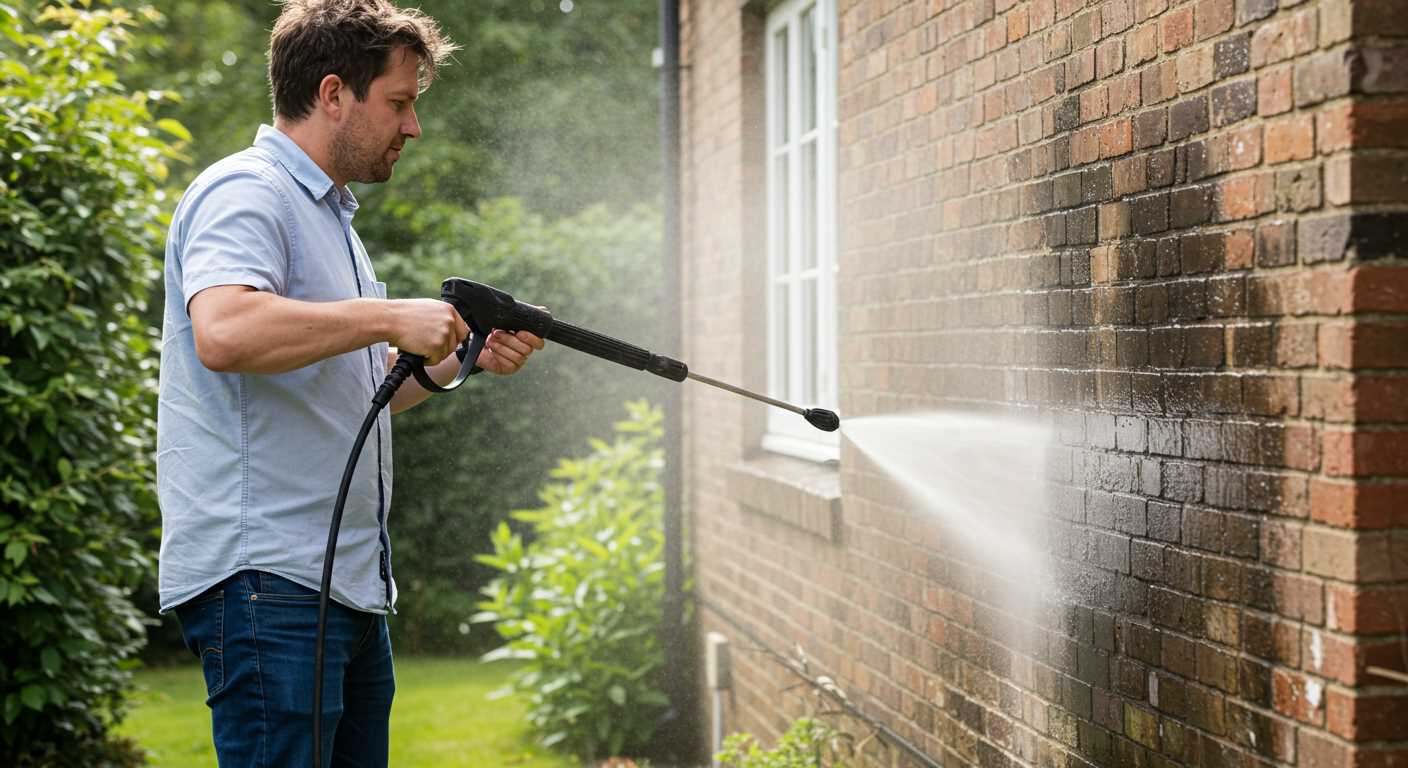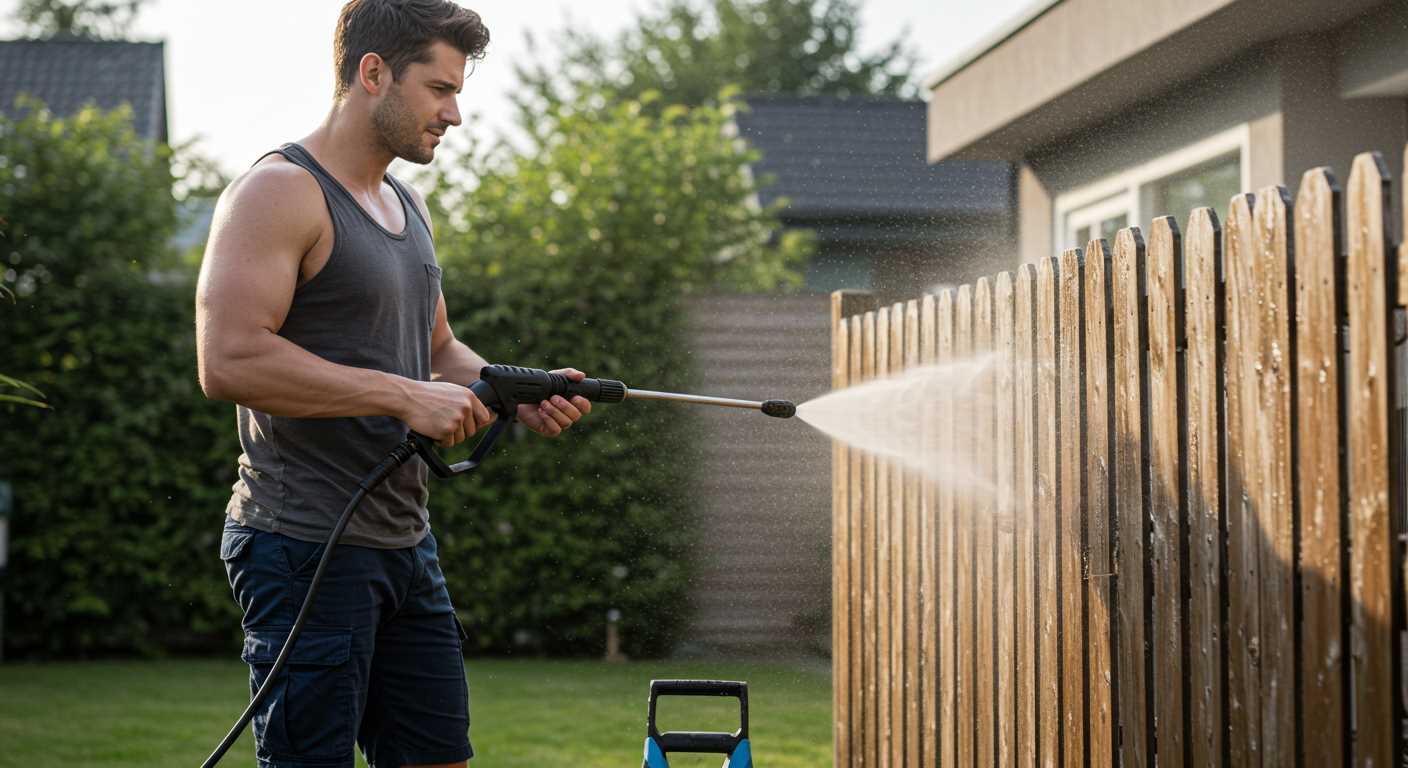


First, disconnect the detergent tank from your high-pressure cleaner. If it has a separate container, ensure it is completely emptied before proceeding. Rinse the tank with clean water, allowing any remaining residue to wash away, and then secure it back in place.
Next, set the machine to operate without any detergent intake. Attach a standard nozzle, typically ranging from 25 to 40 degrees, which will create a wider spray pattern. This setting prevents any further mixing of cleaning chemicals during the flushing process.
Make sure to run clean water through the unit for approximately five minutes while pointing it away from any surfaces that could be damaged. This step ensures that any remnants of the cleaning solution are adequately cleared from the internal system.
If the water still appears sudsy, repeat the flushing process. As an additional measure, check the filter and hose for any build-up that might retain the cleaning agent, and clean these components thoroughly.
Lastly, avoid introducing any mixtures into the tank until the cleansing process is complete. Your machine will function optimally, ready for your next task without lingering residues.
Understanding the Soap System in Your Pressure Cleaner
To begin with, ensure you’re using the correct detergent compatible with your machine. Most models require a specific type of cleaning solution that mixes well with water to avoid clogging. Regularly check the detergent tank for residue, which can affect mixing and flow.
The system typically includes a siphon tube that draws the cleaner from the container. If you notice the liquid is not dispensing, inspect the tube for kinks or blockages. A well-functioning line is essential for optimal functioning, and any obstruction can hinder performance.
Occasionally, switch to a wider nozzle when rinsing to ensure any remaining cleaning agent is expelled. This technique helps clear out the entire system after usage, preventing any leftover solution from lingering in the components.
A thorough flush with clean water is advisable after using a detergent. This process not only cleans the siphon and nozzle but also protects internal parts from chemical damage. Let the cleaner run for a few minutes without any solution to fully clear the system.
Lastly, always follow the manufacturer’s guidelines regarding detergent concentration and usage frequency. Adhering to these recommendations extends the lifespan of your equipment and maintains performance standards.
Step-by-Step Guide to Flushing Detergent from the System

To clear the detergent from the equipment, follow these precise steps:
1. Prepare the Equipment
Turn off the unit and disconnect it from the power supply. Ensure that the tank holding the cleaning solution is empty, as this allows for a thorough rinse. Remove any attachments from the nozzle for this process.
2. Fill with Clean Water
.jpg)
Fill the detergent tank with clean water. Ensure that the water is at room temperature to prevent any potential damage to the internal components. This solution will help flush out remaining cleaning agents effectively.
3. Rinse the System
Reconnect the device to the power source and activate it without any additional attachments. Allow the unit to run for several minutes until only clear water emerges from the nozzle. This step ensures that all traces of the liquid have been expelled.
4. Check the Filter
Inspect the inlet filter for residue. If any remains, it should be cleaned with fresh water. This prevents potential clogs during future use.
5. Final Testing
After rinsing, conduct a test run on a flat surface to confirm that no suds emerge. This process guarantees that all components are clear of residual materials.
Tools Needed for Proper Lather Removal
To effectively eliminate the remains of cleaning agent from the system, gather the following tools:
| Tool | Description |
|---|---|
| Clean Water Supply | A reliable source of fresh water, preferably from a hose with adequate pressure to facilitate flushing. |
| Adjustable Wrench | Allows for the loosening and tightening of fittings in case of blockages or maintenance needs. |
| Garden Hose | A standard garden hose ensures easy connection to the water supply and proper flow into the device. |
| Bucket | Used for collecting water to test the proper removal of residues if necessary. |
| Soft Brush | Can assist with cleaning any stubborn residues from the exterior of the machine or nozzle area. |
| Safety Goggles | Protective eyewear to shield against splashes during the flushing process. |
| Protective Gloves | Disposable or reusable gloves can prevent skin contact with any cleaning substances left behind. |
With these tools on hand, the task becomes easier and more efficient, ensuring a thorough cleaning of your equipment’s internals.
Testing Your Equipment After Cleaning Solution Removal
After flushing the cleaning solution from the system, it’s critical to conduct a thorough test of the equipment to ensure proper functionality. Begin by filling the tank with clean water and reconnecting the nozzle. Turn on the unit, allowing it to run for several minutes to observe the flow. Look for any signs of residual product in the discharge. Clear, soapy water indicates incomplete removal; if the stream is consistent and free of bubbles, the system is functioning correctly.
Assessing Pressure and Performance
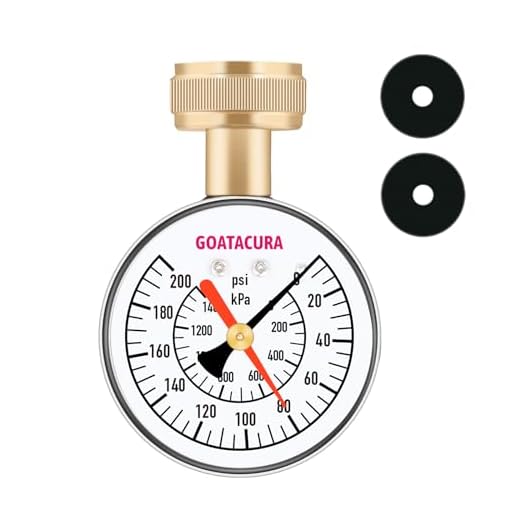
Next, assess the output pressure. Use a pressure gauge if available, ensuring it meets the manufacturer’s specifications. A noticeable drop in pressure or sputtering can signal lingering obstructions. Test various nozzle settings and observe changes in spray patterns. Each adjustment should produce a consistent and powerful jet, suitable for your cleaning tasks.
Final Steps and Maintenance Check
Once satisfied with the testing, perform a quick maintenance check. Inspect hoses and fittings for wear or leaks, ensuring all components are tight. Regular visual inspections extend the life of the equipment. Document any issues and address them promptly to prevent future complications. These simple steps ensure optimal performance and longevity of your device.
Troubleshooting Common Issues After Soap Use
Begin by assessing any performance changes in your unit. If the flow of water is significantly reduced or the pressure is inconsistent, a blockage may have occurred within the delivery system or nozzle. As a first step, inspect all connections and hoses for debris or kinks.
If the spray pattern does not align with the norm, it may indicate some leftover cleaning agent clogging the nozzle. Disassemble and thoroughly clean the nozzle, following the manufacturer’s instructions for guidance. Additionally, check for any worn or damaged parts, as they may contribute to suboptimal operation.
Unexpected Residue or Foam

In case you notice unexpected residue or foam during operation, it suggests inadequate flushing of the mixing chamber or inlet. After flushing the system, run plain water through to ensure no remnants remain. Consider running the unit at a higher pressure setting to clear any lingering substances. If problems persist, inspect the siphon tube for any blockages.
Odour or Stains
A persistent odour or visible stains could mean that the cleaning solution is decomposing inside the reservoir. Empty out any remaining solution, and utilise a solution of vinegar and water to neutralise lingering scents. Rinse the tank thoroughly and allow it to dry before refilling. This not only prevents smell but also extends the lifespan of the internal components.
Maintenance Tips to Prevent Soap Build-Up
Regular maintenance of the cleaning equipment is key to avoiding build-up of detergents. Here are specific steps I’ve found essential in my decade of experience:
- Routine Rinsing: After each use involving cleaning agents, ensure to flush the system with clean water. This removes residues and helps maintain optimal function.
- Detergent Selection: Choose high-quality, low-foam cleaning agents specifically designed for your model. Incorrect products can lead to excessive foam and residues.
- System Inspection: Periodically check all hoses and connectors for any obstructions or leaks. Blockages can aggravate residue accumulation.
- Filter Cleaning: Clean the inlet filter frequently. A clogged filter can restrict flow, resulting in poor rinse performance and more detergent left in the system.
- Temperature Management: Avoid using hot water in machines not designed for it; excessive heat can exacerbate build-up of residues.
- Proper Dilution: Always adhere to the manufacturer’s instructions for detergent dilution. Over-concentration leads to increased residues having to be cleared later.
Applying these measures will ensure the longevity of the equipment and reduce the likelihood of encountering cleaning challenges in the future.


