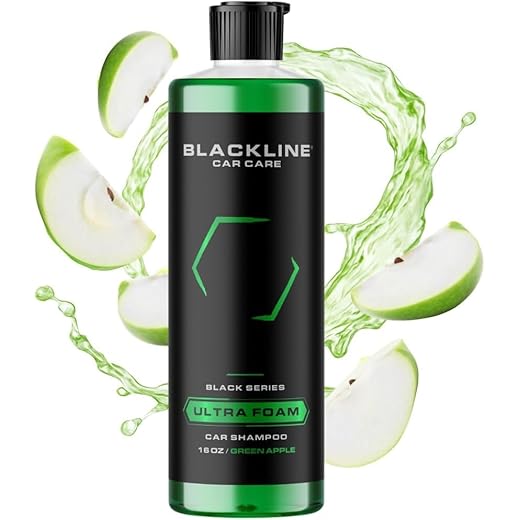


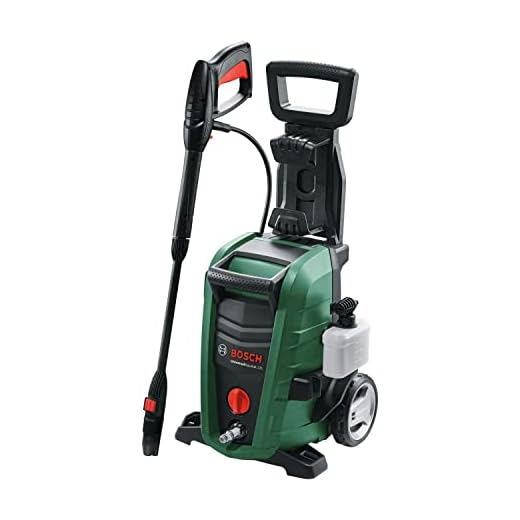
For optimal cleaning results, utilize a dedicated detergent that can be introduced via the accessory bottle designed for this purpose. Attach the bottle securely to the unit to ensure effective mixing and dispensing of the cleaning agent while operating the machine.
Adjust your machine to a lower pressure setting before applying the cleaning solution. This allows a gentle application that enhances the detergent’s ability to break down grime without causing damage to sensitive surfaces. After spraying, let the solution dwell for a few minutes to achieve maximum effectiveness against stubborn stains.
Always rinse surfaces thoroughly after the application. Switch the nozzle to a high-pressure setting and use clean water to remove any remaining detergent residue, ensuring a clear finish without chemical traces. Following these steps guarantees a deep clean and helps maintain the longevity of your surfaces.
Adding detergent to your cleaning equipment
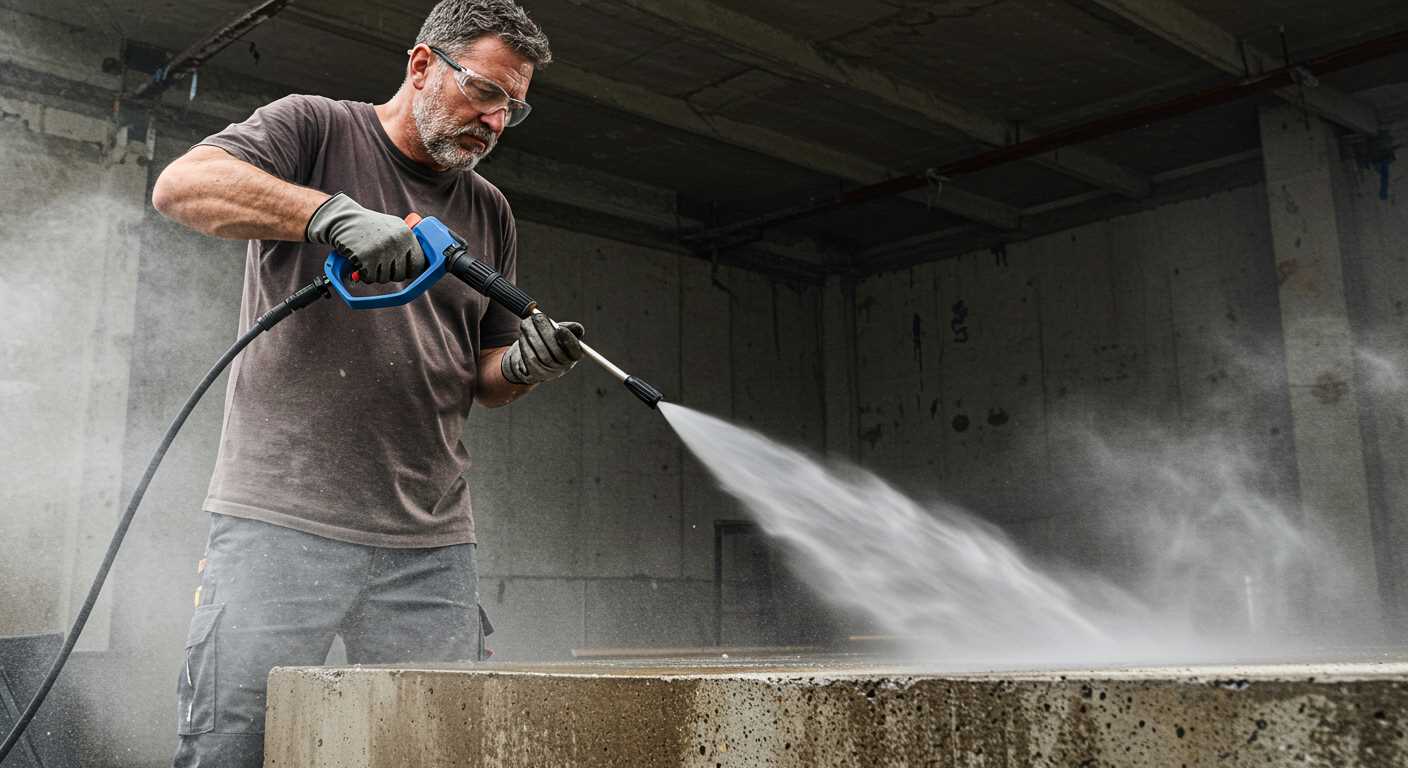
Utilise the proper detergent container designed for your device’s specifications. Begin by checking the manual for compatibility information regarding cleaning agents to avoid any potential damage.
Next, securely attach the detergent tank to the unit, ensuring a firm fit. Fill the tank with the chosen cleaning solution, avoiding overfilling to prevent spills during operation.
Operational Steps
- Switch on the equipment.
- Select the appropriate nozzle that matches the detergent application function; typically, a low-pressure nozzle is best.
- Engage the detergent application setting if applicable, allowing the mixture to siphon through the system.
- Begin your cleaning task, directing the flow of the mixture onto the surface.
Tips for Best Results
- Test the detergent on a small area to assess its compatibility with your surfaces.
- Always follow the manufacturer’s directions for the amount of cleaning solution to use.
- Rinse the area thoroughly with clean water after application to remove any residue.
Choosing the Right Solution for Your Karcher Equipment
.jpg)
Select a detergent specifically designed for your machine; compatibility ensures optimal performance. I recommend looking for products labelled as safe for high-pressure devices to avoid damage. Concentrated formulas often deliver better results, so focus on those that suggest a dilution ratio for the best effects.
Consider Your Cleaning Needs
Identify the type of surfaces and materials you’ll be working with. For instance, car cleaning requires a gentle formula that won’t strip wax, while outdoor furniture might benefit from a more robust solution that tackles mildew and grime effectively.
Environmental Impact and Safety
Always opt for biodegradable options whenever possible to minimise ecological harm. Ensure the selected substances are non-toxic, especially if children or pets are in proximity during the cleaning process. Checking product labels for safety certifications can guide your choice.
Understanding the Soap Injection System in Karcher Models
The soap injection system in Karcher models operates by utilizing a dedicated suction tube that draws cleaning solution from a container connected to the device. This tube is often distinguished by its use of a non-return valve, allowing the mixture to flow into the high-pressure system without backflow. Familiarising oneself with the proper setup is vital for seamless operation.
When using the detergent feature, it’s essential to select the correct nozzle, typically a low-pressure one. This adjustment allows for greater dispersion of the cleaning agent, ensuring it covers the surface adequately. Ensure the detergent bottle is properly attached and filled to the recommended level before use.
Adjustments to the mixing ratio may be required based on the specific task at hand. Many models include an adjustable dial on the detergent tank, enabling you to control the concentration of the solution that enters the system. Testing a small area first helps determine the right mixture for your specific cleaning needs.
Regular maintenance of the soap injection system is crucial. After usage, the tube and nozzle should be rinsed with clean water to prevent any residue from clogging the system. Periodically checking for blockages and ensuring the non-return valve functions correctly will prolong the lifespan of your equipment.
For optimal results, I recommend using proprietary cleaning solutions designed for these machines. These formulations ensure compatibility, maximise performance, and minimise potential damage to components. Be vigilant about following the manufacturer’s instructions for dilution and application.
Preparing Your Cleaner for Detergent Use
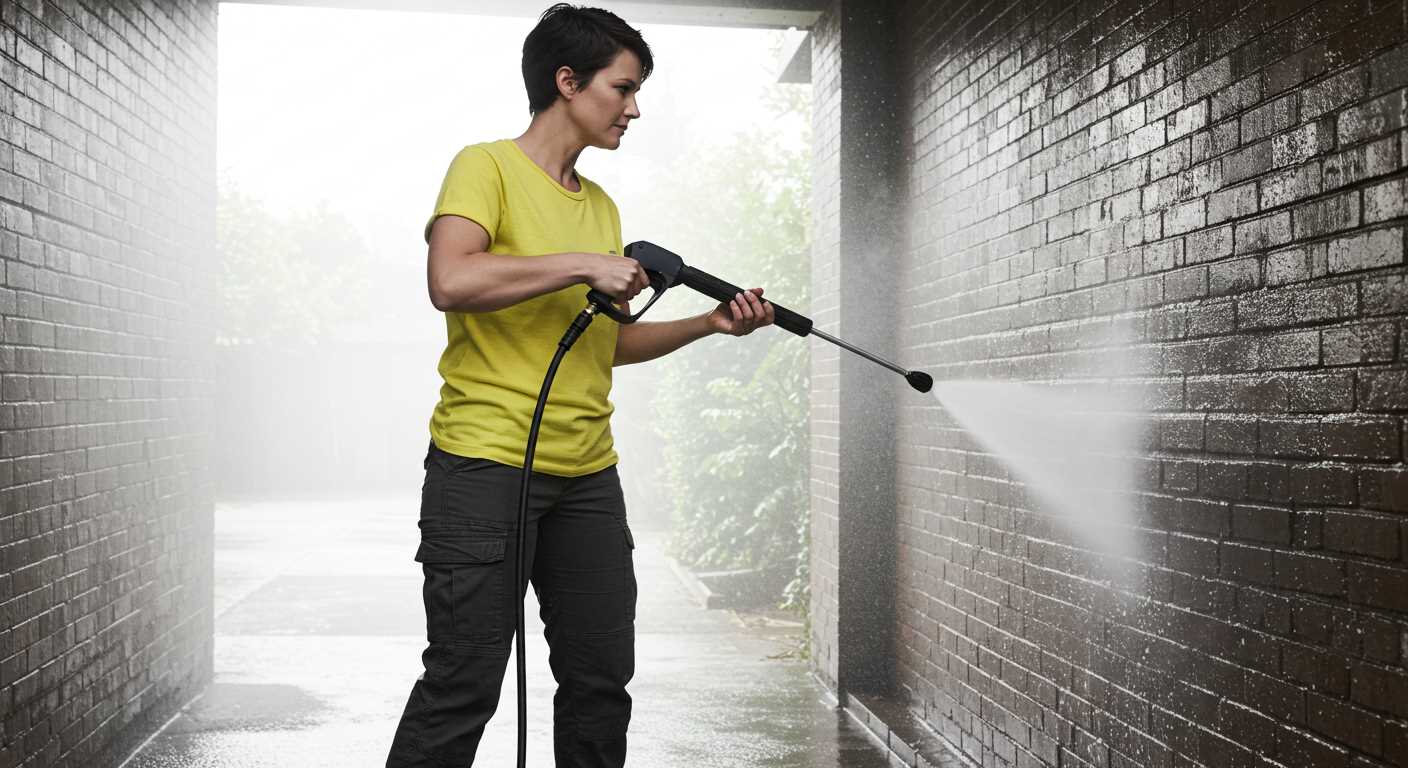
Before introducing any cleaning agent into the system, ensure the equipment is on stable ground to avoid any mishaps during operation. Disconnect the hose from the water supply and switch off the power supply. This is a vital safety precaution that should never be overlooked.
Essential Steps for Preparation
- Inspect the detergent container for any damages. A cracked or broken container can lead to leaks, causing mess and potential harm to the machine.
- Rinse the detergent nozzle thoroughly to remove residual compounds from previous uses. This helps in achieving the best cleaning results.
- Ensure the filter is clean. Any debris can hinder the proper flow of the solution.
- If applicable, attach the right injector or nozzle designed for cleaning agents. This may vary based on specific models.
Fill the detergent tank with the recommended cleaning product. Always use a product specified for compatibility with your equipment to maximise longevity and performance.
Final Checks
- Reconnect the water supply and check for any leaks around the connections before powering on.
- Test the mixture by running a small amount to ensure the detergent is being drawn properly.
Following these specific preparation steps will help ensure a smooth and effective cleaning experience without damaging your equipment.
Steps to Mix Detergent and Water for Optimal Results
Combine the cleaner with water in a separate container using a ratio of 1:10 for ideal results. This ensures the formula is not overly concentrated, allowing effective application while preventing nozzle clogging.
Utilise warm water for mixing, as this enhances the solubility of the solution. Combine 1 part cleaner with 10 parts water in a bucket or a mixing container.
Stir the mixture gently until the detergent is fully dissolved. Avoid vigorous shaking, as this can create excessive foam, which may complicate the application.
Once mixed, pour the solution into your machine’s detergent tank using a funnel to prevent spills and waste. Ensure you don’t exceed the maximum fill line specified in the user manual.
Before commencing the cleaning process, perform a test on a small, inconspicuous area to check for any adverse reactions from the surface you’re cleaning. If successful, proceed with the wider application.
After usage, clean the tank with plain water to prevent any residue build-up, which could affect the performance of your equipment in future applications.
Adjusting settings for soap application on your Karcher
To maximise the efficacy of the detergent application, select the appropriate nozzle setting on your device. I typically favour the yellow nozzle, as its moderate spray pattern achieves a delicate balance between coverage and intensity.
Next, ensure that the detergent dilution setting is correctly configured. Most models feature a dedicated nozzle or setting for cleaning solutions. Adjust this as per the manufacturer’s guidance to achieve optimal mixing ratios.
As I often advise users, the pressure control should be set at a lower level when applying the cleaning liquid. A softer approach not only enhances the product’s adhesion to surfaces but also prevents damage to delicate materials.
Finally, check the soap tank or container for any blockages that could impede the flow. A clean and well-maintained system ensures a consistent and effective application. Following these adjustments will lead to better cleaning results and prolong the life of your equipment.
Common issues and troubleshooting when using soap
Start by examining the detergent dilution ratio. Using a concentration that’s too high may clog the system, while too low could lead to poor foaming. Adjust the mix to the manufacturer’s recommendations for best results.
Clogged Injector
A frequent issue is a blocked injector. To resolve this, detach the injector and clean it thoroughly. Soak it in warm water or a cleaning solution for a few hours to dissolve any residual product. Regular maintenance of the injector ensures optimal performance.
Poor Foam Generation
If the foam lacks consistency, check the nozzle size. A nozzle that’s too wide may dilute the product, reducing effectiveness. Experiment with different nozzles to find the right balance for foaming agents. Make sure the wrong type of detergent isn’t being used, as not all formulations are compatible.
| Issue | Possible Cause | Solution |
|---|---|---|
| Clogged injector | Residue build-up | Clean or replace injector |
| Poor foam | Incorrect nozzle or ratio | Adjust nozzle and review dilution |
| Leakage | Damaged hose or connector | Inspect and replace faulty components |
| Inconsistent application | Variable pressure settings | Stabilise pressure settings for uniformity |
Regular checks on hose connections will prevent leaks that affect performance. Make frequent inspections a habit, especially after intense use, to maintain efficiency. For any inconsistent application results, stabilise pressure settings for a uniform product application.
Utilise these troubleshooting methods to enhance the effectiveness of your cleaning sessions. Consistency in maintenance practices not only improves outcomes but also prolongs the life of your equipment.


