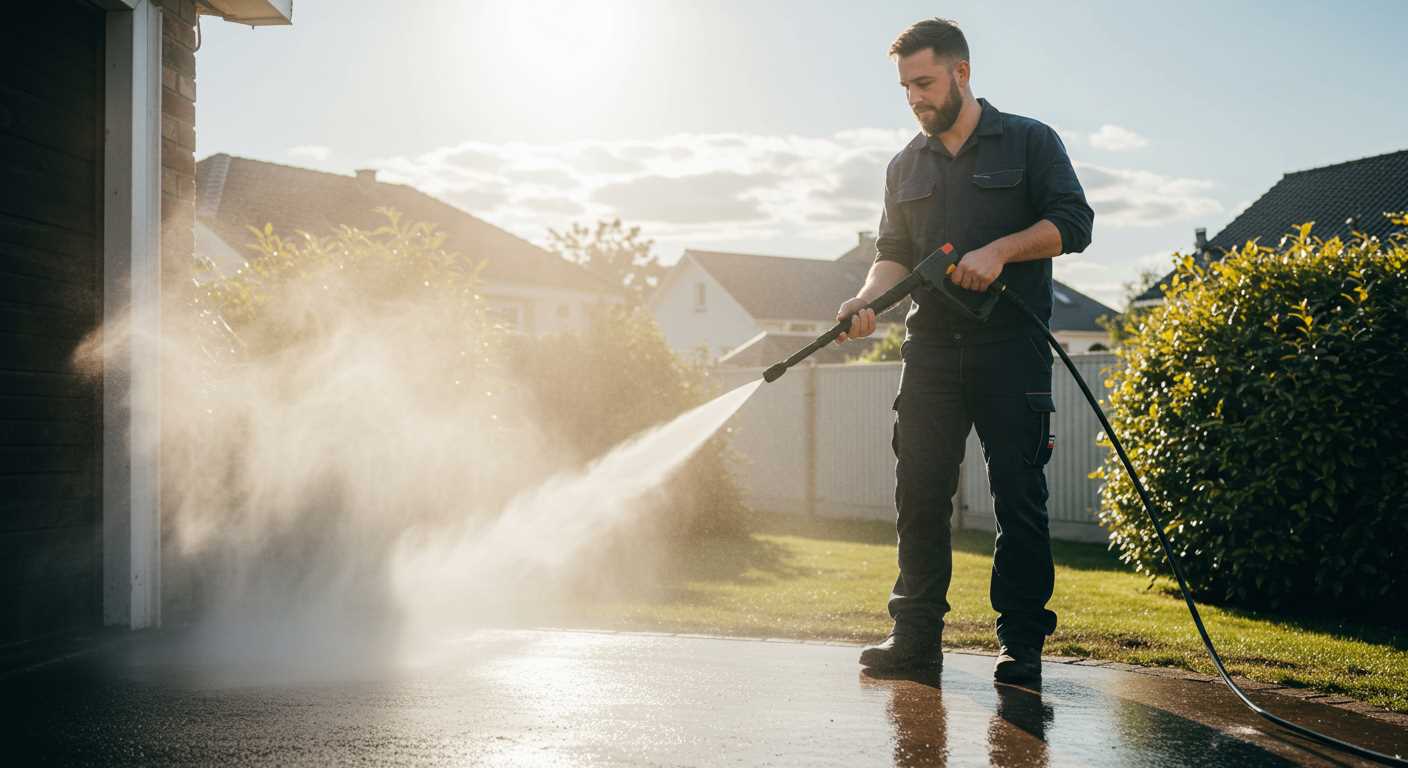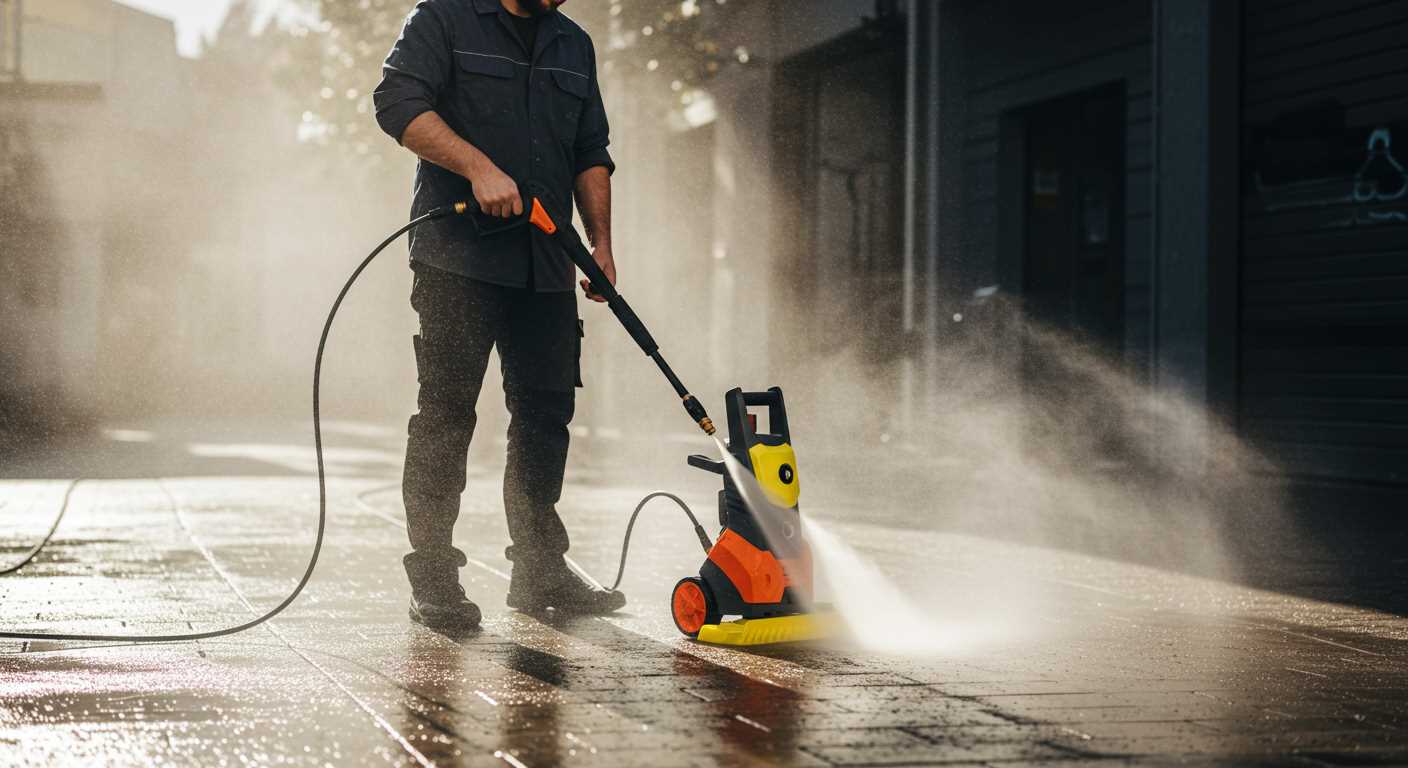


First, ensure you’re using the correct type of cleaning solution specifically designed for your equipment. This is crucial, as incompatible products can lead to malfunctions. After selecting the right detergent, prepare the machine by attaching the specific soap nozzle or mixing chamber if available. These components are designed to draw soap from the container and mix it with water effectively.
Next, top up the detergent tank. Make certain it is filled to the recommended level indicated in the user manual. After you’ve done this, let’s move on to the hose connection. Check that all hoses are tightly secured without any leaks or blockages. This step is vital for optimal performance.
When you activate the machine, let it run briefly without the nozzle to prime the system. Once you see foam beginning to form in the output, switch to the desired spray nozzle. Now you can start cleaning surfaces with the soapy mixture. If the foam quality isn’t satisfactory, adjust the nozzle or spray pressure as needed, as this can influence the dispensing efficiency.
Choosing the Right Cleaning Solution for Your Equipment

To achieve optimal results with your cleaning device, selecting the correct cleaning agent is paramount. Focus on special formulations that align with the surfaces you intend to clean. For instance:
- For concrete and driveways: Use a heavy-duty cleaner designed to tackle oil stains and grime.
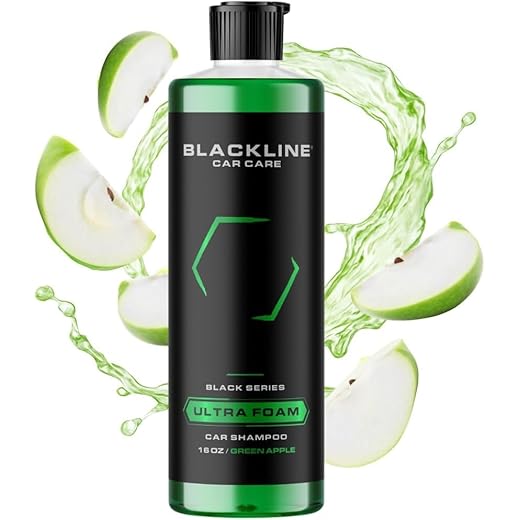
- For vehicles: A pH-balanced detergent will remove dirt without damaging paint or finishes.
- For decks and patios: Choose a biodegradable solution that is safe for wood and plants.
Another consideration is the concentration of the cleaner. Highly concentrated formulas often yield better results but may require dilution. Always follow the manufacturer’s instructions regarding mixing ratios to avoid damaging your device.
Additional Tips for Selection
When evaluating a product, check for:
- Compatibility with your specific model.
- Environmental safety certifications to ensure it meets health and safety standards.
- Reviews from other users to gauge effectiveness and ease of use.
Experimenting with different brands can aid in finding the most suitable option for various tasks. Keep a log of your experiences to refine your choices over time.
Preparing Your Cleaner for Soap Application

Before applying a cleansing solution, ensure the equipment is correctly set up. Start by connecting the water supply securely, tightening all fittings to avoid leaks. Check the hose for any cracks or blockages; a clear hose is vital for optimal performance.
Attach the appropriate nozzle for soap application. Generally, a black nozzle is recommended for low-pressure detergent spraying. This nozzle helps in mixing the cleaning agent effectively with the water stream. Make sure it’s firmly clicked into place.
Fill the detergent tank with the selected cleaning solution, ensuring to adhere to the manufacturer’s guidelines regarding dilution ratios. Inspect the tank for any debris or old residue that could interfere with the new solution; a clean tank allows for better results.
Set the pressure regulator to a lower setting. Using high pressure can cause the detergent to be dispensed improperly. Testing the machine with a quick spray before beginning ensures the solution is flowing as expected. Always wear safety gear, including gloves and goggles, to protect against any splashes.
Lastly, it’s beneficial to consult the user manual for specific recommendations related to your equipment model. Each variant can have unique instructions regarding detergent use and maintenance which will enhance performance during your cleaning task.
Understanding the Soap Injection System
Ensure that the chemical injection system is functioning properly. This mechanism employs a siphoning action, allowing the cleaning agent to be mixed with water as it exits the nozzle. Check the soap tank for blockages; clean any residue that may have accumulated in the tank or siphon hose.
Setting Up the Injection Mechanism

Ah, the set-up process. Connect the solution hose securely to the injector system, making certain there are no leaks. If a model has adjustable features, set it to the recommended level for the specific cleaning solution. Always use the right nozzle; a low-pressure spray is typically used for injecting chemicals, so switch to the soap nozzle for optimal results.
Testing Mixture Levels
Conduct a test spray to observe the mixture. If no foam appears, re-check the connections and solution level. It’s imperative that the solution is diluted correctly, as too thick a consistency might hinder the injection system’s performance. Adjust the dilution as necessary based on the manufacturer’s directions.
Mixing Soap with Water: Correct Ratios
For optimal results, mix cleaning solution and water in the ratio of 1:5 (one part soap to five parts water). This ensures effective cleaning without compromising the equipment or surfaces.
Common Ratios for Different Applications
Depending on the application and the type of surface, varying soap concentrations can be beneficial:
| Surface Type | Soap to Water Ratio |
|---|---|
| Heavy-duty grime (e.g., concrete) | 1:4 |
| Cars and trucks | 1:6 |
| Wood decks | 1:8 |
| General cleaning | 1:5 |
Always test the mixture on a small area first to ensure compatibility with the surface. Adjust the concentration based on the level of dirt and staining encountered. It’s essential to follow manufacturer’s instructions on specific cleaning agents as well.
Loading Cleaning Solution into the Equipment
Begin by ensuring that the machine is powered off and unplugged. Locate the solution tank, which is often situated near the base or on the side. Remove the tank cap to gain access.
Follow these steps to successfully load your cleaning solution:
- Pour the pre-mixed cleaning liquid into the tank, ensuring not to exceed the maximum fill line indicated inside the tank.
- In case a commercial product is not used, ensure the solution is diluted correctly according to the manufacturer’s instructions.
- Secure the cap back onto the tank tightly to prevent leaks during operation.
Check again that all connections, particularly hoses and nozzles, are tightly fitted to prevent any flow issues during cleaning tasks. An improper fit can dilute the effectiveness of the cleaning agent while spraying.
Once filled, energise the machine following the appropriate setup guidelines without activating it yet. This ensures the solution is ready for application when you’re set to commence cleaning.
Adjusting the Nozzle for Soap Application
Setting the nozzle correctly is crucial for optimal lather during the cleaning process. Use a wide-angle spray pattern to enhance the coverage of the cleaning solution. Typically, a fan spray nozzle (25 degrees) works best for this task.
Angle Adjustment
.jpg)
Begin with the nozzle at a distance of about 2 to 3 feet from the surface. Gradually move closer as needed, but be cautious not to damage the material being cleaned. Adjusting the angle helps in spreading the solution evenly, allowing it to penetrate dirt effectively.
Observation and Fine-tuning
While applying the mixture, observe how it adheres to the surface. If the solution runs off too quickly, angle the nozzle to a narrower spray setting. Conversely, if excess solution accumulates, switching to a wider angle will help disperse it more effectively without leaving streaks.
Test adjustments in small sections before proceeding to larger areas. This practice ensures that you’re achieving the desired results without wasting resources. Once the settings match the surface type and cleaning requirements, proceed to clean with confidence.
Utilising the Device for Liquid Dispensing
Choose the right setting on the machine to enable liquid delivery. Typically, a lower pressure setting is optimal, as it allows the formulation to adhere to surfaces better without being washed away instantly.
Maintain a consistent distance from the surface while applying. About 3 to 5 feet away works well, facilitating even coverage without causing damage or overspray.
Begin at the top of the area being cleaned, moving in a systematic manner downward. This technique prevents dirty water from dripping onto clean sections, ensuring an efficient and neat outcome.
To maximise performance, periodically inspect and clean the nozzle during use. Accumulated residue can hinder effective liquid flow, which diminishes results.
Pay attention to surface types; porous materials may require additional application time to allow the solution to penetrate fully. For stubborn stains, allow the mixture to dwell for several minutes before rinsing.
Once finished, promptly rinse the area with clean water to remove any residue from the cleaning solution. This step is crucial to prevent any potential reaction between the formulation and the surface material.
Cleaning the System After Soap Use
Immediately after completing your task with detergent, flush the entire apparatus to avoid residue buildup. Start by switching to a freshwater source while keeping the appliance running at low pressure. This process will help rinse out any remaining cleaning agent from the tank and injector.
Run the unit without any cleaning solution for approximately five minutes. This ensures that all components, such as the hoses and spray gun, are thoroughly cleared of soapy water. Pay attention to the nozzle, as it can trap remnants if not properly flushed.
Next, disassemble the detergent tank if applicable. Rinse it with water to eliminate any leftover product. A mixture of warm water and mild soap can be used to clean the tank thoroughly. Allow it to dry completely to prevent any mould growth.
Inspect and clean any filters or strainers that may have collected residue during usage. A clogged filter can impair performance in future applications. Replace it if damage is observed.
Finally, consider running a diluted vinegar solution through the system occasionally. This step acts as a final rinse and helps to neutralise any leftover chemicals, ensuring everything is in optimal condition for next use.


