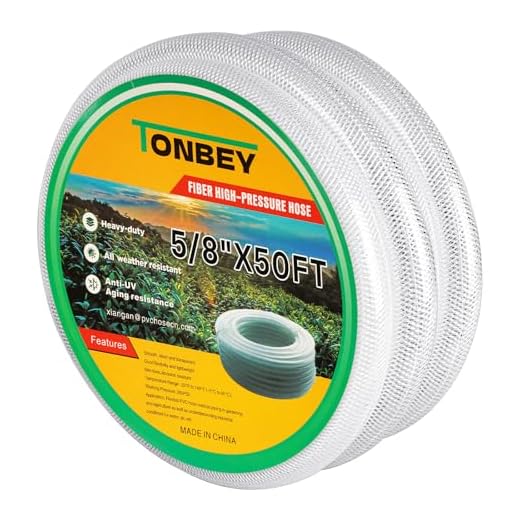


Check the connections before you begin. Ensure that the garden hose is securely attached to the inlet on your unit. Any loose fittings can lead to leaks and inefficient operation.
After securing the hose, connect the high-pressure hose to the outlet nozzle. Ensure this connection is tight to prevent any unexpected disconnections during use. Position the nozzle end appropriately, keeping it at a safe distance from surfaces to be cleaned.
Now, it’s time to add fuel or check the power source, depending on your model. For gas-operated units, fill the tank with the specified fuel type. For electric models, ensure the cord is properly plugged into a grounded outlet to avoid electrical hazards. Check the oil level if your unit requires it; maintaining proper lubrication is key to longevity.
Once everything is connected and properly set up, turn on the water supply and pull the trigger on the wand to clear air from the hoses. This step is crucial for achieving a steady flow of water, which enhances the cleaning capability of the device. Follow these straightforward steps for a seamless operational experience.
Connecting Your Troy Bilt Cleaning Equipment
Ensure the unit is on a flat, stable surface for safety and operation. Insert the high-pressure hose into the designated outlet on the machine, turning it clockwise until secured. Confirm it is snug to prevent leaks during operation.
Locate a suitable water source. Use a standard garden hose for connection. Attach one end of the hose to the water inlet on the washer, likewise ensuring it is tightly secured. At the other end, fix the hose to your tap, ensuring a tight fit to avoid any aspiration of air into the system.
Prior to switching on, check the water supply: it should have adequate flow and pressure. Activate the water source for a few seconds before turning on the motor to purge any air and contaminants from the system.
Connect the electrical cord to a power outlet that matches the unit’s voltage specifications. Avoid using an extension cord as it may not support the energy requirements of your device.
Once everything is connected, engage the trigger gun and pull to test for operational water flow. This will confirm there are no leaks and that connection is secure.
Finally, read the operation manual to become familiar with all safety guidelines and specific recommendations for maintenance. Regular checks of hose integrity and connections will ensure long-term functionality.
Identifying the Necessary Components for Setup
Verify the availability of a compatible water supply hose. This flexible tubing connects to your water outlet, ensuring a steady flow to the machine. Aim for a length that comfortably reaches between your spigot and the equipment.
Prepare a high-pressure hose, typically constructed from durable materials to withstand the machine’s force. This hose directs water from the unit to the cleaning attachment, so ensure it’s in good condition without leaks or cracks.
Acquire the appropriate nozzle or wand. The attachment type varies based on task specifics, such as surface cleaning or gentle rinsing. Match the nozzle to your cleaning needs: narrower nozzles concentrate force for tough grime, while wider ones disperse water for larger areas.
Check for an inlet filter, essential for preventing debris from entering the system and causing damage. This small component can significantly prolong your equipment’s lifespan.
Gather an extension cord if needed. Ensure it’s rated for outdoor use and compatible with your machine’s power requirements. This accessory allows greater mobility while maintaining electrical safety.
Lastly, ensure protective gear is on hand, including goggles and footwear. Proper equipment can enhance safety during operation and improve overall experience.
Connecting the Water Supply to the Cleaning Unit

Begin by attaching a garden hose to the water inlet of the machine. Ensure that the hose is securely fastened to prevent leaks. Utilize a hose with a diameter of at least 3/4 inch to ensure adequate flow rate.
Steps for Proper Connection
- Turn off the water source before making connections.
- Inspect the hose for any cracks or damage. Replace if necessary.
- Use a hose connector that fits your water supply and cleaning equipment. A quick-connect fitting simplifies the process.
- Open the water supply slowly after connecting to check for leaks.
- Ensure that the hose is not kinked or obstructed during operation.
Before starting the machine, check that the hose is clear of contaminants to avoid any blockage. This ensures a steady flow that is crucial for optimal performance.
Water Quality Considerations
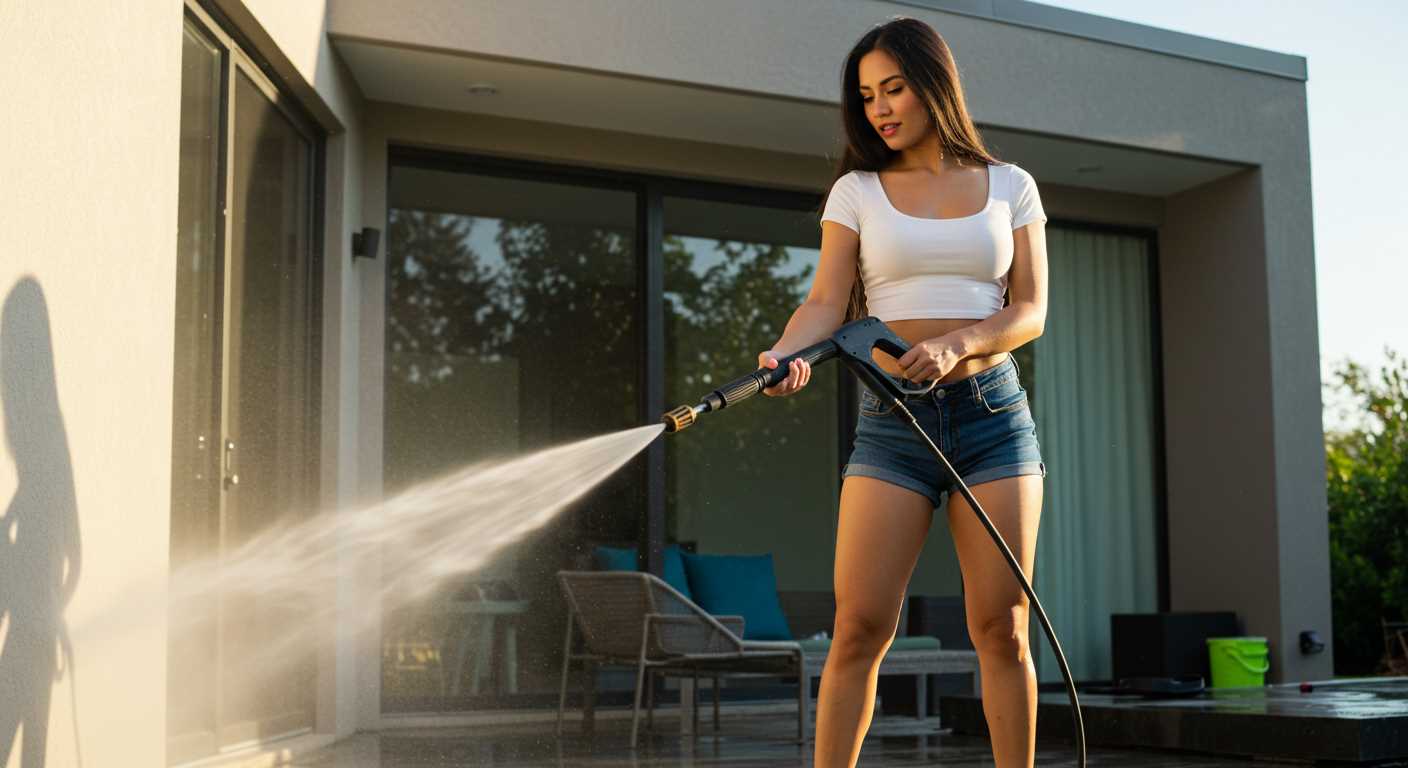
- Avoid using water from sources that may contain dirt or debris.
- Filtered water is ideal for preventing clogs and maintaining the condition of the internal components.
Regular maintenance of the water supply line can prolong the life of your device and enhance its overall functioning. After usage, disconnect the water supply and empty any remaining water from the hose to prevent freezing or damage during colder months.
Securing the High-Pressure Hose Properly
Ensure the high-pressure hose is tightly connected to both the spray gun and the machine. Hand-tightening provides an adequate seal; however, a quick inspection with a wrench can confirm security. Do not overtighten, as this might cause damage to the fittings.
Inspect the rubber seals in the hose fittings for any signs of wear or damage before connection. Replacing worn seals will prevent leaks that could impede performance. It’s best to regularly check these components for optimal use.
Organise the hose to avoid kinks or twists. This not only enhances safety but also promotes smooth flow during operation. Use hose holders or hooks to keep the hose tidy when not in use, preventing excessive wear on the material.
Always disconnect the hose once the task is complete, allowing for pressure relief. This practice reduces wear on the fittings and ensures significant longevity. Store the hose in a dry place to protect it from extreme weather conditions.
Attaching the Spray Gun and Nozzle
Begin by selecting the appropriate nozzle for your task. Various nozzles deliver different spray patterns, making it crucial to match the nozzle to your cleaning requirements.
1. Ensure the washer is turned off and disconnect from the water source.
2. Locate the spray gun, which often comes with a safety lock feature. If present, disengage the lock to allow operation.
3. Align the nozzle with the end of the spray gun. Slide the nozzle into place until you hear or feel a click, indicating a secure fit. If your model has a twist-lock system, rotate the nozzle to lock it in position.
4. With the nozzle attached, conduct a quick inspection. Ensure there are no gaps between the nozzle and the gun. A secure connection prevents leaks and ensures optimal performance.
5. Before starting the device, test the safety lock by re-engaging it to ensure it functions properly during operation.
6. Finally, turn on the water supply before powering on the equipment. A steady flow of water is essential for avoiding damage when you start. With these steps complete, you are clear to operate the device effectively.
Priming the Pump Before Use
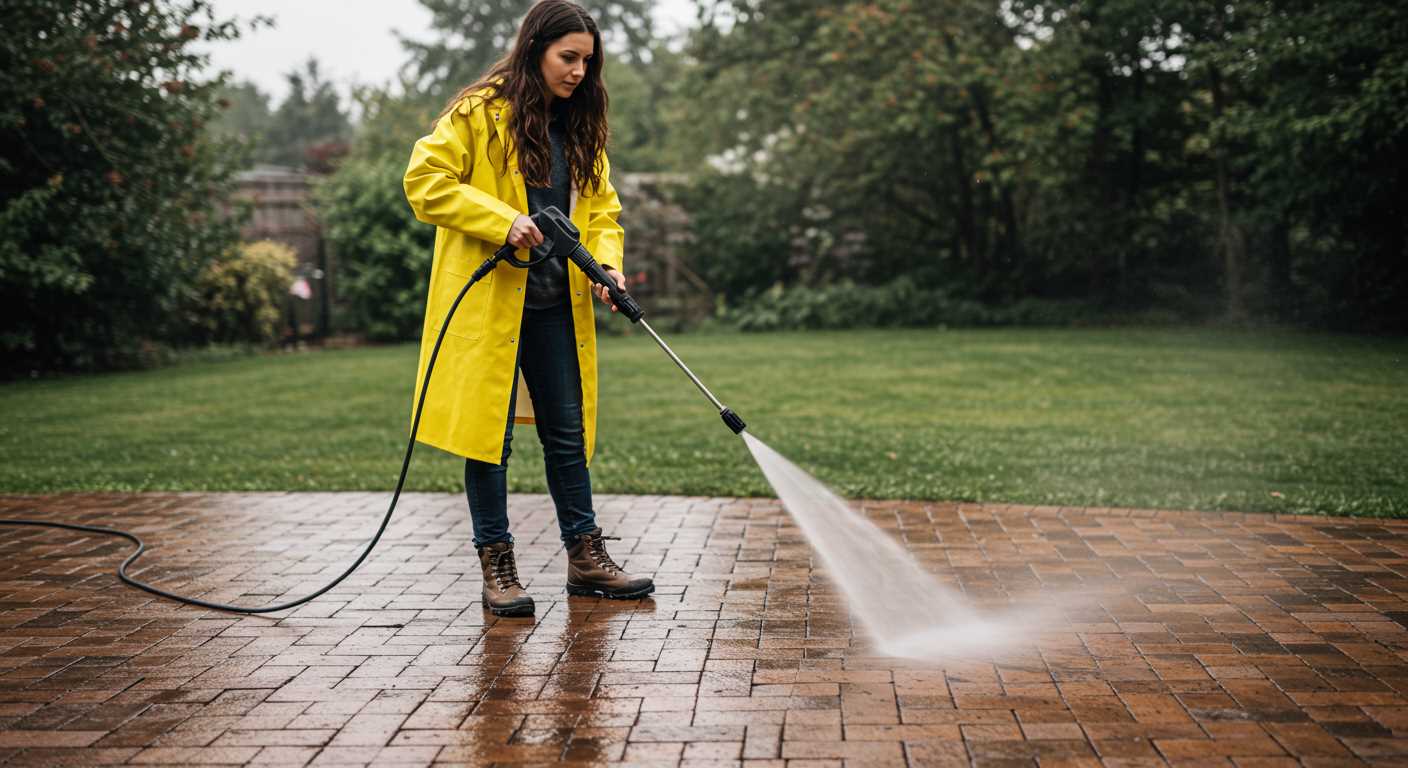
Before starting the machine, it is crucial to prime the pump to ensure proper function and longevity of the device. Begin by locating the water inlet and connecting it to a water source, making sure to use a suitable hose that provides sufficient flow. Once connected, follow these steps to prime effectively:
Steps to Prime the Pump:
- Turn off the water source initially.
- Open the spray gun to release any air trapped in the system. Hold it open for 20-30 seconds.
- Close the spray gun while maintaining the water connection. This builds pressure in the hose.
- Turn on the water supply and allow water to flow through the system. Ensure that there are no leaks in the hoses or connections.
- Once water is flowing consistently from the spray gun without sputtering, the pump is primed correctly.
Check the water filter at the inlet; it should be clean to facilitate optimal water flow. After priming, inspect all fittings and make adjustments if necessary to make sure every component is secure.
Common Issues During Priming:
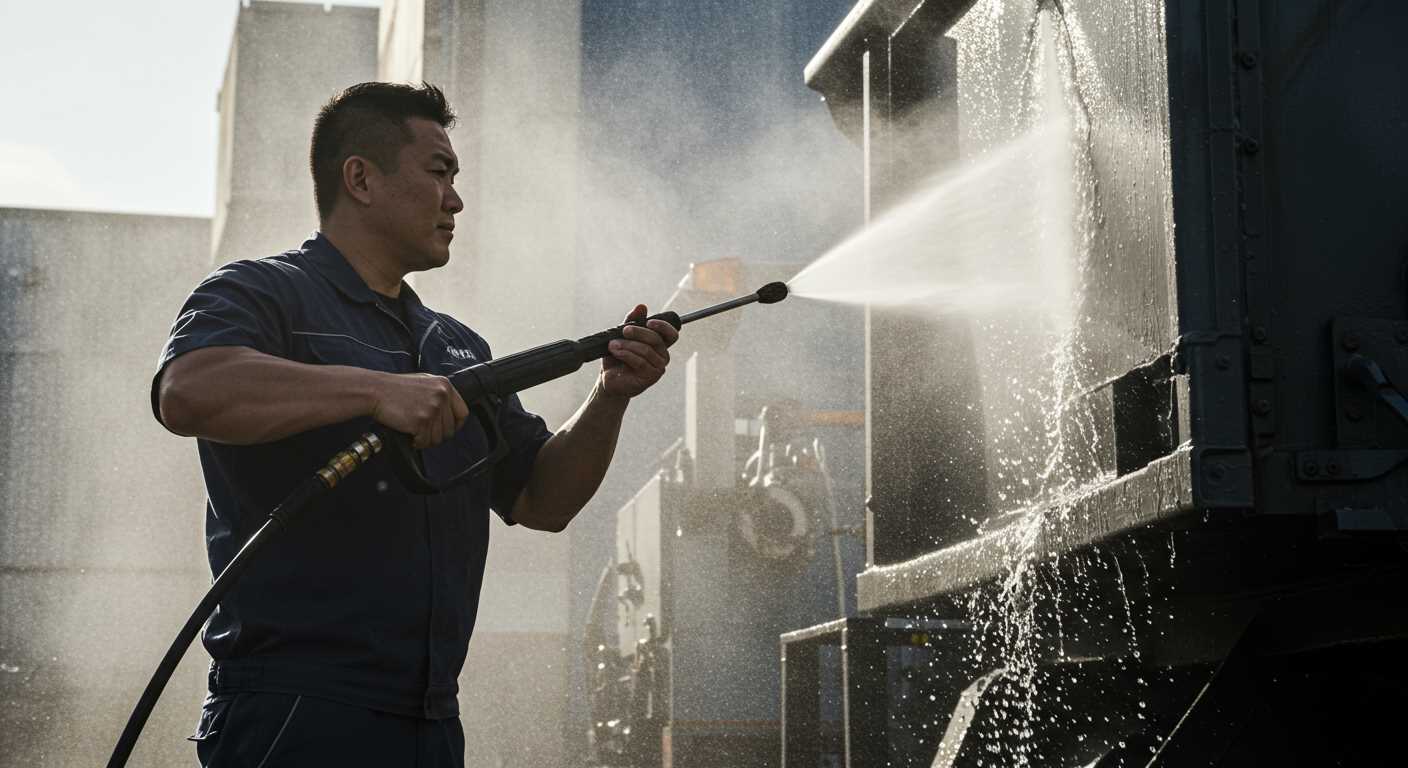
If water does not flow or there is sputtering, it may indicate air pockets or blockages. Repeat the steps while ensuring that all connections are airtight. If problems persist, consider checking the water source or hose for kinks or clogs. Resolve any issues before proceeding to use the equipment safely.
| Symptoms | Potential Causes | Solutions |
|---|---|---|
| No water flow | Air pockets or blockages | Repeat priming steps, check hoses |
| Sputtering water | Air trapped in system | Open spray gun to release air |
| Low pressure | Inadequate water supply | Ensure full flow from source |
Safety Checks Before Starting the Equipment
Check the fuel and oil levels. Ensure the engine has adequate oil to prevent damage. If using a model with a gas engine, confirm that the fuel is fresh to avoid starting issues.
Inspect all hoses and connections for wear or leaks. Replace any damaged components to prevent accidents. A high-pressure burst could lead to injuries or damage.
Verify the presence of a suitable extension cord if required. Ensure the cord is rated for the amperage of the machine and is in good condition to avoid electrical hazards.
Make sure the area is clear of bystanders, pets, or fragile items. Establish a safe work zone to minimise distractions and risks.
Ensure the nozzle is properly attached and not blocked. A clogged nozzle may lead to pressure buildup, which is hazardous during operation.
Read the manufacturer’s manual fully before proceeding. Understanding the specific safety features and instructions for the equipment is critical.
Finally, wear appropriate protective gear. Safety goggles, gloves, and non-slip footwear are vital to safeguard against debris and high-pressure water.
FAQ:
What tools do I need to hook up my Troy Bilt pressure washer?
To hook up your Troy Bilt pressure washer, you will need the following tools: a garden hose (preferably a standard 5/8 inch hose that’s long enough to reach your water source), a pressure washer hose that usually comes with the unit, and a nozzle attachment suitable for your cleaning task. You may also want to have adjustable pliers on hand in case any fittings are too tight to work with your hands, and a bucket to collect any water during the setup process. With these items, you should be ready to connect everything properly.
How do I connect the garden hose to my Troy Bilt pressure washer?
To connect the garden hose to your Troy Bilt pressure washer, follow these steps: First, ensure that the power washer is switched off and that it is placed on a flat surface. Take one end of the garden hose and attach it to a water source, such as a tap or faucet. Then, locate the inlet connection on the pressure washer unit, which is usually situated at the bottom front. Remove any protective cover from this inlet, if applicable. Next, screw the free end of the garden hose into the inlet connection tightly, ensuring it is securely fastened to prevent leaks. Lastly, turn on the water supply slowly to check for any leaks around the connection before you begin using the pressure washer.
Are there any safety precautions I should take when hooking up my pressure washer?
Yes, safety is paramount when using a pressure washer. Here are some precautions to consider: First, always ensure the pressure washer is turned off and unplugged when you are hooking it up. Inspect the hoses for any signs of wear or damage before use. It’s also advisable to wear protective gear such as safety goggles and gloves to shield against water spray, which can become dangerous at high pressure. Ensure the area around the pressure washer is clear of obstacles and bystanders. Additionally, make sure that the ground is level to prevent the machine from tipping over while in use. Following these precautions will help you use your Troy Bilt pressure washer safely and effectively.


