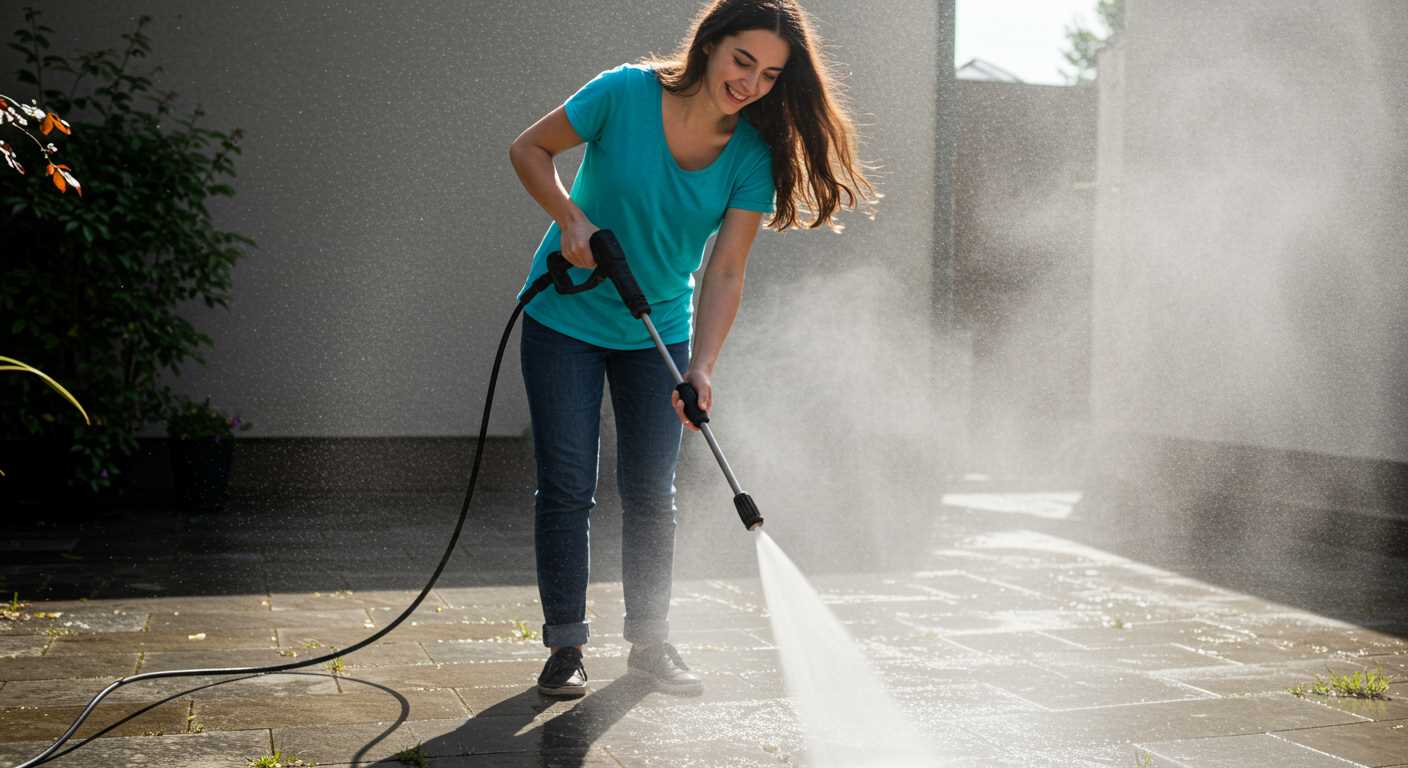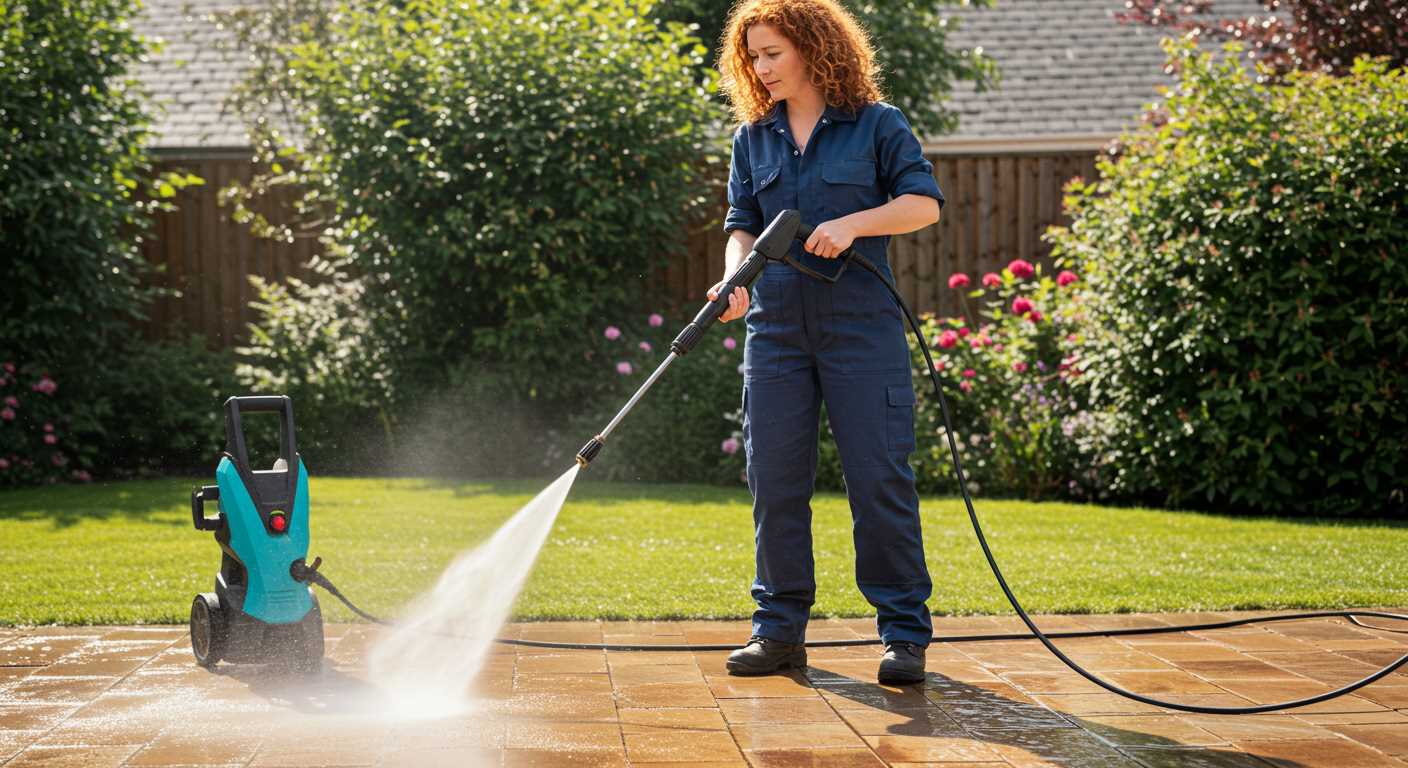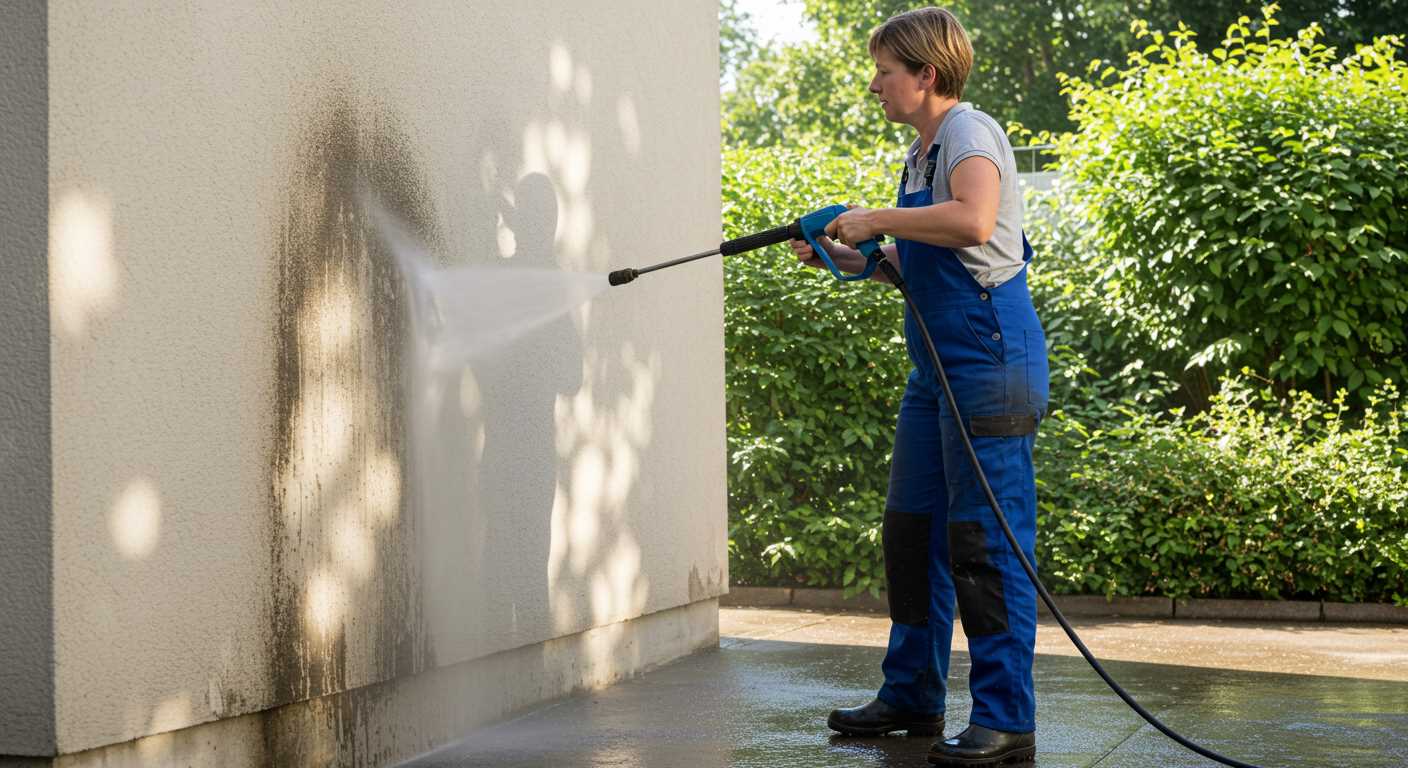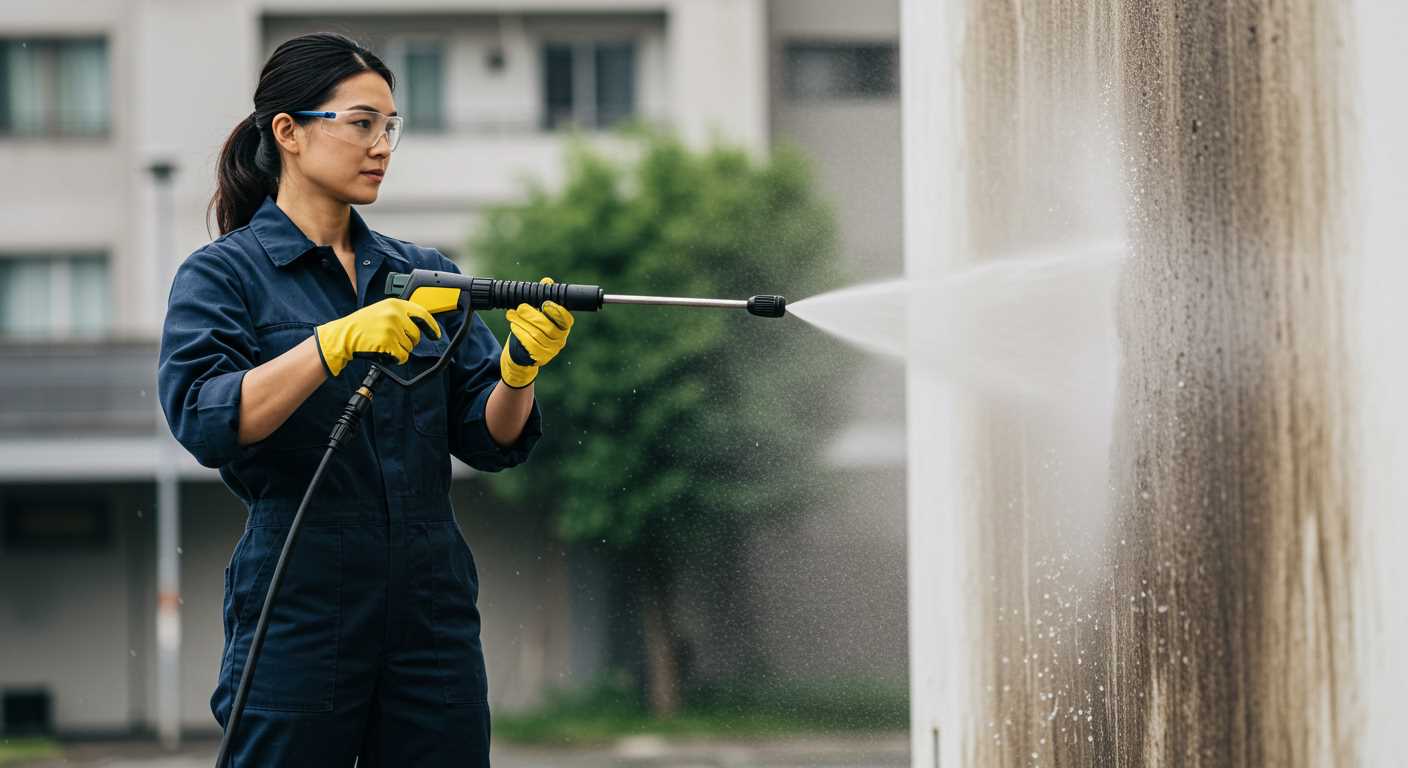


For the best results, attach a detergent bottle or canister specifically designed for use with cleaning devices. Ensure the detergent is compatible; choose a high-quality, biodegradable option tailored for the surfaces you intend to clean. Attach the container securely to the designated inlet on your unit.
Utilise the appropriate nozzle for applying the solution. A low-pressure nozzle typically works best, allowing the cleaning solution to adhere to surfaces effectively without being rinsed away prematurely. Set your appliance to the detergent mode if available, as this optimises the output for better results.
Before starting, conduct a test on a small, inconspicuous area to verify that the detergent does not damage the surface. Apply the cleaning solution evenly and let it sit for the recommended duration to loosen dirt and grime. Following this, switch to a high-pressure nozzle for rinsing, ensuring all residues are thoroughly removed.
Connecting Detergent to Your Cleaning Machine

Ensure that the detergent container is filled with an appropriate cleaning solution. Most machines come with a dedicated compartment for soap. If your model does not have one, you can purchase an attachment that will allow you to add detergent.
Using a Foaming Lance
For those preferring a foam application, a foaming lance is an excellent option. Attach this lance to the nozzle of your cleaning device. Fill the lance’s container with a compatible detergent and set the lance to the desired foam level. Adjust the flow rate to ensure even coverage across the surface you are cleaning.
Adjusting the Nozzle
Select a suitable nozzle, usually one with a wider spray pattern. This will help in dispersing the cleaning solution more effectively. After application, use a higher pressure nozzle to rinse away residues thoroughly, ensuring no soap is left behind.
Choosing the Right Soap for Your Pressure Washer

Opt for a cleaning agent specially formulated for use with high-pressure units. These formulations usually include surfactants that enhance dirt removal without damaging surfaces. Always check compatibility with your specific machine model before application to avoid potential issues.
Consider the Surface Type
Different surfaces may require distinct types of cleaners. For instance, a degreaser is ideal for concrete or greasy surfaces, while a gentle biodegradable option suits wood decking or painted surfaces. Selecting the appropriate cleaner ensures you achieve the best results without causing harm.
Concentrate vs. Ready-to-Use
Evaluate whether a concentrated cleaner or a ready-to-use product meets your needs. Concentrated cleaners often offer cost savings and longer shelf life but may require dilution. Ready-to-use options are convenient but may be pricier. I recommend choosing based on your frequency of use and type of cleaning tasks.
Understanding Your Pressure Washer’s Soap Injection System
To effectively utilise the detergent dispenser in your cleaning unit, it’s vital to comprehend its components and operating principles. Most machines feature an integrated system designed to mix the cleansing agent with the water stream during operation.
Components of the Injection System
The primary components include a soap tank, a siphon hose, and a control valve. The tank holds the cleaning solution, while the siphon hose draws the liquid into the flow of water. The control valve allows you to adjust how much cleaner is mixed with the water, enabling you to tailor the cleaning power to different applications.
Operation Principles
When you start the motor, water flows through the pump and into the nozzle. As it passes through the siphon hose, it creates a vacuum that pulls the solution from the tank. The mixture is then expelled through the nozzle, enhancing cleaning efficiency without manual application. Always observe the manufacturer’s guidelines regarding dilution rates and optimum usage to prevent damage to surfaces and ensure the best results.
| Component | Function |
|---|---|
| Soap Tank | Holds the cleaning solution |
| Siphon Hose | Draws the liquid into the water stream |
| Control Valve | Regulates detergent flow |
Regular maintenance of these components, including checking for blockages and ensuring seals are intact, will guarantee optimal performance and longevity of your device. Familiarising yourself with your model’s specifics can dramatically improve your cleaning outcomes.
Preparing the Equipment for Cleaning Solution Application
Ensure the unit is turned off and disconnected from the power source before any adjustments. Review the user manual for your specific machine’s recommended procedures related to solution application.
Remove any existing attachments or nozzles from the lance to prevent clogs. Check and clean the filter located in the intake section, as debris can hinder solution delivery.
If your equipment requires a specific attachment for liquid use, install it according to the manufacturer’s guidelines. This may involve connecting a dedicated tank or a siphon tube that feeds cleaning liquid into the system.
Fill the tank or prepare the siphon line with the appropriate cleaning mixture, ensuring it is diluted as instructed by the manufacturer. Double-check the compatibility of the cleaning agent with your model to avoid damage.
After securing the solution tank, perform a quick test by running the machine without the wand attached. This allows you to confirm that the mixture is being drawn into the system properly.
Ultimately, systematic checks and preparation are key to achieving optimal results during the cleaning process. Adhering to these directives ensures a seamless integration of the cleaning solution.
Connecting the Soap Solution Container Properly

Ensure the cleaning agent reservoir is securely attached to the machine’s designated inlet. Check the connection points for any debris or wear that might obstruct a tight seal.
Utilise the proper fittings specified by the manufacturer. If the device has a quick-connect system, confirm that the reservoir clicks into place firmly. For threaded connections, hand-tighten without over-torquing to avoid damaging the threads.
Examine the tubing leading from the reservoir to the injector. Verify that it is not kinked or pinched, which could hinder flow. If the tube is removable, inspect for cracks or blockages.
In models equipped with an adjustable nozzle, set it to the lowest pressure setting prior to engaging the fluid dispensing system. This prevents backlash and potential leaks during operation.
Make sure to check the compatibility of the chosen detergent with the system. Some machines may require specific formulations for optimal performance and to avoid damaging internal components.
Once connected, run the unit briefly without engaging the motor to allow the solution to fill the line, escaping air pockets. This step ensures that when the motor is activated, the fluid is ready for immediate use.
| Component | Action |
|---|---|
| Reservoir | Securely attach to the inlet |
| Fittings | Use proper attachments |
| Tubing | Inspect for kinks or damage |
| Nozzle | Set to lowest pressure before usage |
| Solution | Ensure compatibility with equipment |
By following these procedures, the setup for the cleaning agent application will perform reliably and effectively during use.
Adjusting Pressure Settings for Soap Delivery
To optimise the delivery of the cleaning solution, set the pressure to a lower level, typically around 1000 to 1500 PSI. This range ensures efficient mixing while preventing damage to surfaces.
Follow these steps for precise adjustments:
- Locate the pressure adjustment knob or dial on the unit.
- Turn the knob counterclockwise to decrease pressure.
- Test the output by pulling the trigger on the spray gun, observing the mixture’s consistency.
In addition, consider the following settings for different applications:
- Delicate surfaces: Use the lowest pressure setting, aiming for gentle cleaning on items like wood or painted surfaces.
- Medium surfaces: Increase slightly for surfaces such as concrete or brick, where more strength is needed.
- Heavy-duty cleaning: For tough stains or mildew, a higher pressure may be required, but monitor for potential damage.
Keep in mind that the mixture should be predominantly cleaning solution rather than water. Adjust the ratio based on the desired cleaning intensity, ensuring the nozzle is also set for a wider spray pattern to distribute the solution evenly.
Regularly check and clean the injector to prevent blockages that can affect delivery, ensuring the system operates smoothly during application.
Application Techniques for Maximum Coverage

Adjust the nozzle to a wider spray pattern for optimal distribution. This allows the cleaning agent to cover larger areas without concentrating too much on one spot, preventing streaking or potential damage to surfaces.
Begin application from the bottom up. This technique ensures that the solution clings to the surface and does not run down onto areas that have already been treated, allowing for a more uniform clean. Make sure to overlap each stroke slightly to guarantee complete coverage.
Keep a consistent distance of 30 to 36 inches from the surface to maintain an even application and reduce the chance of streaks. If working on vertical surfaces, apply in a systematic manner, moving steadily from one side to the other.
Once the solution is applied, allow it to dwell for a few minutes before rinsing. This waiting period enables the cleaner to penetrate and break down grime effectively. Take care not to let it dry on the surface, as this could lead to residue formation.
Utilise a fan nozzle for rinsing after the cleaning agent has had sufficient time to work. This helps to rinse away residues without damaging the underlying surface. Always rinse from the top down to ensure that water and any residue run off properly.
For intricate or hard-to-reach areas, consider using a smaller nozzle or an accessory wand to ensure thorough coverage. These attachments can provide additional manoeuvrability and precision, especially in tight spots.
Cleaning and Maintaining the Soap System After Use
Thoroughly flushing the solution system is essential for preventing clogs and ensuring optimal performance. After finishing your cleaning task, take the following steps:
- Remove the container holding the cleaning agent and rinse it with fresh water.
- Connect the water supply hose directly to the machine.
- Turn on the unit and run it at low pressure while aiming the nozzle into a bucket or drain, allowing clean water to flow through the injection system.
- Continue running the unit until you no longer see any traces of the cleaning solution.
Inspecting and Storing Components
Once the flushing process is complete, inspect all parts associated with the mixing system:
- Check for any residue or buildup on the injector and hoses.
- Replace any worn or damaged seals to maintain a proper seal.
- Store hoses in a cool, dry place to prevent bending or kinking, which can lead to damage.
Regular maintenance of these components will extend their lifespan and maintain efficiency. Keep your equipment in excellent condition by adhering to these cleaning guidelines after each use.
Troubleshooting Common Soap Hook-Up Issues
If the cleaning solution isn’t dispensing correctly, check the suction tube. Ensure it’s fully submerged in the container. Also, inspect the tube for kinks or blockages that may restrict flow.
Insufficient Pressure from the Injector
In case of low pressure, verify the following:
- Double-check the nozzle size; a high-pressure nozzle can limit the fluid injection.
- Confirm that the water source is providing adequate flow and pressure.
- Inspect any filters in the injector system for clogs.
Mixing Ratio Problems
Inconsistent mixing can lead to poor performance. To address this:
- Carefully follow the manufacturer’s dilution instructions for the cleaning agent.
- Regularly check and replace the solution if it’s had prolonged exposure to air or contaminants.
- Mix solutions properly in a separate container before filling the injector tank if needed.
If any issues persist after these checks, consider consulting your user manual or contacting the manufacturer for further guidance.


