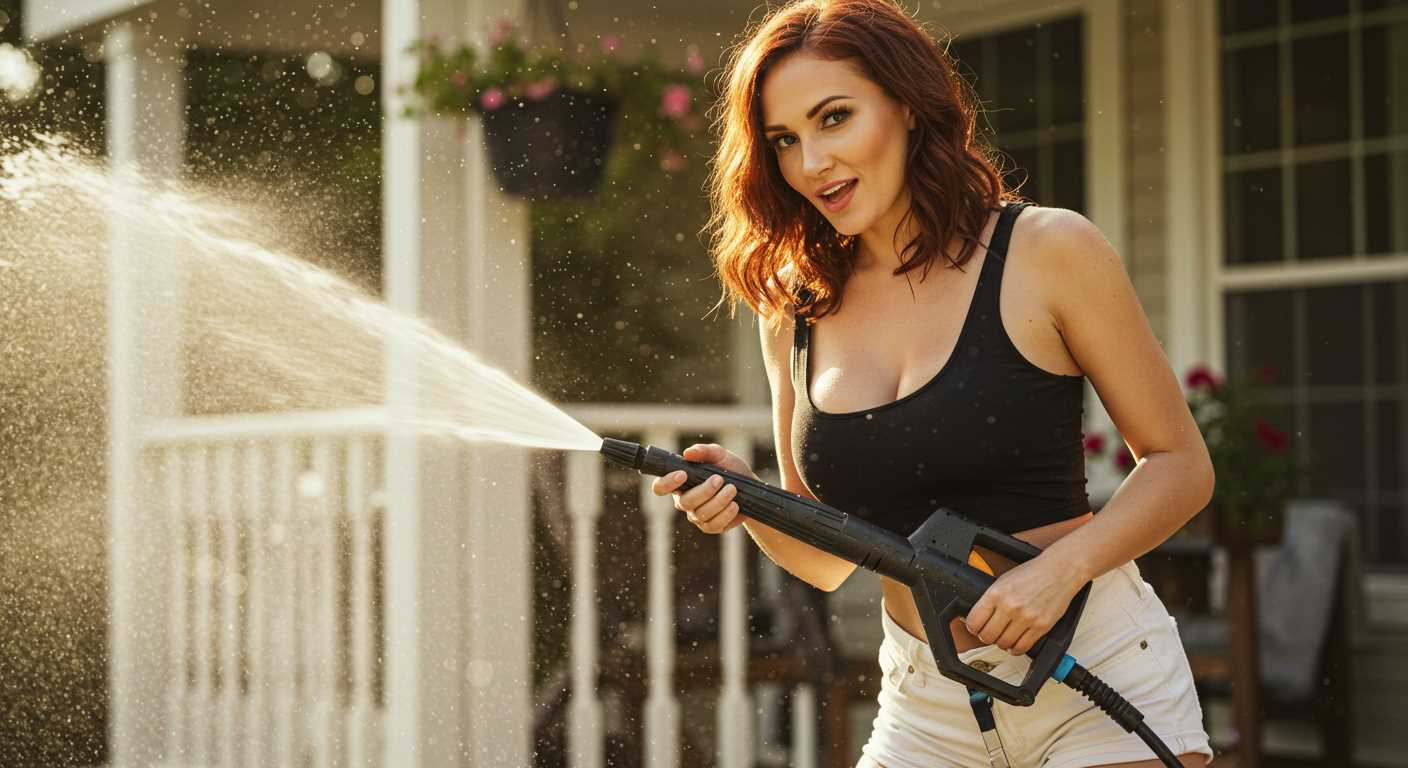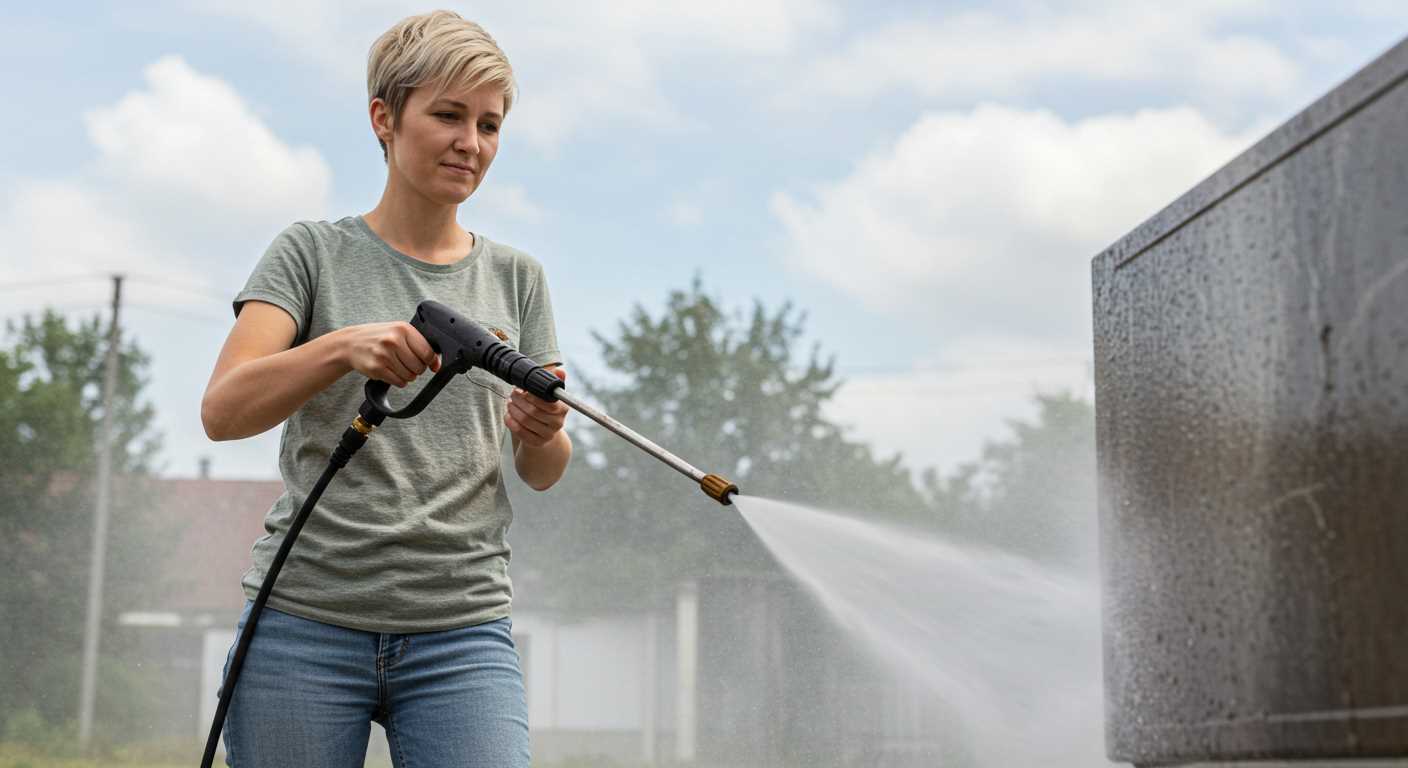

To establish a secure connection between your cleaning device and its flexible tubing, ensure that both ends of the attachment point are clean and free from debris. This simple step prevents leaks and maintains optimal water flow during operation.
Align the male connector of the tubing with the corresponding receptacle on your machine. Gently twist the hose while applying firm pressure until you hear a click or feel a snug fit. This guarantees that the components are properly seated, mitigating the risk of disconnections during use.
Once securely fastened, give the assembly a brief test run by turning on the unit at low pressure. Observe for any signs of leakage around the connection. If all appears well, gradually increase the pressure to ensure a reliable seal. Should you detect any issues, repeat the assembly process, as even minor misalignments can lead to operational problems.
For added durability, consider using plumber’s tape on threaded connections. This can greatly enhance the watertight seal, especially for older models or when connecting different brands of devices and hoses.
Joining the Cleaning Equipment Tubing
For a secure connection, align both ends of the tubing, ensuring the fittings match perfectly. Use a suitable wrench to tighten the connections evenly without over-tightening, which could damage the threads.
Materials Needed
Gather a pair of compatible connectors specifically designed for your model, a wrench, and thread seal tape. This tape creates a watertight seal, preventing leaks where the two pieces meet.
Step-by-Step Process
First, wrap the thread seal tape around the male end of the connector. This provides a snug fit and minimizes the risk of leaks. Next, attach the connector to the end of the tubing by hand-tightening. Once secure, use the wrench to give it a quarter turn for extra security. Repeat this for the opposite end as needed. Always check for leaks post-assembly by turning the water supply on and inspecting the joints carefully.
Choosing the Right Hose for Your Pressure Washer
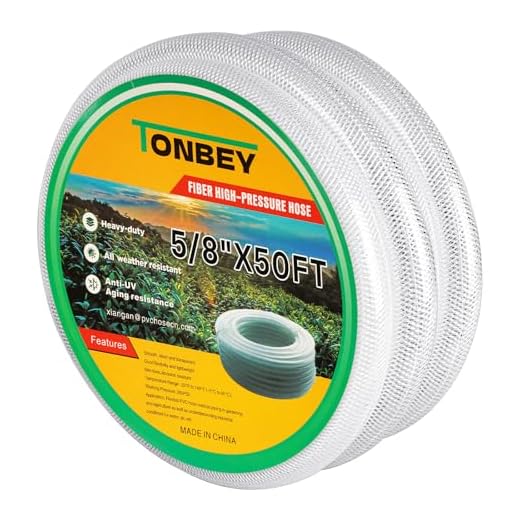
To ensure optimal performance of your cleaning equipment, it’s essential to select a suitable line. Focus on the material; reinforced polyurethane offers durability while remaining lightweight. Look for hoses designed for high-pressure applications to withstand the forces exerted during use.
Consider Length and Diameter
The length of the tube impacts your cleaning range and convenience. A longer option provides flexibility for larger areas, but may lead to a slight decrease in pressure. A diameter of 1/4 inch is adequate for most tasks while 3/8 inch provides increased water flow for heavy-duty applications.
Compatibility with Accessories
Verify the fittings are compatible with your equipment. Adapters might be required for some brands; ensure they are readily available. Different attachments, such as nozzles or extension wands, can also affect the choice of your connector. An incorrect fitting may lead to leaks or inefficiencies.
Understanding Hose Fittings and Connections

Choosing the right fittings is crucial for ensuring a secure connection for your cleaning equipment. The most common types of fittings are quick-connect, threaded, and barbed. Each has specific applications and compatibility. Make sure to verify whether they are compatible with your equipment’s specifications.
Quick-Connect Fittings
Quick-connect fittings allow for fast assembly and disassembly. To use them, ensure they are fully seated and locked into place before operating. Periodically check for wear; a loose fitting can lead to leaks or pressure loss.
Threaded Fittings

Threaded types require careful alignment. Use Teflon tape on the threads to create a tighter seal and prevent leaks. Always hand-tighten first, and then use a wrench for a secure fit. Avoid over-tightening, as this can damage both the fitting and the connection.
Preparing the Hose Ends for Joining
.jpg)
Ensure both ends of your cleaning pipe are clean and free from debris. A neat, smooth edge is crucial for a secure connection. Inspect for any nicks or cuts, as these can compromise the seal and lead to leaks. If any damage is noted, I recommend replacing the affected section before proceeding.
Steps for Preparation
1. Cut the Hose: If necessary, use a sharp cutting tool to create a straight cut on the ends. This guarantees that the resulting ends fit snugly into the connectors.
2. Remove Burs: After cutting, remove any frayed pieces or burrs from the edges using sandpaper or a file. This promotes a tight fit and reduces the chance of leaking.
3. Clean the Ends: Wipe both ends with a clean cloth to eliminate dust and contaminants. A clean surface helps ensure a proper seal with fittings.
Connector Selection
Select the right connectors for your specific configuration. Ensure that they are compatible with the diameter of your pipe and the intended usage. Pay attention to the threading and locking mechanisms; these should also match the connectors used.
| Type of Connector | Description |
|---|---|
| Barbed Connector | Common for non-pressure applications; uses a hose clamp for security. |
| Quick Connect | Facilitates easy assembly and disassembly with a simple push-button mechanism. |
| Screw-on Fitting | Provides a secure seal using threads; ideal for high-pressure tasks. |
Once you’ve completed these steps, the ends of your piping will be well-prepared for a secure and effective connection, minimising leaks and maximising performance.
Steps to Connect the Pressure Washer Hose
Begin with ensuring both ends of the tubing are clean and free from debris. Inspect for any cracks or damage; a compromised line will lead to leaks or performance issues. If everything looks good, proceed to attach one end of the line to the water inlet on the machine.
Secure the Connection
Choose the appropriate fitting based on what you have. Most models support either a quick-release or threaded connection. If it’s a quick-connect mechanism, push the coupling into the inlet until it clicks. For threaded connections, align the threads carefully and rotate clockwise until snug, taking care not to overtighten.
Attach the Nozzle or Spray Gun
Now, take the opposite end of the tubing and connect it to the nozzle or spray gun. Follow the same method as with the inlet; ensure that the fitting type matches (quick-connect or threaded). Test the connection by gently pulling on the hose to confirm it is secure.
Ensuring a Secure and Leak-Free Connection
Begin by thoroughly inspecting the ends of the tubing and fittings. Remove any debris, dirt, or old sealing tape that could hinder a tight fit. Ensure that threads are clean and undamaged, as imperfections can lead to leaks.
Apply Teflon tape or a suitable sealant to the threaded ends of the connector, but avoid over-wrapping. Two to three wraps should suffice to create a seal without causing difficulty during attachment. Take care not to cover the first two threads, allowing for a proper engagement.
Proper Torque and Alignment
Align the components correctly before tightening. Excessive force can damage threads and create leaks. Use a wrench to achieve a snug fit, but do not over-torque. The connection should be firm and secure without straining the materials involved.
Testing for Leaks
Once connected, it’s vital to test for leaks. Turn on the water supply and check for any signs of drips or moisture near the connection points. If you notice any leaks, it may be necessary to dismantle and reapply sealant or tape, ensuring all steps are correctly followed.
Tips for Maintaining Joined Hoses
Regular inspections are key to longevity. Check for wear and tear at connection points and along the length of the line. Cracks and frays weaken the structure.
- Use a mild detergent solution for cleaning. Avoid harsh chemicals that may degrade materials.
- Store the unit in a shaded area or protect from direct sunlight. UV rays can cause materials to become brittle.
- Ensure all connectors are tightened properly to prevent loosening during operations. However, avoid over-tightening, which can damage threads.
Incorporating a quick-release coupling can facilitate easier disconnection, reducing strain on the connecting parts.
- Flush the interior with clean water after each use to remove any debris and residue.
- Inspect sealing rings for signs of wear. Replace them as necessary to maintain a seal.
- Keep all parts dry when not in use to prevent corrosion and mildew.
Consider using a protective cover for hoses when stored. This prevents accidental kinks and prolongs the life of connectors.
Troubleshooting Common Connection Issues

A leaking or weak connection can stem from several common problems. Begin by checking the compatibility of the fittings; ensure the sizes and types match your equipment specifications. A mismatch can lead to inadequate sealing.
Identifying Leakage Sources
- Inspect O-rings for damage or wear. Replace them if they appear cracked or flattened.
- Tighten the fittings properly. Loose connections are a frequent cause of leaks.
- Examine threads for wear or debris. Clean or replace any fittings that show signs of damage.
Performance Issues

- Low water pressure might result from kinks in the tubing. Ensure the length is free from twists.
- Check for blockages in the hose or fittings. Any obstruction can hinder fluid flow significantly.
- Make certain all connections are sealed tightly. A secure fit prevents leakage and optimises performance.
If problems persist, consider testing with different hoses or fittings to isolate the issue. Sometimes, the equipment itself may require servicing to restore full functionality.
FAQ:
What tools do I need to join a pressure washer hose?
To join a pressure washer hose, you typically need a few basic tools. First, you will require a hose connector or coupler that fits both hoses you are joining. Additionally, a pair of pliers may help to tighten the fittings securely. If you encounter any stubborn connections, a wrench can be useful. In some cases, Teflon tape can be used to ensure a watertight seal. It’s always good to check the specifications of your hoses and fittings to choose the right components.
How do I connect two pressure washer hoses without leaks?
To connect two pressure washer hoses without leaks, follow these steps: Firstly, ensure both ends of the hoses are clean and free from debris. Take the hose connector and insert one end of the first hose into the appropriate side of the connector. Then, insert the second hose into the other end. Tighten the connector by hand, ensuring it is snug. For added security, use pliers to gently tighten the connector, being careful not to overtighten. If there is still a chance of leaking, wrapping Teflon tape around the threaded parts before connecting them can help create a better seal.
Can I use any type of hose connector for my pressure washer?
No, it is important to use a connector that is specifically designed for pressure washer hoses. Pressure washer fittings are usually different from standard garden hose fittings; they are designed to withstand higher pressures. Check the specifications of your hoses to ensure compatibility. Many pressure washer models have specific connectors or adapters, so referring to your user manual may provide guidance on the correct parts to use. Using the wrong connector may lead to leaks or potentially damage your equipment.
What should I do if my pressure washer hose is too short and needs to be joined?
If your pressure washer hose is too short, you can extend its length by joining it with another hose. First, obtain a compatible hose extension and a suitable connector. Make sure both hoses are rated for the same pressure to prevent issues. Connect the hoses using the connector, ensuring a tight fit to prevent leaking. Be mindful not to create a system that is too long, as this can reduce the pressure at the nozzle. Always test the connection to ensure that there are no leaks before starting your pressure washer.


