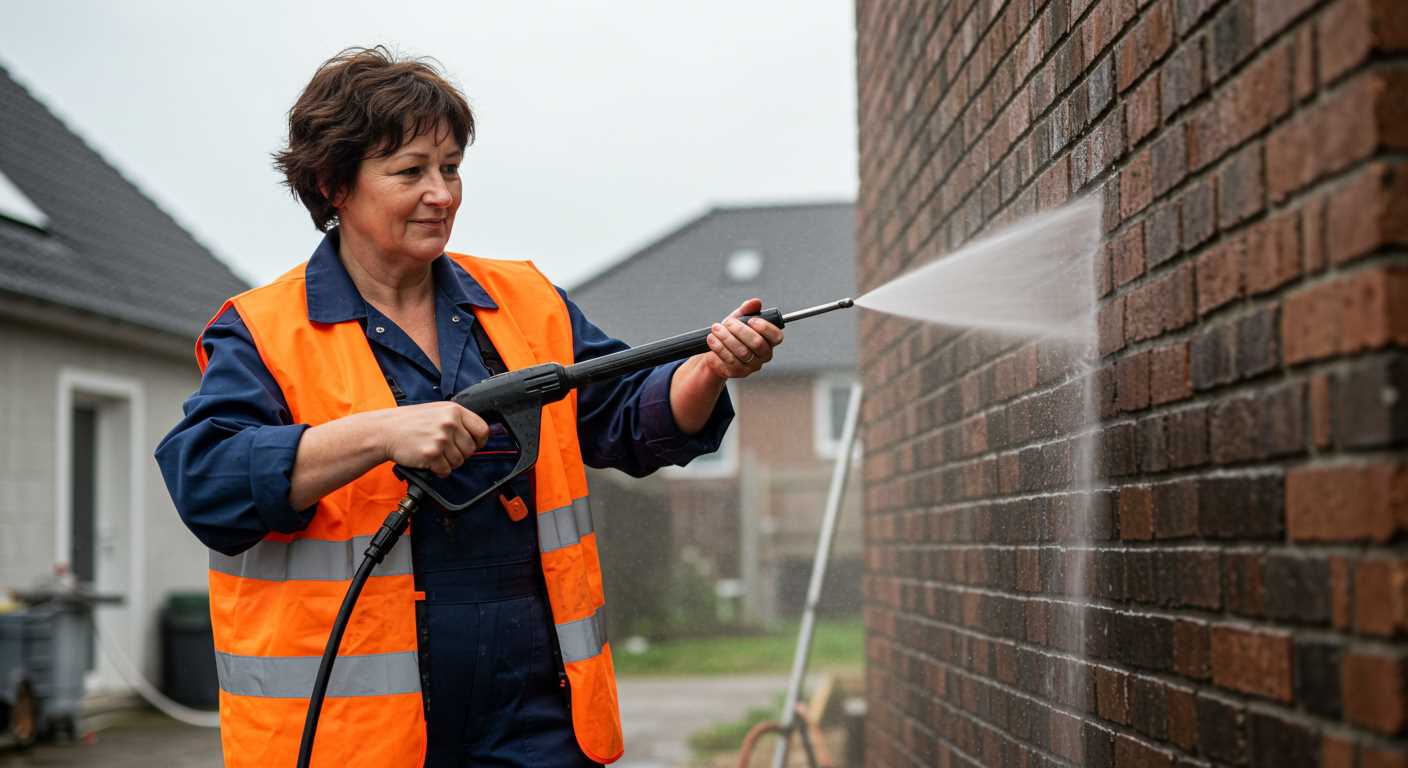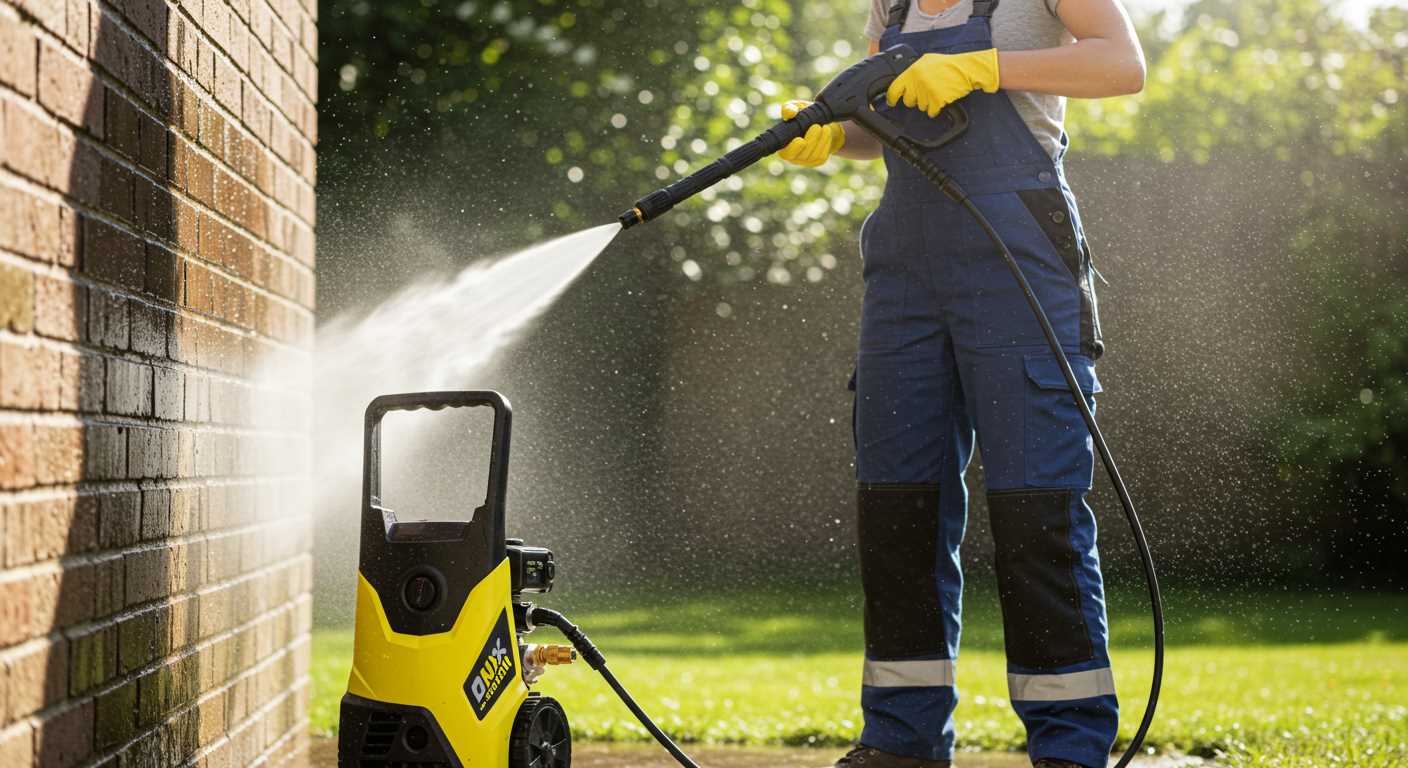


Invest time in regular inspections; this ensures any wear or damage is spotted early. Examine hoses and connections for leaks, which can compromise efficiency. Replace worn-out or damaged parts promptly to avoid further issues.
Clean the nozzle frequently to prevent clogs. Debris buildup can affect performance, so a quick inspection after each use can save time and effort in the long run. Use a small wire or needle to remove any obstructions.
After each session, flush the machine with clean water. This action removes soap residues and cleaning agents that could corrode internal components. While this might seem unnecessary, it significantly extends the lifespan of the unit.
Store the unit in a dry, sheltered area to protect it from external elements. Use a cover to shield it from dust and moisture. Additionally, consider draining any remaining water from the system during colder months to prevent freezing and potential damage.
Complete regular checks on the motor and electrical components. Listening for unusual sounds during operation can indicate underlying problems. Don’t hesitate to consult the user manual for specific guidance on troubleshooting and maintenance schedules.
Regular Cleaning of the Exterior Components

Cleaning the exterior components is crucial. Begin by disconnecting the power supply, ensuring safety. Use a damp cloth and mild detergent to wipe down the casing, focusing on areas prone to dirt accumulation. Avoid harsher chemicals that could damage finishes.
Checking Water Inlet and Hose
Periodically inspect the water inlet and hoses for blockages or wear. Clear any debris that may obstruct flow. For hoses, ensure there are no cracks or kinks, replacing them if necessary to maintain optimal performance.
Maintaining Nozzles and Attachments
After each use, rinse nozzles and attachments to prevent sediment build-up. Store them properly to avoid damage. Periodically check for signs of wear or clogs, replacing as needed to ensure consistent results in your cleaning tasks.
Inspecting and Replacing Hoses and Fittings
Regular assessment of hoses and fittings is pivotal for maintaining equipment performance. Check for signs of wear, such as cracks, bulges, or leaks. Any visual damage should prompt immediate replacement. I prefer inspecting these components before each usage, as it takes just a few moments and can prevent more significant issues later.
Replacement Guidelines
When replacing a hose, ensure it matches the specifications set by the manufacturer for diameter and pressure rating. Using incorrect hoses can lead to decreased efficiency or even hazardous situations. Always verify compatibility with both the machine and the nozzle attachments.
Fittings Maintenance
Fittings should be examined for corrosion or looseness. Tighten any loose connections, as leaks can reduce pressure and effectiveness. Use pipe thread tape on protruding threads to ensure a tight seal. Investing in high-quality brass or stainless steel fittings will enhance durability and longevity.
Proper Storage After Use

To extend the lifespan of cleaning equipment, it’s critical to store it correctly post-operation. Begin by ensuring that the device is completely cool before attempting to put it away. A hot machine can cause damage to surrounding materials or itself.
Steps for Effective Storage

- Empty the water tank and any remaining cleaning solutions. This prevents deterioration and keeps components free from corrosion.
- Disconnect all hoses and attachments. Coiling them neatly will avoid kinks and damage. Consider using hose reels for optimal organisation.
- Store the unit in a dry environment. Moisture can lead to rust and other forms of degradation. An insulated shed or garage is ideal.
- If the device is stored in a shed that might be exposed to freezing temperatures, consider draining any residual water to avoid freezing damage.
- Keep the equipment off the ground, if possible. A sturdy shelf can keep it insulated from cold surfaces and potential flooding.
Coverage for Protection
.jpg)
Invest in a quality cover designed for your model. This shield keeps out dust and moisture, preserving the external finish and internal mechanics. Regularly check the storage area for signs of pests or moisture accumulation.
By following these specific measures, you’ll maintain optimal performance and ensure a longer service life for the device, ready for its next task when called upon.
Winterising Your Power Cleaner

Draining all remaining water from the system is critical before storing the unit for winter. Begin by disconnecting the spray wand and nozzle, then run the machine until the water is completely expelled. This prevents freezing and subsequent damage to internal components.
Consider using a pump saver fluid specifically designed for pressure appliances. Introduce this antifreeze agent into the inlet, ensuring it circulates through the internal systems. This adds an extra layer of protection against harsh temperatures.
Battery Maintenance

If the device is electric with a removable battery, store the battery indoors where temperatures are milder. Charge it to around 50% before storage to maintain battery health. Check the manufacturer’s guidelines for any specific recommendations regarding battery care during winter.
Storage Recommendations
Choose a dry, sheltered environment for storage. Cover the machine with a breathable cover to protect it from dust and moisture. Position it off the ground, using a shelf or platform, to avoid any contact with potentially damp surfaces.
Regularly inspect the power cleaner once winter ends. A brief once-over will ensure all components are functioning properly and ready for operation come springtime.
Maintenance of the Pump and Motor
Regular lubrication of the pump bearing is crucial for optimal performance. Use the manufacturer’s recommended lubricant, applying it to the bearings and seals to reduce friction and wear.
Check the oil level in the motor and pump, adhering to the specifications provided in the user manual. Change the oil as necessary, typically after every 50 hours of use or once a season, whichever comes first.
Inspect for leaks thoroughly, as any leakage can indicate faulty seals or connections. Tighten or replace problematic parts immediately to prevent further damage.
Every few months, blow out any dust or debris from the motor’s cooling vents using compressed air. Ensure that the motor operates at appropriate temperatures to avoid overheating, which can lead to failure.
Consider scheduling a professional inspection annually. This detailed check can identify wear and tear not visible during routine maintenance, potentially prolonging the lifespan of both the pump and motor.
| Maintenance Task | Frequency |
|---|---|
| Lubricate pump bearings | Every 10 hours of use |
| Check and change oil | Every 50 hours or once a season |
| Inspect for leaks | Monthly |
| Clear motor cooling vents | Every 1-2 months |
| Professional inspection | Annually |
By adhering to these practices, systems remain efficient and functional, minimising the risk of costly repairs. Ensure a consistent schedule for maintenance checks to maximise the life of the unit.
Checking and Changing the Oil Regularly
Consistent oil monitoring is crucial for maintaining optimal functionality. I recommend inspecting the oil level before each use and ensuring it sits within the designated range. This prevents engine wear and guarantees effective operation.
Oil Quality Assessment
When checking the oil, note its colour and consistency. Clean oil appears amber, while dirty or dark oil indicates contamination. If you detect any unusual smells or a milky appearance, it’s time for a change.
Changing the Oil
Drain the old oil when the equipment is cool, using an appropriate receptacle to catch the waste. Ensure the drain plug is properly positioned before refilling with fresh oil suited to the specific engine type. Consult the manual for the correct specification, typically found within the maintenance section.
After filling, check for leaks around the drain area and run the machine for a short period to circulate the new oil. Pause and recheck the level, adjusting as necessary. Regular oil changes, ideally every 50 hours of use, prolong component life and enhance performance.


