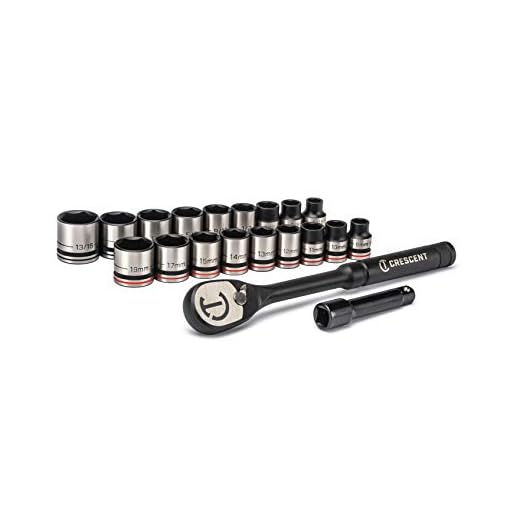


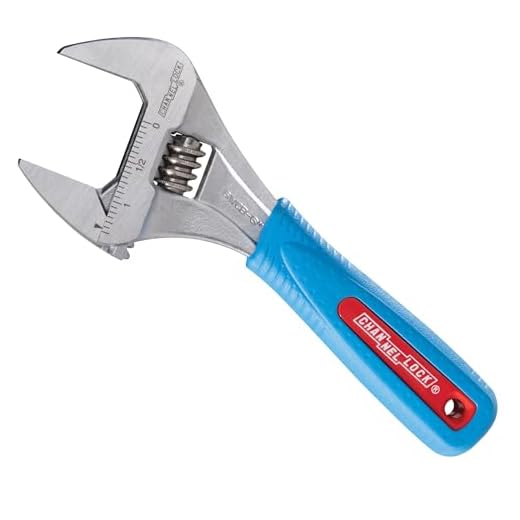
Using a wrench with an appropriate grip is essential for successfully releasing the connection on your cleaning device. Choose a tool that provides maximum leverage yet minimizes the risk of damage to the fittings. A crescent wrench or a socket set specifically designed for such tasks works remarkably well.
Before commencing, ensure you have adequate space and visibility around the device. A well-lit area allows for better inspection of the connection. If corrosion or debris is present, apply a penetrating oil like WD-40, allowing it some time to seep into the threads. This will significantly ease the disassembly process.
If you encounter resistance while attempting to turn the connector, consider using heat. A heat gun can be effective, but apply it judiciously to prevent heat damage to nearby components. Maintain an even temperature to expand the metal without causing warping.
Remember, patience and technique are key. Some connections may require a little more finesse than others. By employing these methods, you can handle the task with confidence and efficiency.
Identify the type of connection on your cleaning device
Begin by examining the shape and size of the connector. Common configurations include:
- Threaded connections: Often cylindrical, these require a wrench for removal. Take note of the thread direction, as it can vary.
- Quick-connect fittings: These types feature a push-and-release mechanism. Ensure the retaining ring is in good condition for effective operation.
- Bayonet fittings: Characterised by a notch system, these require a quarter-turn to disengage. Pay attention to any visible tabs indicating the position needed for release.
Next, assess the material used in the connector. This can be either:
- Plastic: Light and resistant to corrosion but can be more fragile. Handle with care during disassembly.
- Metal: Durable and robust, typically made of brass or stainless steel. These can withstand higher pressures but may corrode over time if not properly maintained.
Refer to the manufacturer’s manual for specific details regarding the type you possess. This guides proper disassembly and helps avoid damage.
Finally, consider the size. Using the right tools for the connector size will prevent slips and ensure a safe process. Common sizes range from 1/4 inch to 3/8 inch, but confirm with your equipment specifications.
Gather the necessary tools for the task
To successfully address the connection component on your high-pressure cleaning device, gather the following tools:
Required Tools

A sturdy adjustable wrench is essential for gripping and turning the fittings. Ensure it is large enough to fit the specific size you’re dealing with. I recommend a pair of pliers as well, which can provide additional grip on smoother surfaces or be used for any smaller components.
A penetrating oil simplifies matters by loosening rusted or stuck parts, saving you from excessive force. Apply it beforehand and let it sit for a while for the best results.
Safety Equipment
Don’t overlook safety measures. Use safety goggles to protect your eyes from splashes or debris. Depending on your working environment, wear gloves to ensure a firm hold while keeping your hands safe from injuries. If the area is particularly messy, consider an apron or old clothes to protect your garments.
Apply a penetrating oil to ease the process

I recommend using a high-quality penetrating oil, such as WD-40 or similar, to assist in easing any stubborn fittings. First, clean the area around the fitting to prevent dirt from being introduced during the application. Next, spray the oil directly onto the threaded parts and allow it to sit for at least 10 to 15 minutes. This waiting period gives the oil time to seep into the threads, breaking down any rust or corrosion that may be present.
After the waiting period, try to manipulate the connector again, employing the designated tools. If resistance persists, repeat the application and allow for a longer soaking time–up to an hour in tough situations. Sometimes, a gentle tapping on the fitting with a hammer can also help the oil penetrate deeper.
As a final note, always ensure proper ventilation when using penetrating oils, as the fumes can be harmful if inhaled in a confined space. Keeping safety as a priority will make the task far more manageable.
Use the correct technique for loosening the fitting
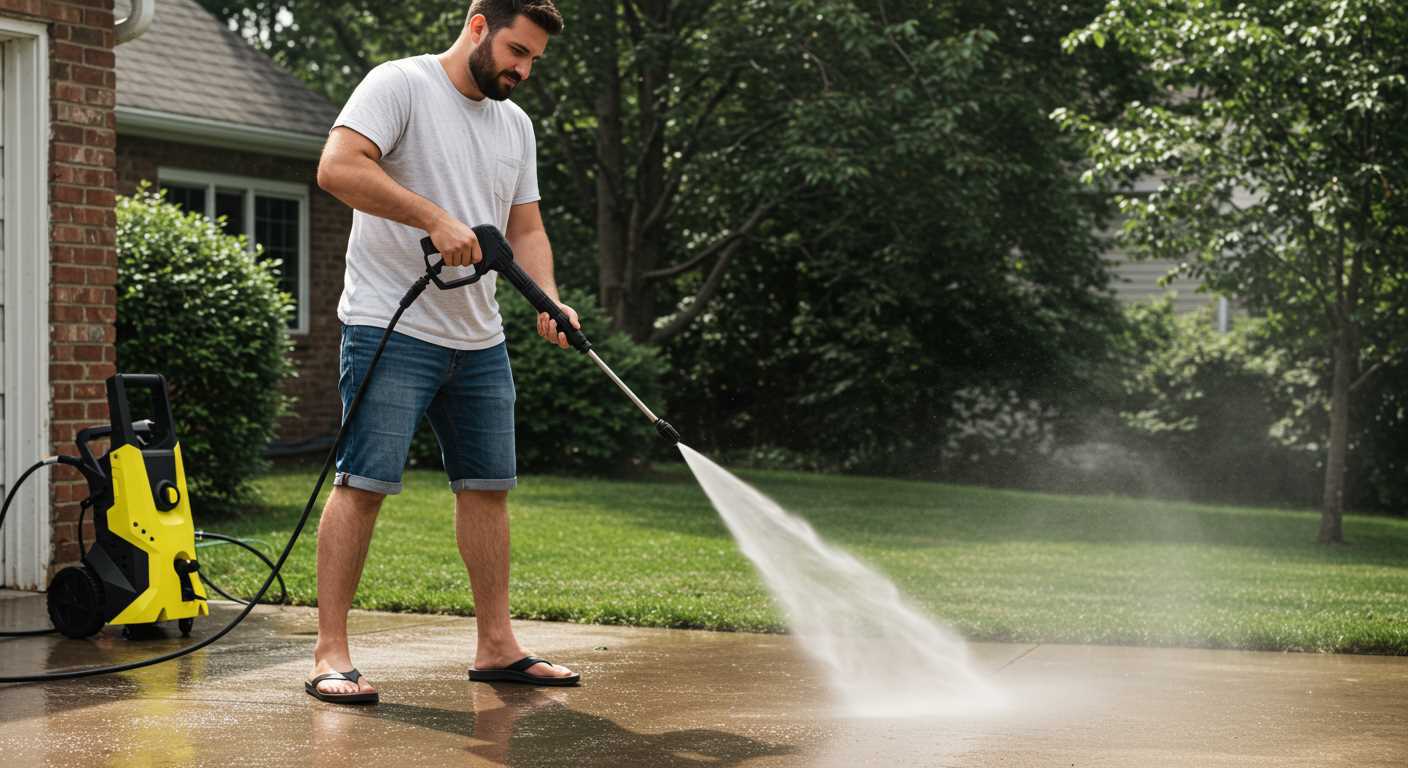
Directly grip the component with a pair of adjustable wrenches. Ensure they are fitted snugly around the surface to prevent slipping. Apply steady, consistent force while turning counter-clockwise. If the fit is tight, try altering your position for better leverage. A longer wrench may give additional torque, but be cautious not to apply excessive force that could result in damage.
Utilising heat for better results
If resistance persists, consider applying heat. Using a heat gun, warm the area around the connection for a few minutes. This expands the material and often makes disassembly easier. Keep a safe distance and avoid heating seals or nearby plastic components that could be damaged.
Using a tap and die set
If traditional methods fail, a tap and die set can be beneficial. Carefully thread within the existing fitting to create new grooves, which may allow for better grip with your tools. Exercise caution; improper use can worsen the situation.
Avoid common mistakes when loosening connectors

Prioritise safety by disconnecting the device from its power source. Neglecting this step increases the risk of accidents and injuries. Always ensure that the equipment is cool before working on it to prevent burns.
Use the right tools

Choosing inappropriate tools can lead to damage or injury. Always select wrenches or pliers that match the size and type of fittings you’re working with. Using an adjustable wrench may seem convenient, but it can slip and cause rounding of the edges, making future removal more challenging.
Don’t rush the process
Pacing is crucial. Applying excessive force can lead to stripping threads or damaging the fittings. If resistance is felt, stopping and reassessing your approach is wiser than forcing it. Take breaks if needed, allowing time for your hands and mind to refocus.
Also, avoid using heat unless you’re absolutely certain it’s safe for the components involved. Overheating can warp fittings and create leaks when reassembled. If you find yourself unsure, consult the manufacturer’s guide for specific recommendations regarding your model.
Maintain Your Cleaning Device After the Task
.jpg)
Immediately after completing the job, it’s vital to flush the system with clean water. This prevents any residual detergent or debris from clogging the internal components. Run the machine for a few minutes to ensure that all cleaning agents are expelled.
Inspect the hoses and connections for any signs of wear or damage. A small crack can lead to significant pressure loss or leaks, which can affect performance. Replace any worn parts promptly to maintain optimal functionality.
Check the filter and clean it periodically. An obstructed filter can restrict water flow and cause strain on the motor. Most models have easily accessible filters; refer to your manual for specific instructions.
Store your equipment in a dry, frost-free environment. This extends the lifespan of both the motor and the seals. If storing for long periods, consider draining the tank to avoid any stagnation or unpleasant odours.
Regularly refer to the manufacturer’s maintenance schedule for any additional servicing requirements. Staying on top of these details ensures your equipment remains in peak condition for future use.
Lastly, take a moment to assess your tools and workspace after each job. Keeping everything organised not only saves time but also fosters a more efficient working environment for your next cleaning task.


