
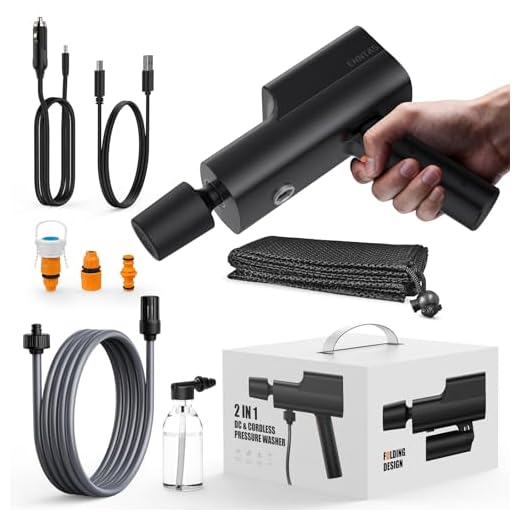


First, check the nozzle type you’re using. Opt for a wider spray pattern; this alone can significantly decrease the force emitted from your equipment. A 25-degree or 40-degree nozzle is ideal for gentler applications, allowing you to clean surfaces without damaging them.
Next, reduce the flow rate. If your model has a variable flow control feature, adjust it to a lower setting. This prevents excess liquid pressure, offering a more manageable and effective action while still achieving satisfactory cleaning results.
Another straightforward adjustment involves your distance from the surface. Increasing the distance between the nozzle and the object being cleaned reduces the intensity of the stream, helping you avoid unwanted effects on delicate materials. It’s a simple technique that can make a noticeable difference in your cleaning approach.
Lastly, consider using a detergent or foam attachment. Many cleaning solutions are formulated to work effectively at lower output levels, still breaking down grime and dirt. This allows you to achieve desired outcomes without the need for maximum pressure capacity.
Adjusting Water Pressure Settings
Many machines come equipped with adjustable knobs or levers for altering water flow. Locate the control mechanism, typically situated on the side or near the handle, and turn it to decrease the flow rate, which subsequently reduces the output force.
Changing Nozzles

Switching to a nozzle with a wider spray pattern can significantly alter the intensity of the water stream. Opt for a nozzle marked with lower degrees (25° or 40°) rather than a zero-degree beam. This not only ensures a gentler spray but also covers more area efficiently.
Reducing Engine Speed
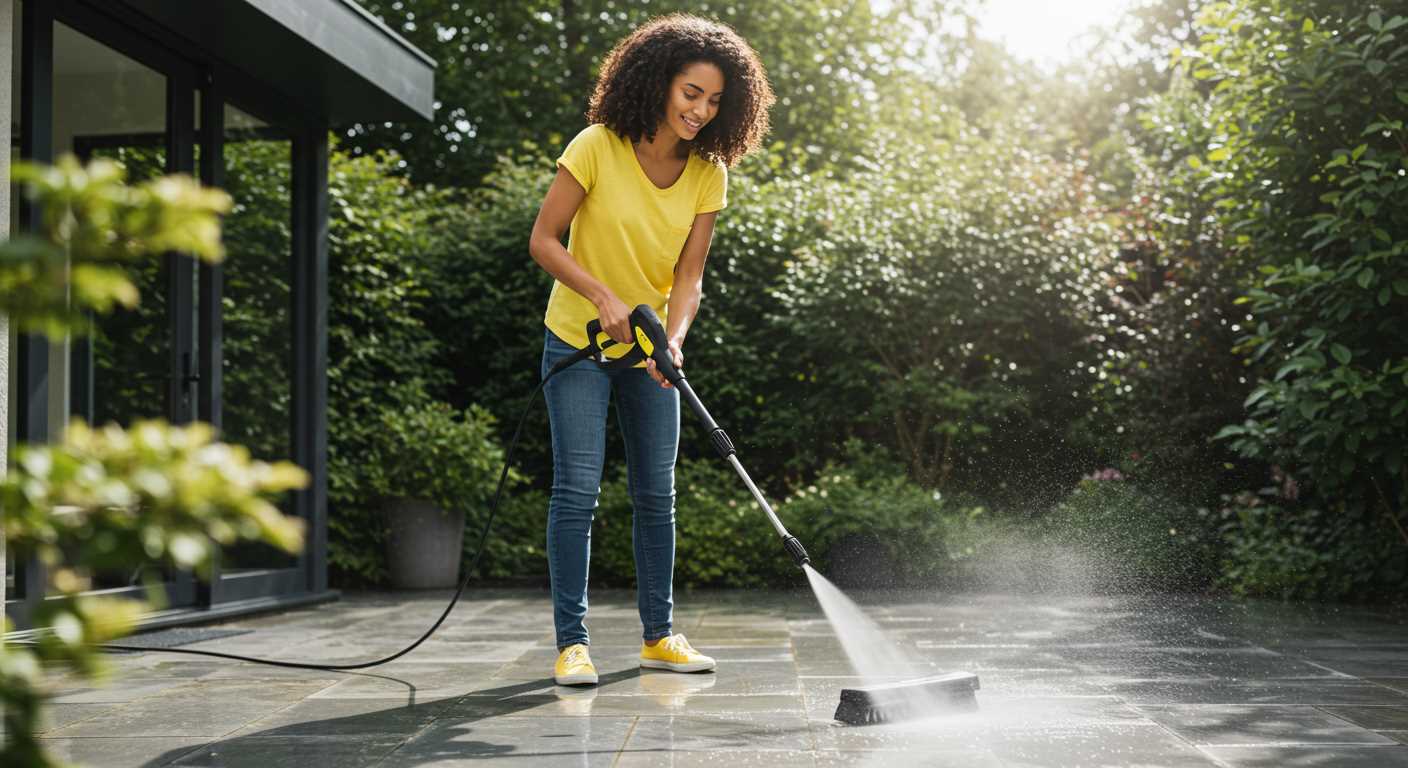
If operating a gas-powered machine, adjusting the throttle to a lower setting can diminish the overall output pressure. Gradually decrease the throttle to find an optimal balance for your cleaning task.
Extending the Hose Length
Utilising a longer hose may lead to a decrease in water force. The increase in hose length demands more power from the machine, resulting in less intensity at the nozzle. Experiment with longer lengths to achieve desired results.
Maintenance Checks

Regularly inspect components such as filters and hoses for blockages. Filtration issues may inadvertently crank up the pressure. Clean or replace filters as necessary and ensure that hoses are free from debris.
| Method | Description |
|---|---|
| Adjust Flow Rate | Use built-in controls to change water delivery. |
| Change Nozzles | Switch to wider spray tips for lower impact. |
| Throttle Adjustment | Lower the throttle for gas units to reduce output. |
| Longer Hose | Use an extended hose for decreased water strength. |
| Inspect Components | Check hoses and filters for blockages and clean. |
Understanding the Role of Water Pressure in Cleaning Equipment
The effectiveness of any cleaning device is significantly influenced by the water pressure it delivers. High pressure can remove stubborn grime and dirt quickly, but it can also cause damage to delicate surfaces if not managed properly. Recognising the appropriate pressure for different tasks is fundamental in preventing unwanted outcomes.
For instance, using a high number on hard surfaces like concrete or brick can yield excellent results, while more sensitive materials, such as wood or painted surfaces, require gentler settings. A balance must be struck between efficiency and safety to achieve the best results without inflicting harm. Always consult the manufacturer’s guidelines for the surface you are cleaning to determine the optimal settings.
Furthermore, understanding the relationship between pressure and flow rate is crucial. Higher pressure does not always equate to better cleaning; sometimes, an adequate flow rate combined with lower pressure is more effective at removing dirt without risking damage. For tasks involving softer materials, consider using a wide-angle nozzle, which disperses the force across a larger area, reducing the impact while still achieving a thorough clean.
Ultimately, knowing the requirements of your specific cleaning task and applying the correct water delivery settings will lead to more effective results and longer-lasting equipment. With years of experience in the field, I can confidently advise paying close attention to these details to ensure the best performance from your cleaning tool.
Identifying the Ideal PSI for Your Cleaning Task
For effective cleaning, I recommend selecting a specific range of force based on your project’s requirements. Use 1300 to 1900 PSI for lighter tasks such as washing vehicles, fences, and patios. This threshold minimizes the risk of damage while ensuring thorough dirt removal.
For medium-duty chores like cleaning driveways, decks, or siding, aim for a range of 2000 to 2800. This power effectively addresses tougher grime without the potential hazards associated with higher levels.
Heavy-duty applications, including industrial surfaces or heavy stains on concrete, might necessitate forces between 2900 and 4000. This range is ideal for restoring surfaces but requires vigilance to avoid harm to delicate materials.
Assess the material you’re working with alongside the level of grime. Hardwood surfaces and delicate finishes require gentler forces, while concrete and brick can withstand more intense treatment. Always begin with the lower end of the scale before adjusting upwards.
In addition, take into account the type of nozzle used, as it significantly alters the impact of the spray. A wider spray pattern from a larger nozzle can reduce the effective strength, allowing for safer cleaning at reduced levels.
Prioritising your cleaning task will ensure that you select the appropriate force for your equipment, leading to superior results without unnecessary risks. Adjusting the intensity according to these parameters is crucial for success.
Adjusting the Pressure Control Settings on Your Washer
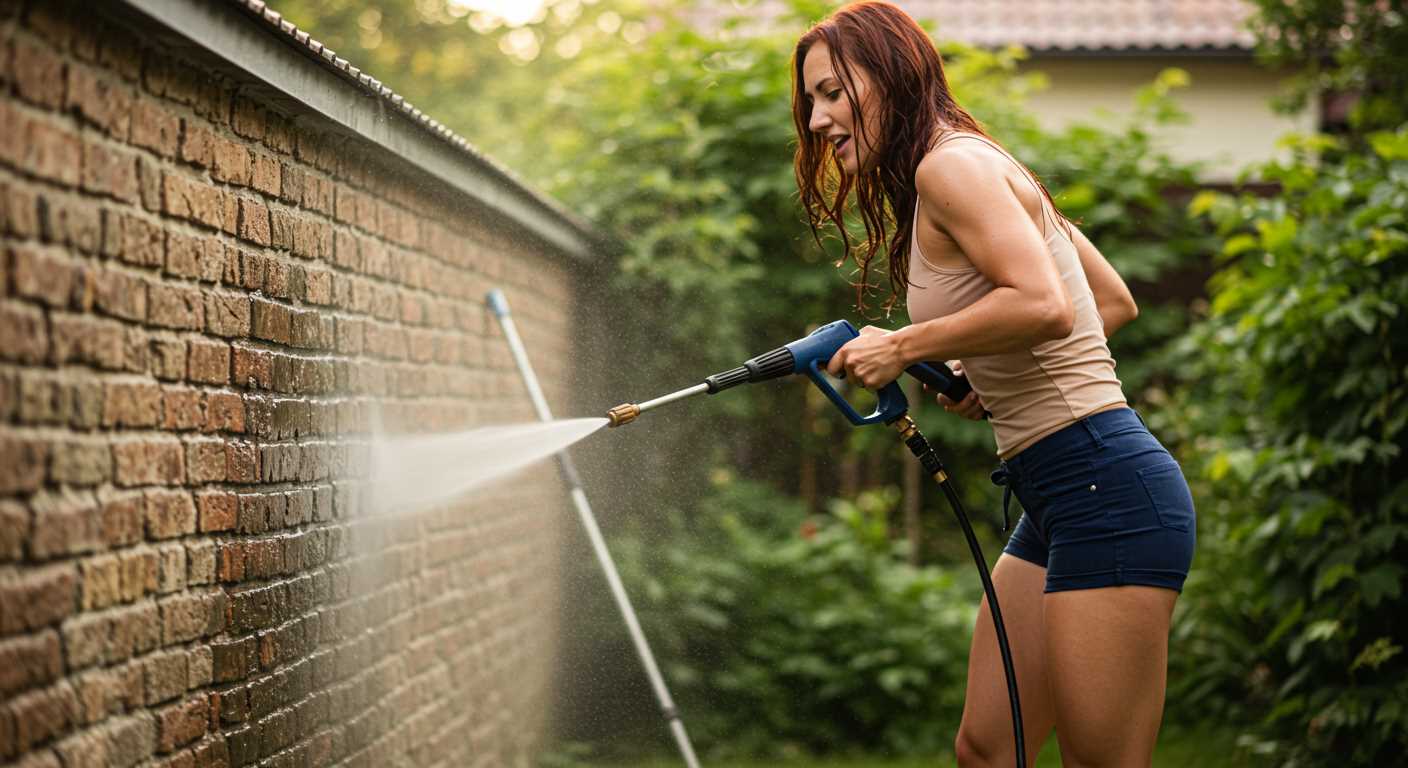
First, locate the pressure control knob, typically situated on the machine’s body or attached to the lance. This component allows precise modifications of the output force.
Follow these steps to adjust the settings:
- Power Off: Ensure the unit is switched off before making any adjustments to prevent accidents.
- Turn the Knob: Gently rotate the control knob counterclockwise to decrease force. Listen for any change in the motor’s sound, which indicates a reduction in output.
- Test the Output: Once adjusted, power the unit back on and conduct a test spray. Observe the cleaning effect to ensure it meets your requirements.
- Repeat as Necessary: If further adjustments are needed, repeat the above steps until the desired force is achieved.
For models lacking a specific control knob, consider using different nozzles, as some are designed to disperse water with less intensity. A wide-angle nozzle can disperse a broader stream, reducing the concentration without altering the machinery settings.
In cases of variable speed machines, adjust the throttle to lower the machine’s output. Always consult the user manual for model-specific instructions that pertain to these adjustments.
Maintaining optimal settings can enhance cleaning performance while protecting delicate surfaces. Frequent re-evaluation during tasks ensures you use the most suitable force for various cleaning challenges.
Utilising Different Nozzles to Reduce Pressure
Utilising nozzles with varying orifice sizes is one of the most straightforward methods to achieve a gentler stream. Each nozzle is designed for specific cleaning tasks, with wider orifices typically reducing force significantly while distributing water over a larger area. This is particularly useful for delicate surfaces, where too much intensity could cause damage.
Types of Nozzles
Commonly, pressure devices come with four standard nozzle types: 0-degree, 15-degree, 25-degree, and 40-degree. The 0-degree nozzle provides the highest concentration of force for tough tasks but is not suitable for fragile surfaces. Switching to a 40-degree nozzle disperses the water much more broadly, creating a softer clean that is ideal for painted surfaces and glass.
Adjustable Nozzles
Some models include adjustable nozzles. These allow for a simple twist to change the spray angle and intensity, catering to different cleaning requirements without the need for multiple attachments. This versatility is especially helpful for quick transitions between tasks, as you can adjust on-the-fly to avoid excessive force when needed.
Modifying Water Flow to Lower Pressure Output
To reduce the force of the stream, adjust the water flow rate at the source or within the machine’s system. One effective method is to partially close the water supply valve. This tactic decreases incoming water volume, resulting in a gentler spray without necessitating internal adjustments to the machine.
An alternative approach involves using a flow control valve, which can be installed between the water supply and the machine. This device allows for more precise regulation of flow, letting me tailor the output based on specific cleaning tasks. Such valves are straightforward to install, and I highly recommend them for those seeking versatility.
Another option is to utilize a hose with a wider diameter. By increasing the hose size, the internal resistance is reduced, allowing for a smoother, lower-output flow. This modification can effectively soften the impact of the water while maintaining adequate delivery rates.
Check the inlet screen or filter as well. A blocked filter can restrict flow, causing the system to work harder and potentially increasing pressure unintentionally. Regular maintenance and cleaning will keep the water flow efficient and the output manageable.
Additionally, incorporating attachments such as a flow restrictor can help achieve the desired effect. These devices limit the water volume reaching the nozzle, ensuring a softer spray. This can be particularly beneficial when working with delicate surfaces that require gentler treatment.
These modifications focus not just on achieving a lower impact spray but also on enhancing the overall performance of the unit for various tasks. Experimenting with these techniques might yield the ideal balance for your specific cleaning needs.
Inspecting and Maintaining Equipment for Optimal Performance
Regular checks on your tools significantly enhance functionality and extend lifespan. Follow these steps for a thorough inspection and maintenance routine:
Daily Checks
- Examine hoses for cuts or wear – damage can lead to leaks or unexpected pressure drops.
- Inspect connections for tightness; loose fittings cause inefficiency.
- Check filter screens for blockages – a clean screen ensures smooth operation.
Weekly Maintenance
- Clean the nozzle thoroughly; clogs lead to inconsistent results.
- Review your pump’s oil level; ensure it’s at the manufacturer’s recommended level.
- Test the spray wand; any issues here can impact cleaning effectiveness.
Every few months, consider these deep-dive actions:
- Change the oil in the pump according to specifications for optimal lubrication.
- Inspect the motor for any unusual sounds or vibrations indicative of wear.
- Calibrate pressure settings to match the specific needs of upcoming tasks.
An efficient approach to maintenance ensures your equipment operates at peak performance, delivering consistent results during every use.


