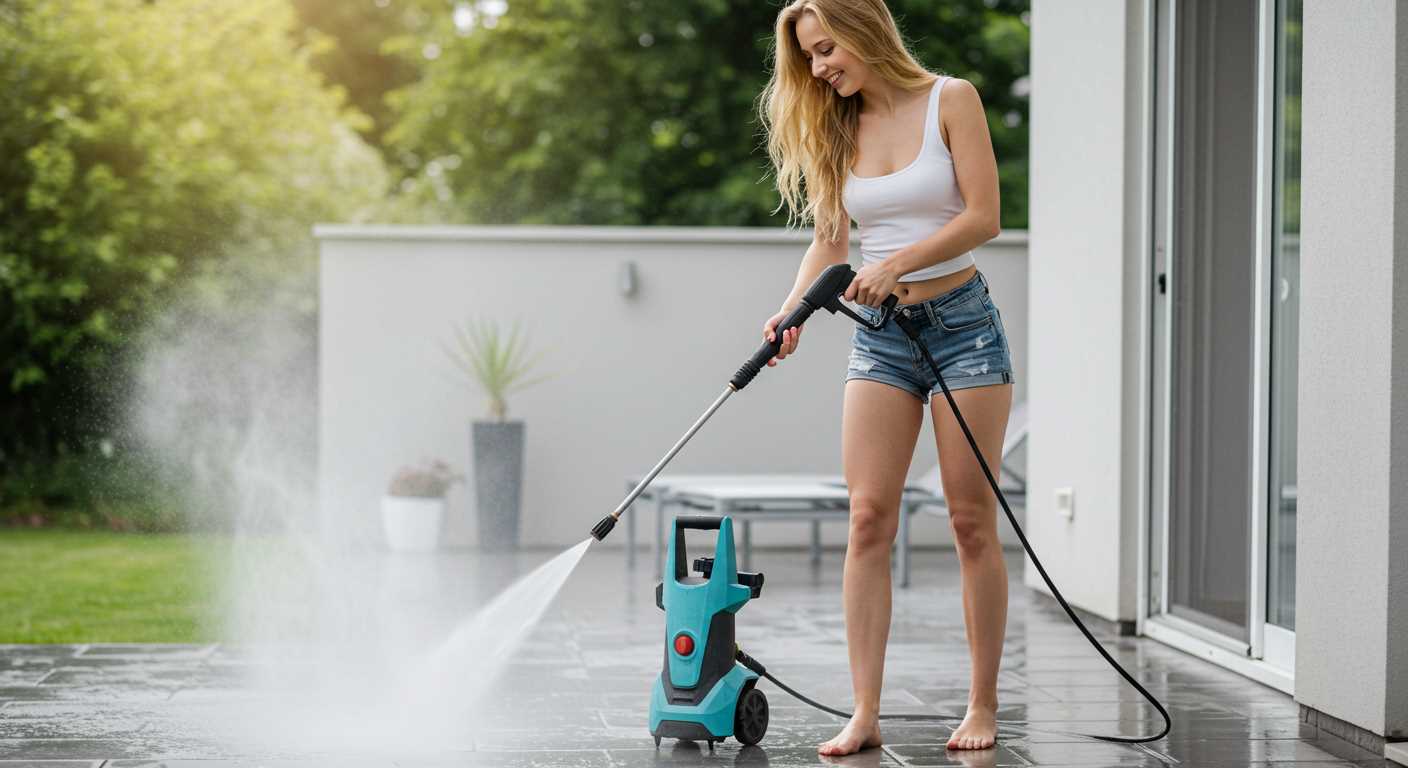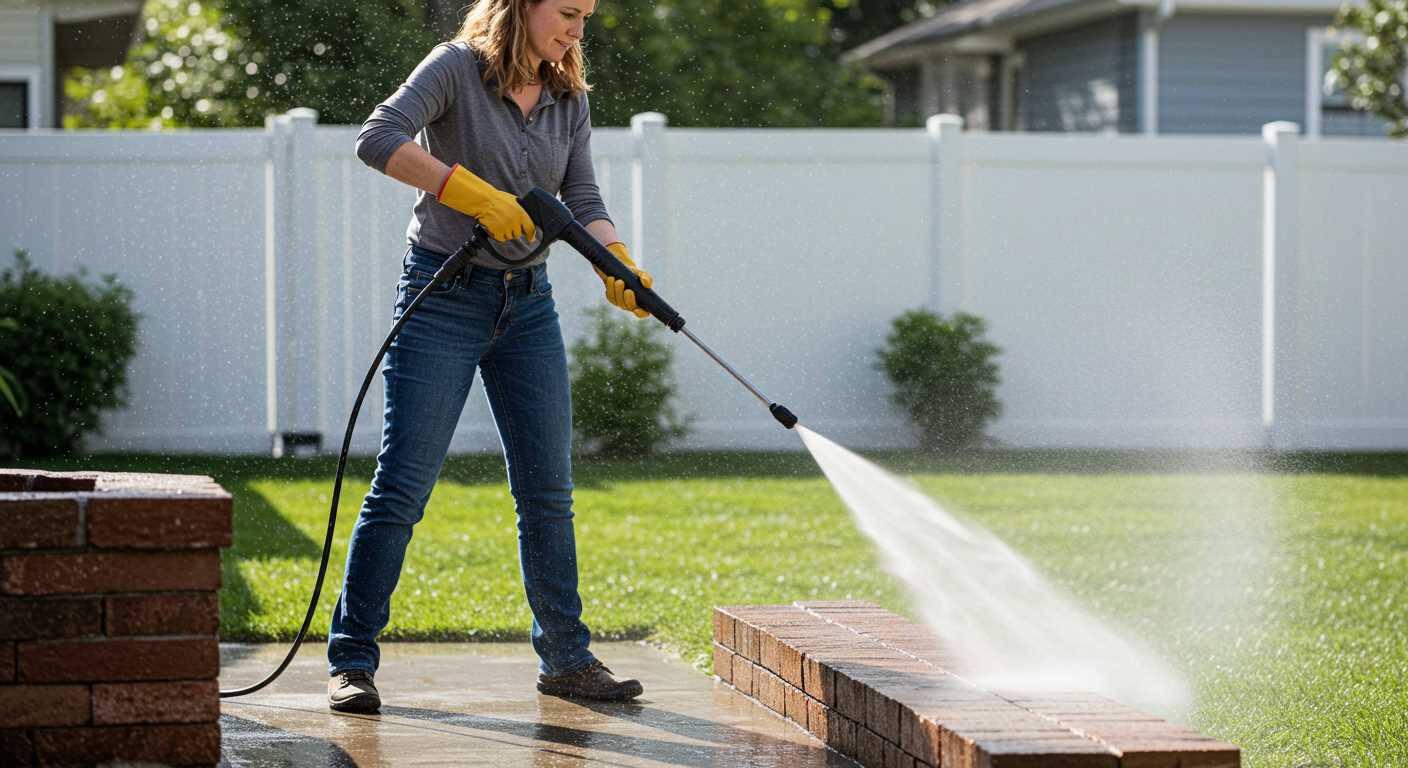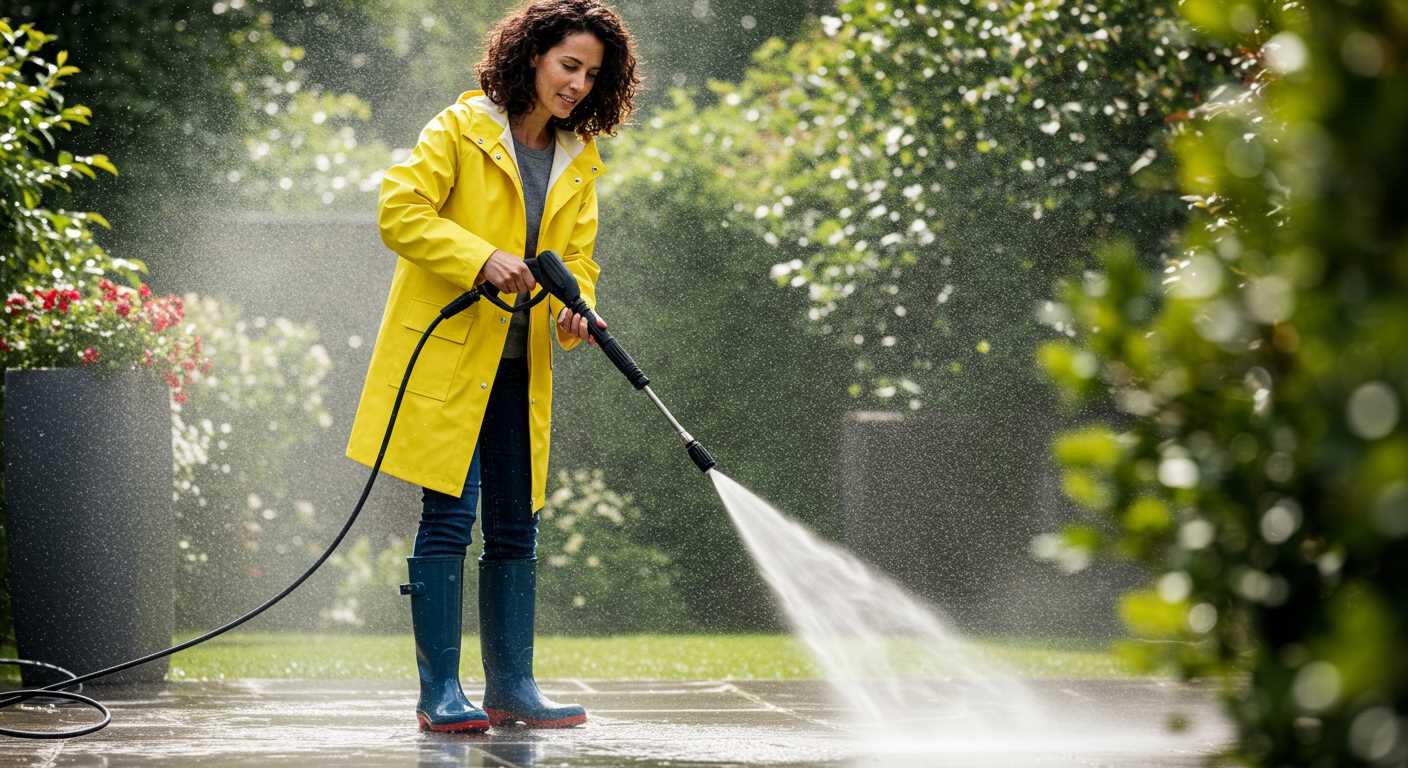


Regularly checking the oil level is crucial. Ensure the oil is clean and at the recommended level to keep the engine running smoothly. Replace the oil after the first 20 hours of use and then every 50 hours or annually, whichever comes first. Always refer to the manufacturer’s instructions for the appropriate oil type.
Inspect the air filter routinely. A clogged filter can restrict airflow and reduce performance, so clean or replace it as necessary. It’s advisable to check the filter before each use, especially during heavy usage periods, to maintain optimum performance.
Ensure that the fuel system remains in good condition. Use fresh fuel and add a fuel stabiliser if the machine will not be used for an extended period. This prevents issues such as starting difficulties and fuel deterioration. Keep an eye on the fuel lines for any signs of wear or leaks, and replace them if necessary.
Don’t neglect the hoses and nozzles. Regularly inspect for cracks or blockages, and clean them thoroughly to prevent any obstructions that could impede water flow. A little maintenance on these components can significantly enhance the machine’s effectiveness and longevity.
Finally, store your equipment properly. When not in use, it is best to keep it in a dry location, away from extreme temperatures. This simple step can extend its life and ensure it’s ready for your next cleaning task.
Checking and Changing the Oil Regularly

Use high-quality engine oil, specifically designed for four-stroke engines. I recommend checking the oil level before each use. If it appears dark or gritty, it’s time to change it. Aim to perform an oil change every 50 hours of operation or at least once a season, whichever comes first.
Steps for Checking Oil Level

- Ensure the machine is on a flat surface.
- Remove the dipstick; wipe it clean with a cloth.
- Reinsert and remove again to check the oil level.
- If the level is low, top up using the correct oil type.
Steps for Changing Oil
- Warm the engine slightly to thin the oil, making it easier to drain.
- Place a container under the drain plug.
- Remove the drain plug and allow the old oil to completely drain out.
- Replace the drain plug securely.
- Fill with new oil through the designated oil fill cap, checking levels with the dipstick.
Proper lubrication keeps the engine running smoothly and prolongs its lifespan. Regular checks and changes ensure that your machine operates at peak performance, avoiding potential damage and costly repairs later on.
Cleansing the Air Filter and Spark Plug
Regularly cleaning the air filter and spark plug significantly enhances the performance of the unit. For the air filter, remove it carefully from its housing. Use compressed air to blow out dirt and debris; this method ensures thorough cleaning without damaging the filter. If the filter shows signs of wear or is heavily soiled, consider replacing it.
Air Filter Maintenance
Inspect the filter for any cracks or tears. If any damage is found, replacement is necessary. Depending on usage conditions, check the filter every 10 to 20 hours of operation. Keeping the air filter clean optimises air flow and promotes efficient combustion.
Spark Plug Care
For the spark plug, first, remove it using a socket wrench. Examine the electrode for wear or deposits. Clean it with a wire brush; if the electrode is deteriorated, replace the spark plug to ensure smooth starts and consistent engine performance. Check the spark plug every 50 hours of use or at the beginning of each season. Proper condition of the spark plug is pivotal for reliable ignition.
Regular checks and cleaning of these components result in improved fuel efficiency and overall longevity of the machine, ensuring it continues to operate at its best.
Inspecting and Replacing the High-Pressure Hose

Regular inspections of the high-pressure hose can prevent leaks and ensure optimal performance. Look for visible signs of wear, such as cracks, bulges, or cuts. Pay close attention to the fittings at both ends; any sign of damage may require immediate replacement.
To check for leaks, turn on the unit and pressurise the system; thoroughly examine the hose while it’s under pressure. If you notice any leaks, it’s critical to replace the hose promptly to avoid further damage. Use a wrench to disconnect the hose from the unit and ensure you follow safety protocols, like turning off the engine.
When selecting a replacement hose, consider the following:
- Length: Ensure it meets your specific cleaning tasks without being overly long or too short.
- Material: Durable materials such as reinforced rubber or PVC can enhance longevity.
- Compatibility: Verify that the fitting sizes match your equipment to ensure a secure connection.
Once you have the new hose, installation is straightforward. Align the fittings securely and tighten them using a wrench, taking care not to overtighten, which could cause damage. After installation, run the machine briefly to check for any issues before proceeding with your cleaning tasks.
Consistently inspecting and replacing the high-pressure hose when necessary ensures efficient operation and prolongs the life of your equipment.
Winterising Your Gas-Powered Cleaning Machine
Before the cold weather hits, it’s crucial to prepare your cleaning device for hibernation. Start by draining all water from the system. This reduces the risk of freezing and potential damage. Fire up the engine and let it run for a few minutes while the trigger is held down, allowing any remaining water to escape.
Next, add a fuel stabiliser to the tank and run the engine for about 10 minutes. This ensures that the stabiliser circulates through the fuel system, preventing any gum or varnish from forming in the carburettor during dormancy.
Remove the spark plug and add a few drops of engine oil into the cylinder. Crank the engine a couple of times to distribute the oil, protecting the internal components from moisture and corrosion during winter.
Cover your unit with a breathable tarp to shield it from dust and debris while maintaining ventilation. Ideally, store it in a dry, sheltered location, away from extreme temperature fluctuations that can cause damage. Following these steps will help your equipment stay in top shape for when the warmer months return.
Testing and Maintaining the Nozzles
Inspect nozzles regularly for clogs and damage. A simple visual check can reveal dirt or debris lodged in the openings. Use a thin object, like a toothpick, to clear any blockages. This ensures the spray pattern remains consistent and efficient.
Checking Spray Patterns
Test each nozzle by connecting it to the unit and activating the machine. Observe the spray pattern. A fan pattern should be even and not splattered; if it appears weak or inconsistent, the nozzle may need replacement. Nozzles are specific to the task, so choose the right one to achieve desired results.
Cleaning and Storage

For maintenance, rinse nozzles with water after each use to remove detergent residue. Store them in a protective case or designated area to avoid damage. Extreme temperatures can warp the plastic, leading to ineffective performance. Following these steps will ensure longevity and optimal functioning.
Storing Your Pressure Cleaner Properly
Drain the fuel tank before storage. This prevents stale fuel from clogging the system. Run the machine until it stops to ensure all gasoline is consumed. If you prefer, add a fuel stabiliser to the remaining fuel to extend its life.
Next, ensure that all water is drained from the pump and hoses. Disconnect the hoses and run the unit for a few seconds to clear out any excess water. This step is crucial as any remaining liquid could freeze and damage internal components.
Store the unit in a dry, cool area away from direct sunlight. Excessive heat can degrade plastic parts and hoses, while moisture can lead to rust. Consider a dedicated storage rack for easy access and organisation.
Cover the machine with a breathable tarp or storage bag. This keeps dust and debris at bay while allowing any potential moisture to escape. Verify that no objects are leaning against the apparatus that could cause damage over time.
| Storage Tip | Purpose |
|---|---|
| Drain fuel tank | Prevents clogging and stale fuel |
| Clear water from pump | Avoids freeze damage |
| Store in dry, cool place | Prevents heat damage and rust |
| Use breathable cover | Keeps dust away, allows moisture to escape |
Regularly check the unit during the off-season to ensure it remains in top condition. A quick visual inspection can catch potential issues before they become significant problems. Follow these tips, and your cleaning device will be ready for action whenever you need it.


