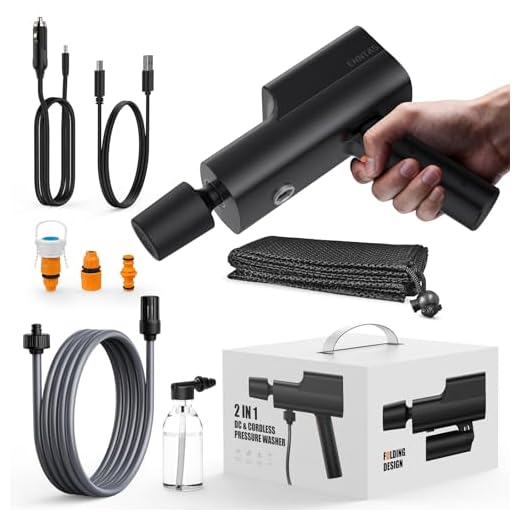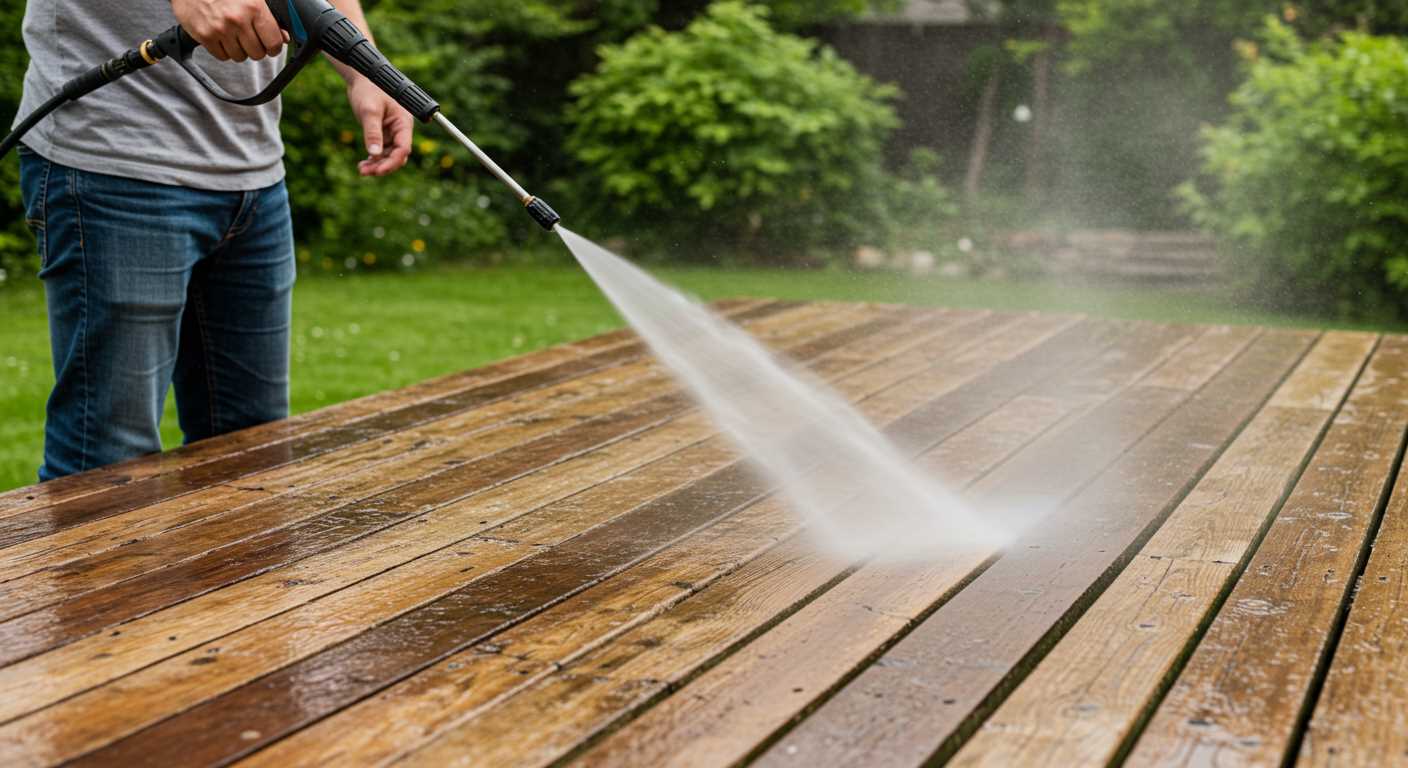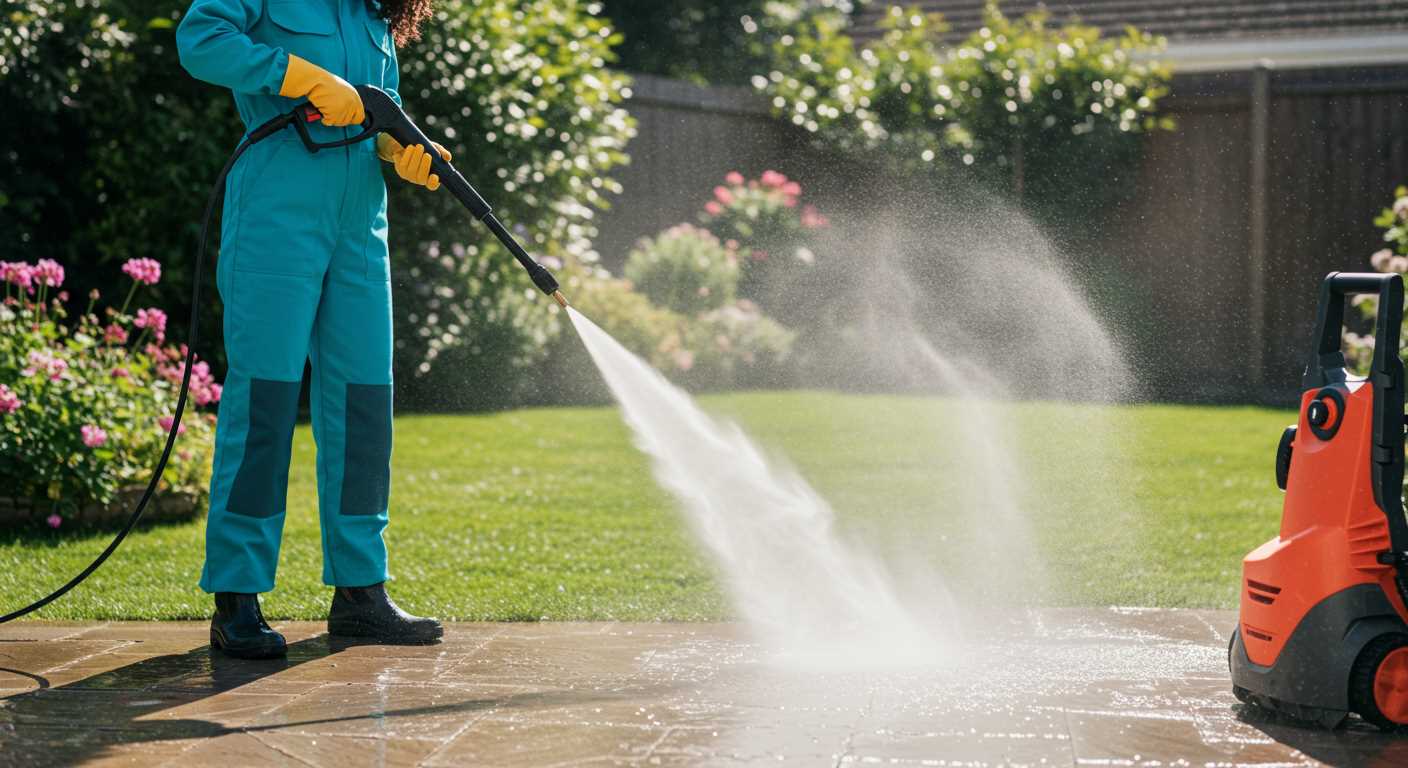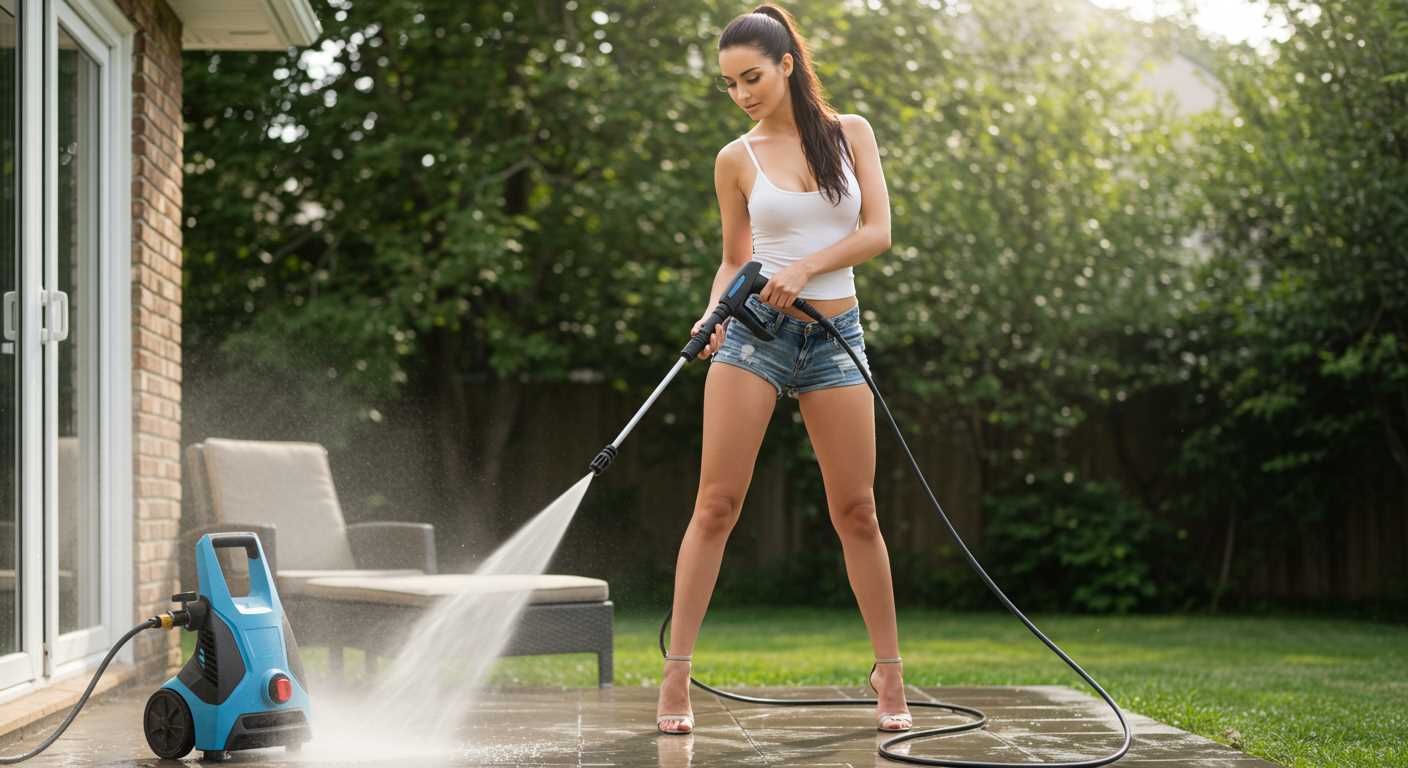


For best results, I recommend using a cleaning machine with a minimum pressure rating of 2500 PSI and a flow rate of at least 2.5 GPM. This combination effectively removes stubborn dirt and stains without risking damage to the surface. Always select a suitable nozzle; a 25-degree or 40-degree fan tip is generally ideal for most cleaning tasks.
Before beginning, prepare the area by removing any obstacles and debris that could obstruct the cleaning process. Wetting the surface lightly beforehand can help loosen grime and make the job more manageable. If you encounter ingrained stains, consider applying a concrete-safe detergent after pre-soaking the area; allow it to sit for the recommended duration to penetrate effectively.
It’s crucial to maintain a consistent distance of around 12 to 18 inches from the surface while spraying. This technique ensures even coverage and minimises the risk of etching or gouging the material. Always work in small sections, overlapping slightly to ensure no areas are missed. Once finished, rinsing with clear water will help remove any remaining detergent residues.
Finally, after cleaning, ensure the surface is adequately dried. Keeping the area free from debris and regularly washing it can significantly extend the life of your outside spaces, preventing the buildup of unwanted organisms and staining.
Proper Techniques for Using a Pressure Cleaner on Pavements

A pressure cleaner operates best at an angle of 45 degrees to the surface for optimal results. This positioning allows for effective grime removal without damaging the material. Start from one end and methodically work your way across, overlapping each stroke slightly to ensure thorough coverage.
Select a suitable nozzle; a 25-degree or 40-degree is often ideal for most paved areas. The wider spray pattern prevents concentrated force, which can lead to surface erosion. Test on a small, inconspicuous section first to ensure the chosen angle and distance don’t cause any unintended harm.
Maintain a consistent distance, usually around 12 to 18 inches from the surface. This distance helps avoid streaks and uneven cleaning while still delivering sufficient pressure to eliminate dirt and stains. Adjust as necessary based on the specific condition of the surface.
Utilise appropriate cleaning agents to enhance effectiveness. A surface cleaner or a biodegradable detergent can significantly aid in breaking down stubborn grime. Apply these cleaners before using the device to allow them to penetrate the dirt for a few minutes before rinsing.
Regularly check and clean the nozzle to prevent clogs, which can decrease performance. Debris can accumulate quickly, affecting water flow. If you notice a decrease in pressure, inspect the unit before continuing.
After finishing, rinse the area with clean water to remove any remaining detergent or debris. This step is vital to prevent residue build-up, which can attract more dirt over time.
Lastly, consider sealing the surface once it’s dried out. A good sealant will not only protect against stains but also make future cleaning sessions much easier.
Choosing the Right Pressure Washer for Concrete Maintenance
Selecting an appropriate machine for cleaning surfaces is crucial. Focus on units delivering a minimum of 3000 PSI for optimal results. This power effectively removes tough stains, grime, and mildew.
Types of Units

- Electric Models: Ideal for smaller projects and residential tasks. They typically offer up to 2000 PSI. Consider these for light-duty maintenance.
- Gas-Powered Units: Best suited for extensive cleaning projects. They provide higher PSI rates, making them effective for deep-seated dirt and large areas.
Key Features to Look For
- Adjustable Nozzle: A versatile nozzle allows for changing the spray pattern, adapting to various cleaning needs.
- Detergent Tank: An integrated tank simplifies the process of applying cleaning solutions, enhancing the cleaning ability.
- Spinning Nozzle: This attachment increases the surface cleaning efficiency, especially beneficial for textured surfaces.
Wheels and weight matter. Choose models that are portable and easy to manoeuvre, especially for extensive spaces. Always check the warranty and customer reviews for reliability and durability.
Preparing Your Concrete Surface for Washing
Before getting started, ensure the area is clear of debris and obstacles. Remove any furniture, potted plants, or other items that may obstruct access. This ensures a thorough clean without interruptions.
Next, inspect the area for any cracks or damage. It’s crucial to address these imperfections beforehand to prevent further deterioration during washing. Clean these spots and consider applying a concrete patch if necessary.
For optimal results, sweep or blow away loose dirt, dust and leaves. This additional step helps avoid grinding any dirt into the surface, which can scratch or mar the finish.
Once the area is cleared, check for any stains such as oil or grease. Pre-treat these spots using a suitable cleaner or degreaser. Apply it according to the instructions, allowing sufficient time for the product to penetrate the stain before rinsing it off.
For effective washing, wet the surface with a garden hose to help loosen dirt. This initial dampening reduces the pressure required for deeper cleansing, ultimately preserving the integrity of the surface.
- Clear the area of all obstacles.
- Inspect for and repair any cracks.
- Remove loose debris and dust.
- Pre-treat any stains with appropriate cleaners.
- Dampen the surface before commencing washing.
Adhering to these steps will create the ideal environment for a thorough and efficient cleaning process. Proper preparation not only enhances results but also protects the surface’s durability for the future.
Selecting the Proper Detergent for Concrete Cleaning
For optimal results in cleaning surfaces, use a detergent specifically formulated for masonry. Such products effectively break down stains and embedded grime. Look for alkaline cleaners, as they excel at tackling oil, grease, and tough stains. Ensure compatibility with the equipment; check the manufacturer’s recommendations for suitable detergents.
Consider biodegradable options when possible. These are less harmful to the environment and reduce runoff concerns. If dealing with mildew or algae, a solution containing sodium hypochlorite or a vinegar blend can be beneficial.
Always conduct a patch test on a small, inconspicuous area to ensure no adverse reactions occur. Follow dilution instructions precisely; using too strong a solution can damage the surface. Moreover, avoid mixing different cleaning products, as this might create harmful reactions.
Apply the detergent evenly and allow it to dwell for the recommended time before rinsing thoroughly. This helps the cleaner penetrate and break down dirt effectively. When finished, flush the surface well to eliminate any leftover residue.
Understanding Pressure Settings for Different Concrete Types
Using the appropriate settings is crucial to avoid damage and achieve the best results. For standard paved areas, a pressure range of 2000 to 3000 PSI works well. This level efficiently removes dirt and grime while safeguarding the surface. For sealed driveways or patios, reduce the pressure to around 1500 to 2000 PSI. This lower setting prevents any potential damage to the sealant while still ensuring cleanliness.
Different Surfaces and Their Requirements
| Surface Type | Recommended Pressure (PSI) | Recommended Nozzle |
|---|---|---|
| Standard Paving | 2000 – 3000 | 15-degree |
| Sealed Concrete | 1500 – 2000 | 25-degree |
| Textured Surfaces | 2000 – 3000 | 15-degree |
| Older or Cracked Concrete | 1000 – 1500 | 40-degree |
For textured surfaces, stick to the 2000 to 3000 PSI range to effectively clean while maintaining the integrity of the surface. Older or cracked materials require gentler treatment. Lowering the pressure to 1000 or 1500 PSI will help in preventing further damage and ensure a thorough cleaning without exacerbating existing issues.
Practical Tips for Pressure Adjustment

Always start with the lowest pressure setting and assess the results before increasing. This approach minimizes the risk of harm. Considering the distance to the surface also impacts the cleaning effectiveness. Keep the nozzle approximately 12 inches away for thorough yet gentle cleaning. Adjustments based on surface reaction ensure optimal results every time.
Technique for Washing Concrete Surfaces Properly
For optimal results, maintain a consistent distance of 12 to 18 inches between the nozzle and the surface. This prevents damage while ensuring effective cleaning. Adjust the spray pattern to a fan shape for wide coverage, making it easier to tackle larger areas without missing spots.
Angle of Approach
Position the nozzle at a 45-degree angle to the floor. This technique allows water to penetrate stubborn grime while reducing the chance of etching. Work in small sections, starting from one end and moving in a straight line. Overlap each pass slightly to ensure thorough cleaning.
Technique Application
Utilise a sweeping motion as you proceed, as it helps dislodge dirt and debris more effectively. For heavily soiled areas, particularly grease stains or oil spills, use a rotating nozzle or surface cleaner attachment. These tools enhance the pressure output, maximising dirt removal.
After cleaning each section, evaluate the results before moving on. If necessary, re-treat any remaining stains with a suitable detergent. Rinse thoroughly to remove any residue left behind, preventing the surface from becoming slippery or discoloured.
Finally, allow the area to dry completely before using it again. Adequate drying ensures no substances linger to cause further staining or damage, thus preserving the appearance and integrity of the surface long-term.
Post-Cleaning Care: Sealing and Protecting Concrete
After washing, it’s time to apply a sealer to enhance durability and resistance against stains. Choose a breathable, water-based sealant formulated for your specific surface type. This ensures that moisture trapped underneath can escape while still providing protection.
Application Steps
Start by allowing the surface to dry completely; this usually takes 24 to 48 hours depending on weather conditions. Use a paint roller or sprayer to evenly distribute the sealant, working in sections to avoid overlapping. Two coats might be necessary, particularly in high-traffic areas. Ensure each coat dries as per the manufacturer’s guidelines before applying the next.
Ongoing Protection
Regularly inspect the surface for signs of wear or fading. Reseal every couple of years to maintain that protective barrier. Additionally, consider using mats or rugs in areas prone to spills to minimise potential damage. Keeping vegetation trimmed back can also help reduce organic matter that may encourage staining or discolouration.
Common Mistakes to Avoid When Using a Pressure Washer on Concrete
Avoid using a narrow nozzle for cleaning large surface areas. A 25-degree or 40-degree nozzle provides better coverage and prevents damage.
Steer clear of a direct, perpendicular angle to the surface. Instead, maintain a consistent distance of at least 12 inches. This reduces the risk of etching or streaking the surface.
Skipping the pre-wash assessment is a mistake. Inspect for cracks or structural issues before starting the cleaning process. Address any damages to prevent further deterioration.
Don’t neglect to choose the appropriate cleaning solution. Some harsh chemicals can cause discolouration or deterioration of the surface over time.
Inadequate Preparation
.jpg)
Failing to remove obstacles such as furniture or potted plants leads to inefficient cleaning. Take time to clear the area completely.
Rushing through the detergent application can cause uneven cleaning. Apply generously and allow it to sit for the recommended duration before rinsing.
Ignoring Safety Precautions
Omitting protective gear is a common oversight. Always wear eye protection to guard against debris and cleaning solutions.
Never forget to check surroundings for any vulnerable items, like windows or vehicles, and ensure they are secure from the spray area.
| Mistake | Consequence | Tip |
|---|---|---|
| Narrow nozzle use | Improper cleaning | Opt for 25-degree or 40-degree |
| Direct angle spraying | Surface damage | Maintain 12-inch distance |
| Skipping surface inspection | Compounding damage | Assess prior to cleaning |
| Inadequate preparation | Inefficient cleaning | Clear area thoroughly |
| Neglecting protective gear | Injury risk | Wear eye protection |
Make adjustments based on these insights to enhance the efficacy and safety of your cleaning efforts. Each detail contributes to achieving optimal results.


