

Begin with a sturdy electric motor, ideally around 1.5 to 3 horsepower, which serves as the heart of your unit. Opt for one with a decent RPM capability to ensure adequate water pressure and flow rate. Combine this with a durable pump rated for high-pressure applications; a diaphragm or triplex plunger pump can deliver powerful performance, exceeding 1500 PSI while ensuring longevity.
Next, secure a reliable water source. A standard garden hose, preferably reinforced and capable of withstanding pressure, is essential. Ensure it can handle a minimum flow rate of 2.5 gallons per minute to maintain efficiency during operation. Don’t underestimate the power of nozzle selection; adjustable or turbo nozzles allow for versatility, adapting to various cleaning tasks from delicate surfaces to heavy-duty grime.
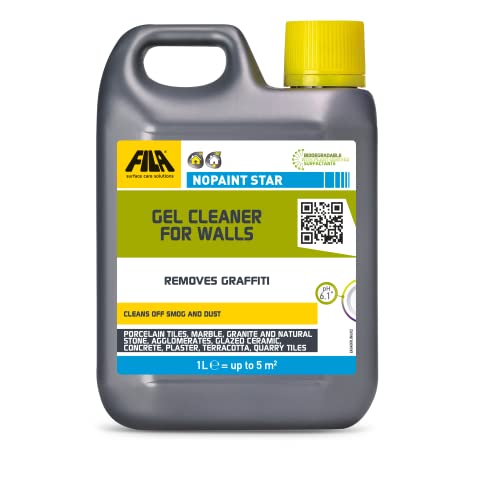
Incorporating a sturdy frame is crucial for stability and ease of movement. Heavy-duty wheels will enhance portability, making it simple to maneuver across different terrains. Consider adding a detergent injector for those extra tough cleaning jobs. This component will help mix cleaning solutions with the water flow, enhancing the cleaning process significantly.
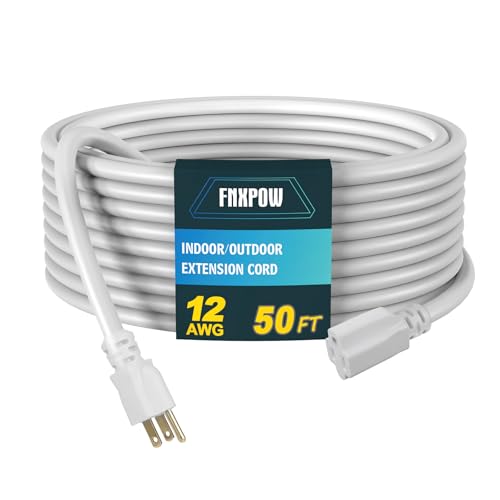
Finally, ensure safety features are in place. Utilize pressure relief valves to prevent mishaps and leaks. Equip your setup with a high-quality electrical supply, including an RCD (residual current device) to protect against electrical shocks. With these components meticulously assembled, you’ll have a robust cleaning apparatus ready to tackle any tough task head-on.
Choosing the Right Pump for Your Cleaning Device
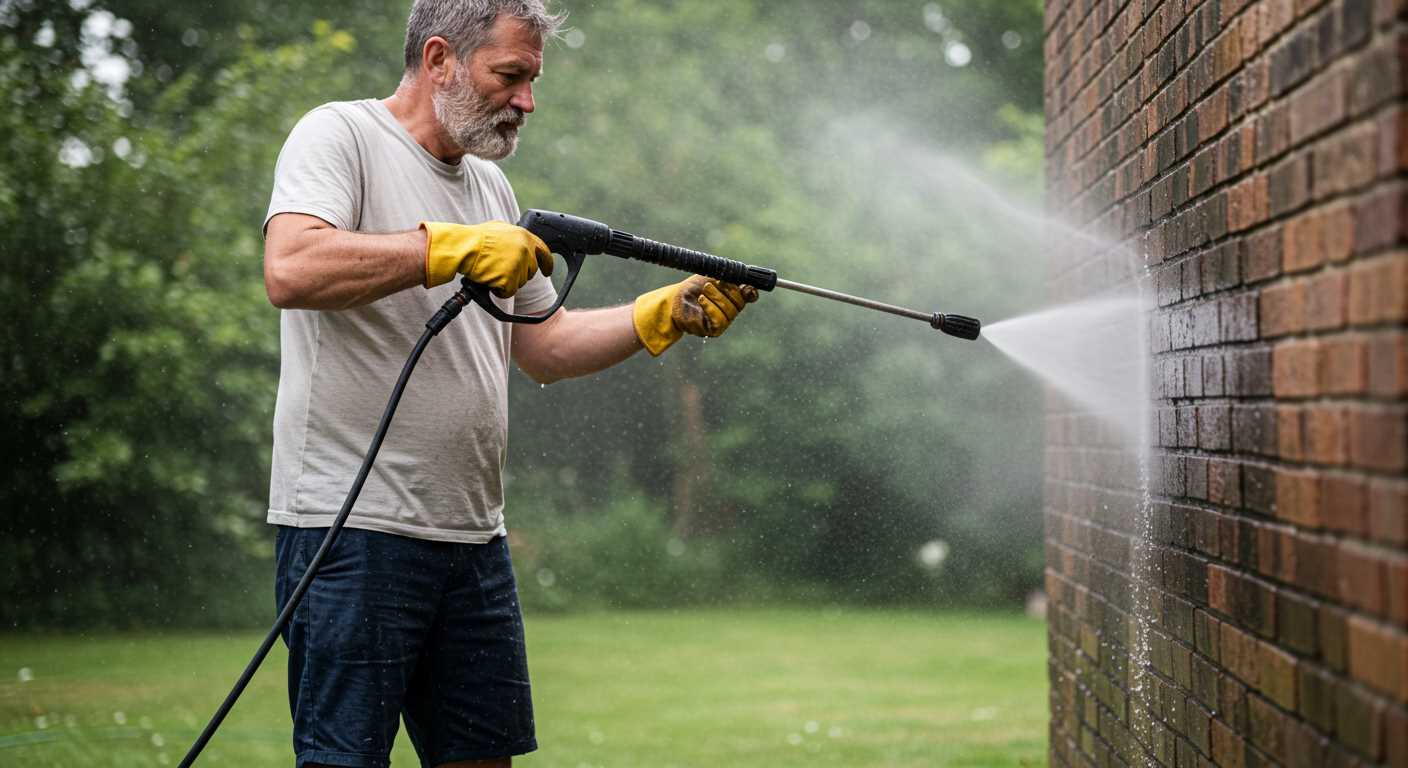
Select a pump that matches your intended use; for residential tasks, a crankshaft pump is ideal, while a triplex pump works well for heavy-duty applications. Ensure the pump can reach a minimum of 2000 PSI and 1.5 to 2.5 GPM for optimal performance in home cleaning.
Look at the materials: aluminium and brass components withstand wear better than plastic. A robust pump housing leads to enhanced durability, so ensure the pump you choose has quality construction.
Check for compatibility with electric or gas engines. Electric pumps operate quietly and are lightweight. Conversely, gas pumps provide mobility and are suited for larger cleaning jobs without being tethered to a power source.
Pay close attention to the thermal relief feature. This mechanism prevents the pump from overheating during use, prolonging its lifespan. A burst disc can also provide additional safety by releasing any excess pressure.
Evaluate the warranty offered with the pump; a longer warranty often indicates a manufacturer’s confidence in their product’s durability and performance. Look for a minimum of 2 years for residential applications.
Finally, research user reviews. Experienced users often share insights about pump performance, maintenance needs, and overall satisfaction, which can guide your choice significantly.
Gathering materials for your DIY cleaning device
Start by securing a durable container, ideally a plastic storage bin with a lid. This will house your entire assembly, protecting it from the elements. Select a container with a sturdy build to withstand water pressure during operation.
Next, procure a compatible motor. A minimum of 1.5 HP is recommended, as this provides adequate power to operate effectively. Look for an electric motor with a minimum RPM of 3450, ensuring the desired water flow and pressure.
Acquire a high-pressure water pump suited for your needs. Centrifugal pumps work well; however, if you require heightened pressure, consider a diaphragm pump instead. Ensure its specifications align with your motor for optimal functionality.
You’ll need a reliable water source such as a garden hose or a suitable tank. The hose must have a standard fitting compatible with both the water inlet of your pump and your water source.
Gather plumbing fittings such as couplings, elbows, and connectors, preferably made from brass or durable plastic. These components will facilitate a secure assembly between the pump, motor, and hose.
Include a nozzle with adjustable spray settings to diversify your cleaning tasks. A quick-release nozzle would be beneficial for swift transitions between different spray patterns.
Lastly, consider safety gear like gloves and goggles for protection while constructing and operating your device. Prioritising safety ensures a smooth and gratifying experience throughout the process.
Constructing the Frame for Your Pressure Cleaner
Begin with selecting robust materials for the frame, such as steel or heavy-duty aluminium. Ensure the chosen materials withstand the rigours of regular use and environmental factors.
For the frame design, consider a rectangular shape that offers stability. Cut four pieces of your preferred material to form the base and top. Aim for a balance between weight and durability. A standard size could be 60 cm by 45 cm for the base.
Next, assemble the vertical supports. Use two strips for the sides, each around 80 cm high, which helps accommodate the motor and pump. Secure these to the base using strong bolts or welding, depending on your expertise.
Add cross-bracing between the vertical supports. This will enhance stability and reduce the risk of wobbling during operation. You can use additional strips of metal for this purpose.
Incorporate casters on the base for mobility. Choose wheels that can support the weight of your equipment, ideally with a locking mechanism. This ensures your unit stays in place while in use.
Lastly, include a platform for the motor and pump. Ensure the platform is well-supported. A flat, solid piece can be fixed to the top of the vertical supports to provide a stable mount for the motor.
- Materials needed:
- Steel or heavy-duty aluminium
- Bolts or welding supplies
- Casters with locks
- Cross-bracing strips
- Tools recommended:
- Wrench or socket set
- Drill
- Welding equipment (if applicable)
- Measuring tape
- Angle grinder (for cutting metal)
Following these guidelines will lead to a sturdy frame, ready to host all the components securely. Prioritising strength and stability ensures longevity and enhances the overall functionality of the cleaning device.
Installing the Nozzle and Hose Connections
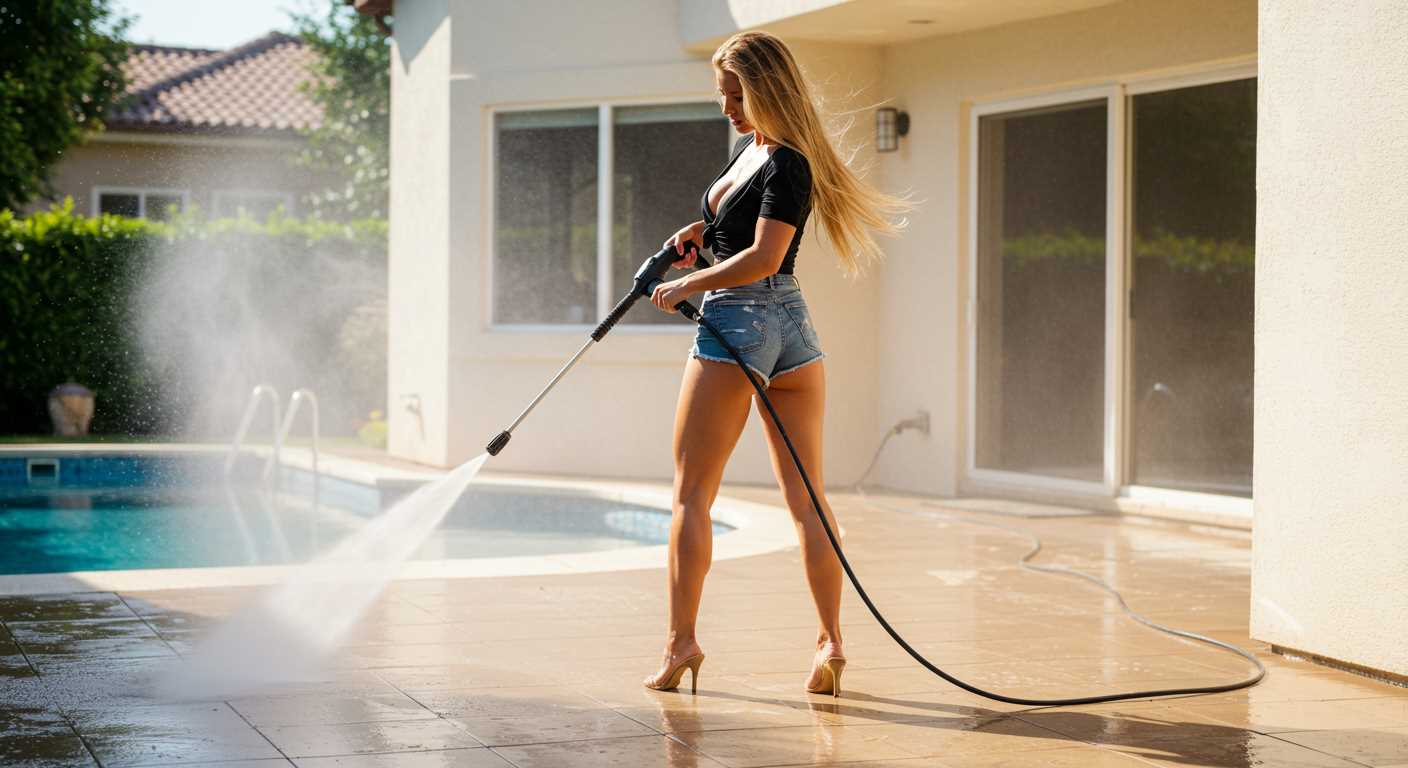
Begin by selecting a nozzle that matches your intended task. Different nozzles produce varying spray patterns and pressure levels; a 15-degree nozzle is suitable for tough grime, while a wider nozzle is ideal for rinsing. Ensure compatibility with your hose diameter and pump output.
Hose Selection and Attachment

Choose a high-quality hose rated for high pressure to prevent leaks or bursts. Attach one end of the hose to the pump outlet using a threaded connection or a quick-connect fitting, depending on your pump design. Secure the connection with a hose clamp to avoid any separation during operation.
Nozzle Installation
For the nozzle, verify it fits snugly onto the opposite end of the hose. Depending on the model, you may need to twist or click it into place. If using a quick-connect system, ensure it audibly clicks, confirming a secure fit. Conduct a quick leak test by running water through the system before starting the cleaning task. Address any leaks immediately to maintain optimal pressure.
Regularly inspect both the hose and nozzle for wear and tear, replacing them when necessary to ensure effective operation. This attention to detail optimises performance and extends the lifespan of your equipment.
Testing the output and functionality
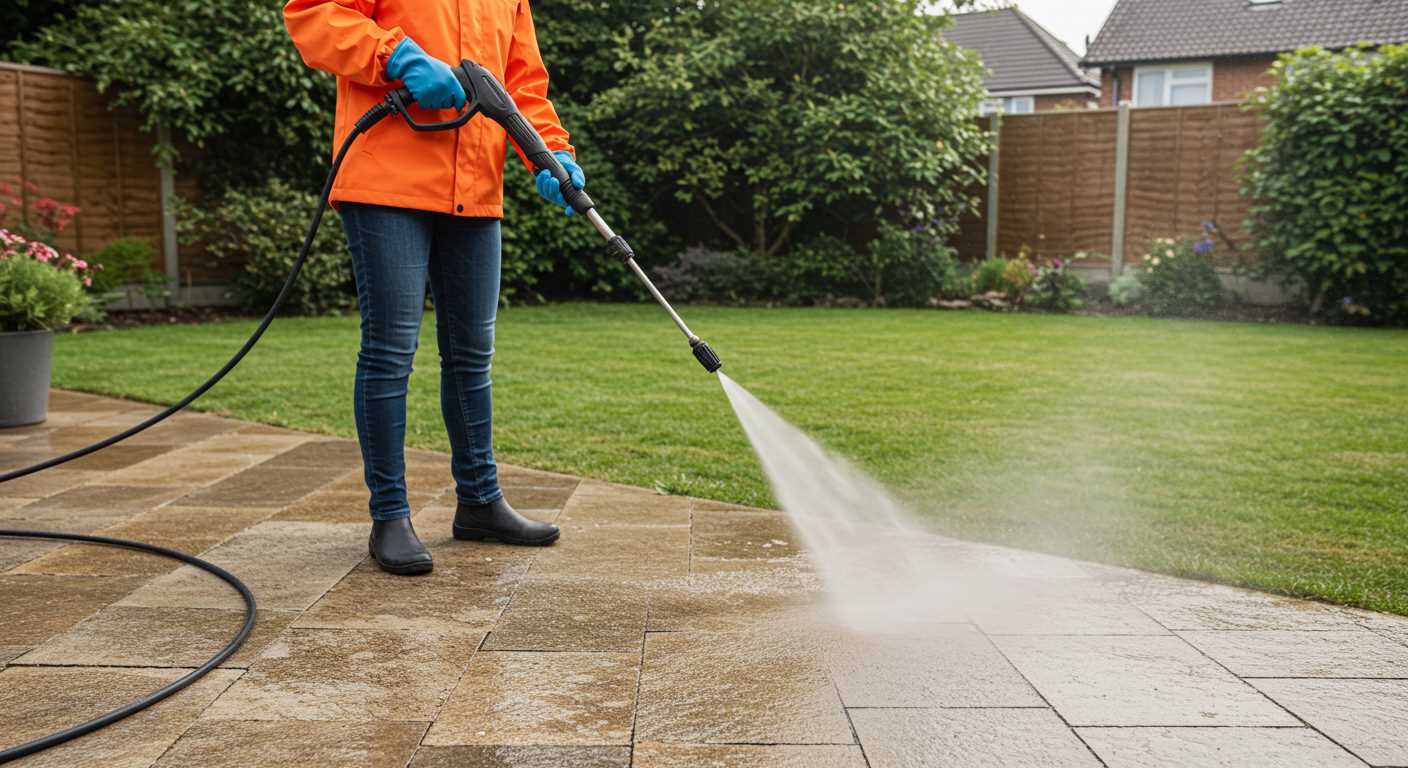
Begin with a pressure gauge attached to the outlet of your assembly. It is critical to verify that the measured pressure aligns with the specifications of the pump you selected. Operate the unit briefly to assess performance under load. If the reading is consistently low, inspect for leaks or adjust the nozzle aperture.
After checking the pressure, evaluate the spray pattern. Aim the nozzle at a suitable surface to check the consistency and dispersion of the stream. A straight, focused jet is ideal for heavy-duty cleaning tasks, while a wider spray is more appropriate for gentler applications.
| Test | Expected Outcome | Action if Outcome Differs |
|---|---|---|
| Pressure output | Aligns with pump specs | Inspect for leaks, check connections |
| Spray pattern | Uniform and effective | Adjust nozzle, clean filter |
| Noise level | Within acceptable range | Examine pump for mounting issues |
| Water flow rate | Consistent | Check hose for kinks or blockages |
Monitor the operating noise; excessive sound may indicate mechanical failure or mounting issues. If all parameters meet expectations, your assembly is functioning optimally. Conduct regular checks to maintain its condition and efficiency.
Maintenance Tips for Your DIY Cleaning Device
Regularly inspect all connections and fittings for any signs of wear or leaks. A small leak can lead to significant pressure loss and reduced performance. Replace any damaged components immediately to maintain optimal functionality.
Cleaning the Filters
Clean or replace the inlet filter periodically to prevent debris from entering the system. A clogged filter restricts water flow and can damage the pump over time. Always keep an eye on this simple yet crucial component.
Checking the Hose

Examine the hose for kinks, cracks, or abrasions. Store the hose neatly to avoid unnecessary stress and damage. If the hose is too worn, it can lead to dangerous bursts under high pressure, which is a safety hazard.
Regularly lubricate any moving parts, especially the pump, to ensure smooth operation. Use the recommended lubricant specified by the pump manufacturer. Proper lubrication can significantly extend the lifespan of your cleaning equipment.
Store the unit in a dry, sheltered area when not in use to protect it from the elements. Extreme temperatures can affect the integrity of materials, so keeping it indoors or in a shed is advisable.
Before long periods of inactivity, run a cleaning solution through the system to prevent clogging. This practice keeps the internal mechanisms free of residues that could impede performance.
Adhering to these tips will ensure your device remains operational and efficient for years to come. Taking a few moments to check and maintain your apparatus can save you both time and money down the line.

