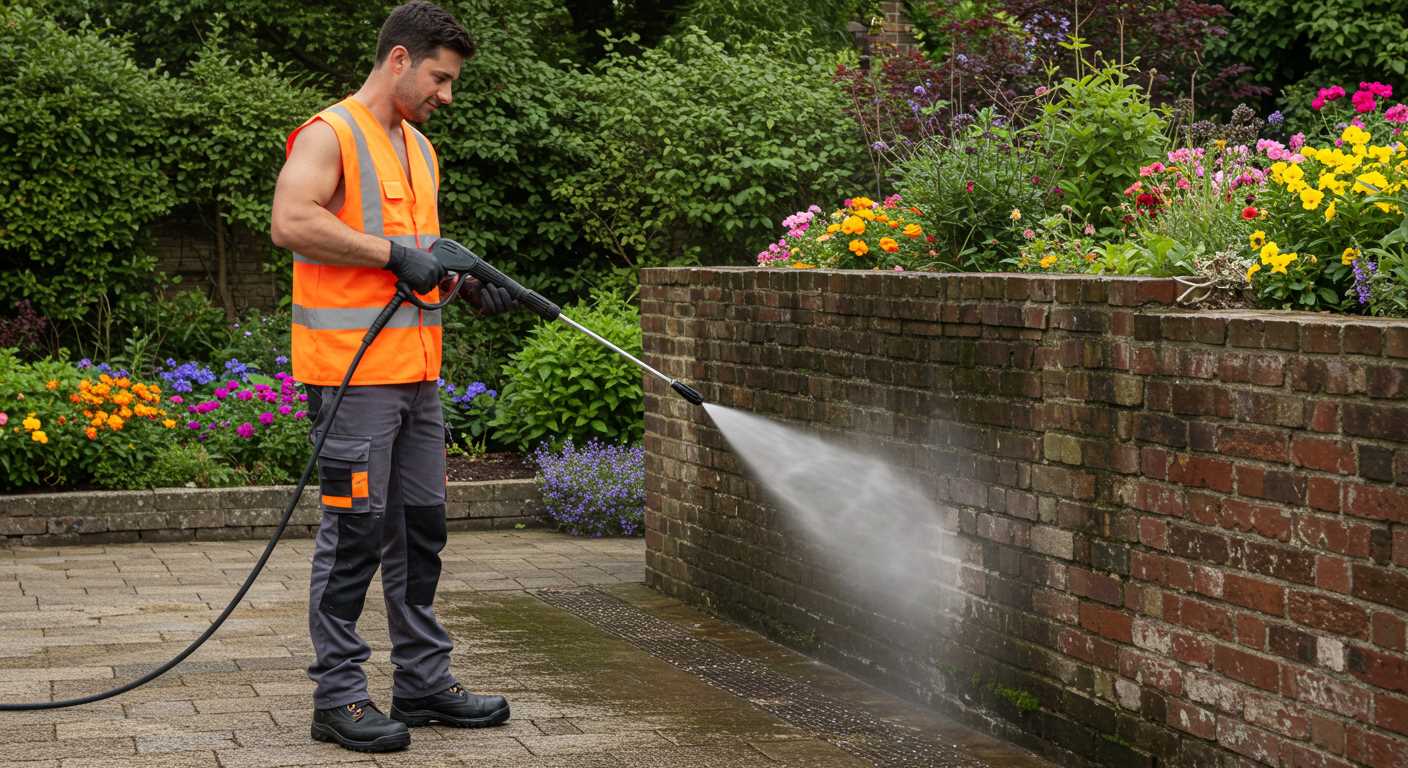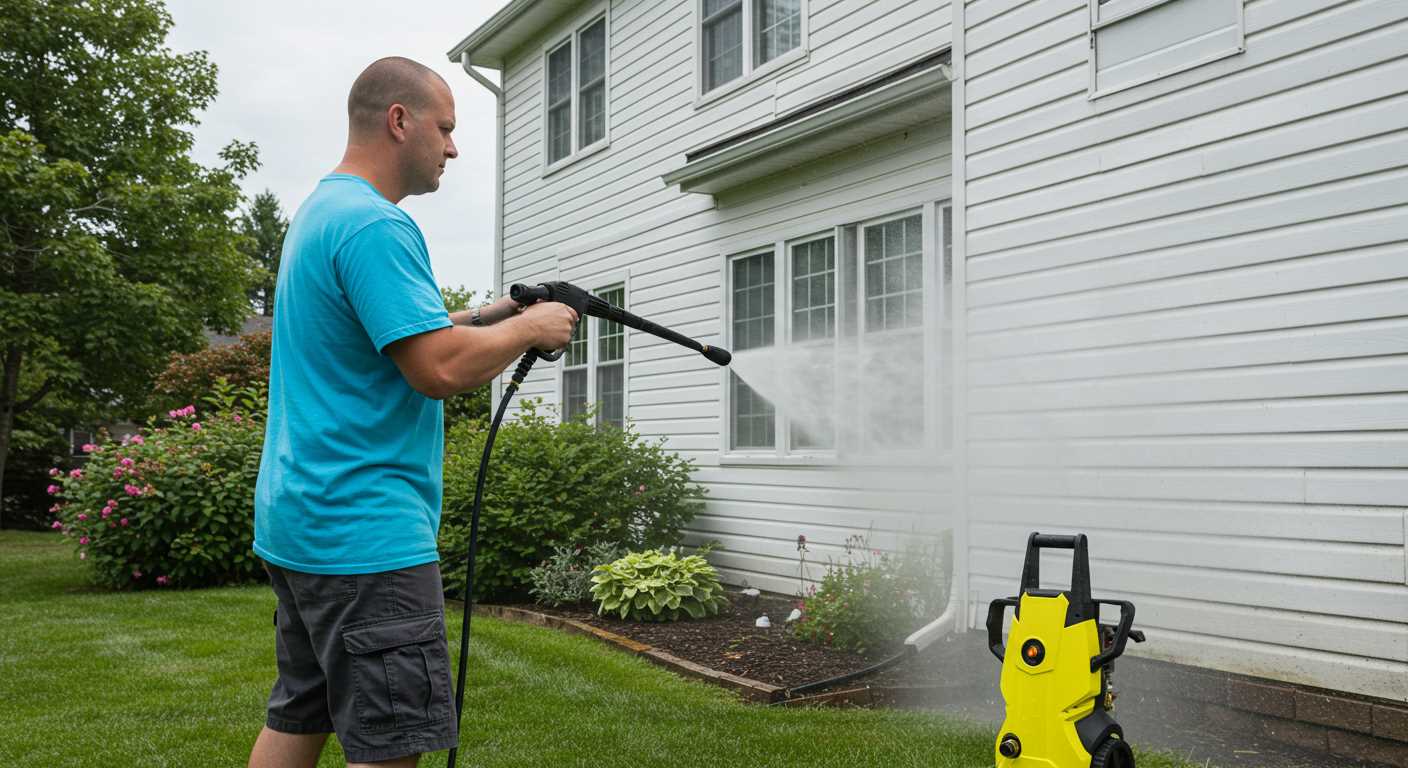


Ensure that the water supply is sufficient before attempting to operate your cleaning device. It is vital to connect a hose that provides a steady flow of water, free of obstructions, to avoid strain on the motor and pump. Be mindful of using the correct inlet filter to prevent debris from entering the system, which can lead to malfunction.
Double-check that all connections, particularly the high-pressure hose and spray gun, are securely fitted. Loose connections can cause leaks, resulting in reduced performance and pressure drop. Regularly inspect for wear and tear, replacing any damaged components promptly to maintain optimal functionality.
To maximise the power of your cleaning apparatus, use the appropriate nozzle for the task at hand. Different nozzles create varying spray patterns and pressure levels. A narrow stream is excellent for tough stains, while a wider spray is suitable for rinsing surfaces. This adjustment not only enhances efficiency but also conserves water.
Lastly, always consult the operation manual specific to your model for guidance on maintenance and troubleshooting practices. Familiarising yourself with the manufacturer’s recommendations will significantly enhance the longevity and performance of your cleaning device.
Choosing the Right Power Source for Your Washer
For optimal functionality, select a power source that aligns with the specific needs of your equipment. Electric models are great for indoor tasks, offering consistent pressure without the hassle of fuel management. Look for units with at least 1500 watts for efficient cleaning, especially if tackling stubborn grime.
If you prefer a gas-powered solution, aim for at least 1700 PSI and a reliable engine that ensures steady performance. Gas units are perfect for outdoor use, providing mobility and greater pressure, suitable for heavy-duty jobs. Confirm that the unit has an adequate fuel tank to avoid interruptions during operation.
Assess the availability of power outlets or fuel stations based on your intended cleaning locations. If frequent mobility is a priority, consider investing in a rechargeable battery power source. These batteries should have a long runtime to accommodate larger projects without constant recharging.
Finally, compare various models’ power ratings and runtime options before purchasing. A hybrid option may also be worth exploring, offering flexibility and ensuring you always have access to the right energy source for the task at hand.
Understanding Hose Connections and Compatibility
Ensure the hose connections of your cleaning device are compatible with the water source and the equipment itself. Check for the correct dimensions and threading types. Most machines utilise either a quick-connect fitting or a threaded connector. Using adapters might be necessary if there are discrepancies in size or type.
Use high-quality hoses designed for high pressure to prevent bulging or bursting. A common inner diameter is around 1/4 inch, but verify the specs of your model to avoid issues. Longer hoses can enhance reach but may reduce pressure; consider your typical usage scenarios when selecting length.
Investigate any kinks or wear in the connections and replace them promptly. Regular maintenance of the hoses can prevent leaks and ensure a steady flow of water. Make sure to securely fasten all connections before each task; loose fittings can lead to pressure loss and inefficient operation.
Always refer to the manufacturer’s guidelines for recommendations regarding compatible accessories and parts. If uncertain about compatibility, consult with customer support or look for online forums where users share their experiences and solutions related to hose connections.
Consider using pressure-rated hoses to withstand the demands of your cleaning tasks. Verify that the hose is rated for the pressure output of your device–this detail is crucial for both safety and performance.
Setting Up the Cleaner for First Use
Confirm that all components are included before assembly. This typically consists of the main unit, hose, gun, nozzles, and possibly a detergent tank. Review the manual for any specific requirements or assembly instructions.
Assembly Steps
1. Securely attach the high-pressure hose to both the cleaner and the gun. Ensure connections are snug to prevent leaks.
2. If the model includes a detergent tank, fill it with the appropriate cleaning solution. Verify compatibility with the surfaces you plan to clean.
3. Attach the correct nozzle for your task. Different nozzles provide varying spray patterns and pressures suited for specific cleaning jobs.
Initial Checks
Before powering on, inspect the unit thoroughly for any signs of damage. Look for cracks in hoses, check seals, and confirm that all connections are tight.
Perform a brief water test by running the unit with the gun squeezed until a consistent stream emerges, free of bubbles. This indicates proper priming and eliminates air pockets, which could affect performance.
Safety Precautions
Always wear protective gear, including safety goggles and suitable footwear. Confirm that the cleaning area is clear of obstacles. Avoid directing the spray at people, pets, or electrical outlets.
Recommended Specifications
| Specification | Recommendation |
|---|---|
| Water Source | Cold water, minimum of 5 litres per minute |
| Power Supply | Rated voltage matching product specifications |
| Suction Height | Not exceeding 1 metre for optimal performance |
Following these guidelines will significantly enhance your experience and ensure efficient operation of the equipment. Always refer to the manufacturer’s manual for mode-specific advice.
Finding and Using the Correct Nozzle for Your Task
Selecting the right nozzle is pivotal for achieving effective results. Different tasks require specific spray patterns and pressures. I recommend familiarising yourself with the various nozzle types available: 0-degree, 15-degree, 25-degree, and 40-degree.
The 0-degree nozzle delivers a concentrated stream, ideal for tackling stubborn stains on robust surfaces like concrete. Use this cautiously, as it might damage softer materials. In contrast, the 15-degree option offers a wider spray, perfect for heavy-duty cleaning while still providing enough force to remove dirt from tougher surfaces.
The 25-degree nozzle balances power and area coverage, suitable for general cleaning tasks such as washing vehicles or patio furniture. Lastly, the 40-degree nozzle disperses water gently, making it appropriate for sensitive items like windows or painted surfaces.
Always test the nozzle on a small, inconspicuous area before attacking the main surface. Adjust the distance between the nozzle and the surface based on the material; maintaining a safe distance prevents damage. For delicate tasks, ensure to start from a further distance and gradually decrease as needed.
For versatile applications, consider investing in an adjustable nozzle. These allow you to switch between spray patterns easily, accommodating various cleaning demands without needing to change nozzles repeatedly.
Lastly, remember to clean the nozzles regularly to prevent clogs. A simple rinse and inspection will keep them functioning optimally, ensuring you achieve the best cleaning results every time.
Adjusting Pressure Settings for Different Surfaces
For optimal cleaning, adjust pressure settings based on the surface type. Soft surfaces like wood should be treated with lower pressure to avoid damage, generally around 1200 to 1500 PSI. This helps preserve the integrity of the material and prevents splintering.
Concrete and brick, being more durable, can handle higher settings. Typically, I recommend using between 2500 to 3000 PSI for these materials, ensuring stubborn stains and grime are effectively removed without risk.
Glass Surfaces
When cleaning glass, select a lower pressure to avoid shattering. A setting of around 800 to 1200 PSI is usually sufficient. Angle the spray nozzle to reduce direct impact, allowing for a gentle cleanse that removes dirt without compromising safety.
Vehicles
For automotive cleaning, maintain a medium pressure level of about 1500 to 2000 PSI. This is powerful enough to dislodge dirt and grime while being gentle on paintwork and finishes. Use a fan spray nozzle for an even distribution that lowers the risk of scratches.
Always refer to the manufacturer’s recommendations for specific surfaces. Frequent adjustments not only enhance cleaning efficiency but also prolong the life of your equipment and the surfaces you clean.
Identifying Common Issues and Troubleshooting Techniques
First, if the unit fails to start, check the power source. Ensure that the outlet is functioning and that connections are secure. Inspect the power cable for any visible damages.
If water is not flowing, it might indicate an airlock in the system. To resolve this, elevate the machine, disconnect the high-pressure hose, and turn on the unit briefly to purge any trapped air. Reconnect the hose afterward.
Persistent leaks generally derive from loose fittings or damaged seals. Tighten all connections, and replace any worn or cracked O-rings. This often resolves leakage problems.
Nozzle clogging is frequent. Detach the nozzle and clear any debris using a thin wire or a nozzle cleaning kit. This restores proper flow and pressure.
If you notice insufficient pressure, verify that you are using the correct nozzle for the task. Too wide a nozzle can cause pressure loss. Additionally, check the inlet filter for blockages, as this can impede water flow.
- Water temperature limitations should also be reviewed. Operating outside the recommended temperature range can affect performance.
- Check for any potential obstructions in the water inlet hose. Clear any kinks or debris that may be restricting flow.
In case of interruptions in spray pattern, a worn nozzle may be the cause. Inspect all nozzles regularly and replace them if necessary.
Unusual noises from the motor could indicate internal issues. If the problem persists, consult the owner’s manual or a professional technician.
Regular maintenance extends the life of the unit. Periodic checks, cleaning of filters, and careful inspection of components often prevent common issues from escalating.
Maintaining Your Portable Pressure Washer

Regularly inspect and replace filters to ensure optimal performance. A clogged filter can significantly reduce efficiency and lead to overheating.
Cleaning the Pump
.jpg)
Periodically flush the pump with clean water to remove sediment and prevent clogs. It’s advisable to run clean water through the unit after every use.
Inspecting and Storing Hoses
- Check hoses for cracks or wear; replace damaged sections immediately.
- Always coil hoses properly to prevent kinks and tangles that can lead to damage.
- Store hoses away from direct sunlight and extreme temperatures to prolong their lifespan.
Checking Seals and Connectors
Examine all seals and connectors for signs of wear or leaks. Replacing these components prevents loss of pressure and ensures a tight connection during operations.
Maintaining the Motor
- Keep the motor clean and free of debris. This aids in heat dissipation and overall efficiency.
- Check battery connections and terminals, ensuring they are tight and corrosion-free.
Storing for Off-Seasons
If not in use for an extended period, consider using a winterisation solution for the pump and storing the unit in a dry location to prevent damage.
Document maintenance tasks and any issues encountered. This will help track performance and make future troubleshooting easier.
Storing Your Pressure Cleaner Safely for Longevity

Ensure the unit is completely drained of water to prevent freezing or mildew. Flushing the system with antifreeze is advisable in colder climates. Remove any detergent residues, as they can damage components over time.
Keep the device in a dry, cool environment. A storage shed or garage works well, avoiding areas with high humidity. Use a protective cover to shield it from dust and potential physical damage.
Organising Accessories
Coil hoses neatly and secure them with straps or ties, preventing kinks. Store nozzles in a labelled container to keep track of different types. This will simplify setup for your next cleaning task.
Regular Checks

Periodically inspect all components for wear or damage, replacing parts as necessary. This practice helps maintain optimal performance, ensuring your cleaning equipment remains reliable when needed.


