
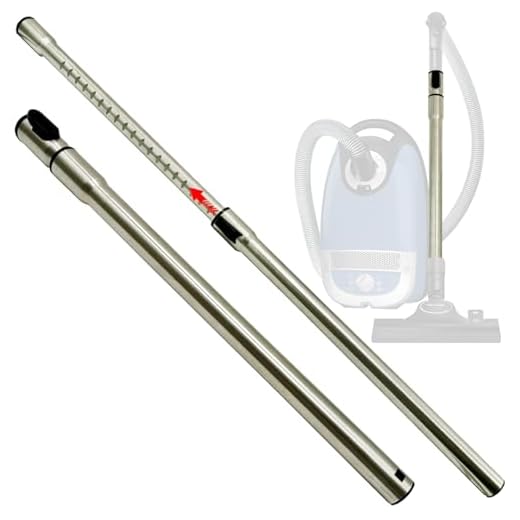


For optimal performance during your outdoor cleaning tasks, consider crafting your own specialised nozzle attachment. This approach allows for tailored water pressure and spray patterns, maximising efficiency for various cleaning needs. Start with a sturdy metal or high-grade plastic pipe, measuring around 30 inches in length; this provides a comfortable reach without sacrificing control.
Next, acquire a selection of compatible spray tips that suit different applications–such as blasting away grime or rinsing delicate surfaces. These tips typically connect via a threaded or quick-release mechanism, enhancing your adaptability. When selecting a connector, ensure it matches your main pipe’s diameter; a snug fit prevents leaks and maintains pressure.
For added comfort, consider incorporating a textured grip or a rubberised handle at the back end of your build. This not only enhances usability but also reduces fatigue during lengthy cleanings. Make sure to regularly inspect and replace any worn components to maintain optimal functionality and safety.
Tuning the parameters of your cleaning device not only saves time but also improves results across myriad surfaces. Embrace this hands-on approach and enjoy a personalised cleaning experience tailored specifically to your needs.
Selecting the Right Materials for Your Pressure Cleaning Tool
The choice of materials significantly influences the durability and performance of your cleaning attachment. I recommend opting for stainless steel or high-grade aluminium for the main body, due to their excellent resistance against corrosion and impact, ensuring longevity.
For the nozzle, a robust plastic composite is ideal. It’s lightweight, prevents rust, and can withstand high-pressure water flow. Choosing a nozzle with interchangeable tips allows versatility in performance, catering to various cleaning needs.
Rubber grips provide comfort during use and improve your hold. Look for non-slip textures that enhance control, especially when dealing with extended cleaning sessions.
Connecting hoses should be of reinforced materials, preventing kinks and leaks. I advise rubber or PVC blends that maintain flexibility without compromising strength, even at high pressures.
| Component | Recommended Material | Benefits |
|---|---|---|
| Main Body | Stainless Steel / High-Grade Aluminium | Corrosion resistance, durability |
| Hook-Up Nozzle | Plastic Composite | Lightweight, rust-proof, versatile |
| Grip | Rubber | Comfortable, non-slip texture |
| Connecting Hose | Reinforced Rubber / PVC | Flexibility, leak-proof |
Consider the weight of the materials as well. Lighter materials reduce fatigue, especially for prolonged usage. Balancing weight with durability is essential for functionality and ease of use.
Lastly, always check for compatibility with your existing equipment. Mismatched components can lead to inefficiencies or damage, so ensure every part aligns well with your specifications.
Choosing the Correct Diameter for the Wand Tubing
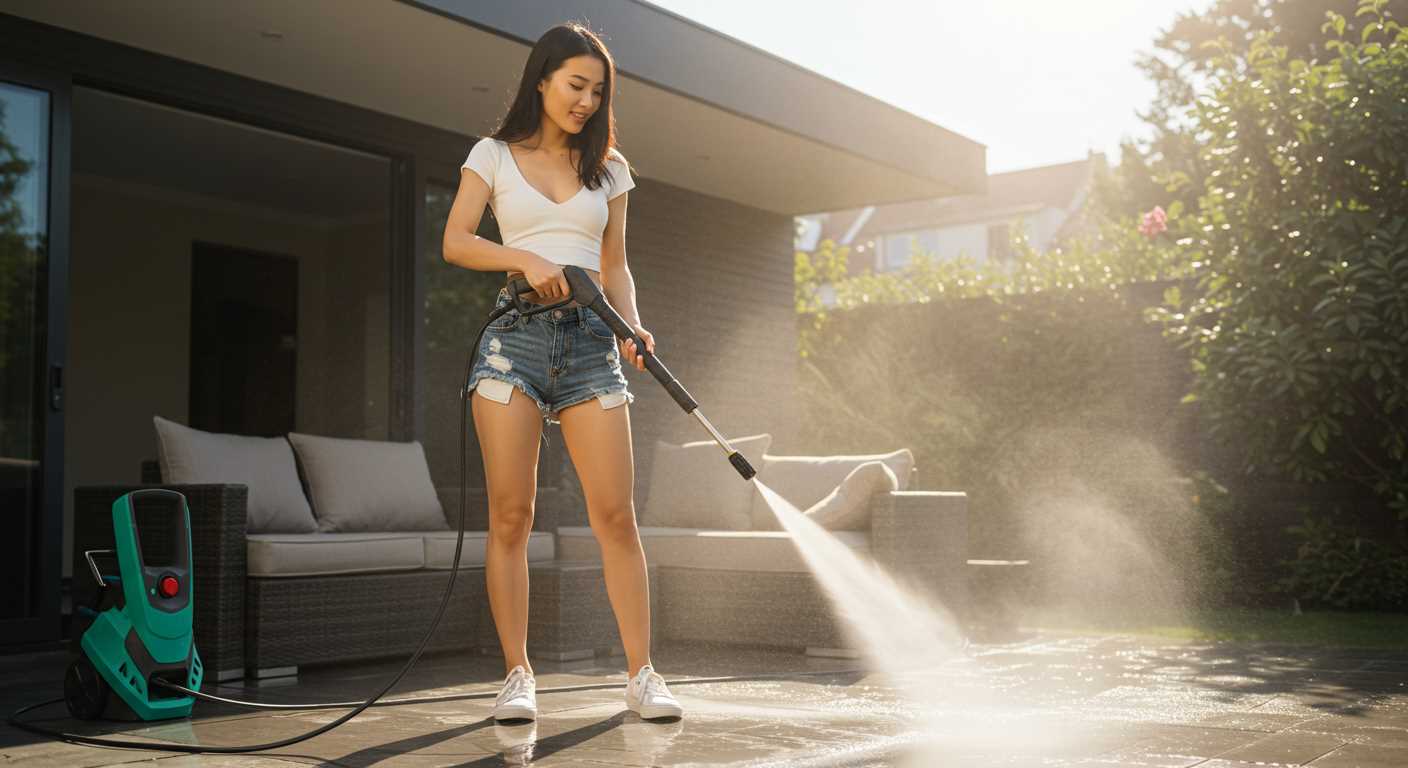
Select the tubing diameter based on the desired flow rate and specific tasks. A wider diameter, typically around 1/4 inch, allows for higher water flow, making it suitable for large areas or tough grime removal. Conversely, a narrower diameter, such as 1/8 inch, provides a concentrated stream ideal for detailed cleaning. The trade-off is that narrower tubing may reduce the overall flow rate, which affects cleansing efficiency.
Consider Compatibility with Equipment
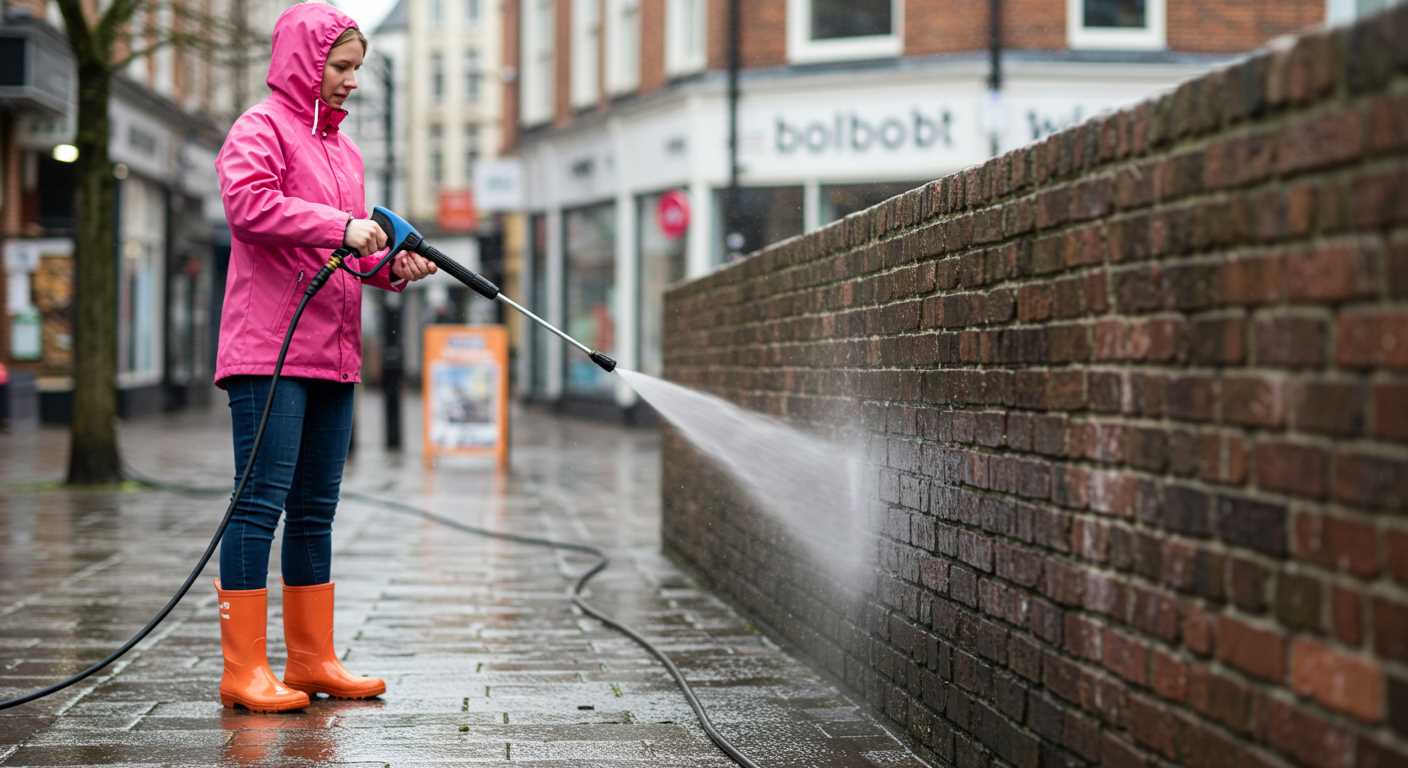
Ensure that the diameter matches the inlet of your machine. Using incompatible sizes can result in reduced pressure and inefficient cleaning. Measure the inlet size before buying materials, and choose a diameter that guarantees an optimal fit. If you have a standard washer, consult the specifications guide for recommended tubing sizes.
Factor in Intended Use
Consider the type of cleaning tasks you’ll tackle. For delicate surfaces like cars, a smaller diameter equipped with specific nozzles will reduce the risk of damage. For tougher surfaces like concrete, a larger diameter with appropriate nozzles will effectively remove dirt without compromising the integrity of the material. Adjust the diameter to align with the cleaning priorities.
Deciding on a nozzle type for specific cleaning tasks
Select a nozzle based on the surface and dirt type you’re tackling. For heavy grime, a zero-degree nozzle delivers a concentrated stream ideal for stubborn stains on concrete or brick. However, caution is necessary, as this narrow jet can damage softer materials.
A 15-degree nozzle works well for tough jobs on hard surfaces, providing a wider spray that is still powerful enough for grease or mud. This is suitable for surfaces like driveways and patios.
If working on painted surfaces or wood, a 25-degree nozzle is your best option. It disperses water in a fan shape, reducing the intensity and preventing potential damage while still effectively removing dirt.
For delicate tasks, such as cleaning vehicles or sensitive surfaces, a 40-degree nozzle gently rinses away dirt without risk of scratching. This wider angle is perfect for finishing off a wash without leaving marks.
Lastly, consider adjustable nozzles for versatility. They allow you to switch between spray patterns quickly, accommodating various cleaning tasks without needing to change equipment.
Understanding the Importance of Pressure Ratings
Choosing the correct rating is critical. It determines the capability of the equipment and affects safety during operation. Here are the key aspects to consider:
- Know Your Ratings: Familiarise yourself with the two main ratings: PSI (pounds per square inch) and GPM (gallons per minute). High PSI is ideal for tough stains, while GPM relates to the volume of water flow, affecting cleaning efficiency.
- Match Tasks: Align the ratings with your specific cleaning needs. For example, light cleaning tasks like washing vehicles may require a lower PSI, while heavy-duty jobs like stripping paint need higher ratings.
- Material Compatibility: Higher ratings may necessitate stronger materials. Ensure that the construction of your cleaning tool can handle the specified pressure to avoid breakage or leaks.
- Safety Concerns: Exceeding the recommended pressure can lead to dangerous situations, such as equipment failure or injuries. Always adhere to manufacturer specifications.
- Calibration: Regularly check the ratings of your apparatus. Over time, wear can affect performance, potentially necessitating adjustments or replacements.
Understanding these key points will ensure optimal performance and longevity of your cleaning tool while maintaining safety during usage.
Assembling Your Cleaning Equipment Attachment: Step-by-Step Process
Gather the components: tubing, connectors, nozzle, and any additional fittings. Ensure everything is compatible for seamless assembly.
Step 1: Preparing the Tubing
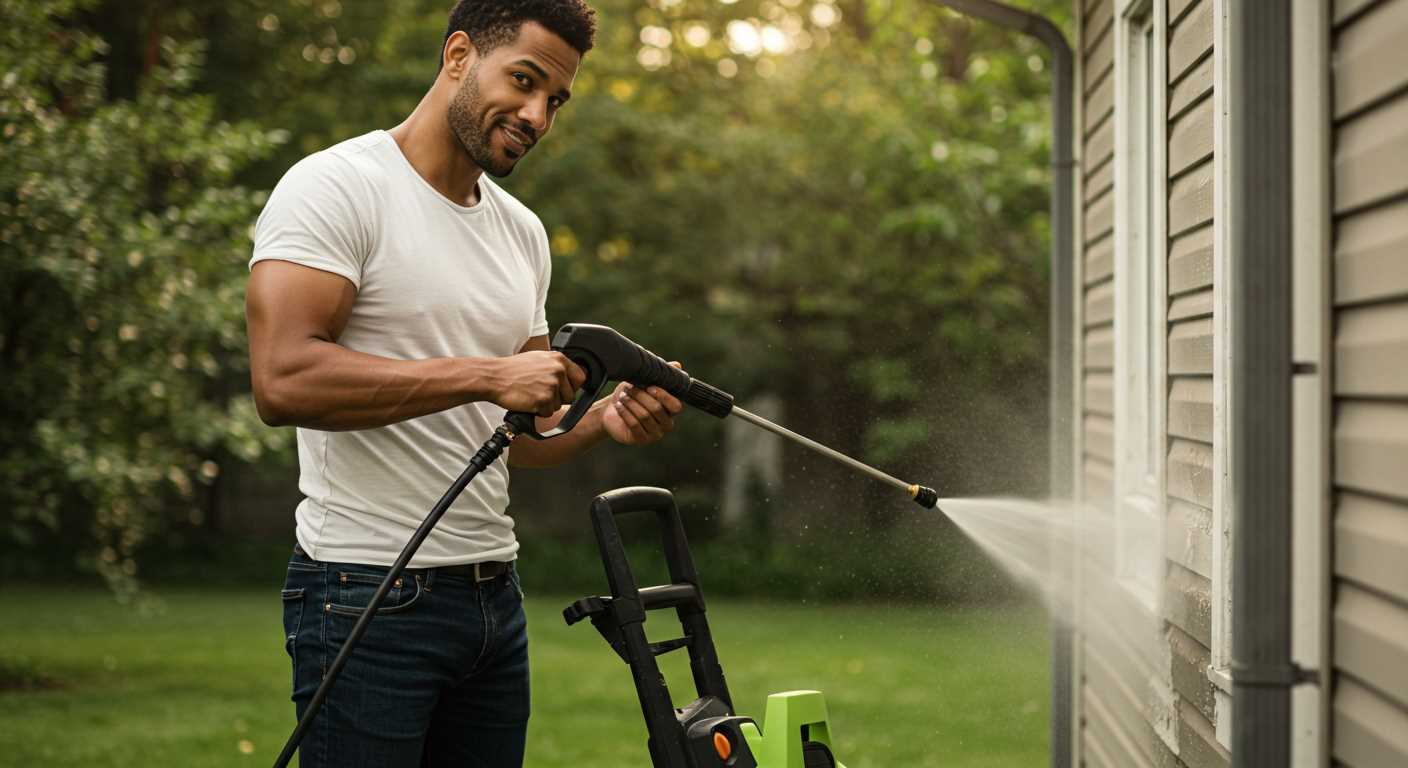
Cut the tubing to your preferred length. A common size is around 1.2 to 1.5 metres for ease of handling. Use a pipe cutter for a clean, straight edge to prevent leaks.
Step 2: Attaching Connectors
- Take one end of the tubing and insert it into the connector. Make sure it fits snugly.
- Secure with a hose clamp, tightening it with a screwdriver to ensure there are no leaks.
Step 3: Installing the Nozzle
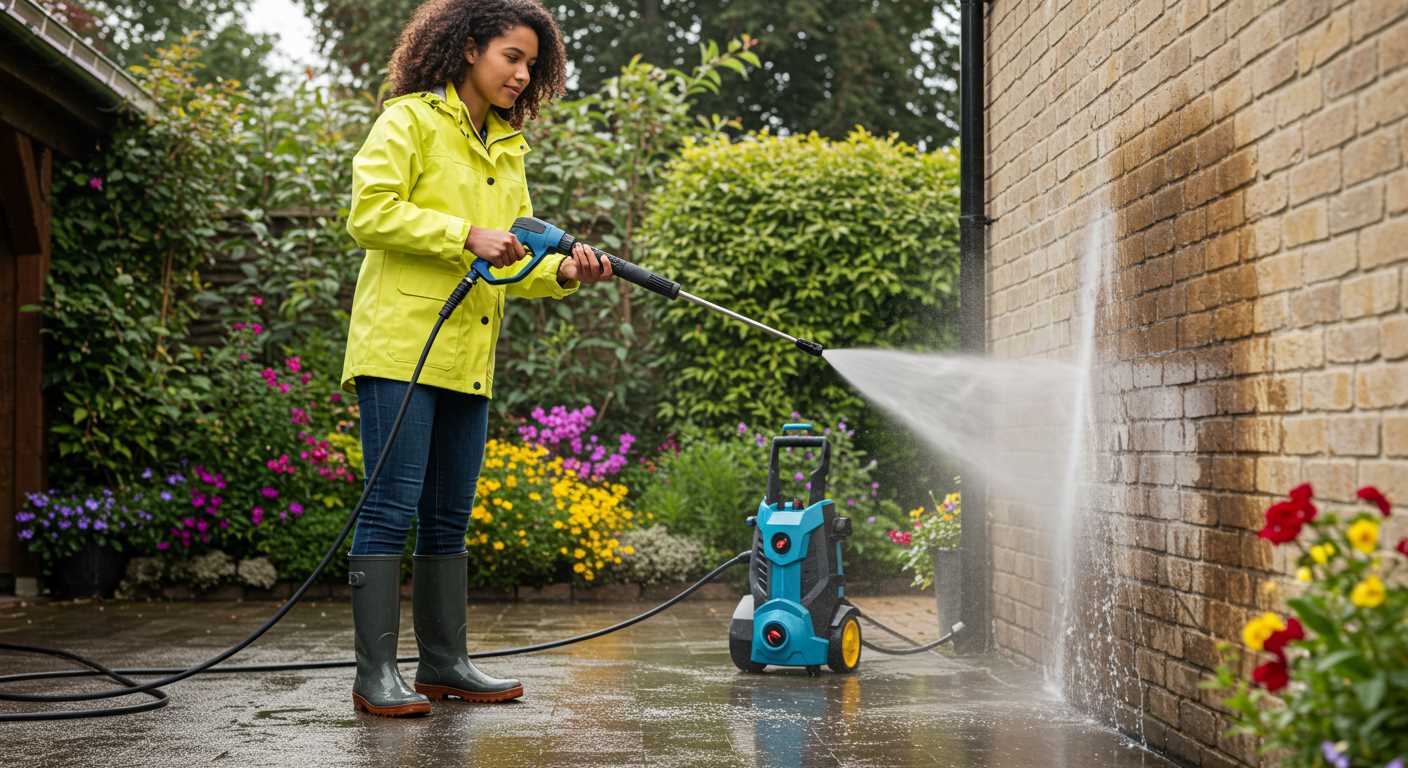
Choose the appropriate nozzle based on your cleaning task. Insert it into the other end of the tubing, ensuring a tight fit. Use plumber’s tape for added security to prevent water from escaping.
Step 4: Final Assembly Check
- Inspect all connections for tightness.
- Run a small test by activating the unit briefly to check for leaks around joints.
Your attachment is now assembled and ready for use. Adjust the nozzle and pressure settings according to your cleaning needs to achieve optimal results.
Testing Your Homemade Cleaning Tool for Leaks and Performance
Before using the assembled device, checking for leaks is essential. Begin by connecting it to a water source and turning the flow on. Inspect all joints, fittings, and connections; any sign of moisture indicates a potential issue. Tighten or replace faulty components as necessary to prevent loss during operation.
Performance Assessment
After confirming there are no leaks, conduct a performance test. Attach the nozzle and activate the water flow while keeping the device in a safe environment. Observe the jet stream for consistency and pressure. It should produce a steady, strong spray without pulsations; this indicates proper function. If the force fluctuates, air may be trapped in the system or there could be an obstruction in the tubing.
Pressure Regulation
While testing, also pay attention to how the tool regulates pressure. Each nozzle type has a specific spray pattern; find one that matches your cleaning needs and verify its effectiveness. Adjust any settings or change nozzles accordingly to optimise cleaning results.
Further Adjustments
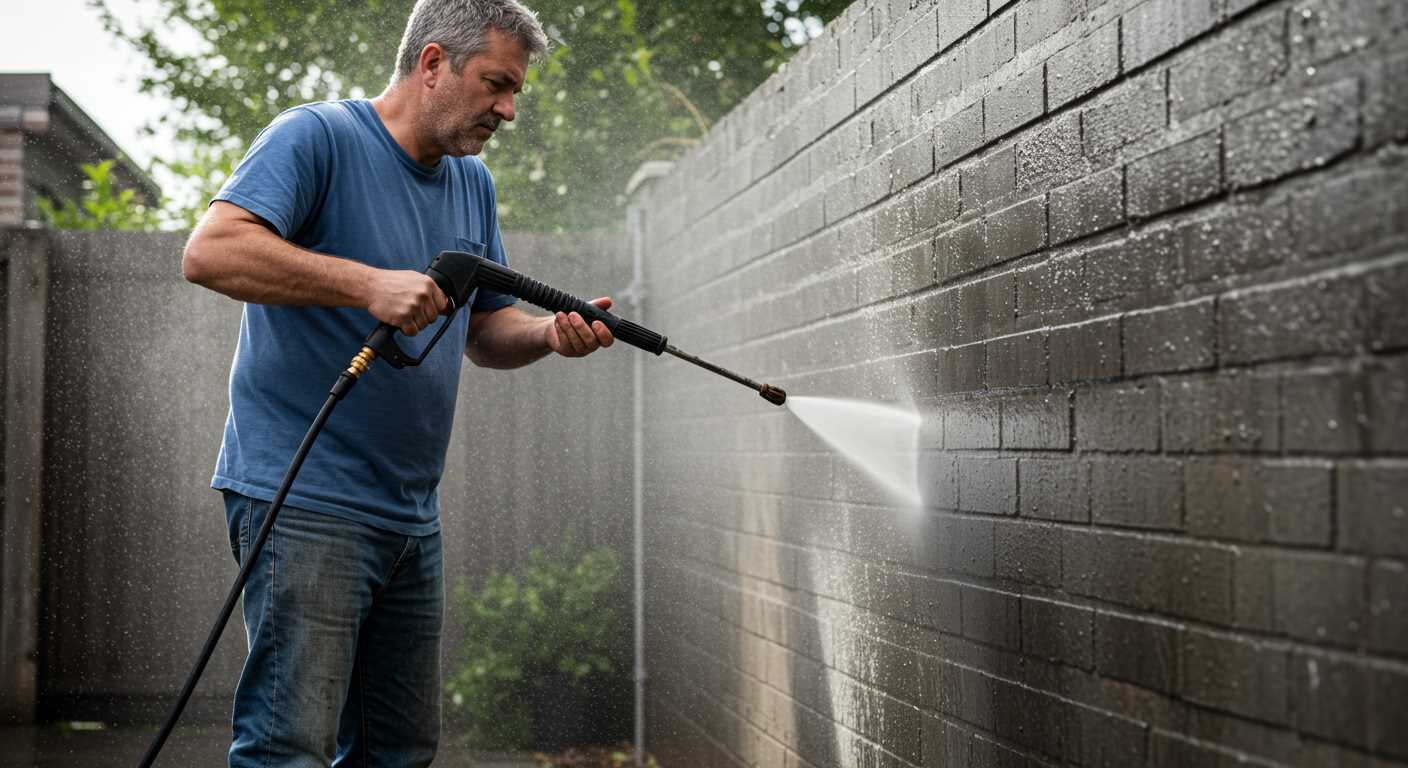
If performance does not meet expectations, re-evaluate the components once more. Check for kinks in the tubing or blockages in the nozzle that could impede flow. Making adjustments or reinforcing connections may enhance overall efficiency. Maintain a record of your findings during testing to facilitate future upgrades or repairs.
Maintaining Your Cleaning Equipment Tool for Longevity
Regularly inspect all connections and fittings for wear and tear. Replace any damaged seals immediately to prevent leaks that can lead to reduced efficiency.
After each use, rinse the tool with clean water to remove any soap, debris, or residue. This simple step helps to prevent clogs and maintains optimal functionality.
Store the device in a cool, dry place away from direct sunlight. Extreme temperatures can weaken materials and affect performance.
Periodically check the extension or tubing for kinks and obstructions. Clear any blockages gently to avoid causing damage.
Use a lubricating spray on the moving parts every few months to ensure smooth operation. This helps to prevent rust and extend the lifespan.
Develop a seasonal maintenance schedule that includes a thorough inspection of all components for any signs of wear. This proactive approach helps to catch issues early.
Consider replacing the nozzle periodically, especially if you are using the equipment for demanding tasks. A worn nozzle can decrease cleaning power and efficiency.
Lastly, always refer to the manufacturer’s guidelines for specific maintenance recommendations tailored to your equipment.
| Maintenance Task | Frequency |
|---|---|
| Inspect connections and seals | Before each use |
| Rinse after use | After each use |
| Check for kinks in tubing | Before each use |
| Lubricate moving parts | Every few months |
| Replace nozzles | As needed |
| Full inspection | Seasonally |
Troubleshooting common issues with DIY cleaning tool extensions
Inspect seals for any signs of wear or damage. A compromised seal can lead to leaks and decreased efficiency. Replacing worn components often rectifies these problems.
If you experience weak or inconsistent output, consider verifying the connections. Loose fittings can disrupt flow; tightening these usually resolves the issue. Additionally, check for kinks or blockages in the tubing that could restrict water movement.
Unusual noise during operation may indicate that something is amiss within the assembly. Ensure that all parts are securely fastened and that no debris is caught in critical areas. Addressing these concerns promptly helps avoid further complications.
Should the attachment fail to reach the desired cleaning pressure, reassess the nozzle selection. Using a nozzle that isn’t compatible with your tool can limit performance. Consult recommended specifications for optimal compatibility.
Frequent clogs might point to inadequate filtration. Ensure that the water source is clean and that all filters are properly maintained. This not only enhances performance but also prolongs the lifespan of the components.
Regular maintenance checks can pre-emptively identify potential issues. Cleaning and inspecting your equipment after each use is beneficial. This small effort can lead to significant improvements in reliability and longevity.


