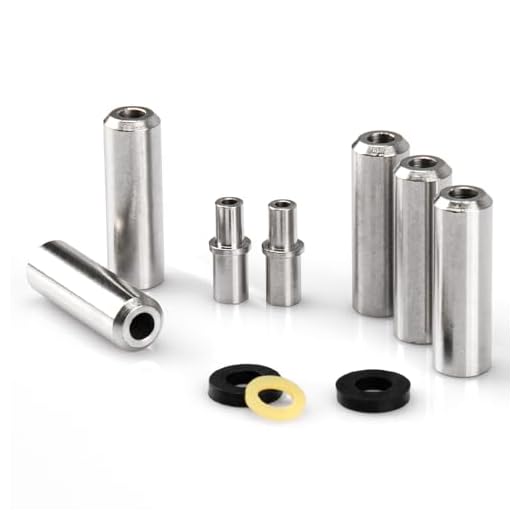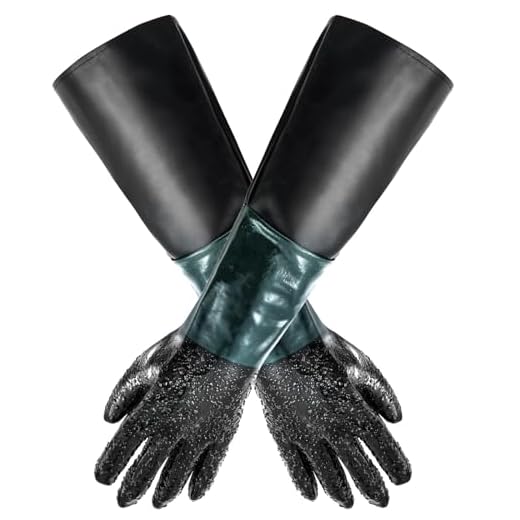

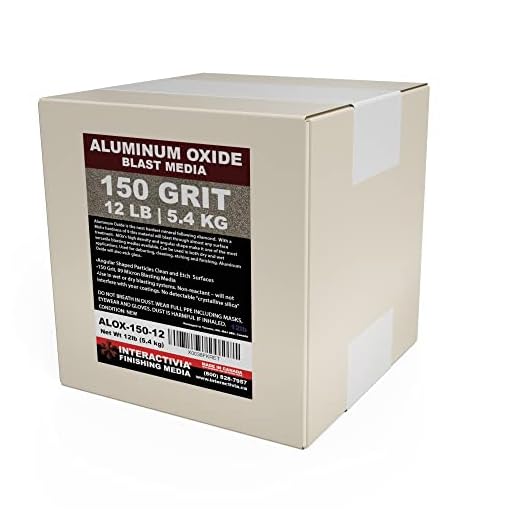

To convert your high-pressure cleaner into a powerful abrasive blaster, the right nozzle is key. A specially designed attachment allows the introduction of finer media like silica sand or garnet into the water stream, which enhances the cleaning process significantly. Select a nozzle that fits your model while ensuring it can handle the media without clogging.
Another critical component is the media container. An effective solution is to use a siphon feed system that connects the media supply directly to the pressure unit. This apparatus should be airtight to prevent the media from spilling and to maintain consistent flow during operation.
Before starting, ensure that you wear appropriate safety gear including goggles and protective clothing. The force of the spray can dislodge materials at high velocity, which poses a risk to both the operator and nearby individuals. Always test on a small, inconspicuous area first to assess the impact of the abrasive material.
Finally, adjust the water flow rate according to the media type for optimal results. Consistent monitoring of the pressure and discharge water will yield the most efficient performance, making your modified cleaner not only functional but a versatile tool for various applications.
Setup Process
To convert a high-pressure cleaning system for abrasive applications, begin with acquiring an attachment specifically designed for introducing media into the water stream. A siphon nozzle can serve this purpose effectively. Ensure compatibility with your water output specifications.
Tools Required
- Compatible siphon nozzle attachment
- Abrasive media, such as sand or glass beads
- Protective gear (goggles, gloves, mask)
- Bucket for sourcing abrasive media
Assembly Steps
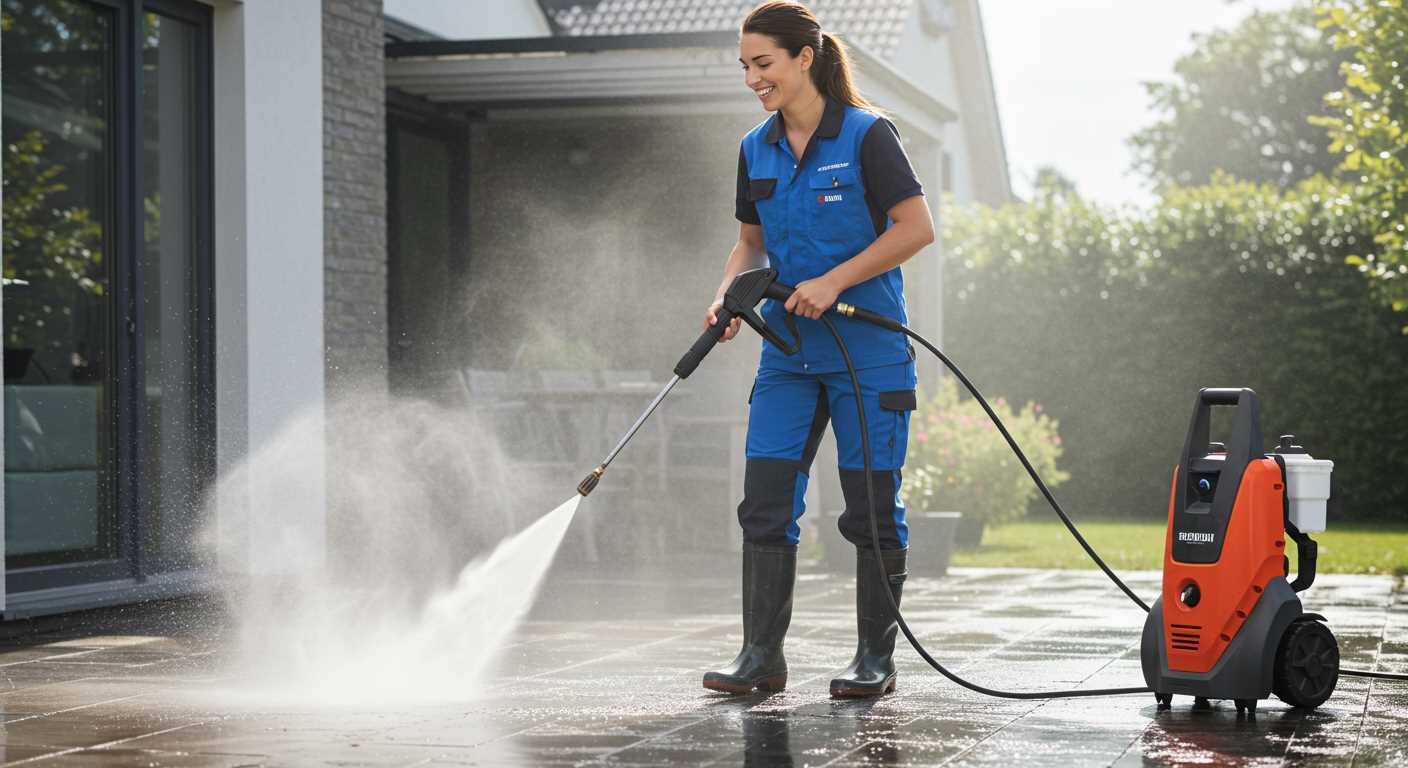
- Disconnect the main unit from the water and power sources.
- Attach the siphon nozzle to the spray wand according to the provided instructions.
- Position the container of abrasive media near the nozzle for easy access.
- Fill the bucket with the chosen abrasive media ensuring it flows freely to the nozzle.
- Reconnect the water supply and power your equipment.
This setup enables a controlled flow of abrasive materials, allowing for effective cleaning or surface preparation. Always test on a small area first to adjust pressure and media flow for optimal results.
Choosing the Right Model
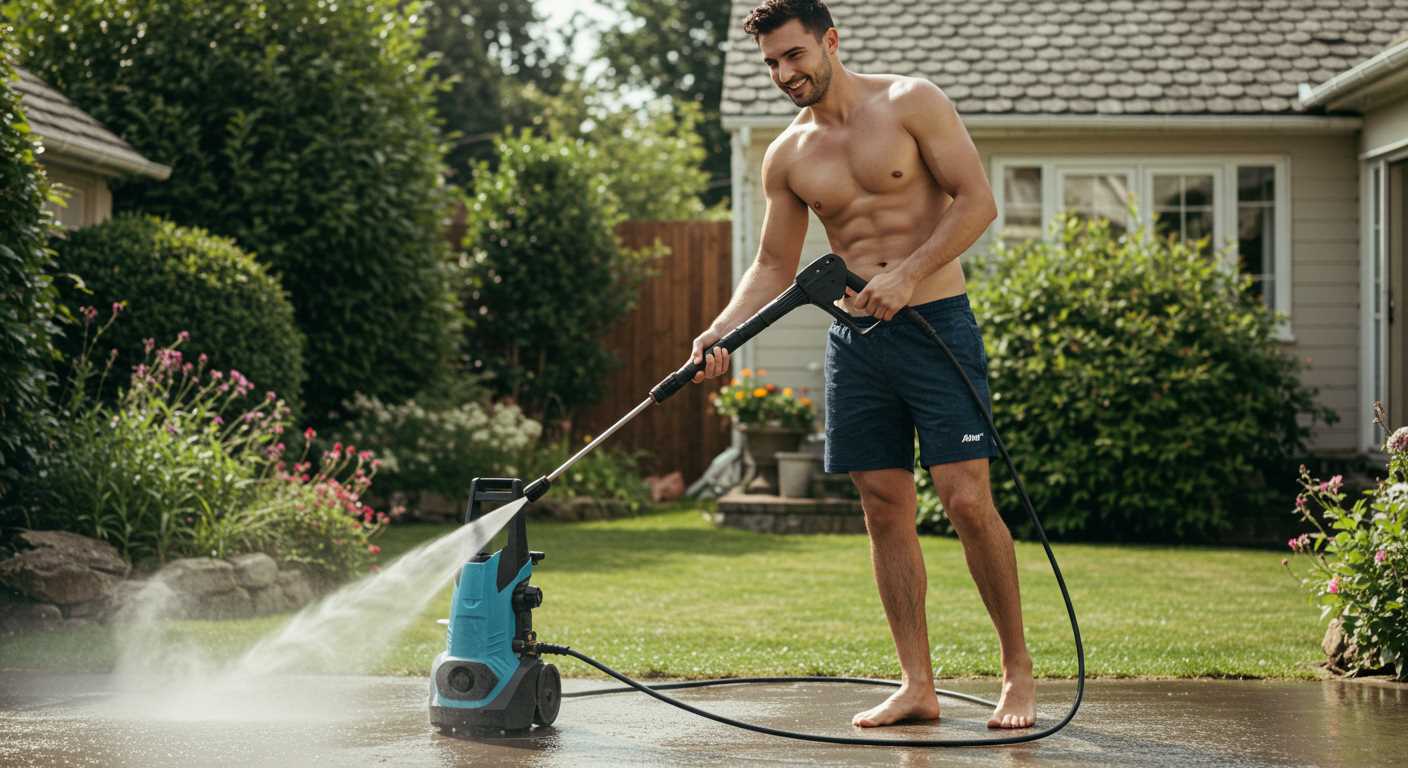
For optimal results, select a unit with a minimum pressure rating of 2000 PSI and a suitable flow rate around 2.5 GPM. Higher pressure ensures more effective abrasion for tougher materials.
The motor type matters. Electric models offer less mobility but are quieter and easier to maintain, while gasoline options provide increased power and portability for larger projects.
Check for compatibility with accessories. Ensure that the attachment for the abrasive media is available or can be adapted to your chosen configuration. The right nozzle is essential for both efficiency and output quality.
Consider the weight and size. A more compact and lightweight version aids manoeuvrability, especially for prolonged use, while a heavier model may provide stability for rigorous tasks.
Lastly, prioritise build quality and warranty options. Investing in a well-constructed device can prevent future expenses linked to repairs or replacements, ensuring long-term reliability.
Materials Needed for Conversion
For my conversion of a cleaning device into a blasting tool, I require specific components for optimal performance and safety. Gather the following:
Core Components
1. Sandblasting Kit: A suitable kit that includes a nozzle and sand feed tube is essential. Look for a model compatible with your equipment to ensure proper integration.
2. Abrasive Material: Select fine to medium grit silica sand or other blast media, ensuring it’s appropriate for the intended surface and does not damage it.
Additional Supplies
1. Hoses: Reinforced hoses are needed to handle air and media. Ensure compatibility with the existing setup to prevent leaks.
2. Connectors and Adapters: Various fittings might be necessary to connect the sandblasting kit to your washer securely.
3. Protective Gear: Always wear a respirator, goggles, and gloves for safety while operating the blasting tool, as fine particles can pose health risks.
Step-by-Step Assembly Instructions

Begin by gathering the necessary tools: a wrench, screwdriver, and pliers. Ensure the cleaning unit is turned off and disconnected from the power source for safety reasons.
1. Attach a suitable siphon hose to the inlet of the device. This hose should be made of durable material to withstand the abrasive particles used during the operation. The other end should be placed into a container filled with the abrasive medium.
2. Modify the nozzle. Replace the standard nozzle with a multi-jet or venturi style tip recommended for this conversion. This adjustment allows for accurate mixing of the water stream and the medium.
3. Secure all connections. Tighten fittings on both the siphon hose and the nozzle firmly to prevent leaks. Use the wrench for extra torque but avoid overtightening to prevent damage.
4. Test the assembly before full operation. Turn on the unit and allow water to run through. Look out for any leaks or irregular water flow, adjusting as needed.
5. Once leaks are resolved, gradually increase the pressure. Monitor the material flow to ensure even distribution while keeping at a safe distance from the surface being cleaned.
6. Lastly, adjust your technique based on feedback. Alter the distance and angle of operation for optimal results. Practising on a test surface can help in fine-tuning the method.
| Component | Details |
|---|---|
| Siphon Hose | Durable, resistant to abrasives, length suitable for container depth |
| Nozzle | Multi-jet or venturi style, designed for compatibility with the water flow |
| Container | Sturdy, holds a sufficient amount of the medium without spillage |
| Tools | Basic tools – wrench, screwdriver, pliers |
Integrating a Sand Hopper into Your Design
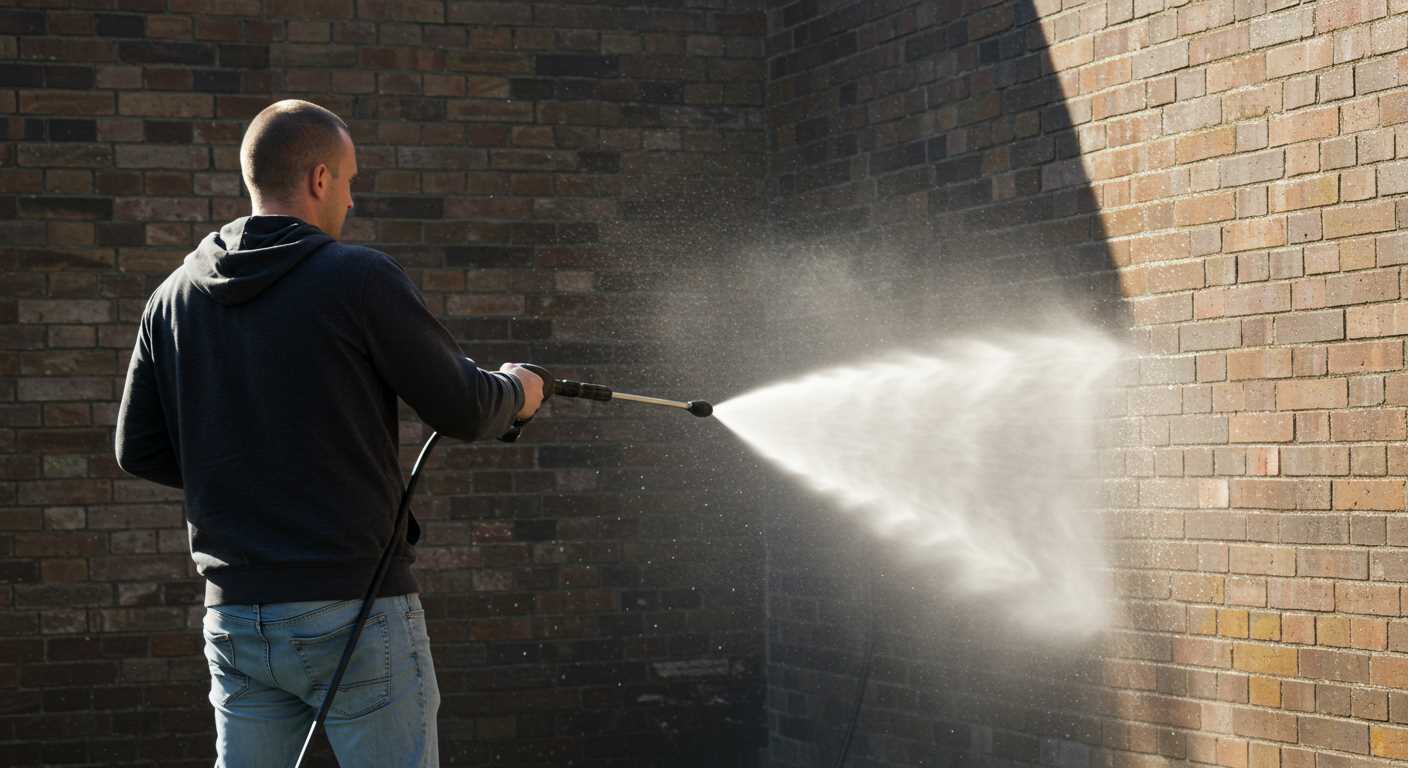
Attach a sand hopper to the existing structure with a secure bracket or mounting system that can handle the weight and vibration during operation. A gravity-fed hopper works best, as it allows the abrasive material to flow naturally into the mixing area without requiring additional pumps.
Ensure the hopper features a wide opening for easy filling and an adjustable valve or nozzle to control the flow of sand. This control enables you to modify the amount of material introduced into the airstream, allowing for precise application.
Consider incorporating a 90-degree elbow or a straight connector between the hopper and the mixing chamber. This will facilitate a smooth transition of the medium into the high-pressure stream. Be mindful of minimizing bends and restrictions, as these can hinder efficiency.
Select a material for the hopper that can withstand the abrasiveness of the media. Options like polyethylene or stainless steel are ideal due to their durability and resistance to corrosion.
Additionally, make sure to create a sealed connection between the hopper and the mixing chamber to prevent leakage and allow for optimal performance. Sealing can be achieved using O-rings or gaskets, which help maintain pressure and keep abrasives contained.
Finally, test the setup with different types of media to fine-tune the flow settings. Adjust the feed rate until you achieve the desired cleaning results without compromising the efficiency of the water and air mixture.
Adjusting Pressure Settings for Optimal Performance
Set the output to match the media you’re using for blasting. Generally, a higher setting works well with abrasive materials, while a lower setting is preferable for more delicate surfaces. I recommend starting at a moderate level, typically around 2000 PSI, and altering as needed.
Fine-Tuning
Monitor the performance during the first few uses. If the material isn’t removing as efficiently as desired, incrementally increase the output by 100 PSI until you reach a satisfactory level. Maintain a safe distance from the target surface to avoid damage.
Testing Different Abrasives
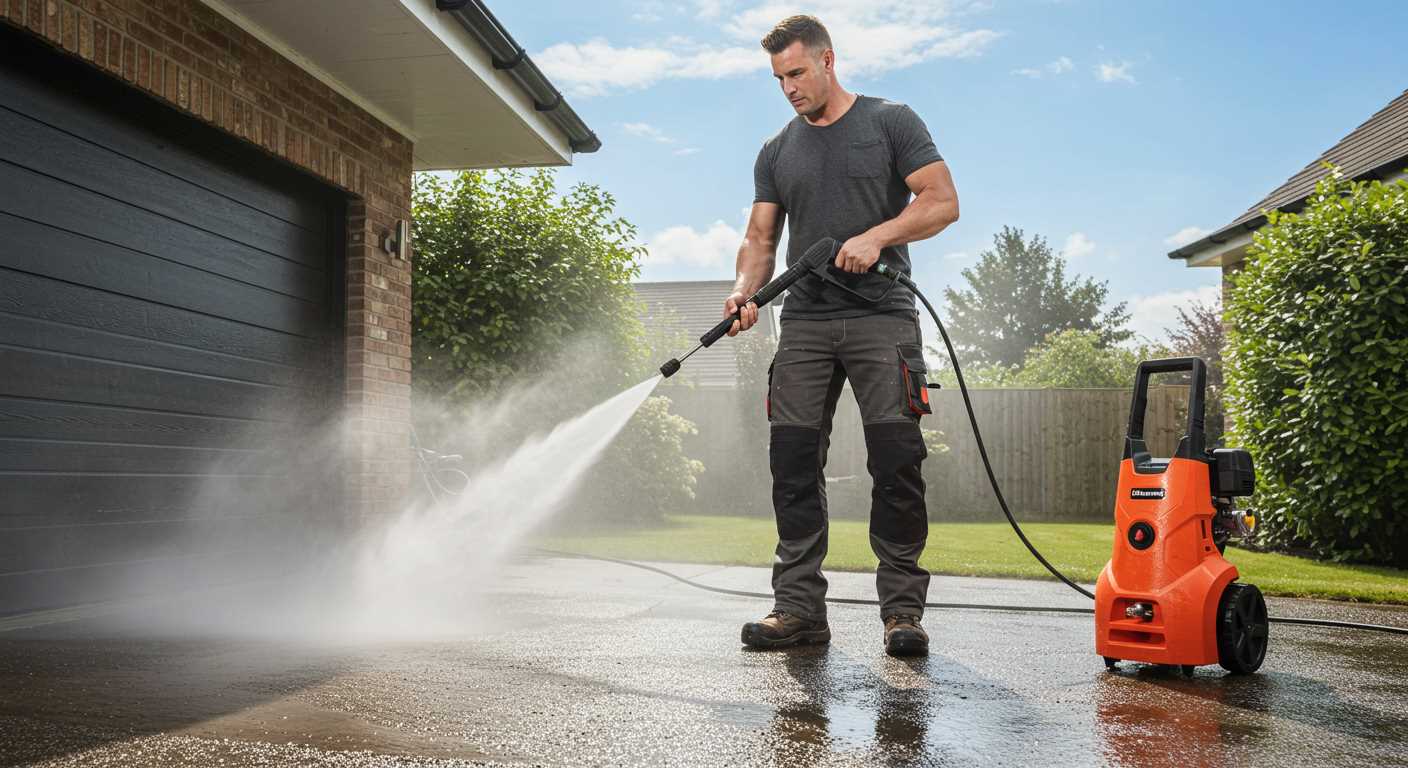
Experiment with various blasting agents to find the ideal combination for your needs. Some materials may require specific settings to maximise their effectiveness. Always conduct small tests to gauge results before committing to a full session.
Keeping an eye on the nozzle type is crucial, too. A wider spray pattern may necessitate a different output than a focused stream, so adjust accordingly. Balancing these elements will enhance your overall efficiency and achieve the desired results with precision.
Safety Measures During Sandblasting

Always wear appropriate personal protective equipment (PPE). This includes a full-face respirator, safety goggles, gloves, and durable coveralls to shield skin from airborne particles. Ensure your PPE meets safety standards for abrasive materials.
Ventilation
Work in a well-ventilated area. Adequate airflow reduces the concentration of dust and particles. If indoors, consider using exhaust fans to maintain a safe atmosphere and minimise inhalation risks.
Grounding and Electrical Safety
- Use equipment that is properly grounded to prevent electrical shocks.
- Inspect the power cord regularly for any signs of wear or damage.
- Avoid using the equipment in wet conditions to mitigate electrical hazards.
Keep the work area clear of obstructions. Make sure all bystanders are at a safe distance to avoid injuries from flying debris. Barriers or warning signs can help communicate hazards effectively.
Regularly check for leaks or blockages in the delivery systems and ensure all parts are securely attached. Before starting, ensure the area is free of flammable materials as the process may generate sparks.
If working on elevated surfaces, utilise harnesses or safety lines to prevent falls. A stable ladder or scaffolding should be used to maintain balance during the operation.
After usage, clean the area thoroughly. Dispose of materials properly, adhering to local regulations regarding hazardous waste. Always follow manufacturer guidelines for maintenance and storage of the equipment.
Common Issues and Troubleshooting Tips
If you experience low abrasive feed, first check the hopper for blockages. Ensure the sand material is dry and free-flowing. Wet or clumpy sand can impede performance. A quick shake of the hopper can sometimes resolve minor clogs.
For inconsistent spraying, inspect the nozzle and ensure it is clean and free from debris. A worn or damaged nozzle can also lead to uneven pressure and ineffective blasting. Replace it if necessary for optimal results.
If the machine shuts off unexpectedly, verify that the motor isn’t overheating. This can happen if the water supply is insufficient or the unit is overstressed. Allow it to cool down and examine water connections for kinks or obstructions.
Should you notice excessive dust or scattering, evaluate the angle and distance of your application technique. Adjusting these factors can significantly enhance the control and effectiveness of the abrasive material.
If you encounter leaks around the connections, ensure all fittings are secure and not worn. Replacing damaged seals or using tape can effectively stop leaks and maintain pressure.
For issues related to inadequate pressure, double-check the settings and ensure you’re using the correct type of abrasive material. Also, inspect hoses and connections for any signs of wear that might affect performance.
If all else fails, consult the manufacturer’s manual for guidance specific to your model. Each unit can have unique quirks, and understanding these can save time and frustration.
Maintenance Guidelines for Your DIY Sandblaster
Inspect the sand supply frequently, ensuring it remains free from clumps and moisture. Damp material can clog the feed line, disrupting the flow.
Check all attached fittings and hoses for wear and leaks. Replace any damaged components immediately to prevent pressure loss and ensure optimal operation.
Clean the nozzle periodically to remove any abrasive material build-up. A clogged nozzle can diminish performance and cause uneven application.
Inspect the sand hopper for blockages or wear, particularly around the feed system. Ensure it is properly sealed to prevent the escape of abrasive media.
After each use, clear the system of any remaining abrasive material to avoid rust and degradation of internal components.
Test the pressure settings regularly. Adjust as necessary to maintain consistent performance, keeping in mind that too high a setting may cause excessive wear on parts.
Regularly verify that your equipment is grounded correctly to prevent electrical hazards. This is particularly crucial if your setup operates with electricity in moisture-prone areas.
Store your machine in a dry, sheltered location to protect it from the elements. Covering equipment can significantly increase its lifespan and maintain functionality.
Lastly, refer to the manufacturer’s guidelines for maintenance specific to your cleaning unit. Adhering to these recommendations will ensure longevity and reliable performance.


