

For anyone keen on creating their own winter wonderland, combining a high-pressure cleaner with a few readily available components proves to be a clever solution. This approach requires minimal investment and can deliver impressive results when aiming to produce artificial frost. It’s all about harnessing the power of water and air to create those delightful flakes.
The first step involves modifying your cleaning equipment for a different purpose. By integrating a nozzle designed for misting, you can transform the high-velocity jet of water into tiny droplets. The colder the air around, the better the results. This means considering your local climate conditions, as optimal temperatures dive below zero and humidity levels play a critical role in the transformation of water into snow-like particles.
Next, focus on airflow. A fan is an essential addition to ensure that the emitted mist disperses properly, creating an appropriate environment for the formation of snow. Position the fan in a way that pushes air through the mist, allowing the water droplets to freeze before they hit the ground. This setup works best in an open area where the airflow isn’t obstructed, maximizing the efficiency of the entire system.
With these elements in place, testing will be your final step. Adjust the water pressure and the fan speed to find the perfect balance for generating the desired snow-like consistency. The more you experiment with configurations, the closer you’ll get to achieving a magical snowy effect in your backyard.
Creating an Ice Scene Using High-Pressure Equipment
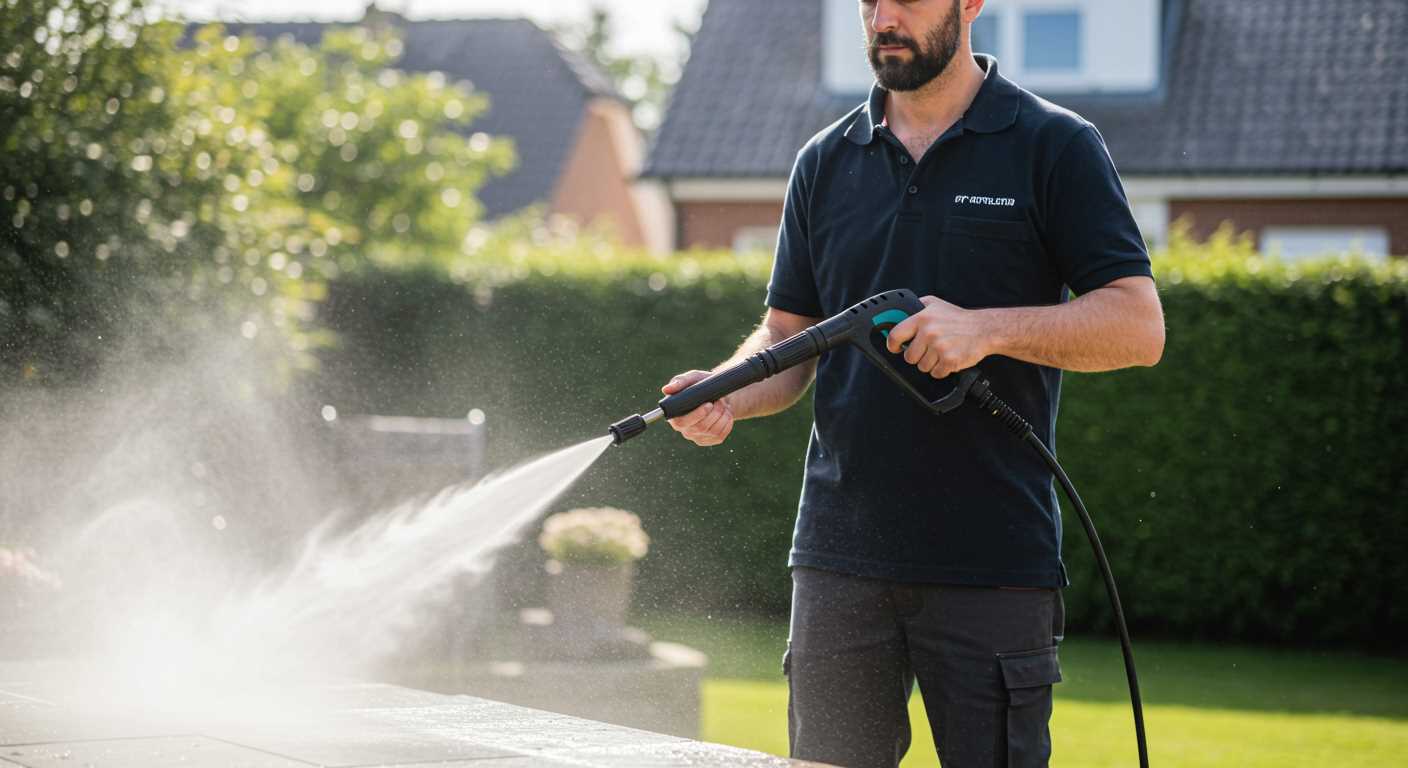
Select a device capable of delivering at least 3,000 PSI for optimal results. The pressure generated helps to break down water into fine droplets, which is crucial for achieving a powdery texture.
Attach a nozzle that provides a wide spray pattern; a fan or mist nozzle works best. This feature aids in spreading water efficiently across the area and increases the ability to form flakes.
Install an air compressor to infuse air into the water stream. This combination is key to creating light, fluffy formations. Ensure the air pressure is adequate; around 40 psi generally yields desirable results.
Position the unit at a height of approximately 10-15 feet from the target surface. This height allows for optimal dispersion of the water droplets as they fall, aiding in their transformation into crystalline bits.
Monitor the temperature closely. Ideal conditions are when ambient temperatures hover around or below freezing, as this encourages the water to solidify instantaneously upon contact with the surface.
Experiment with mixing in a small quantity of biodegradable soap to enhance the structural integrity of the formations. This helps them to last longer, especially in slightly warmer conditions.
Run the apparatus in short bursts to allow time for cooling between sprays. This prevents excessive melting and optimises the creation of a robust layer.
Adjust settings based on results observed and take notes for future attempts. Each environment may require slight tweaks for maximum output. This hands-on approach will refine your technique over time.
Choosing the Right Type of Pressure Cleaner for Snow Production
For optimal results, a unit with a minimum of 3000 PSI and a flow rate of at least 3.5 GPM is recommended. This combination ensures that the water can be atomized effectively into droplets, crucial for creating artificial frost.
Electric vs. Gas
Electric models serve well in smaller setups or residential applications due to their ease of use and lower maintenance. However, for extensive areas, gas-operated machines offer the power needed to maintain performance without being tethered by an electrical outlet. Selecting between them largely depends on the scale of operation and your access to power sources.
Commercial vs. Residential Equipment
Commercial variants are built with durability and frequent use in mind, featuring enhanced components that withstand rigorous conditions. If your needs are occasional, a residential unit might suffice. Ensure the choice matches your intended frequency and environment of application to avoid premature wear or failures.
Understanding the Science Behind Snow Creation
Creating ice crystals requires precise conditions, specifically temperature and humidity. The air temperature needs to be around -2 to -7 degrees Celsius for optimal crystal formation. Droplets of water are turned into ice when they come into contact with sufficiently cold air. This process, known as nucleation, is essential in transforming water into fluffy flakes.
The Role of Aerosolised Water
When high-pressure jets atomise water, they produce tiny droplets that can easily freeze. These droplets, suspended in the air, must freeze fast enough to prevent merging into larger droplets. A fine mist helps enhance this process, ensuring a greater surface area for ice formation. Using a reliable device to create this aerosolised water will improve the chances of producing consistent and quality crystals.
Humidity’s Impact
Humidity also plays a critical role. Higher humidity levels can facilitate ice formation, as there’s more water available for freezing. Ideally, relative humidity should be around 60 to 90 per cent. Maintaining the correct balance of temperature and humidity is essential for producing desirable results.
Required Materials and Tools for the Snow Maker
To create an effective setup, gather these components:
- High-Pressure Device: Choose one with at least 2000 PSI for optimal performance.
- Water Source: A reliable supply is crucial; a hose connected to a tap works best.
- Air Compressor: A unit capable of producing 90 PSI is necessary to generate the correct mist for crystal formation.
- Siphon Hose: Essential for drawing liquid from a reservoir while the system operates.
- Mixing Valve: Helps maintain the correct water-to-air ratio for ideal results.
Ensure all connections are secure. In addition:
- Adapters and Fittings: These may be required to connect various parts seamlessly.
- Bucket: Handy for holding water or mixtures if a continuous supply isn’t available.
- Protective Equipment: Safety goggles and gloves should be worn during operation to prevent injury.
Have all tools and materials set up before starting. Simple hand tools like wrenches or screwdrivers might be needed for assembly and adjustments.
Step-by-Step Guide to Assembling the Snow Production Device
Begin by ensuring that all necessary components are gathered: a suitable cleaning apparatus, a fan nozzle, a water source, and a mixing chamber for additives.
Assembling the Components
Firstly, connect the water source to the inlet of your cleaning device. Ensure a tight fit to prevent leaks. Next, attach the fan nozzle to the spray wand, allowing for optimal distribution of water mist during the operation.
Creating the Cool Mix
In the mixing chamber, combine water with your chosen additives. These should be properly measured according to the specifications of the mixing formula. Stir until fully dissolved, allowing for improved performance in generation.
Once the adjustments are complete, test the output. Activate the device to check the spray pattern and mist consistency. Fine-tune the nozzle settings to achieve the desired effect. Be mindful of ambient conditions; a lower temperature and appropriate humidity will enhance the outcome.
Finally, experiment with different additives or water pressure settings. Each adjustment can significantly affect the density and texture of the produced flakes. Follow all safety precautions throughout this assembly process and enjoy the results of your innovative setup.
Adjusting Water Pressure and Nozzle Settings for Optimal Snow
For effective ice crystal production, precise manipulation of water pressure and nozzle configuration is paramount. Start with a pressure setting of 1500 to 3000 PSI, as this range delivers adequate force to create fine mist essential for forming flakes.
Pressure Adjustment
- For colder conditions (below -5°C), utilise higher pressure settings to atomise water efficiently.
- In milder temperatures, a lower PSI can suffice, reducing water wastage while still achieving desired results.
- Always monitor temperature and adjust accordingly, as slight changes can affect formation quality.
Nozzle Configuration
- Utilise a fine mist nozzle, ideally between 0.5 to 1.0 mm in diameter. This allows for greater dispersion of water droplets.
- Experiment with fan spray versus jet settings. A fan spray can cover a broader area, crucial for larger spaces, while a jet setting focuses energy on specific targets.
- Periodically check nozzle condition; wear and tear can alter spray patterns and effectiveness.
Regular adjustments based on immediate observations and specific weather conditions will optimise crystal production, creating a more impressive winter landscape. Aim for consistent monitoring to achieve the best results.
Safety Precautions When Using a High-Pressure Device for Ice Simulation
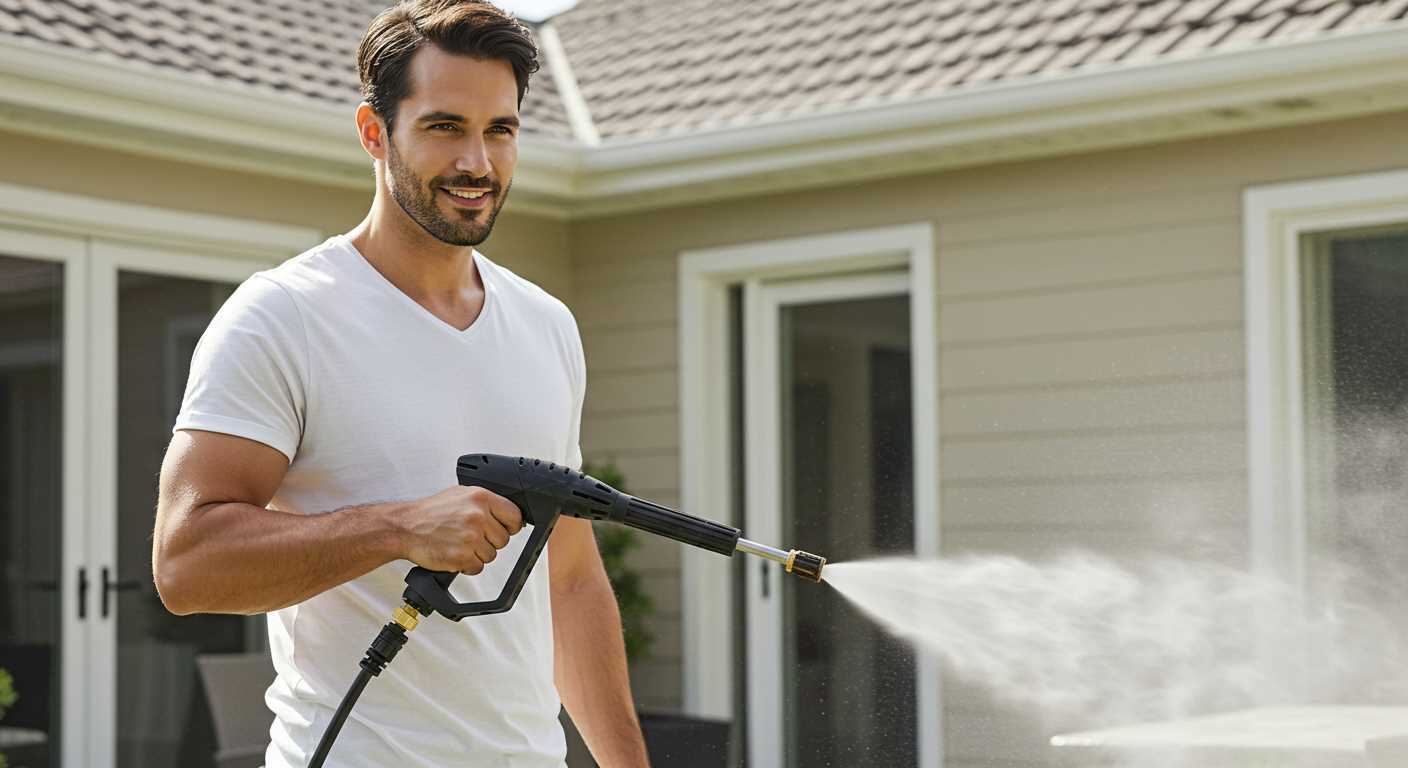
Wearing appropriate personal protective equipment (PPE) is mandatory. Use safety goggles to shield your eyes from flying debris, and wear gloves to protect your hands from cold water and high-pressure spray.
Ensure good visibility in your working area. Remove any obstacles that could lead to slips or falls, especially if the ground is slick from moisture. Keep children and pets at a safe distance while operating this equipment.
Equipment Checks
- Inspect hoses for cracks and leaks. Any damage could lead to unsafe operating conditions.
- Ensure all connections are secure to prevent unintentional disconnections during use.
- Check that the nozzle is properly fitted. A loose nozzle can cause erratic sprays, posing a risk to yourself and bystanders.
Operational Guidelines
- Always direct the high-pressure jet away from yourself and others when powering up.
- Avoid using the sprayer on iced or frozen surfaces, as this could lead to unintended injury from slipping or falling.
- Never aim at electrical installations or live wires. Water combined with electricity can result in serious hazards.
After concluding your session, properly store equipment and ensure it is safe from freezing temperatures to prevent damage. Following these guidelines will enhance safety and improve the effectiveness of your efforts in creating icy conditions.
Maintenance Tips for Your Homemade Snow Generator
Regularly inspect the fittings and hoses for any signs of wear or leaks. Replace damaged components to prevent water loss and maintain optimal performance.
Clean the inlet filter periodically to ensure unobstructed water flow. A clogged filter can reduce output and efficiency.
After each use, flush the system with clean water. This removes any residue and prevents mineral buildup that can clog the nozzle.
Store the equipment in a dry, sheltered location to protect it from harsh weather conditions. This is crucial for ensuring longevity and optimal functionality.
Test the system before the snow-making season begins. This allows for timely repairs and adjustments, ensuring everything works smoothly when needed.
| Maintenance Task | Frequency |
|---|---|
| Inspect fittings and hoses | Every use |
| Clean inlet filter | Monthly |
| Flush system | After each use |
| Test system functionality | Before each season |
| Store equipment | Off-season |
Check the nozzle settings for blockages regularly. A clear nozzle is crucial for producing the best results.
Lubricate moving parts as necessary to ensure smooth operation and reduce friction wear.
Maintain proper water temperature to achieve the desired output. Colder water produces finer flakes, while warmer water can lead to larger, wetter accumulations.
Consult the manual of your specific model to follow manufacturer guidelines for routine care and troubleshooting. This ensures adherence to recommended practices that maximise longevity.


