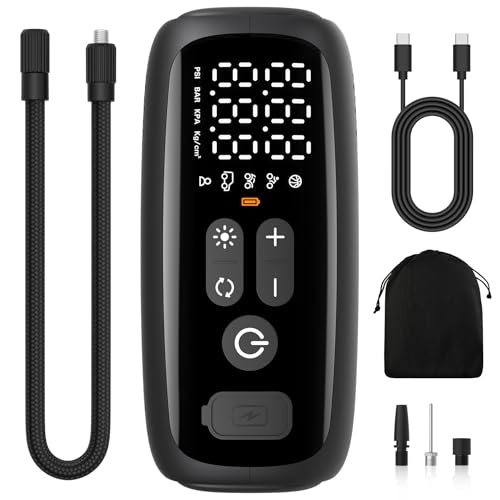

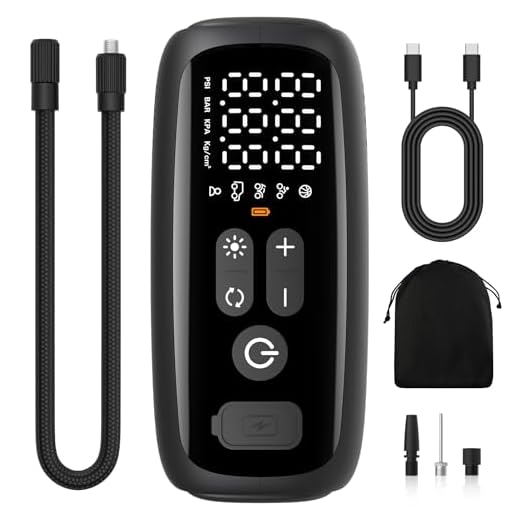
To efficiently generate icy particles in your yard, gather a few household items along with a critical supply of water and air. You can achieve this with a standard garden hose combined with an air compressor. The process relies on mixing high-velocity air and fine water droplets to produce a chilling effect, resulting in a frost-like substance.
For the initial setup, secure a nozzle that optimally reduces water to a fine mist. Attach this nozzle to your garden hose, ensuring it is snug and leak-proof. Position the air compressor nearby and connect its output to the nozzle using a durable hose. This configuration allows for an effective blend of air and moisture, setting the stage for your icy production.
Adjust the air pressure on your compressor for the perfect balance. Too much air can disperse the water droplets too widely, while insufficient pressure may not create the desired freezing effect. Experiment with different settings until you find the right combination that produces delightful crystalline formations in your outdoor space.
Remember to monitor the ambient temperature, as successful ice creation typically requires conditions below zero degrees Celsius. When the time is right, activate your system and marvel at the transformation of simple water into a frosty wonderland.
Understanding the Basics of Snow Production
For optimal conditions, ensure ambient temperatures are below freezing, ideally between -1°C and -6°C. This allows water to crystallise more efficiently upon contact with cold air.
Utilise fine mist nozzles, as they create smaller droplets that freeze more rapidly. Position these nozzles close to the ground to maximise contact with colder air and enhance crystal formation.
Consider using a fan or blower to increase airflow. This promotes better dispersion of ice particles, resulting in a denser coating. Ensure that the air stream is directed appropriately to help spread the artificial flakes over a wide area.
Water quality can impact the final result. Use clean and filtered water, as minerals or contaminants can alter the freezing process and affect texture.
Incorporate an efficient pump system that maintains a steady water flow. A consistent hydraulic pressure aids in producing a uniform spray pattern, contributing to the overall success of the endeavour. Opt for plastic piping, as it can endure low temperatures more effectively.
Choosing the Right Location for Your Snow Creating System
Prioritise flat terrain for optimal results. A level area ensures even distribution of materials and allows for better airflow during the creation process.
Ensure the site has access to a consistent water source. Proximity to a hose or tap simplifies setup and reduces the need for long, cumbersome connections. Check for any local regulations regarding water use during colder months.
Consider wind direction. Positioning the equipment where prevailing winds can assist in aerosolisation maximises output. Avoid areas with high buildings or obstructions that may disrupt airflow.
Look for locations with ample coverage from sunlight. Shaded spots retain colder temperatures, contributing to the longevity of your artificial crystals. If possible, aim for areas that avoid direct sunlight during peak daytime hours.
Survey the proximity to slopes or hills. Using natural topography will enhance the recreational potential of your artificial precipitation, leading to improved skiing or sledding experiences.
Evaluate accessibility for maintaining the setup. Regular checks are necessary to ensure optimal functioning. Choose a site that is easily reachable by foot or vehicle, especially in adverse weather conditions.
Identify compatibility with existing landscaping. Maintaining a balance between natural elements and your setup reduces potential environmental impact. Select areas where your apparatus will not harm existing plants or wildlife.
- {{$Water source accessibility}}
- {{$Wind direction considerations}}
- {{$Sunlight exposure control}}
- {{$Slope optimisation}}
- {{$Maintenance accessibility}}
- {{$Environmental compatibility}}
Gathering Necessary Materials and Tools
A reliable source of water is the first requirement. A standard garden hose will work, ideally with a good length to reach your desired location. Ensure there are no leaks and that it can handle low-to-mid pressurization.
Next, procure a nozzle designed for fine mist. This is pivotal as it will be responsible for creating the desired ice crystals. Look for nozzles labelled for misting or fogging; they often provide the necessary dispersion of water to enhance freezing efficiency.
An air compressor is critical for producing the required air stream. While many versions exist, a model producing at least 2.5 CFM at 90 PSI will provide sufficient output. Ensure it’s portable for easy manoeuvrability on-site.
Additional Components
A mixing tank or a barrel can be beneficial for blending water and additives, should you choose to enhance frost generation. These additives can speed up the process or improve the snow quality.
Lastly, acquiring basic hand tools will facilitate assembly and maintenance. Wrenches, screwdrivers, and pipe fittings will likely be necessary for connecting hoses and securing the system. Don’t overlook protective gear such as gloves and goggles, particularly when working with tools and potentially icy conditions. Examine and verify that all components fit together properly before commencing construction.
Building the Snow Maker Structure
Start with a solid base. Construct a rectangular frame using treated lumber, ensuring dimensions of at least 4 feet by 8 feet for stability. Secure the corners with heavy-duty brackets for added strength. This foundation will support the upper components and withstand wind and snow.
Creating the Ice Projectile System
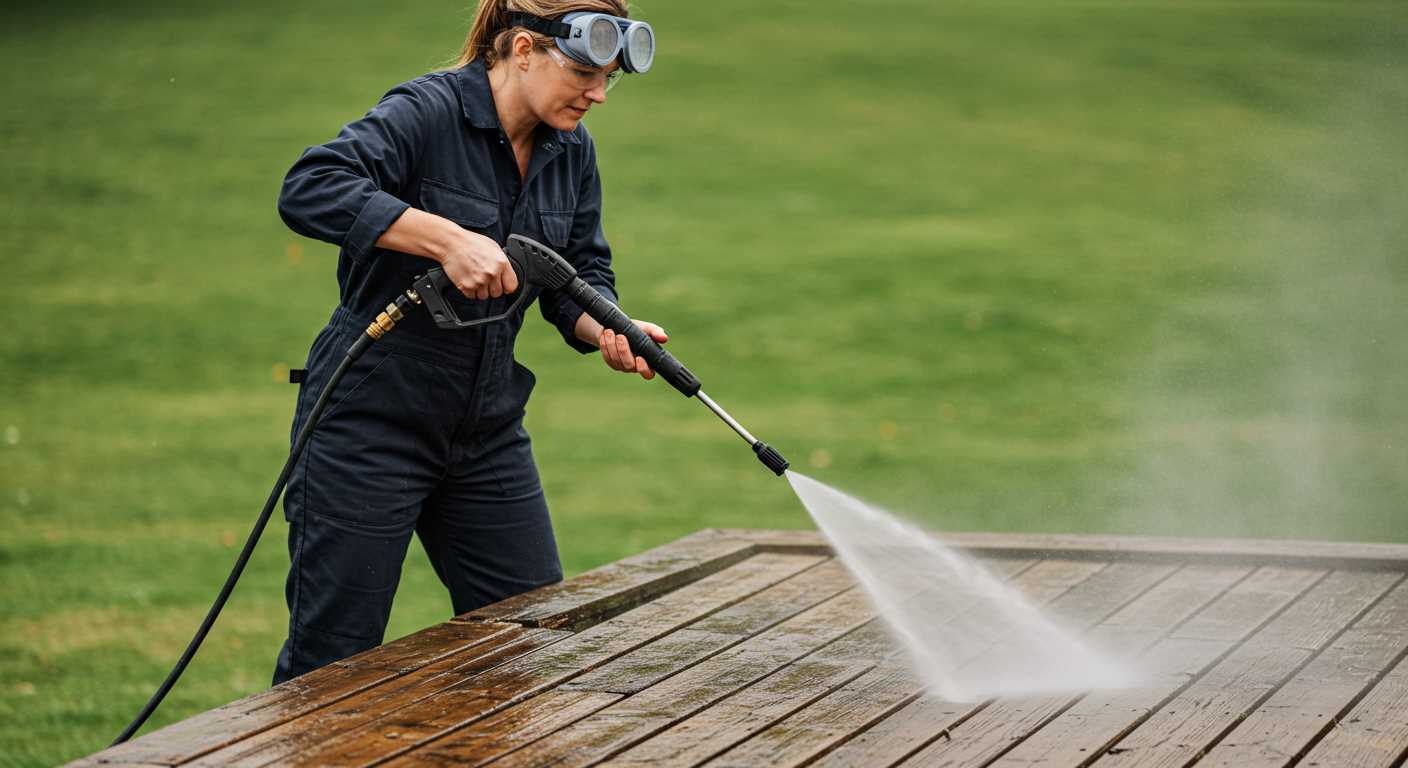
Incorporate a fan unit within the frame. A high-power axial fan works well to blow air through a series of small nozzles that will create tiny ice droplets. Position these nozzles evenly across the top of the frame, angling them slightly downwards to facilitate the spread of the ice particles. Attach a water supply line to deliver a fine mist from a standard garden hose. Use an adjustable valve to control the water flow for optimal results.
Insulation and Protection
Add insulation around the water supply line to prevent freezing in colder conditions. Use foam insulation sleeves or similar materials. Enclose the structure with a tarp that can be easily removed when not in use. This will guard against temperature fluctuations and maintain a consistent environment for ice production.
Creating the Water and Air Mix for Snow Production
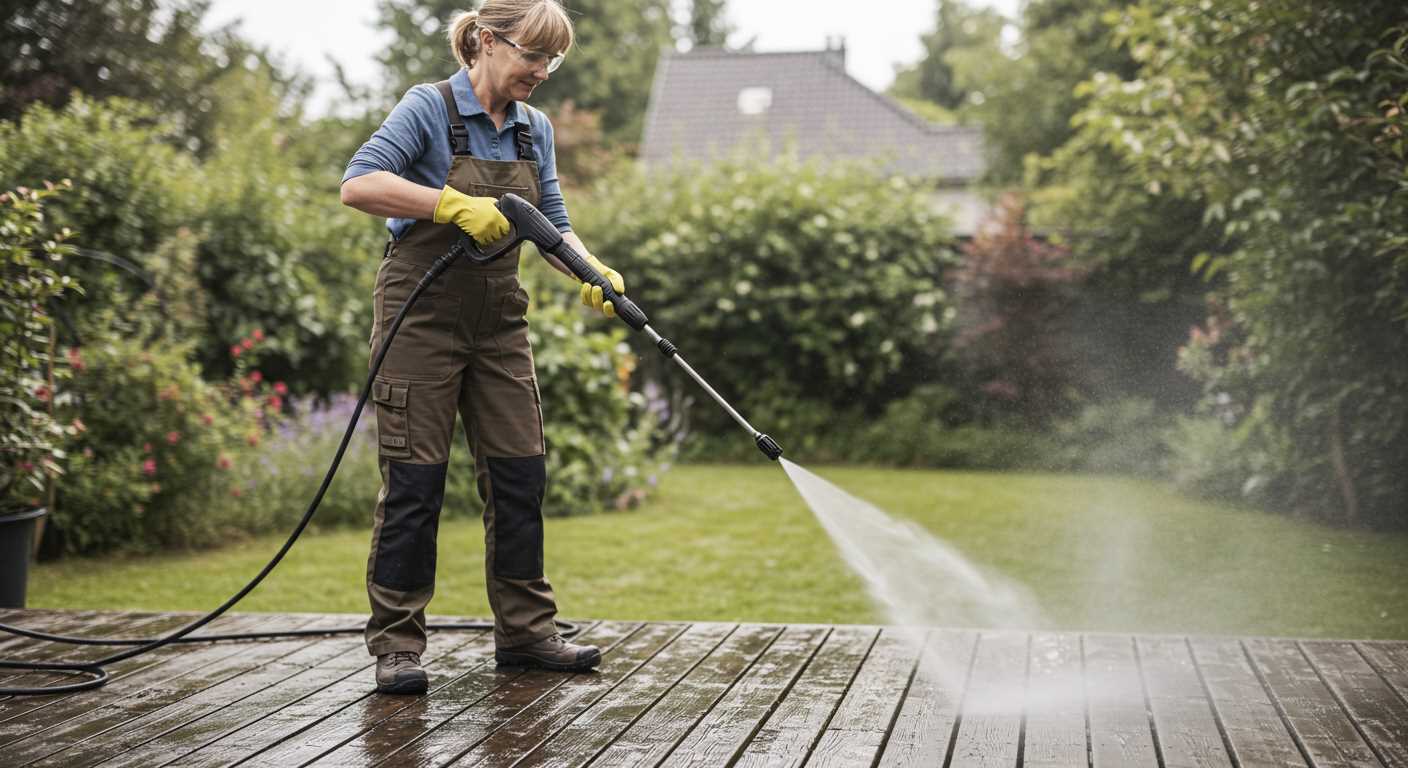
Begin by establishing a proper water and air ratio. The optimal blend usually comprises about 40% air and 60% water, yet this can vary based on ambient conditions such as temperature and humidity.
Next, focus on the water source. Use a garden hose connected to a faucet, ensuring a steady flow. If possible, prepare the water by letting it sit outdoors for a while to reach a lower temperature, closer to freezing. This helps enhance the freezing process during generation.
For air infusion, employ a high-velocity fan or air compressor. If using a fan, position it toward the nozzle where water exits. The airflow must intersect with the water droplets to facilitate rapid freezing upon contact with the cold air. If employing an air compressor, attach a nozzle that can create a fine mist. Fine droplets freeze faster than larger ones, increasing the snow yield.
- Make sure to use clean, filtered water to prevent blockages.
- Monitor the temperature closely, aiming for conditions below -2°C to enhance efficiency.
- Adjust air velocity for ideal droplet size; too much may scatter water, while too little fails to propel it effectively.
Testing different settings will provide insights into the best configuration tailored to your specific environment. Conduct trials during early morning or late evening when temperatures are typically lower, maximising the effectiveness of the produced frost.
Consistency is crucial. Regularly check and modify the mix based on real-time weather conditions to achieve a reliable output. As experience grows, feel free to innovate and adapt to improve the generation process further.
Adjusting for Temperature and Humidity Conditions
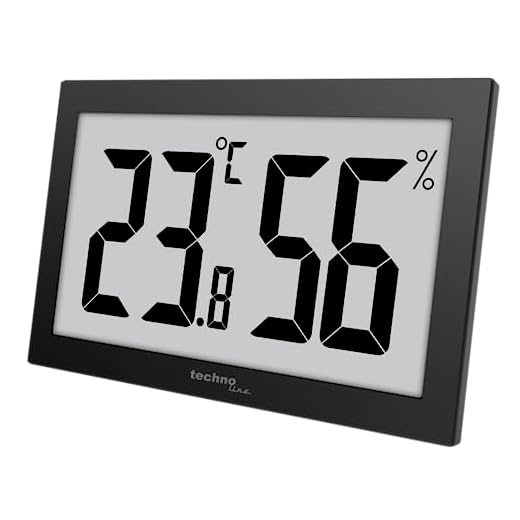
Monitor both temperature and humidity levels diligently. Optimal conditions include temperatures below -2°C (28°F) with low humidity, ideally under 30%. These parameters enhance crystal formation, leading to better quality output.
Use a thermometer and hygrometer to keep track of environmental changes. As temperatures rise, consider adjusting the water flow and air pressure to compensate for the less effective freezing process. If humidity levels exceed 70%, it becomes increasingly challenging to produce high-quality crystals. Try to operate during colder evening hours when conditions are likely more suitable.
Create a simple log to record daily temperature and humidity. This practice helps identify trends and make necessary adjustments to your strategy.
Utilise a windbreak if possible, as windy conditions can affect how well the liquid mixture freezes once expelled. Look for spots that maximise cold air circulation while being sheltered from strong winds.
When working with drier air, reduce the water output slightly; this ensures that the moisture present can freeze adequately, rather than dispersing into thin air. Conversely, during particularly dry seasons, consider using a misting technique before operation to pre-cool the air surrounding the setup.
Regularly adapt your approach based on observed results. Observing how the formed ice performs throughout each session allows for real-time adjustments, further enhancing your results with each operation.
Maintaining and Troubleshooting Your Snow Production Device
.jpg)
Regular inspection is key. Verify all connections for leaks and ensure no clogs are present in the water supply line. Clean filters frequently to maintain optimal water flow. Pay attention to the output; if the crystals produced are too coarse or non-existent, adjustments to the water and air mixture may be necessary.
Monitor the air compressor. If it fails to start, check the power supply and confirm that all switches are engaged. Conduct periodic maintenance, such as cleaning the air intake filters and checking for any mechanical failures. Refer to the manufacturer’s guidelines for specific servicing requirements.
Temperature sensors are vital. If readings seem inaccurate, calibrate them according to the manufacturer’s instructions. Inconsistent production often stems from incorrect temperature readings, leading to improper airflow and water mixing.
| Issue | Potential Cause | Solution |
|---|---|---|
| Low snow output | Improper water and air mixture | Adjust ratios |
| Blockages | Clogs in the water line | Clean the lines and filters |
| Equipment not starting | Power supply failure | Check power sources and fuses |
| Inaccurate temperature readings | Faulty sensors | Calibrate or replace sensors |
| Unstable operation | Air compressor issues | Inspect and maintain compressor |
Adjust the alignment and position of the device if the output is inconsistent. A slight change in angle may enhance performance. Ensure that the ambient conditions are ideal for production; if humidity is too high, results will be adversely affected.
Finally, keep a log of all maintenance and adjustments. This habit assists in identifying patterns and predicting potential failures, ultimately prolonging the lifespan of your equipment.

