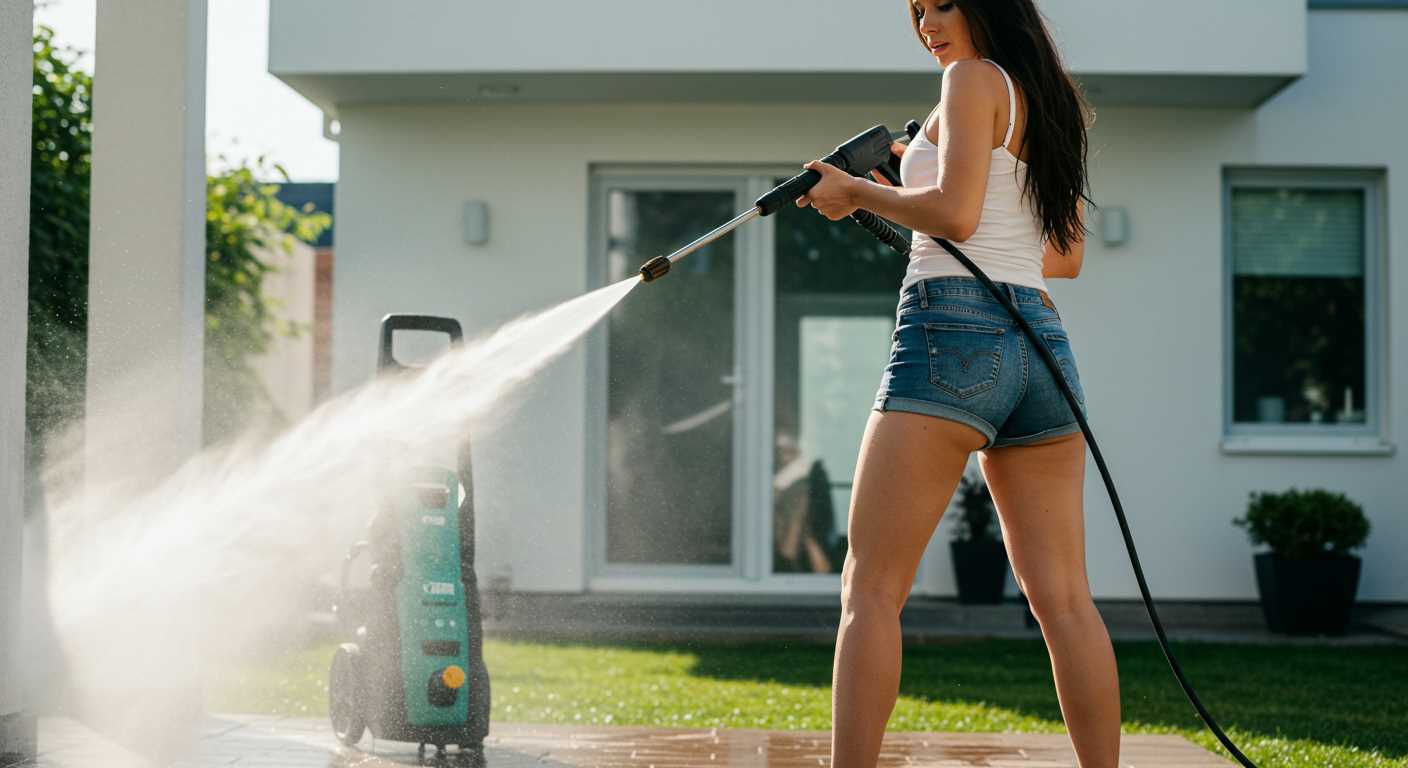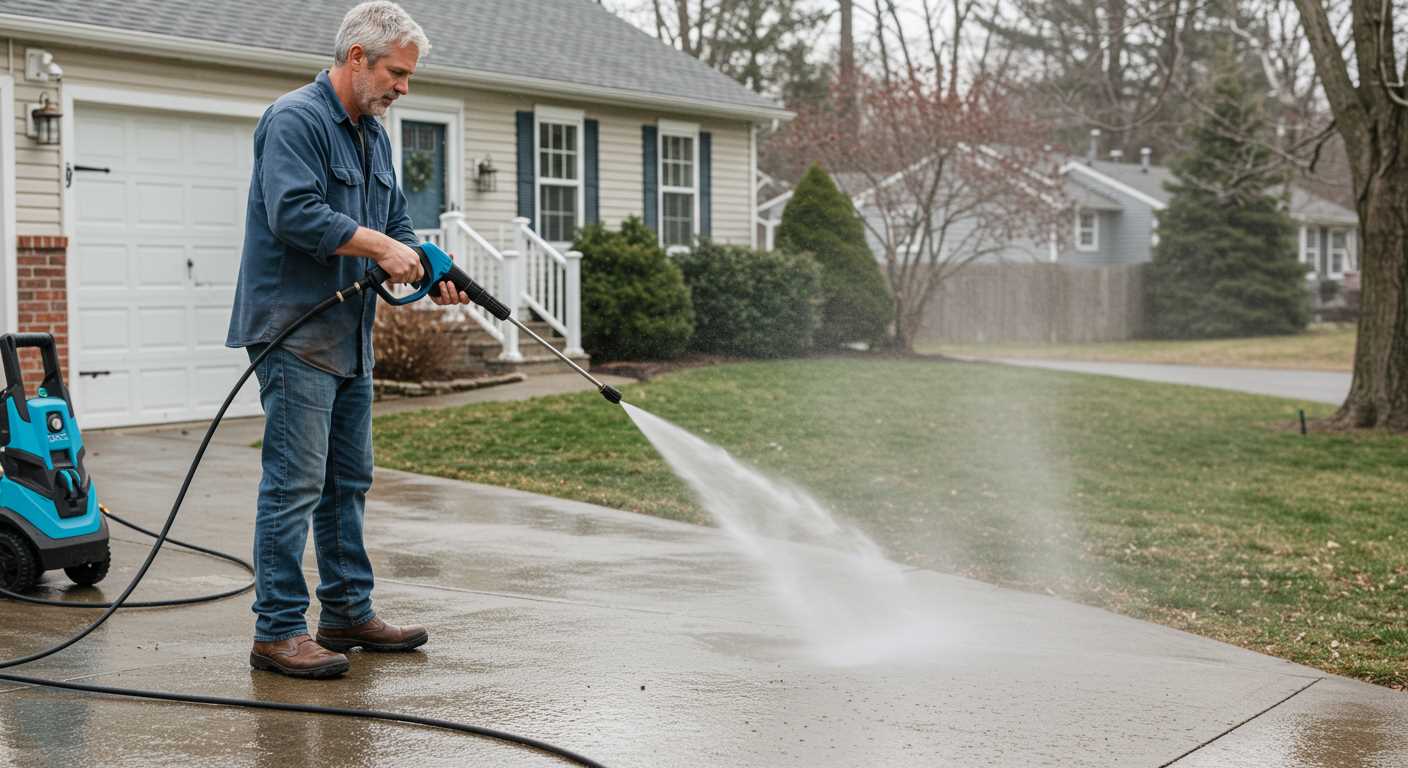


To achieve a rich lather for your cleaning tasks, ensure you’re equipped with a foam cannon specifically designed for high-pressure units. This attachment maximises your machine’s output, ensuring a thick, clinging lather that tackles tough grime and dirt effortlessly.
Mix quality cleaning solution with water at the recommended ratio–usually around 1:10 or 1:15, depending on the product. Make sure to fill the cannon only to the marked level to avoid dilution issues. Connect the cannon to the device securely, and adjust the nozzle for optimal spray pattern; a wider fan is ideal for large surfaces, while a narrower stream targets stubborn spots.
Begin applying the mixture from the bottom upwards, allowing the suds to cling and penetrate dirt for a few minutes before rinsing. This simple technique not only enhances cleaning efficiency but also protects surfaces from potential damage caused by harsh scrubbing.
Choosing the right foam cannon for your power washer
To ensure optimal performance, I recommend selecting a foam cannon that matches the specifications of your cleaning device. Look for units that specify compatibility with your model’s PSI and GPM ratings. This alignment guarantees efficient soap application, maximising cleaning results.
Opt for adjustable nozzles. They allow for tailored spray patterns, which can be crucial for various surfaces and cleaning tasks. A quality foam cannon will include a rotary or adjustable head to switch from wide coverage to targeted application as needed.
Consider the build material. Quality foam cannons are typically made from durable plastics or brass, providing resistance to wear and potential damage from cleaning chemicals. A robust construction extends the life of your equipment, reducing replacement costs in the long run.
Pay attention to the ingress of both the soap container and the nozzle attachment. A wider opening at the soap reservoir simplifies filling and cleaning. Look for models with secure attachments to prevent leaks during use, avoiding frustrating interruptions while you work.
Lastly, take the time to review user feedback and ratings. Real-world experiences can reveal nuances that specifications alone might not cover, such as ease of use and long-term satisfaction. Investing in a well-reviewed foam cannon tailored to your power cleaning unit will yield satisfactory results each time you tackle a job.
Selecting Suitable Car Shampoo for Foaming

Opt for a pH-balanced car shampoo designed for use in low-pressure sprayers. This ensures that it won’t strip the wax or sealants on your vehicle’s finish while providing an optimal lather for cleaning. Look for formulations that specifically say they produce rich suds, as these create better cling and provide enhanced cleaning action.
Key Features to Consider
Chemicals in the shampoo play a significant role. Choose products containing surfactants that lift dirt and grime while being safe for your vehicle’s surface. Avoid those with harsh detergents, as they can damage paint. Additionally, select biodegradable options to ensure environmental friendliness.
Brand Recommendations
Brands like Chemical Guys, Meguiar’s, and Autofinesse offer excellent choices readily available on the market. Their formulations have been praised for producing ample lather and effective dirt removal. Always verify customer reviews and product descriptions to ensure compatibility with your chosen foaming attachment.
Preparing Your Cleaning Device for Foam Application
Begin by ensuring your unit is properly assembled and in good working condition. Confirm that all connections are secure, and there are no leaks in the hoses or fittings. It is essential to check the detergent tank, ensuring it is clean and free of residue from previous cleaning agents.
Inspecting the Nozzle
Use a fan spray nozzle, typically rated between 25 to 40 degrees, for optimal application. Verify that the nozzle is clean; any blockages can reduce performance. A clogged nozzle affects the spray pattern and will prevent the effective distribution of the cleaning solution.
Connecting the Foam Cannon
Attach the foam cannon to the wand, ensuring it is compatible with your model. Connect the water supply securely to the device. I recommend testing the water flow before adding any detergent; this step may help identify any potential issues prior to using cleaning agents.
Mixing the Foam Solution Correctly

Begin by carefully reading the instructions on the cleaning agent’s label. A standard mixing ratio is often around 1:10 or 1:15, depending on the product’s concentration. Measure the required amount of shampoo using a dedicated measuring cup for accuracy.
Use warm water when preparing the mixture. This enhances the solubility of the detergent, allowing for better blending. Fill the foam cannon reservoir half full with warm water before adding the shampoo.
After adding the cleaning agent, top off the reservoir with more warm water to achieve the desired concentration and ensure thorough mixing. Seal the container and shake gently to combine the liquids. Avoid vigorous shaking, which could introduce unnecessary bubbles and harm the solution’s efficacy.
Once the mixture is ready, perform a quick test spray on a small area to assess coverage and consistency. Adjust the ratio of shampoo to water based on the test results to ensure optimal performance. If the coverage is too thin, increase the detergent concentration; if it’s too thick, reduce it accordingly.
Always clean the foam cannon nozzle after use to prevent clogs, as leftover detergent can harden and affect future applications. Rinse it thoroughly with plain water and store it properly for next time.
Adjusting Pressure Settings for Optimal Foam Delivery
Ensure your unit operates at a pressure of 1500-2000 PSI for ideal suds. This range allows for proper atomisation and prevents oversaturation of the surface.
Key Adjustments
- Start at the lower end of the range, around 1500 PSI, and progressively increase if necessary. This helps to avoid damaging paintwork.
- Test the flow of the mixture from the cannon – a consistent and steady discharge indicates optimal setting.
- Check for excessive splatter. If suds are flying off in an uncontrolled manner, reduce the pressure incrementally.
Specific Models Consideration
- For electric units, settings are often fixed; focus on controlling the flow rate effectively.
- Gas-powered alternatives typically allow for greater flexibility. Adjust the throttle as needed based on your observations.
Regularly monitor the results, making quick adjustments until you find the perfect balance. Inspecting the foam coverage helps in determining the effectiveness of your current configuration, ensuring a thorough cleansing process.
Cleaning and maintaining your foam cannon after use

Always rinse the cannon thoroughly with warm water immediately after application to prevent any residue from hardening inside. This step helps to maintain the compatibility of the components and prolongs service life.
Step-by-step cleaning guide

Follow these instructions for thorough maintenance:
- Detach the cannon from the pressure-generating unit.
- Remove any left-over cleaning solution from the reservoir.
- Use a soft brush or cloth to scrub the nozzle and other accessible areas, ensuring no debris remains.
- Run water through the inlet to eliminate any remnants of the mixture.
- Inspect all parts for wear and tear; replace worn parts if necessary.
Maintenance tips
Consider these suggestions to extend the life of your equipment:
- Store the foam cannon in a cool, dry place, avoiding direct sunlight.
- Use only recommended cleaning solutions to avoid chemical damage.
- Regularly check seals and gaskets for leaks or wear.
| Item | Frequency | Notes |
|---|---|---|
| Deep cleaning | Monthly | Complete disassembly recommended |
| Nozzle inspection | After each use | Replace if clogged |
| O-ring checks | Every few months | Replace if brittle or cracked |
A little upkeep goes a long way in maintaining performance. Regular cleaning and inspections ensure your cannon remains functional and efficient for many applications ahead.


