
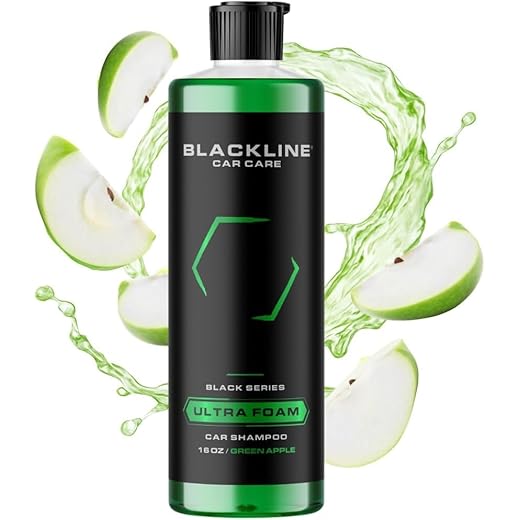
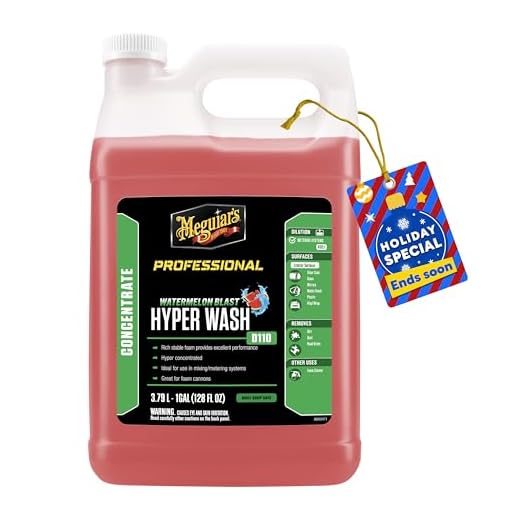

To achieve the best results and enjoy a thorough clean with a foam solution, use a dedicated foam cannon or nozzle specifically designed to create a rich lather. These attachments are engineered to mix detergent with water and air effectively, producing a thick foam that clings to surfaces, allowing for better cleaning action.
Before attaching your chosen foam dispenser, ensure that the cleaning agent you are using is suitable for your equipment. Not all formulations are compatible with every device, so verify that the chemistry is safe to avoid potential damage to internal components.
Once you’ve selected an appropriate nozzle and solution, follow these steps: fill the cannon with the recommended amount of cleaning liquid diluted with water as per the instructions. Attach the cannon securely to the end of your unit’s lance. Adjust the settings on your device to a low-pressure mode to optimise foaming performance. Finally, start the machine and apply the foam evenly across the surface you aim to clean.
Be mindful of the working distance; typically, maintaining a distance of about 3 to 5 feet from the surface yields the best results. Allow the foam to dwell for a few minutes before rinsing to maximise its cleaning efficacy.
Regular maintenance of both your foam cannon and cleaner will prolong their lifespan and improve performance. Rinse thoroughly after each use to prevent the buildup of residues that could clog the system. Testing different products and techniques can lead you to discover the combination that best suits your cleaning needs.
Steps to Achieve Suds with Your Cleaning Machine
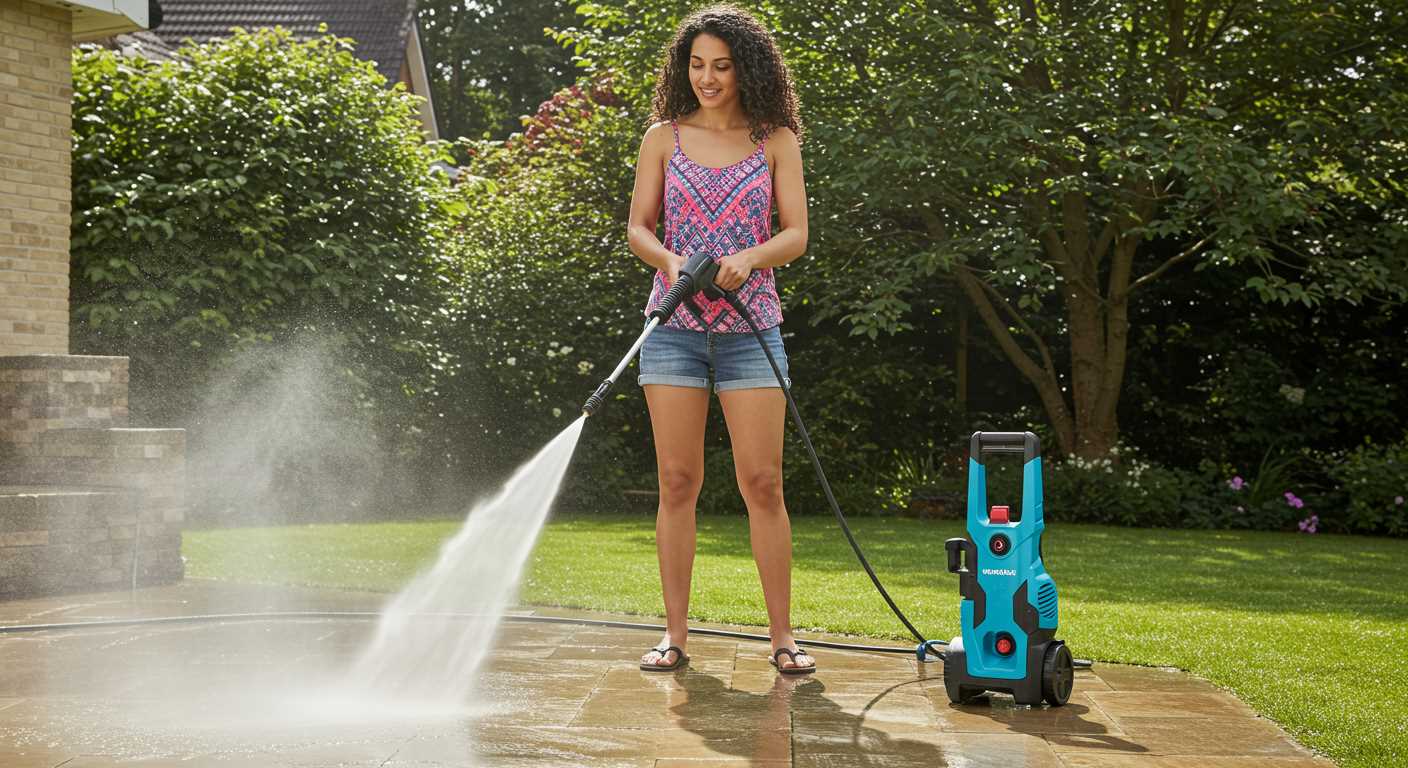
Attach a detergent injector kit to the water outlet of your cleaning device. Ensure it is securely fitted to prevent leaks.
Selecting the Right Cleaning Solution
Choose a compatible cleaning agent designed for use with your model. Always read the manufacturer’s specifications regarding the detergent to avoid damaging the equipment.
Measure the correct dilution ratio as indicated on the product label. Over-concentrated solutions can cause foaming issues and hinder performance.
Activating the Detergent Feature
Switch the nozzle to the low-pressure setting. This is crucial because applying a high-pressure jet can prevent the solution from being drawn into the system effectively.
Turn on the machine and squeeze the trigger to begin the process. Observe whether the cleaning solution is being emitted. If not, double-check the connections and settings.
Rinse the surface after applying the cleaning agent. Ensure you follow up with a thorough rinse using clean water to remove any residue.
Clean the injector system regularly to avoid blockages that can impede performance. This will ensure consistent suds generation in future cleaning tasks.
Choosing the Right Soap for Your Pressure Washer
Select a cleaning agent that aligns with the surface type being cleaned. For driveways and patios, a heavy-duty formulation is ideal. For vehicles and boats, opt for a product specifically designed for automotive use to ensure safe and effective cleaning without damaging the paint.
Types of Cleaners
- Biodegradable Options: These are environmentally friendly and suitable for garden areas where runoff may affect plant life.
- Concentrated Formulas: Highly concentrated versions often provide better cleaning power; mix according to the manufacturer’s guidelines to avoid damaging surfaces.
- Algaecidal Cleaners: If you’re tackling outdoor surfaces that accumulate algae or mould, select a cleaner that contains algaecidal properties.
Always check for compatibility with your equipment. Some agents may clog or damage the components of certain models, so reviewing the manufacturer’s recommendations is necessary before proceeding.
Application Tips
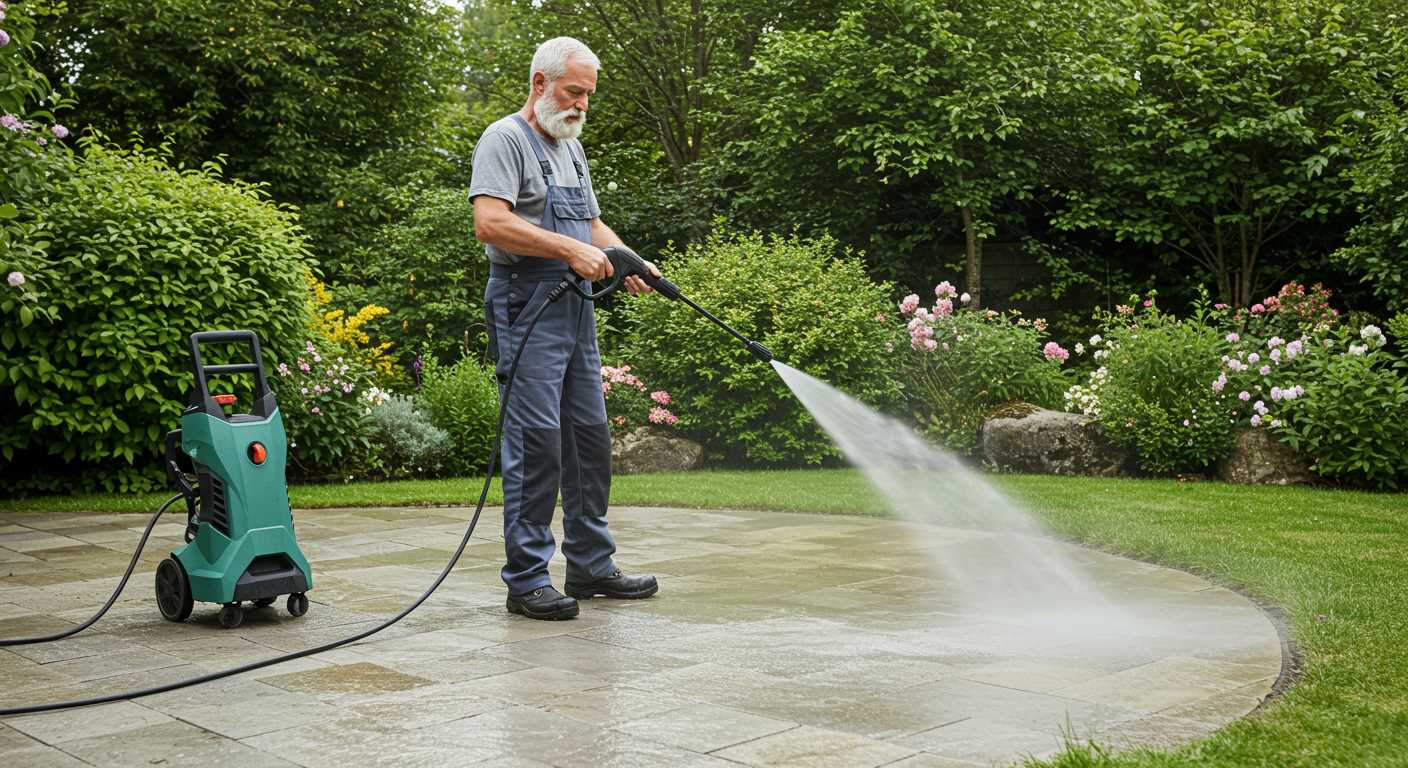
- Mix according to instructions to achieve optimal performance.
- Use a low-pressure spray for applying diluted solutions to avoid splashing and ensure thorough coverage.
- Rinse a small area first to test for adverse reactions, especially on sensitive surfaces.
Investing in quality cleaning products significantly enhances the outcome of your deep-cleaning tasks. It’s worth considering specialised cleaners that target specific grime rather than using multipurpose options, which may not yield the best results.
Preparing Your Cleaning Device for Detergent Application
Begin by ensuring the unit is switched off and disconnected from the power source. Next, inspect the nozzle; for optimal foaming, a specific nozzle designed for detergent use is essential. Attach this nozzle firmly to the wand to prevent leaks during operation.
Next, prepare the detergent container. Fill it with the recommended cleaning agent. Ensure the mixture conforms to the manufacturer’s specifications in terms of dilution. A precise balance is crucial for achieving the desired results without damaging surfaces.
Check all connections and hoses for any signs of wear or blockage. Address any issues before proceeding. Verify that the suction hose, if applicable, is positioned correctly in the detergent tank; it should be submerged sufficiently to draw the liquid effectively.
Pressure Settings and Prime Function
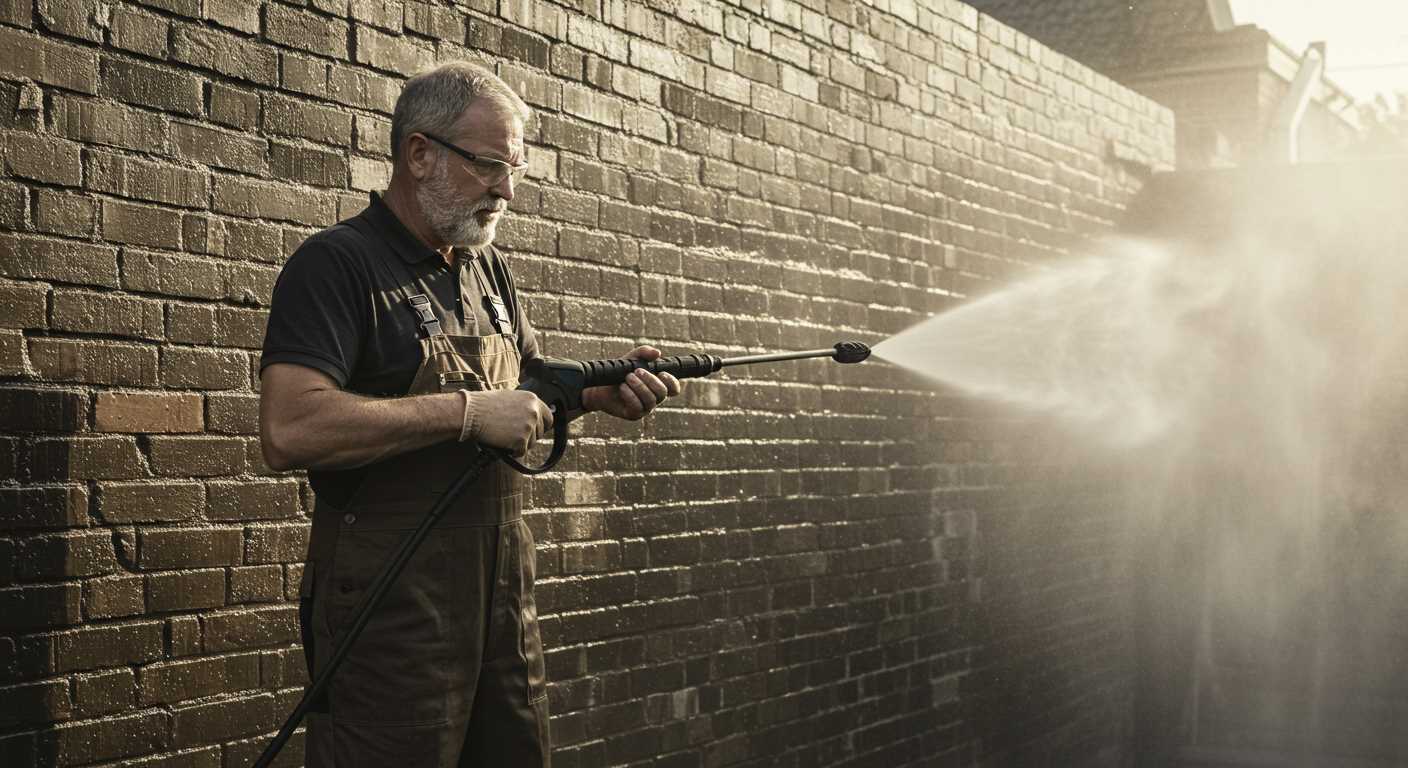
Adjust the pressure settings according to the manufacturer’s guidelines. For soap application, a lower pressure setting is usually preferable, as this allows for better coverage and foam generation. Once adjustments are made, turn the unit on and engage the prime function if available; this allows the detergent to flow through the system smoothly.
Conducting a Test Spray
Once everything is in place, test the spray on a small, inconspicuous area. This step ensures that the cleaning solution is dispensed correctly and that the surface can withstand the applied mixture. Adjust if necessary before moving on to larger areas.
Correctly Attaching the Soap Dispensing Nozzle

Ensure the soap dispensing nozzle aligns with the fitting on the lance before securing it. Follow these steps:
- Remove any existing nozzle from the lance by twisting it counterclockwise.
- Inspect the threads of both the lance and the soap nozzle for debris or damage to ensure a snug fit.
- Position the soap dispensing nozzle onto the lance, ensuring it fits securely.
- Twist the nozzle clockwise until it is tight, but avoid over-tightening, which can damage the threads.
Verify the connection by gently pulling on the nozzle. If it is secure, proceed to fill the detergent tank.
When attaching, confirm the nozzle specifically designed for soap application is used. Standard nozzles will not produce the desired cleaning results.
After attachment, test the functionality in a controlled area, observing the spray pattern for proper dispersion of the cleaning solution.
How to Dilute Soap for Optimal Performance
For best results, combining soap with water is crucial. I recommend a common dilution ratio of 1:10, which means one part soap to ten parts water. This concentration will enhance its efficacy, ensuring it adheres to surfaces while effectively breaking down grime.
Testing and Adjusting Dilution
Variations in concentration may depend on the detergent’s viscosity and intended use. For stubborn stains, consider adjusting the ratio to 1:5; however, it’s essential to test this on a small surface first. If the mixture seems too thick during application, a simple addition of water can create a better consistency.
Mixing Techniques
Utilising a separate container for mixing ensures a uniform blend. I recommend stirring the solution well to prevent clumping. Additionally, using warm water during dilution can assist in breaking down concentrated products more effectively.
Adjusting Pressure Settings for Soap Dispensing
Begin by setting the machine to a low-pressure setting. This reduces the risk of excessive foam which can hinder your cleaning task. I usually recommend a pressure of around 1000 to 1500 PSI for effective detergent application. This level allows the liquid to gently adhere to surfaces without causing damage.
Next, consider the type of nozzle in use. A wide-angle spray tip, such as a 25-degree or 40-degree nozzle, works best for mixing detergent with water effectively. It facilitates an even distribution of the cleaning agent across larger areas, ensuring optimal coverage.
Testing and Fine-tuning
After making adjustments, test the system by applying a small amount of detergent to a non-visible area. Observe the coverage and foam generation; if the application seems insufficient, slightly increase the pressure while monitoring for any undesired outcomes such as overspray or run-off. Fine-tuning the pressure settings may require repeating this process a few times until achieving the right balance.
Maintaining Consistency
Keep a close eye on the detergent flow rate as well. Maintaining consistent pressure ensures that the cleaning solution is dispensed evenly throughout your task. I often find that a gradual increase in pressure allows for better flexibility in tackling various surfaces without compromising efficacy.
Common Mistakes to Avoid When Using Cleaning Solution in a High-Pressure Cleaning Unit
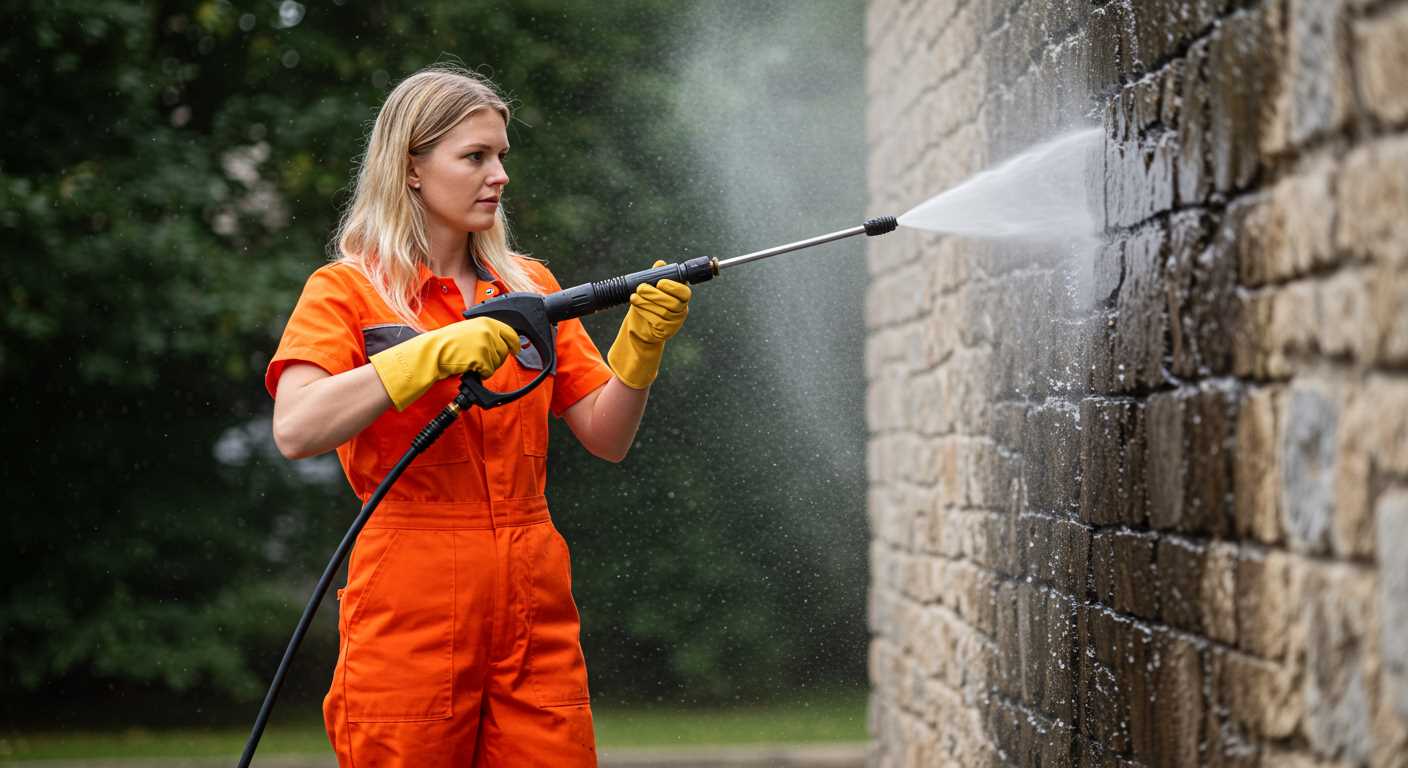
Ignoring manufacturer recommendations regarding compatible cleaning agents often leads to equipment damage. Always consult the manual for specifics on the types of formulas that can be safely utilized.
Neglecting to pre-test a small area before full application can result in unintended material damage or discolouration. Always assess on a less visible surface.
Using concentrated cleaning agents without proper dilution may overwhelm the unit’s dispensing system. Measure liquid ratios precisely as indicated on the product label.
Applying a cleaning solution at maximum force can lead to ineffective results and excessive wear on equipment components. Use lower pressure settings during application to ensure optimal coverage while maintaining safety.
Improper Equipment Setup
Failing to correctly attach the solution dispensing nozzle is common. Ensure it is secured firmly to avoid leaks or loss of pressure. Additionally, verify that the nozzle aligns with the designated selection for cleaning agents.
Overlooking thorough rinsing of the system after use can lead to residue build-up in internal components. Flush the unit with clean water following application to prevent clogging and degradation of the internal parts.
Incorrect Application Technique
Applying in direct sunlight can cause rapid evaporation of the cleaning solution, diminishing its effectiveness. Choose an overcast day or work in shaded areas for better results.
Failing to maintain a consistent distance from the surface may lead to inconsistent cleaning results. Maintain a uniform distance of approximately 18 to 24 inches for optimal coverage.
| Mistake | Consequence |
|---|---|
| Using incompatible cleaning agents | Potential equipment damage |
| Not pre-testing areas | Risk of material damage |
| Incorrect dilution | Clogging and ineffective cleaning |
| Inadequate rinsing | Reduced performance and lifespan |


