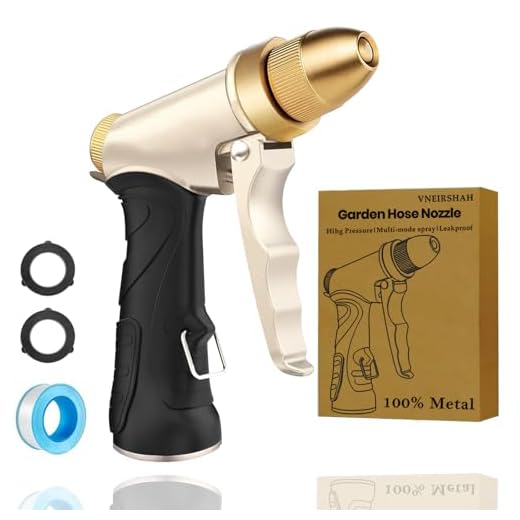


To create a powerful cleaning solution at home, consider investing in a compatible nozzle designed for high-pressure output. This attachment can significantly enhance the cleaning capability of what typically serves as a watering tool. Select a model that allows for variable pressure settings; this flexibility is essential for tackling different surfaces without causing damage.
In addition to an appropriate nozzle, the choice of a proper adapter is critical. Ensure that it fits snugly onto the existing water conduit to prevent leaks. A well-fitted connection maximises water flow and pressure, providing an effective alternative to bulky cleaning machines.
Next, evaluate the water source’s flow rate. High flow rates yield better results, so if your current setup struggles, you might need to adjust your plumbing. Consider installing a booster pump for an increased water supply, ensuring that your DIY setup can handle the demands of tougher cleaning tasks.
Finally, remember that safety is paramount. Equip yourself with safety goggles and gloves, especially when dealing with concentrated jets of water. This precaution will protect you from any potential debris that might become airborne during the cleaning process. With these modifications, your home equipment can deliver impressive results similar to commercial units.
Choosing the Right Nozzle for Your Hose
For optimal results, select a nozzle that suits the task at hand. Generally, nozzles vary in spray patterns and pressure levels, impacting efficiency and effectiveness.
- Fan Nozzle: Ideal for wider coverage and gentle cleaning. Typically around 25 to 40 degrees, it’s perfect for rinsing surfaces without causing damage.
- Jet Nozzle: Offers a narrow and powerful stream, excellent for tough grime and stains. Use it for driveway cleaning or heavy-duty applications.
- Adjustable Nozzle: Features a dial allowing you to change between different spray patterns. Versatile and convenient for various cleaning tasks.
- Rotary Nozzle: Combines both pressure and rotational motion, providing superior cleaning power on stubborn dirt. Particularly effective on hard surfaces.
Consider materials as well. Metal nozzles typically last longer than plastic ones. Ensure a secure fit to avoid water leakage during use.
Always test the nozzle on a small area first, checking both pressure and spray pattern to find the best approach for your cleaning job.
Connecting the Hose to a Pressure Washer Attachment
Begin by ensuring that all components are clean and free of debris. Select a quality adaptor that suits the diameter of your tubing and the attachment you’re using. Many attachments come with standard fittings, typically either ½ inch or ¾ inch. This compatibility is critical for maintaining optimal water flow.
1. Check your garden tube. The end must be free of kinks or damage. If the fitting is worn, replace it to ensure a secure connection.
2. Fit the adaptor onto the end of the tubing. Securely tighten the connection by hand to prevent leaks. If necessary, use a wrench for an extra firm grip, but avoid overtightening, which can cause damage.
3. Once the adaptor is attached, connect it to the cleaning device. Align the fittings and apply even pressure while turning until they lock into place. Listen for a click or feel resistance, indicating a successful connection.
4. Lastly, check for leaks by turning on the supply. If there are any signs of water escaping from the joints, disconnect and re-tighten as needed.
| Step | Action |
|---|---|
| 1 | Inspect garden tube for damage. |
| 2 | Attach adaptor to the tubing. |
| 3 | Connect adaptor to the cleaning device. |
| 4 | Check for leaks and tighten as needed. |
Following these steps will ensure a solid and secure link, allowing the device to operate efficiently during cleaning tasks.
Adjusting Water Pressure for Optimal Cleaning

Test different outlet settings to find the most effective force for your attachments. Typically, a higher output works well for tough stains, while a moderate setting prevents damage to delicate surfaces. Monitor the stream; if it appears splattered or weak, adjust accordingly.
(For certain attachments) a lower pressure will suffice; examples include rinsing vehicles or washing softer materials. Consider the cleaning solution too; applying detergent at lower force may allow it to penetrate better without excessive dispersion.
Utilise a pressure gauge if available; this will help you finely tune the output according to diverse tasks. If the goal is to remove grime from hard surfaces like paving, a stronger setting is better suited. For wooden decks or painted surfaces, dial back to mitigate any potential risk of chipping or splintering.
Regularly check for obstructions in the nozzle or fittings, as these can affect performance. Clear any blockages to maintain a steady flow and optimal cleaning capability. Lastly, always follow the manufacturer’s guidelines for both attachments and water settings to ensure longevity and efficiency during usage.
Adding Detergents and Cleaning Solutions Safely
Always read the product label of any detergent or cleaning solution. Different formulations can react with each other and with surfaces, so understanding the compatibility is vital.
When mixing solutions, follow these steps:
- Utilise a dedicated container for mixing to prevent contamination.
- Measure the detergent accurately, according to the manufacturer’s recommendations.
- Gradually add water to the detergent, mixing thoroughly to ensure even distribution.
For best results, consider these tips:
- Select biodegradable and environmentally friendly options to minimise ecological impact.
- Use products specifically designed for outdoor cleaning, as they are typically more effective on surfaces like concrete or paving stones.
- Avoid harsh chemicals that can damage plants, pets, and surrounding areas.
During application, take precautions:
- Wear gloves and safety goggles to protect skin and eyes.
- Test a small, inconspicuous area to verify that the solution does not cause discolouration or damage.
- Avoid applying detergents in direct sunlight to reduce evaporation and enhance effectiveness.
When rinsing, ensure that all residues are washed away. Incomplete rinsing can lead to streaks or damage to surfaces. Proper disposal of leftover solutions is also important–adhere to local regulations for chemical disposal.
Maintaining Your Homemade Pressure Washer Setup

Regular upkeep is crucial for optimal functionality. Inspect all connections and fittings for leaks or wear before each use. A leak can diminish performance significantly and lead to water wastage.
Cleaning Attachments
After every session, rinse any nozzles and attachments thoroughly to eliminate residue and debris. Residues can clog nozzles, reducing effectiveness. Use a soft brush to ensure all cleaning solutions are removed. Store nozzles in a dry place to prevent corrosion.
Hose Care
Always coil the water conduit neatly when not in use. Avoid sharp bends that can cause kinks, leading to damage. Regularly check for any signs of wear or abrasions; these can affect water flow and overall performance. If a section is compromised, replace it immediately to maintain pressure and efficiency.
Tips for Cleaning Different Surfaces with Your Hose
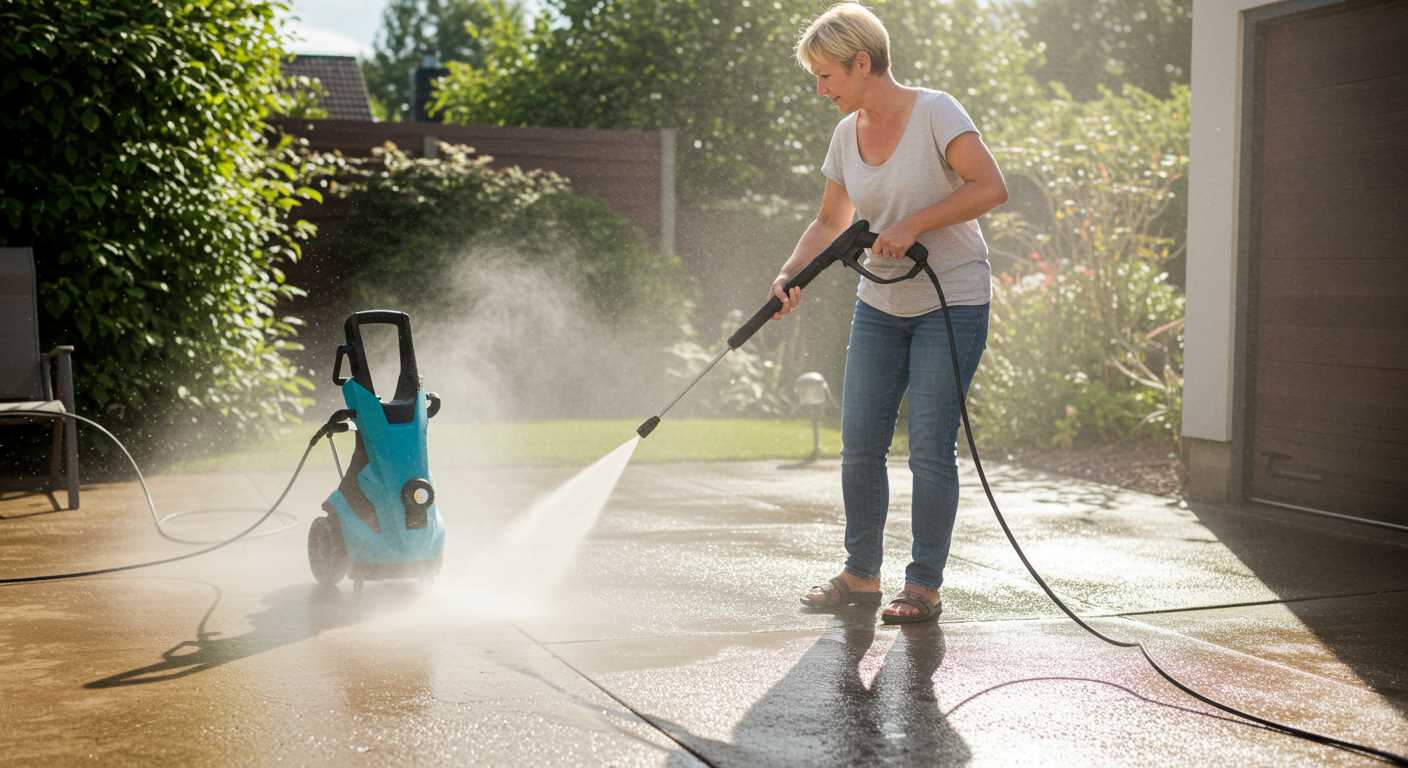
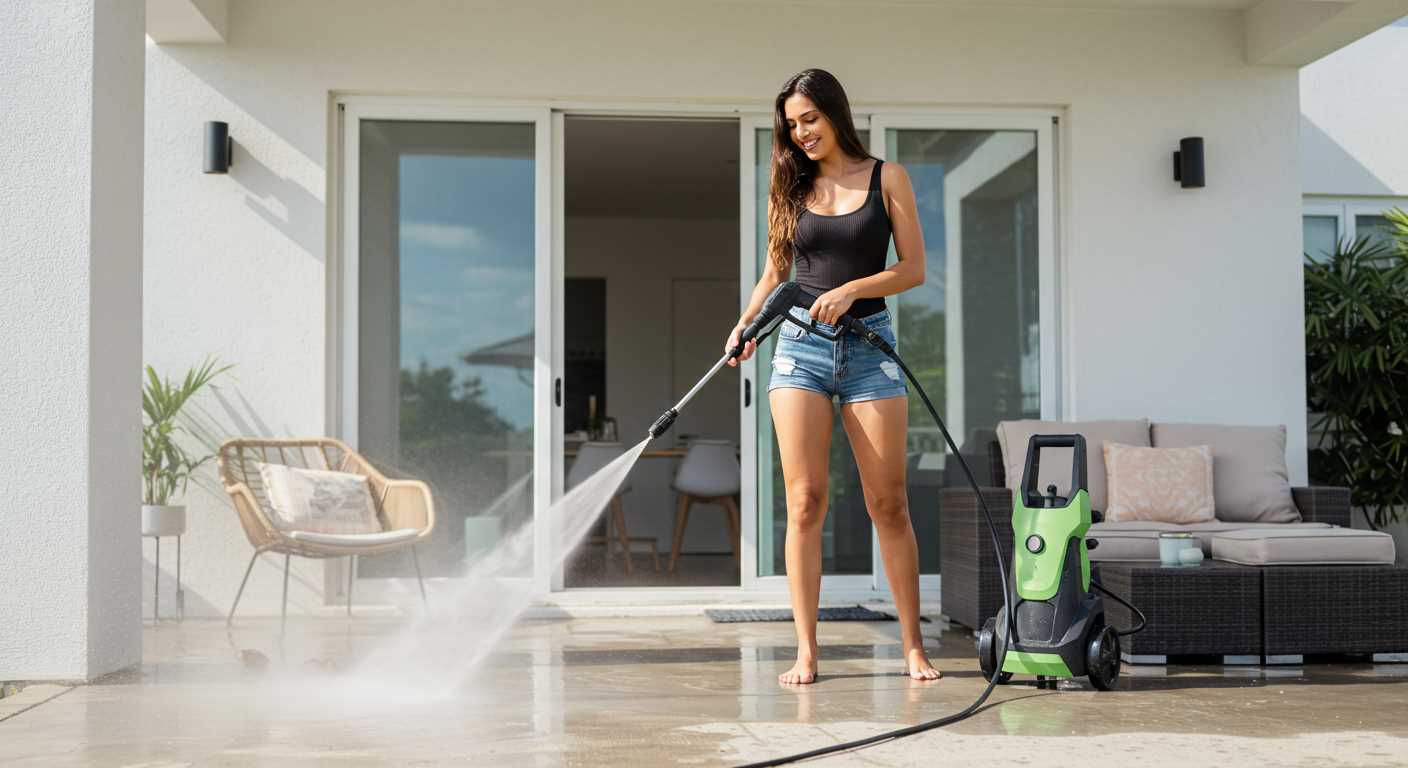
When dealing with concrete paths, maintain a distance of around 30 cm and use a concentrated nozzle for maximum effect. This distance ensures the surface is thoroughly cleansed while preventing any potential damage.
Finding the Right Angle

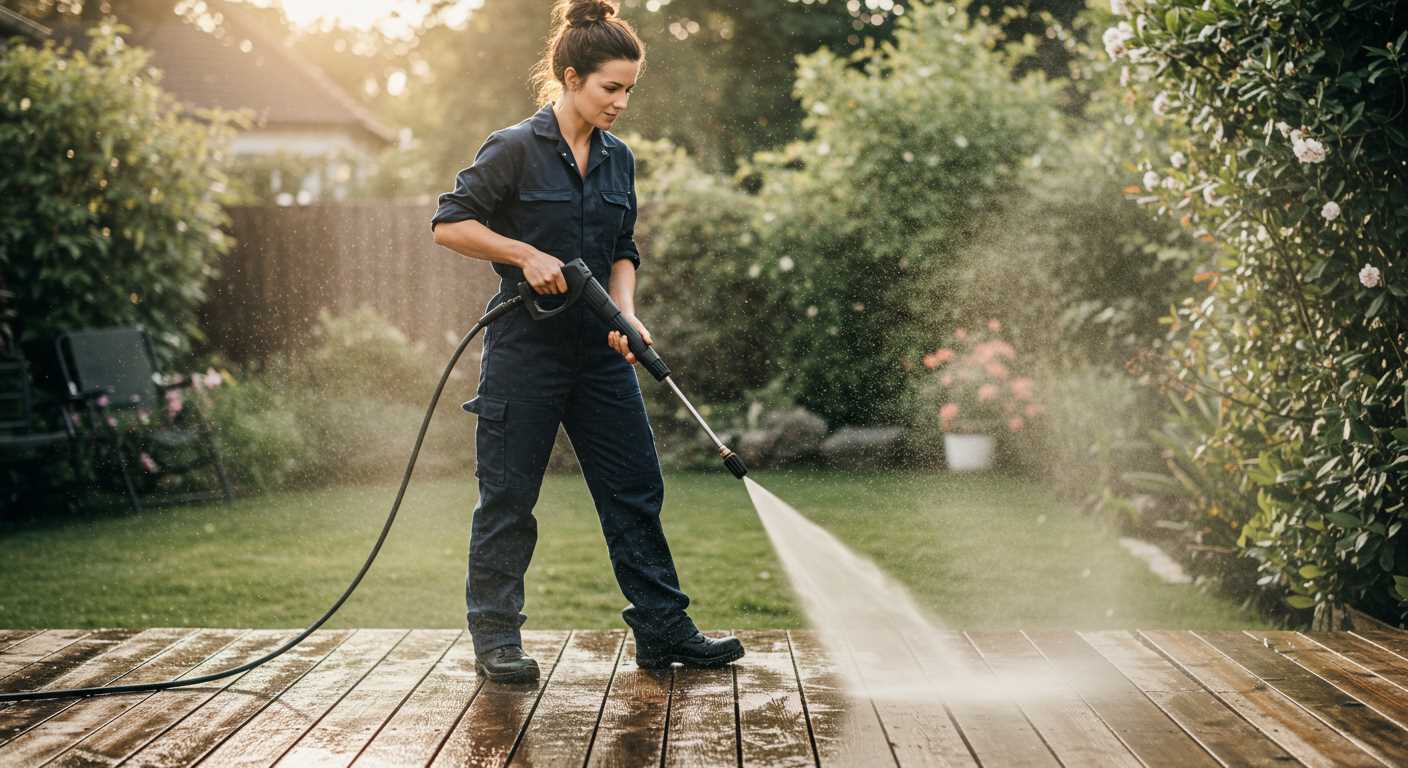
For wooden decks, hold the attachment at a 45-degree angle. This method protects the wood fibres while effectively removing dirt and grime. Avoid excessive pressure, as it can splinter the surface.
Cleaning Vehicles and Furniture
While cleaning vehicles, opt for a wide spray pattern and keep the nozzle at least 45 cm away from the surface to avoid scratching the paint. For outdoor furniture, a fan nozzle works wonders, dispersing the water evenly without risk of damage.


