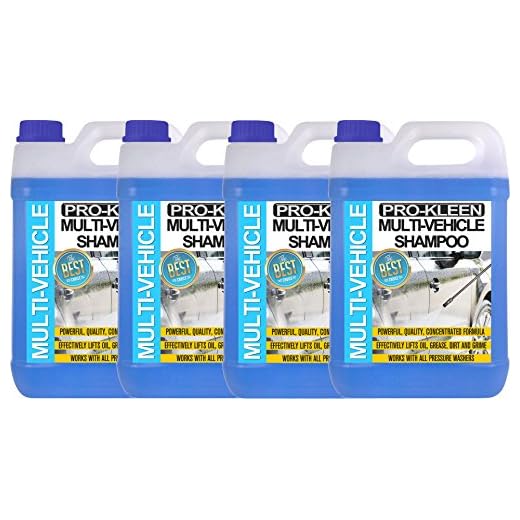
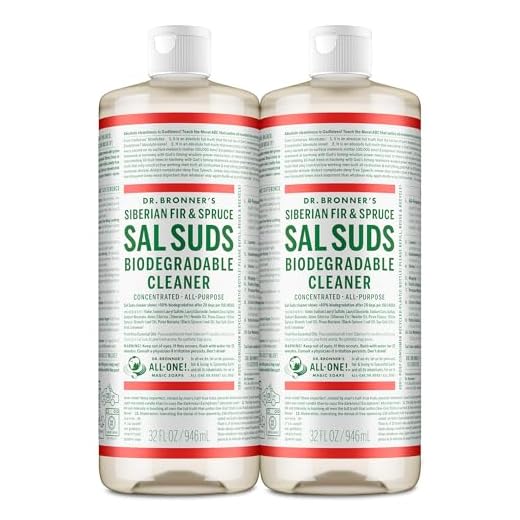
To achieve optimal results while tackling stubborn grime, it’s highly advisable to blend a concentrated cleaning solution tailored for high-pressure equipment. Begin with a base of simple household ingredients that can penetrate and dissolve dirt effectively.
A mixture of baking soda and white vinegar serves as a great starting point. Combine one cup of baking soda with one cup of vinegar; the two will react to create a bubbling action that helps lift away dirt. For added power, consider incorporating a few drops of liquid dish soap to enhance the solution’s grease-cutting capabilities.
Make adjustments based on the task at hand. Stubborn mildew or mould might benefit from a splash of bleach added to the mix, while a more delicate approach can be taken with an all-natural option by using essential oils like tea tree or lavender for their antifungal properties. Always remember to test any mixture on a small, inconspicuous area prior to full application to prevent damage to surfaces.
Utilising this approach not only saves money but also allows for a custom solution that meets specific cleaning needs while being mindful of the environment.
Crafting a Quality Cleaning Solution
Combine one cup of white vinegar with one cup of baking soda in a container to create a potent blend effective against dirt and grime. This mixture reacts to produce a fizzing action that helps lift stubborn stains.
Add a few drops of liquid dish soap for additional grease-cutting power. Ensure the soap is diluted with some water before mixing, as this keeps the solution consistent and easier to apply through equipment.
To enhance the cleaning properties, consider incorporating essential oils such as tea tree or lemon. These not only improve the scent but also add natural antibacterial qualities.
Transfer the concoction to a spray bottle for easy application. When ready to use, fill the washer’s reservoir with warm water and add your solution. This helps activate the cleaning agents effectively when dispensed.
Test the mixture on a small, inconspicuous area first to ensure compatibility with surfaces being cleaned. Adjust the proportions if necessary based on the specific cleaning task ahead.
Choosing the Right Ingredients for Your Detergent
Selecting high-quality components is paramount for optimal cleaning results. Begin with sodium bicarbonate, known for its gentle abrasiveness and ability to neutralise odours.
Next, consider vinegar; it’s effective at breaking down mineral deposits and grease without harsh chemicals. For stubborn dirt, add borax, which enhances cleaning power while being eco-friendly.
Liquid dish soap can be another effective additive. It easily cuts through grease and grime, providing a thorough clean. Choose a biodegradable product to minimise environmental impact.
In instances where mould or mildew is a concern, incorporate hydrogen peroxide. It acts as a natural disinfectant, ensuring surfaces are not only clean but also sanitised.
Lastly, adding a few drops of essential oils like tea tree or lavender can provide a pleasant fragrance and additional antimicrobial properties. Select oils based on their effectiveness and your personal preference.
Always perform a small test on the surface before full application to avoid damage or discoloration. Adjust concentrations based on the specific cleaning challenge at hand.
Understanding the Role of Surfactants in Cleaning Power
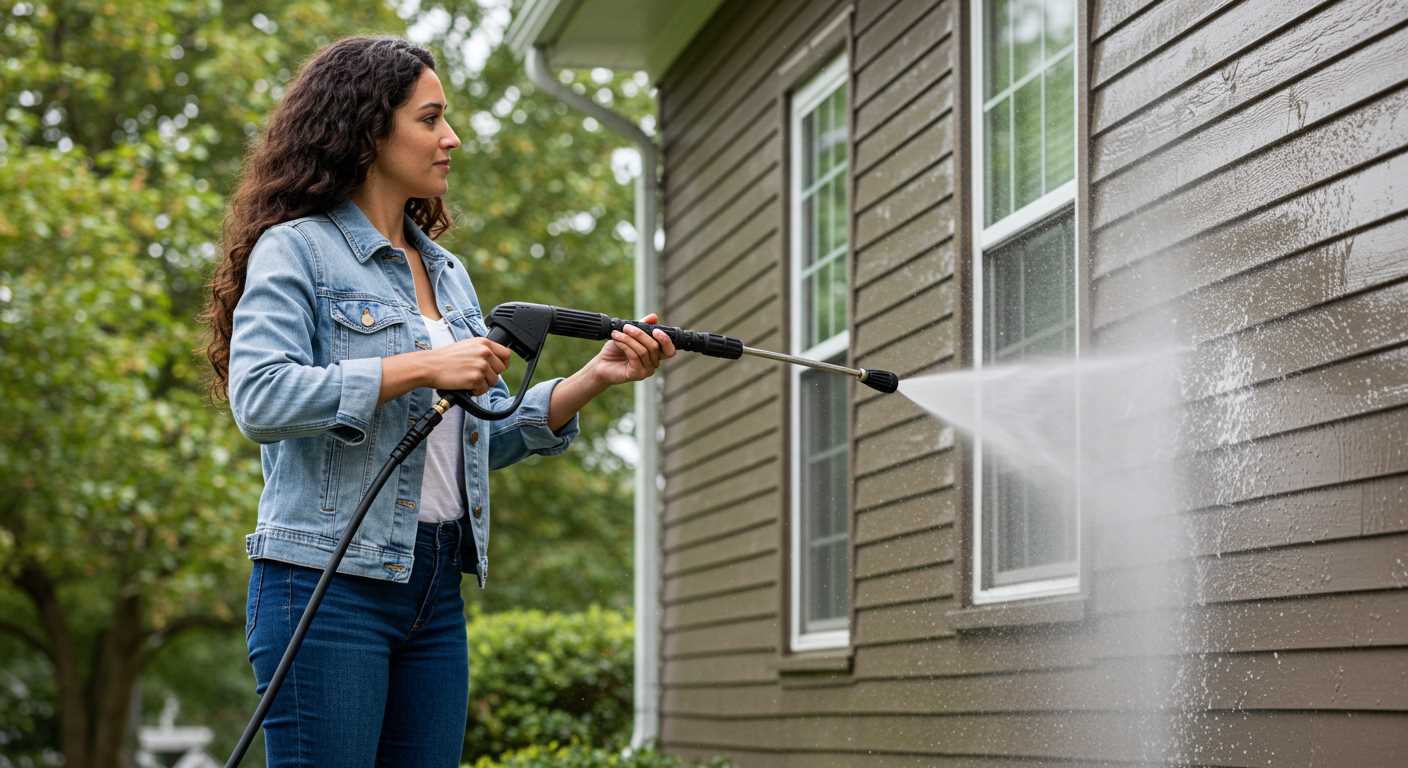
Surfactants serve as the backbone of effective cleaning solutions. These compounds are essential for breaking down dirt, grease, and grime, enhancing the overall performance of any cleaning formulation.
In practical terms, surfactants lower the surface tension of water, allowing it to spread more easily and penetrate surfaces effectively. This property maximises contact with contaminants, ensuring that even the most stubborn residues are lifted away.
Additionally, surfactants can be categorised into anionic, cationic, non-ionic, and amphoteric types, each with its specific characteristics and applications:
| Type | Functionality</th |
|---|---|
| Anionic | Excellent at removing dirt and organic matter; commonly found in degreasers. |
| Cationic | More effective on surfaces that are negatively charged; ideal for disinfecting. |
| Non-ionic | Less sensitive to water hardness; versatile and stable across a range of conditions. |
| Amphoteric | Adaptable; can function as either anionic or cationic depending on pH. |
Selecting the right blend of these surfactants can significantly enhance cleaning efficacy. For instance, a combination of anionic and non-ionic surfactants can yield excellent results on greasy surfaces while maintaining a gentle approach on sensitive materials.
When formulating a cleaning agent, consider the surface to be treated and the type of stains common to that surface. Understanding the specific needs of different cleaning tasks enables the creation of a more powerful and targeted solution.
Mixing Ratios for Different Cleaning Tasks

For optimal results, adjusting the mixing ratio of the cleaning solution is crucial based on the task at hand. Here are specific recommendations for various applications:
- Deck Cleaning: Combine one part concentrated cleaner with four parts water. This dilution effectively removes dirt and mildew without damaging the wood.
- Driveway Stains: A stronger mix is necessary here. Use a one-to-three ratio (one part cleaner to three parts water) to tackle oil and grease stains effectively.
- Vehicle Washing: For gentle cleaning, mix one part soap with six parts water, ensuring the solution is safe for automotive surfaces and paint.
- Brick and Stone Surfaces: A one-to-four ratio works well for this type of cleaning, aiding in the removal of tough grime while preventing damage to porous materials.
- Siding Cleaning: Use a one-to-five mixture. This balance effectively cleans while minimising the risk of stripping paint or damaging finishes.
It’s advisable to test any cleaning solution on a small, inconspicuous area first to evaluate its effects before proceeding with large applications. Adjust these ratios as necessary based on the specific conditions and severity of the stains encountered.
Safety Precautions When Handling Chemicals
Always wear appropriate personal protective equipment (PPE) when dealing with any cleaning solutions. This includes safety goggles, gloves, and a mask to prevent inhalation of harmful fumes or splashes from getting on the skin.
Conduct all mixing in a well-ventilated area. Fumes released during combination can be hazardous, so open windows or work outdoors if possible. Avoid enclosed spaces.
Read labels carefully. Pay attention to warnings and instructions specific to each ingredient. Some compounds may not be compatible with others, leading to dangerous reactions.
Proper Storage Practices

Store chemicals in their original containers with labels intact. Ensure that they are kept out of reach of children and pets, ideally in a locked cabinet. Consider using secondary containment to prevent spills.
Disposal Guidelines
Dispose of any unused or expired chemicals according to local regulations. Never pour them down the drain unless specifically stated as safe. Proper disposal helps avoid environmental contamination.
Testing Detergent on Various Surfaces
I recommend conducting tests on a small, inconspicuous area before applying the cleaning solution widely. This ensures compatibility with the surface and prevents any potential damage. Choose a spot that is hidden from plain sight; this initial testing will reveal how the mixture reacts.
Hard Surfaces
For concrete and brick, the solution should typically be more concentrated. Apply it directly onto the surface, allowing it to sit for approximately 5 to 10 minutes before rinsing. Check for any discolouration or texture changes after cleaning.
Soft Surfaces
When dealing with wood, caution is paramount. Dilute the cleaning agent significantly to avoid stripping the wood’s finish or causing warping. A gentle application with a cloth or sponge is preferable, followed by rinsing with low-pressure water. Observe how the wood responds; if it appears damaged or dull, reconsider the formulation.
For painted surfaces, such as siding or fences, always opt for a lower concentration. An abrasive reaction can lead to chipping. Conduct a test patch, focusing on a less visible area, and ensure you rinse thoroughly for a clean finish.
Always document the results of each test to refine future mixtures. Knowing how various materials react saves time and protects your surfaces. Fine-tuning the formula based on these trials leads to optimal results without causing damage.
Storing Your Homemade Detergent Properly
Airtight containers are a must for preserving the quality of your cleaning solution. Opt for plastic or glass bottles with secure caps to prevent leaks and contamination. Label each container with the contents and the date of preparation for easy identification.
Keep the storage area cool and dark. High temperatures and direct sunlight can degrade the active ingredients, diminishing effectiveness over time. A cupboard or garage shelf away from extremes provides an ideal environment.
If your formula contains vinegar, avoid storing it near bleach or ammonia. Chemical reactions can compromise safety and create harmful fumes. Always keep them in separate locations to mitigate risk.
Regularly check for signs of separation or changes in smell. If the blend appears altered, it’s safer to dispose of it rather than risk using a potentially ineffective or harmful mixture.
Consider portioning out smaller amounts if you only use the product occasionally. This practice limits exposure to air and moisture, extending shelf life. Maintain the primary batch sealed until needed, and refill smaller containers as required.
Finally, protect your homemade solution from frost if storing in colder climates. Freezing can damage the ingredients, rendering the mixture ineffective. Use insulated containers if necessary to buffer against temperature fluctuations.
Tips for Using Detergent with Your Pressure Cleaning Equipment
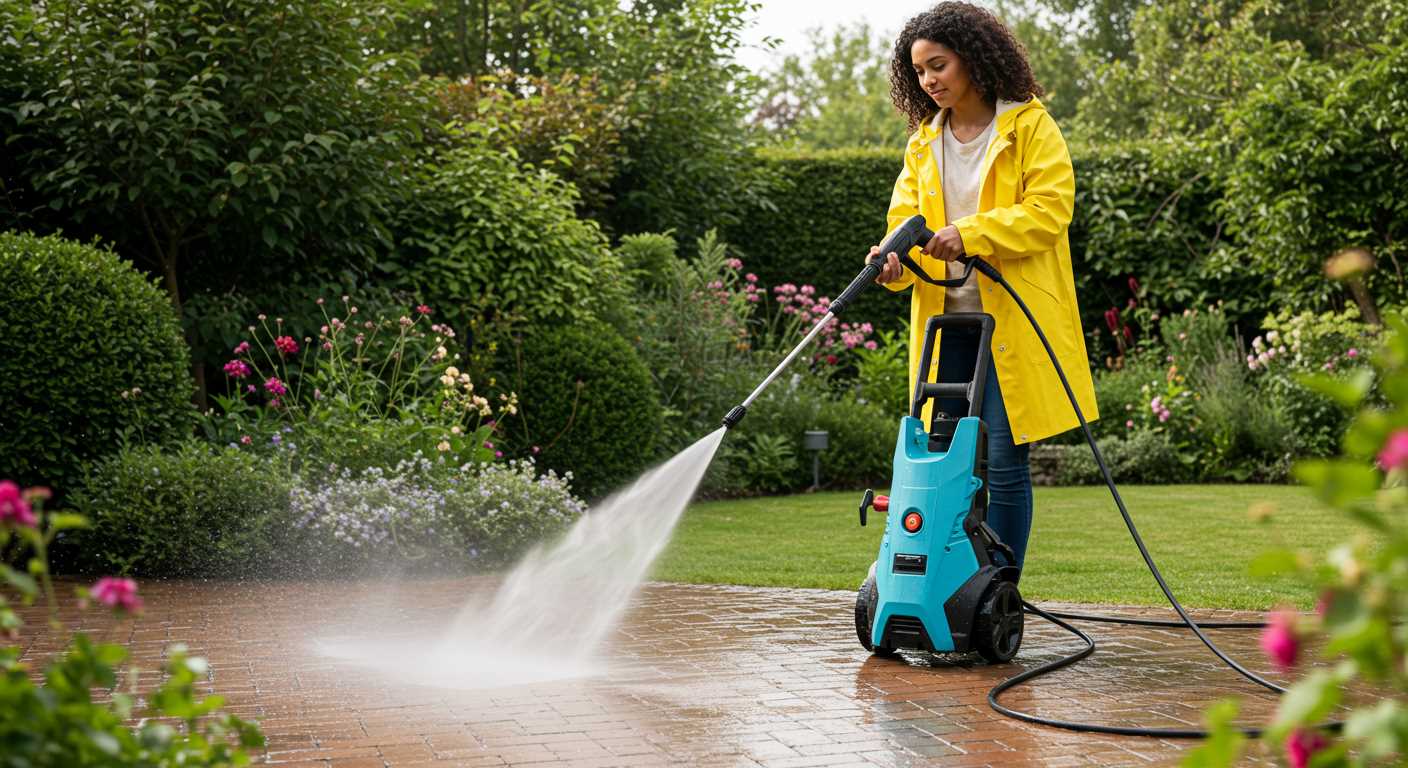
Always follow the correct mixing ratios for your cleaning solution. Too much product can leave a residue, while too little may not remove dirt effectively.
Application Techniques
- Utilise a low-pressure nozzle for applying the solution to avoid foaming too quickly.
- Start from the bottom and work upwards. This ensures that dirty water flows downwards and away from cleaned surfaces.
Timing is Key
- Allow the cleaning solution to sit for a few minutes. This can enhance its efficacy without drying out.
- Be cautious with direct sunlight; high temperatures can cause the detergent to dry too fast, reducing its cleaning ability.
Always test the detergent on a small, inconspicuous area before full application. Different materials react variably to cleaning agents.
Rinse thoroughly after washing to prevent any residue. This helps maintain surfaces and avoids potential damage from leftover chemicals.
Consider seasonal changes; outdoor cleaning is best done in cooler months to prevent evaporation and allow the solution to work optimally.


