


If the task at hand requires precision, ensuring the correct adjustment of the spray attachment is crucial. For maximum versatility, turn the spray tip to the desired setting. Most models will have clear indicators for different spray widths, such as fan or pinpoint, allowing you to effortlessly shift between tasks.
Grasp the handle firmly while holding the equipment steady. To change the tip, pull back on the collar of the spray head; this action typically releases a locking mechanism that secures the tip in place. Be mindful of any residual pressure, and always wear suitable protective gear to guard against any unexpected spray.
After selecting the perfect tip, carefully push it back into position until you hear a click, indicating it’s securely locked. This simple act can drastically enhance your cleaning capability, making tasks easier and more efficient.
Adjusting Your Cleaning Gun Attachment
To manipulate the cleaning gun attachment, locate the trigger handle. Firmly grip the handle while pointing the nozzle away from you. Rotate the tip of the cleaning tool until you achieve your desired spray pattern. Each turn typically alters the angle from a concentrated stream to a broader spread.
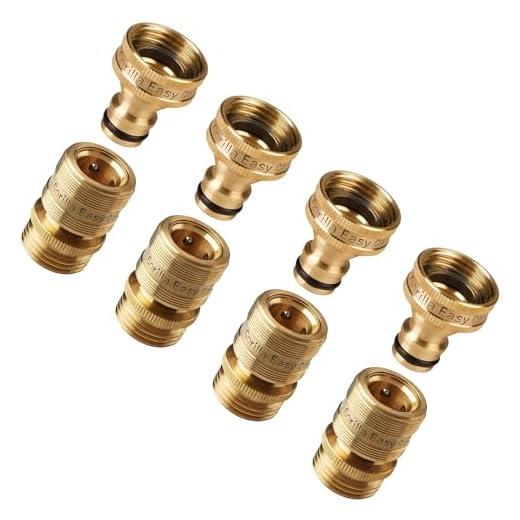
For units featuring a quick-connect mechanism, disengage the current tip by pressing the release button, then pull the tip straight out. Select your preferred attachment, align it with the fitting, and push it in firmly until you hear a click, indicating a secure connection.
In models that require adjustment via a collar or ring, twist the collar clockwise to tighten and set the angle or intensity. Ensure the collar is secure to prevent it from loosening during operation.
| Tip Type | Purpose | Adjustable Feature |
|---|---|---|
| 0° (Red) | Intense cleaning for tough stains | Fixed |
| 15° (Yellow) | Cleaning surfaces like driveways | Fixed |
| 25° (Green) | Ideal for washing vehicles | Fixed |
| 40° (White) | Gentle cleaning for delicate surfaces | Fixed |
| Adjustable (Variable) | Versatile cleaning from narrow to wide | Rotating collar |
Ensure to maintain a safe distance based on the selected attachment type to avoid damage to surfaces. Adjustments can be made effortlessly while the cleaning equipment is powered off to guarantee safety.
Identifying the Type of Nozzle You Have
Begin by examining the design and attachment mechanism of your spray accessory. Common types include adjustable, quick-connect, and fixed configurations. Each type has unique features that determine how to disassemble it.
Adjustable Nozzles
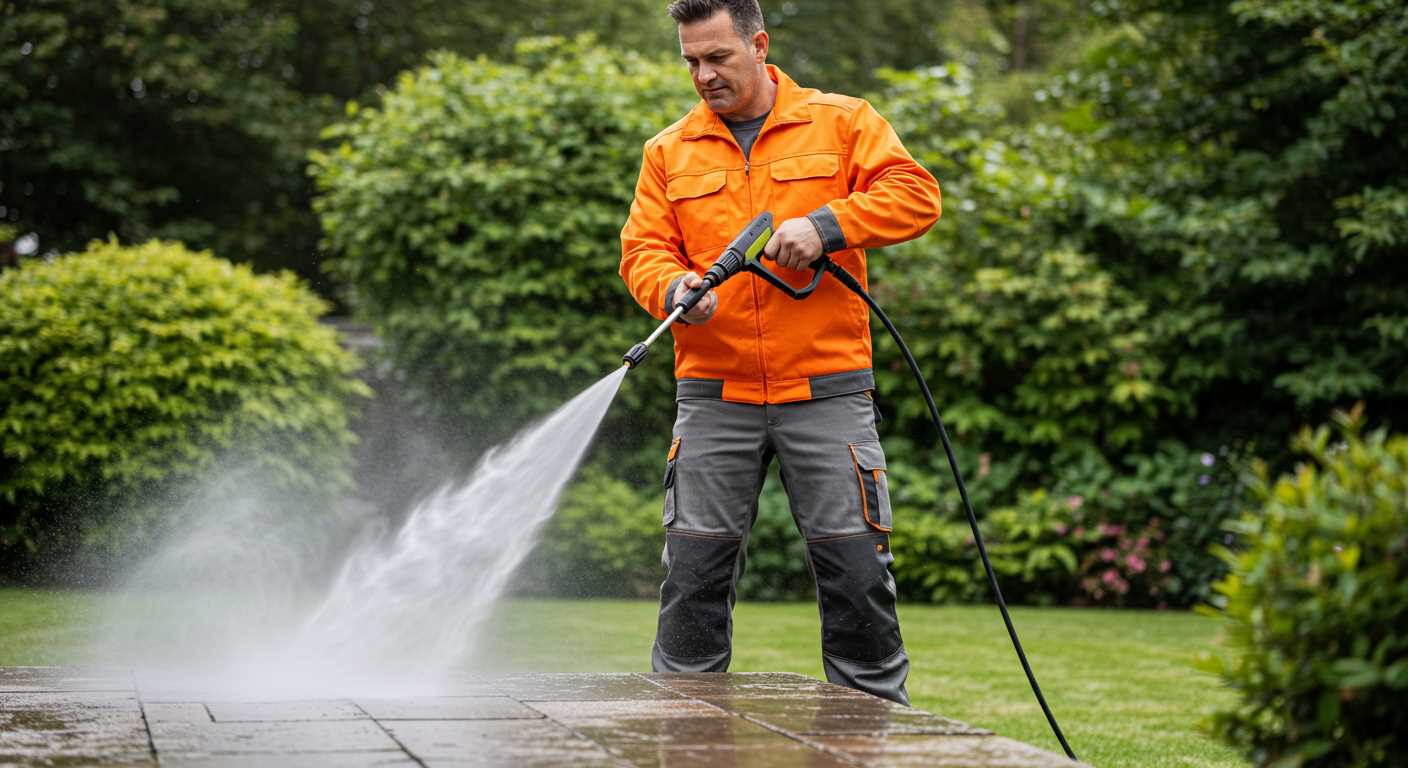
These typically feature a rotating collar allowing you to modify the spray pattern from a wide fan to a direct stream. To detach, twist the collar counterclockwise until it separates from the lance. Look for a locking mechanism that might require pressing or clicking for release.
Quick-Connect Nozzles
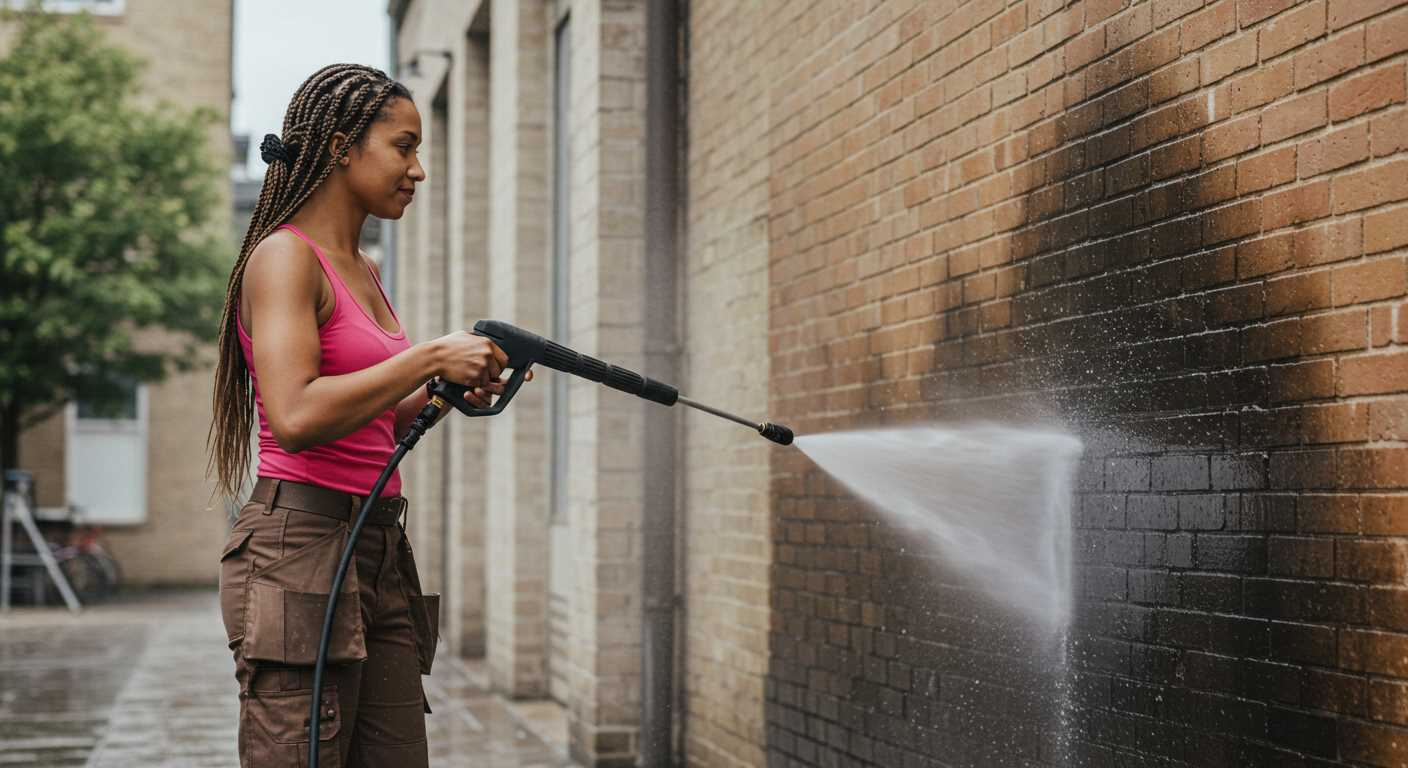
These models are designed with a universal connection fitting. Ensure that the attachment is free of debris. Press down on the metal ring while pulling the nozzle from the wand. If resistance occurs, check for any latches that might need disengaging.
Fixed nozzles come with specific spray angles, often identified by colour coding. If you have one, inspect the base for any set screws that may secure it to the wand. Use the appropriate tool to loosen before removal.
Gathering Necessary Tools for the Task
Before tackling the task at hand, make sure you have the following tools ready: a pair of adjustable pliers, a flathead screwdriver, a clean cloth, and safety goggles. These items will ensure that you can confidently approach the job without interruptions.
Tools Overview
The adjustable pliers are critical for a secure grip on the component you’ll be handling. The flathead screwdriver will help to pry off any fittings that may be stuck due to residue buildup. A clean cloth is essential for wiping any debris or dirt from the area, allowing for better visibility and ensuring no particles interfere with the process. Safety goggles protect your eyes from any unexpected sprays or debris.
Preparation Steps
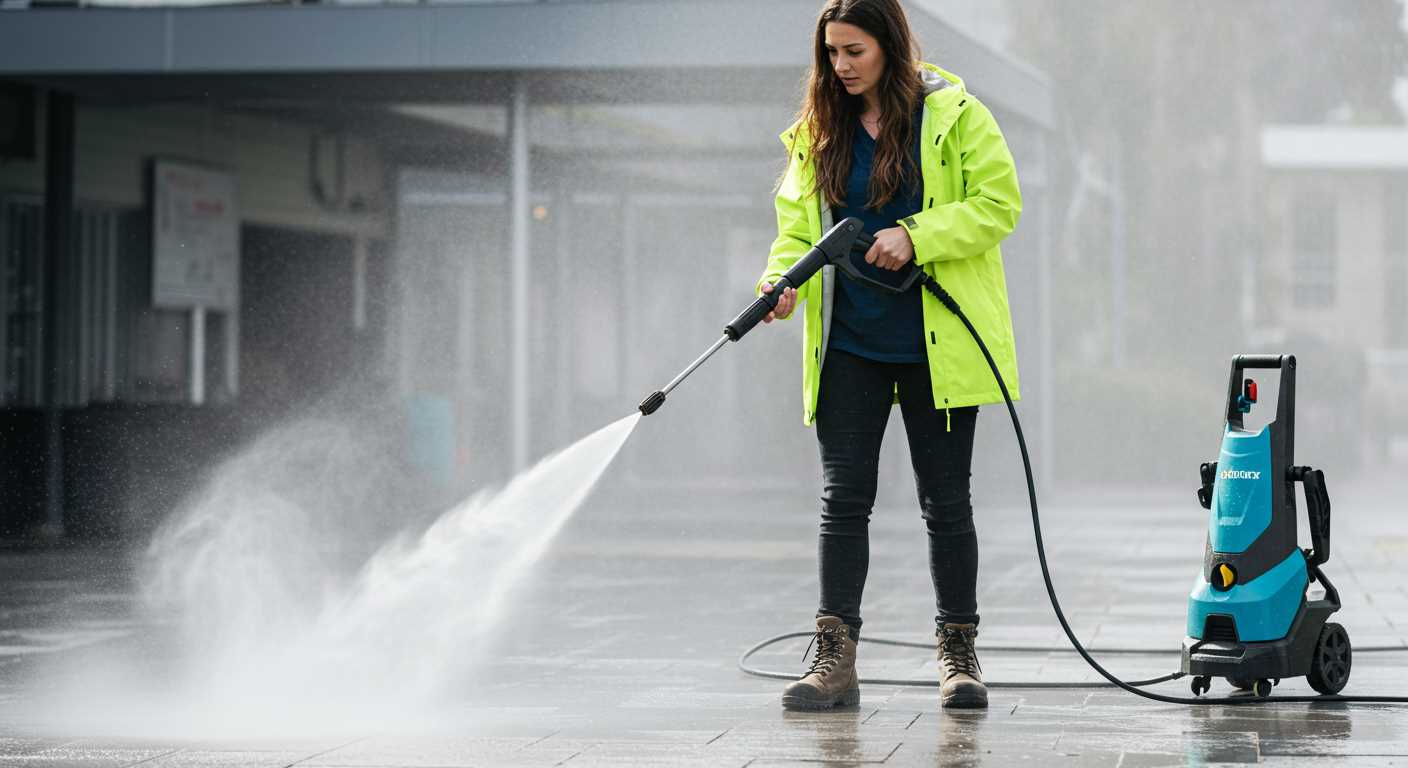
Ensure that all tools are in proper working condition before you start. Inspect the adjustable pliers for any wear and make certain the flathead screwdriver is not damaged. Having these tools laid out in an organised manner will enhance your efficiency and keep the workspace safe and tidy.
Disconnecting the Power and Water Supply
Prior to any maintenance, ensure the equipment is safely disconnected from both electricity and water sources. Follow these precise steps to avoid accidents.
Disengaging the Electrical Connection
- Locate the power cord and ensure it is entirely unplugged from the electrical socket.
- Do not attempt to disconnect if the equipment is still warm; allow it to cool down first.
- Inspect the cord for any damage or wear before storage.
- Store the cable in a manner that prevents tangling or pinching.
Detaching the Water Supply
- Turn off the water valve supplying the unit to stop the flow.
- Disconnect the water hose by grasping the fitting and turning it counterclockwise; ensure the hose is not under pressure.
- Drain any excess water from the hose to prevent leakage and mildew.
- Check for any debris in the fittings before reattaching later; clean as required.
Follow these protocols diligently to maintain safety and efficiency during your equipment handling. Proper disconnection prolongs the lifespan of your machine and ensures optimal performance for the next use.
Understanding the Nozzle Locking Mechanism
Typically, the locking system on these attachments may vary depending on the model. Most commonly, a twist-lock or push-lock feature controls the release and attachment process. It’s vital to first identify the mechanism specific to your device.
For twist-lock systems, grip the assembly with one hand, while the other hand rotates the front section counterclockwise. It should loosen and allow removal. If encountering resistance, check for any dirt or debris blocking the mechanism.
Push-lock designs require pressing a button or lever, often located at the base of the attachment. Engage this action while pulling the accessory away from the lance. Be cautious, as excessive force can damage the locking feature.
In some models, a safety lock is also in place, preventing accidental disengagement during operation. Familiarise yourself with this additional safety measure, as ensuring proper engagement can mitigate accidents.
Having experience across various brands, I’ve noticed that neglecting to properly secure these mechanisms after use can lead to complications when reattaching. Regular maintenance, including cleaning the locking area, can prolong the lifespan of your cleaning tools.
Applying Proper Techniques to Open the Nozzle
Ensure a firm grip on the attachment before attempting to adjust it. With one hand stabilising the main body of the equipment, use the other to initiate the release mechanism. Most designs incorporate a simple twist or push-to-release feature. Align the connector with the release point and apply consistent pressure while twisting in the correct direction, usually counter-clockwise.
Utilising Leverage

In cases where resistance is encountered, employ a cloth for added grip. This method provides extra torque without risking damage to any components. Sometimes, a little elbow grease is necessary; just be careful not to overexert, as this could fracture the fittings.
Cleaning Before Adjustment
Before manipulating the component, examine it for debris or build-up. Clearing away any obstructions will often make the process easier. If the attachment seems stuck, a gentle application of lubricant may assist in freeing it up. Always allow time for the lubricant to penetrate before trying again, ensuring a smoother adjustment.
Cleaning the Nozzle for Optimal Performance
I recommend regular maintenance to ensure your cleaning tool operates at its best. Any debris or buildup can impair performance. Here’s how to achieve a thorough clean:
- Gather the following items:
- Soft-bristle brush
- Warm, soapy water (mild dish soap works fine)
- Bucket
- Compressed air (optional)
- Toothpick or small pin (for stubborn blockages)
- Detach the cleaning accessory from the machine, ensuring no water or power source is connected.
- Submerge the cleaning attachment in warm, soapy water for approximately 10-15 minutes. This helps to dissolve any built-up grime.
- Using the soft-bristle brush, gently scrub all surfaces, paying attention to any narrow passages. Avoid using abrasive cleaners that can scratch or damage the material.
- If you identify any stubborn blockages, use the toothpick or pin to clear them. Exercise caution to prevent damage.
- If available, use compressed air to blow out any remaining debris efficiently.
- Rinse the attachment thoroughly under clean water to remove any soap residue.
- Allow the cleaning tool to air dry completely before reattaching it to the machine.
Following these steps will significantly improve the effectiveness of your cleaning tasks, leading to better results and extended lifespan of your equipment.
Testing the Nozzle After Reassembly
Once the assembly is complete, conduct a thorough check of the fitting to ensure everything is secured properly. Start by connecting the water supply, and then turn on your unit briefly to observe any leaks around the joints. Pay close attention to the connection points where the attachment meets the casing; this is commonly where issues arise.
Next, engage the trigger to assess the spray pattern. The performance should be steady and uniform. If the stream appears erratic or weak, it may indicate a blockage or a faulty assembly. Adjust the spray settings if applicable, and observe how the water disperses. A consistent pattern will indicate that the application functions optimally.
After the initial test, clean the external surface to remove any residual debris from the assembly process. This helps to identify any new leaks that may occur post-assembly. Additionally, operate the equipment for a few minutes to ensure that there are no hidden issues, allowing the components to heat and settle into their positions.
If you detect any irregularities during your testing, disassemble the attachment once again to check for misplaced parts or debris that could be obstructing flow. It’s crucial that all elements are functioning correctly to ensure peak performance during your cleaning tasks.
FAQ:
What tools do I need to open the nozzle of a pressure washer?
To open the nozzle of a pressure washer, you usually only need a few basic tools. Most importantly, you’ll require a pair of pliers or an adjustable wrench to grip and twist the nozzle. Additionally, having a flathead screwdriver can be helpful if the nozzle is stuck and requires a little extra leverage. It’s also wise to have some lubrication spray on hand; a few drops can help ease any debris or rust that has built up over time, making the process smoother.
Can you explain the steps involved in opening the pressure washer nozzle?
Opening a pressure washer nozzle typically involves a few straightforward steps. First, ensure the machine is powered off and disconnect from the water supply for safety. Next, locate the nozzle—you may need to refer to your user manual if you can’t find it easily. Once you’ve found it, use your pliers to grip the nozzle firmly. If it’s stuck, apply some lubricant to the threads and allow it to sit for a few minutes. Finally, twist the nozzle counterclockwise to remove it from the pressure washer. If you’re facing resistance, avoid using excessive force to prevent damage.
What should I do if the pressure washer nozzle is stuck and won’t open?
If the nozzle is stuck, there are several methods you can try. Begin by applying some penetrating oil or lubricant on the threaded area around the nozzle and let it sit for about 10-15 minutes. This can help break down any rust or debris causing the blockage. Next, try gently tapping around the nozzle with a rubber mallet; this can help dislodge it without causing damage. If these methods don’t work, check if there are any locking mechanisms or screws securing the nozzle that may need loosening. If you still can’t open it, consulting a professional might be necessary to avoid further complications.


