

Begin by ensuring that the unit is placed on a stable, level surface. This will prevent any unintended movement while you work. Check the fuel and oil levels before starting. A proper mix of fuel and oil is crucial for optimal performance.
Before you engage the motor, familiarize yourself with the controls. I recommend reviewing the user manual for specific instructions related to your model, as different machines may have varied features. Adjust the spray nozzle according to the type of surface you’re cleaning; a wider spray pattern is suitable for delicate areas, while a concentrated stream works best on tough grime.
Once you’re ready, depress the trigger to release pressure and ensure the device is primed. Stand at a safe distance from the surface to avoid any damage, and begin your cleaning process by moving the nozzle in a sweeping motion. This technique will help cover a larger area efficiently while also minimizing the risk of streaks or uneven cleaning.
Regularly monitor the connections for leaks and maintain a steady distance from the target area. Always follow safety protocols, particularly regarding protective gear. After completing your task, ensure to turn off the water supply before shutting down the equipment, which helps in preventing any residual water from causing issues.
By adhering to these practices, you can maximize both the longevity of the machine and the effectiveness of your cleaning sessions. Regular maintenance checks, including cleaning the filter and inspecting hoses, will also contribute to the device’s performance over time.
Operating a Honda Pressure Cleaner
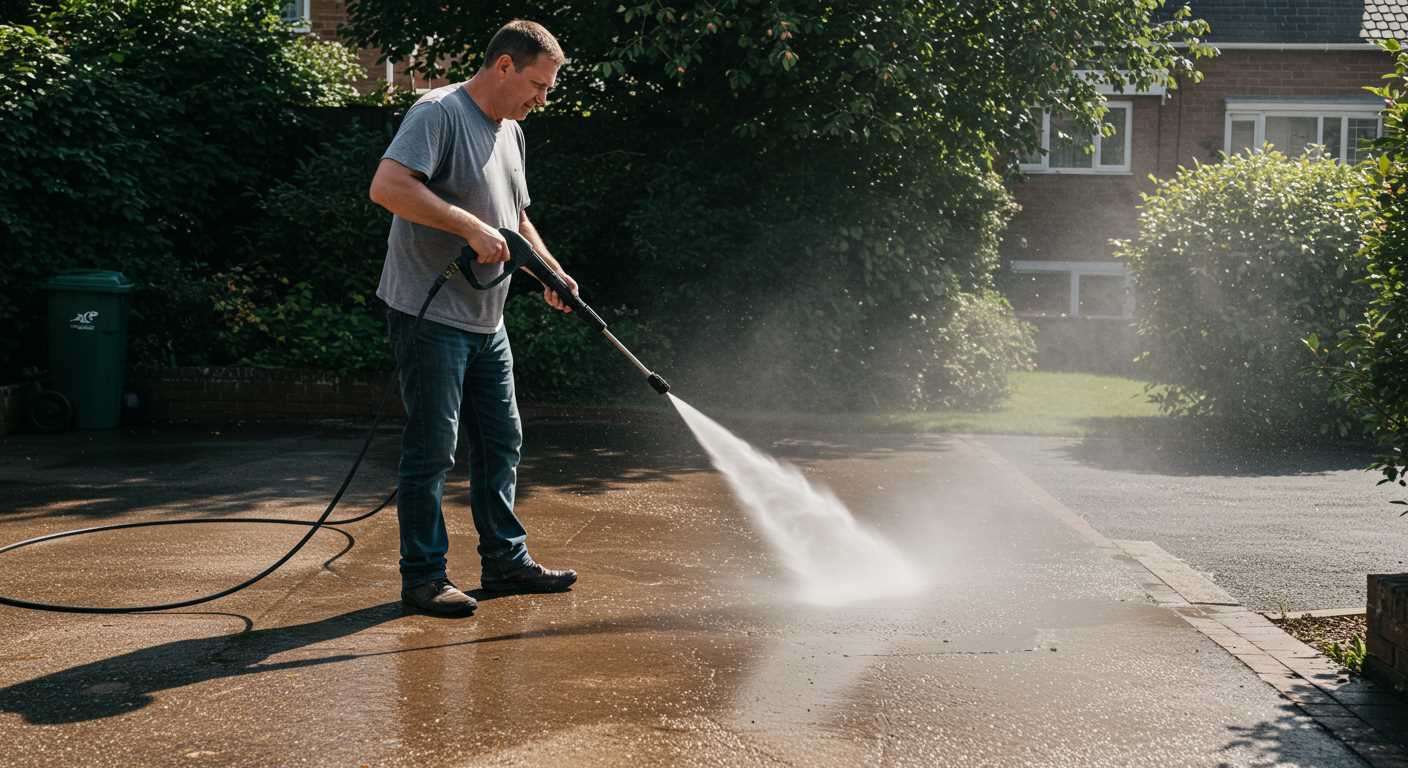
Engage the trigger gun and test with a small blast of water before starting your cleaning task. This step checks for any leaks and ensures everything is functioning correctly. After this, it’s vital to adjust the nozzle based on the surface you’re tackling. For delicate areas, opt for a wider spray angle, while tough surfaces may require a narrow, high-pressure jet.
Maintaining a consistent distance from the surface is important; generally, 18 to 24 inches works well. Closer distances can damage surfaces, while too far may not remove grime effectively. Always keep the nozzle moving to prevent streaks or damage. Consider working from the top of vertical surfaces downwards, which helps in managing streaking and dirt flow.
For stubborn stains, applying a pre-treatment solution can enhance results. Apply it evenly and allow it to dwell for a few minutes before rinsing with the cleaner. Make sure to use the appropriate cleaning solution as specified in the manual to avoid any adverse effects on the machine.
After completing your task, store the equipment correctly. Disengage the hose, drain all the water, and set the machine in a dry location. This routine prolongs the lifespan of the unit and maintains its performance levels.
| Task | Recommended Action |
|---|---|
| Initial Check | Test with a small blast of water |
| Nozzle Adjustment | Choose based on surface type |
| Distance Maintenance | Keep 18-24 inches from the surface |
| Cleaning Technique | Keep the nozzle moving consistently |
| Surface Treatment | Use appropriate cleaner and apply before rinsing |
| Post-Use Care | Drain water and store in dry place |
Choosing the Right Nozzle for Your Cleaning Task
Selecting the correct nozzle can significantly enhance the efficiency of your cleaning activities. Nozzles vary in shape and size, and each one serves a specific purpose. Here are key types of nozzles to consider:
- 0-degree nozzle: Ideal for heavy-duty tasks such as removing tough grease, paint, or stubborn stains. Use it with caution, as the concentrated jet can damage softer surfaces.
- 15-degree nozzle: Suitable for hard surfaces like concrete or brick. It’s effective for removing mildew and grime from patios and driveways.
- 25-degree nozzle: Versatile for general cleaning tasks including washing cars, decks, and siding. This nozzle offers a wider spray pattern, balancing force and coverage.
- 40-degree nozzle: Best for delicate surfaces such as windows or painted surfaces. It provides a gentle spray suitable for rinsing without risk of damage.
- Soap nozzle: Specifically designed to apply detergents effectively. This nozzle typically has a lower pressure setting to allow the cleaning solution to adhere to surfaces better.
Considerations for Nozzle Selection
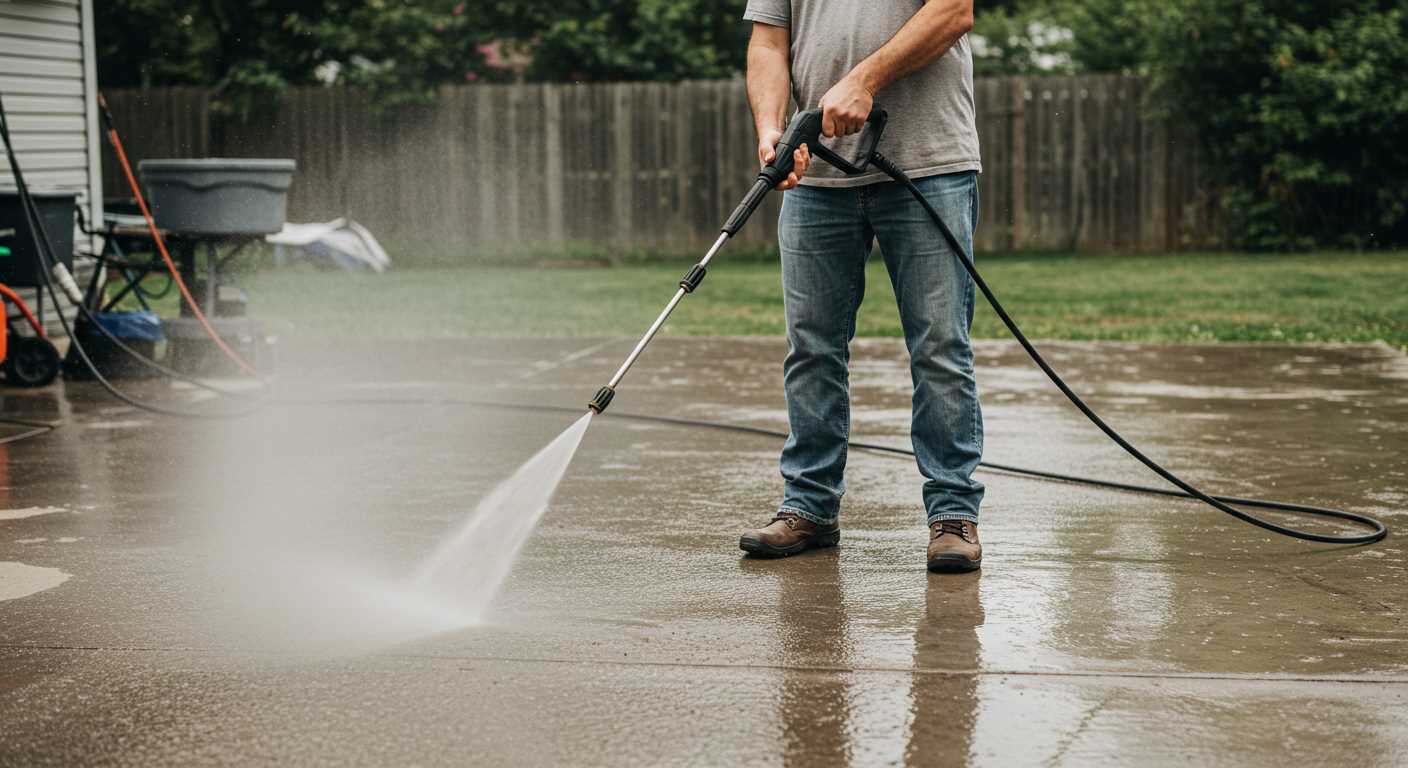
Here are factors to keep in mind while choosing nozzles:
- Surface type: Match the nozzle to the material you are cleaning to avoid damage.
- Stain severity: Heavier stains may require more concentrated pressure, so opt for narrower angles.
- Detergent use: Consider if you need to apply cleaning solutions and choose the appropriate nozzle for that function.
By tailoring your choice of nozzle to the specific cleaning job at hand, you’ll optimise performance and achieve desired results efficiently.
Preparing the Surface Before Pressure Washing
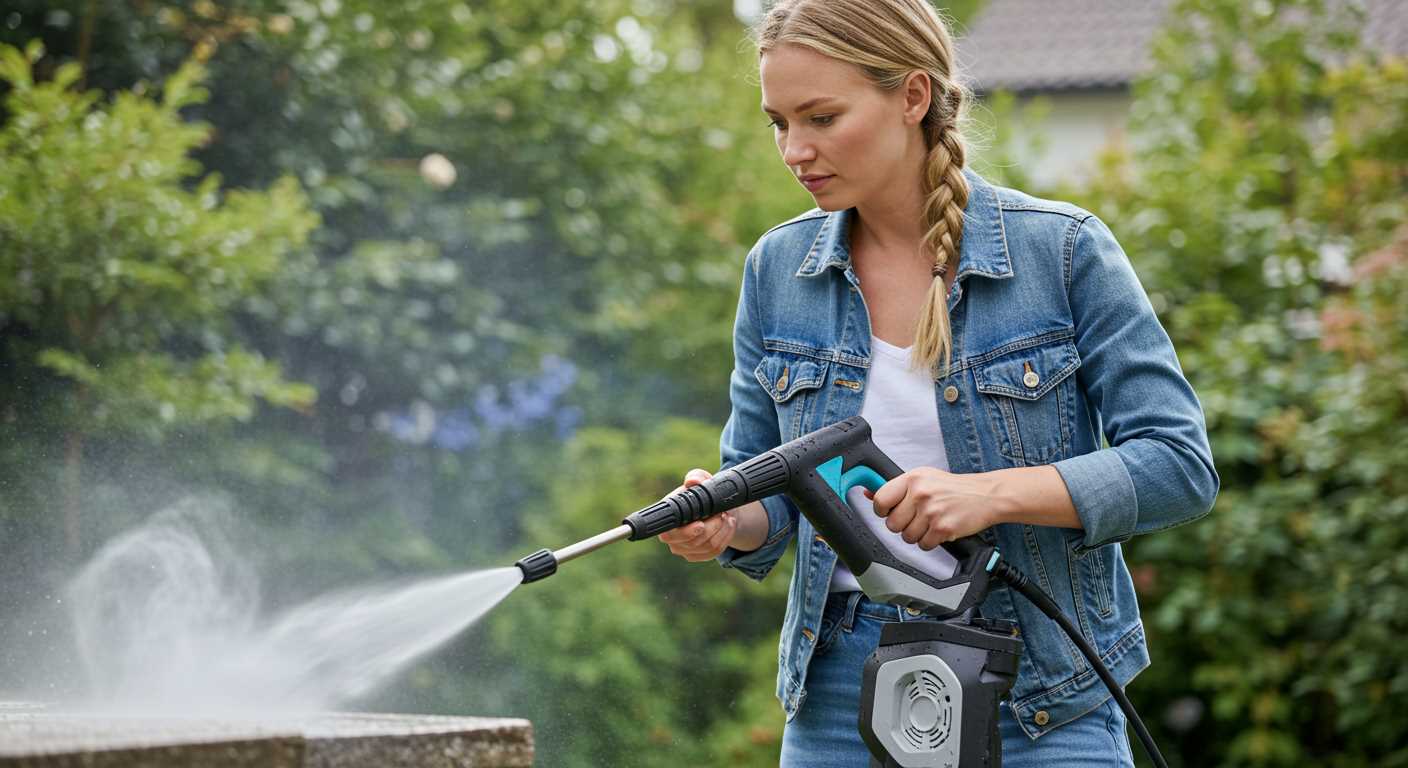
Clear the area of any furniture, decorations, and obstacles. Ensure the surface is free from loose debris, such as leaves, dirt, or gravel, which can obstruct the cleaning process. Sweep or rake the surface adequately to create an unobstructed path for the intense spray.
Inspect for any damage to the surface, including cracks, chips, or loose paint. Address these issues beforehand, as the high-pressure stream can exacerbate existing problems. Patch up cracks or remove peeling paint to avoid further deterioration during cleaning.
If you’re working on a sensitive area, such as wooden decking, apply a gentle cleaner or pre-treatment solution to help loosen ingrained dirt or mould. Allow this to sit for the recommended time to maximise its effectiveness.
Next, ensure that windows and doors are tightly closed to prevent water from entering. Cover any electrical outlets, exposed wiring, and sensitive plants nearby to protect them from the spray. Using tarps or plastic sheeting can provide an added layer of defence.
Finally, check the surrounding environment for signs of wildlife or nesting animals. It’s crucial to avoid disturbing their habitat during cleaning activities. Confirm that pets are safely indoors or away from the work area to prevent accidents.
Understanding the Honda Pressure Washer Controls
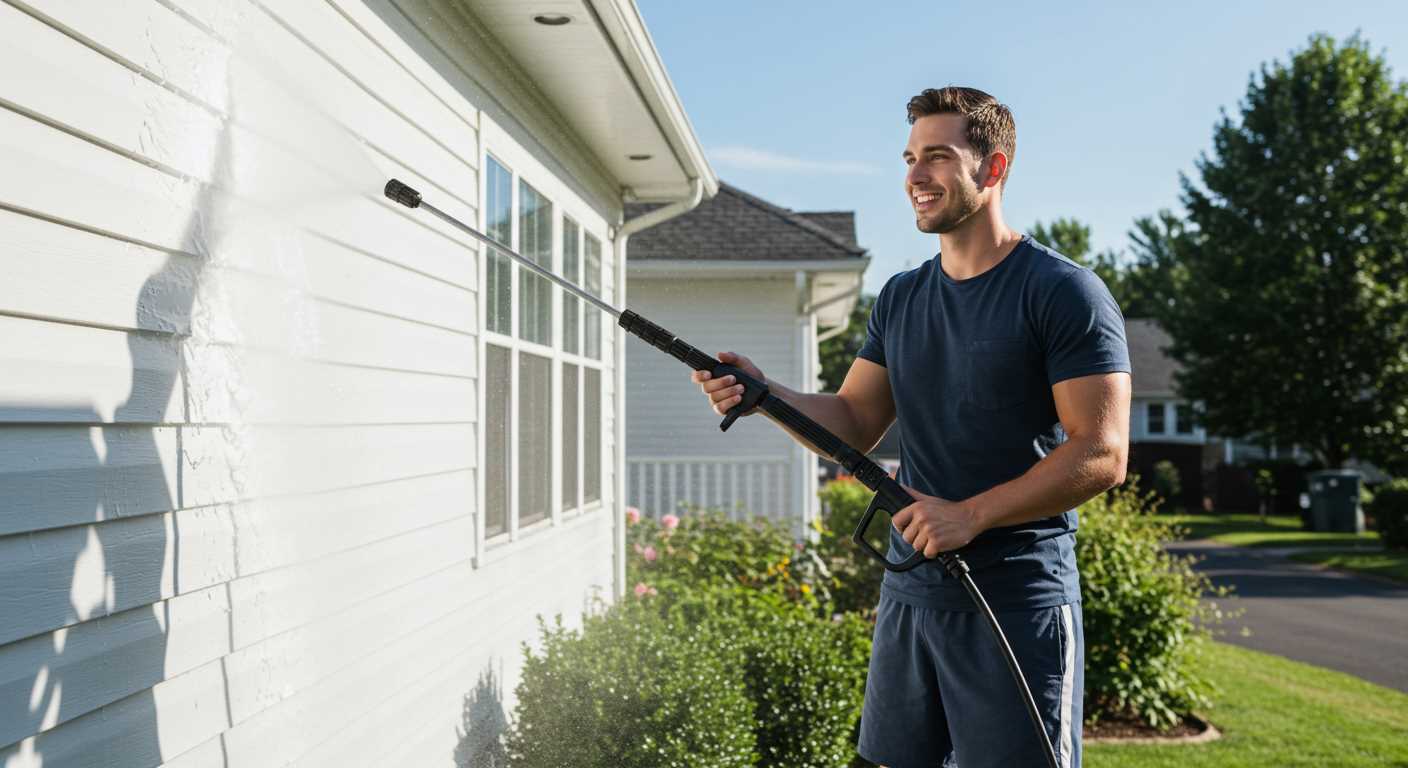
Familiarising yourself with the control panel is crucial for optimal usage. The engine switch typically features three key positions: ‘On’, ‘Off’, and ‘Run’. Start by ensuring the switch is in the ‘Off’ position when not in use.
The throttle control, usually located near the engine, adjusts the engine speed. For most tasks, set it to the ‘Full’ position for maximum power. The pump lever, if present, directs fluid flow; ensure this is engaged before activating the machine.
Next, the spray wand usually has an adjustable trigger. Squeezing it activates the flow; releasing it halts water discharge, providing better control when cleaning. The safety lock, found on many models, prevents accidental activation–always engage this feature when the unit is not in operation.
The gauge displays the outlet pressure, allowing you to monitor performance. Ideally, keep an eye on this during use to prevent overloading. Most models feature an hour meter for tracking operational time, which helps you stay on top of maintenance schedules.
Finally, be aware that settings can vary slightly across different models. Always consult the user manual for specific details related to your unit’s configuration, ensuring safe and efficient operation every time.
Proper Fuel and Oil Maintenance for Longevity
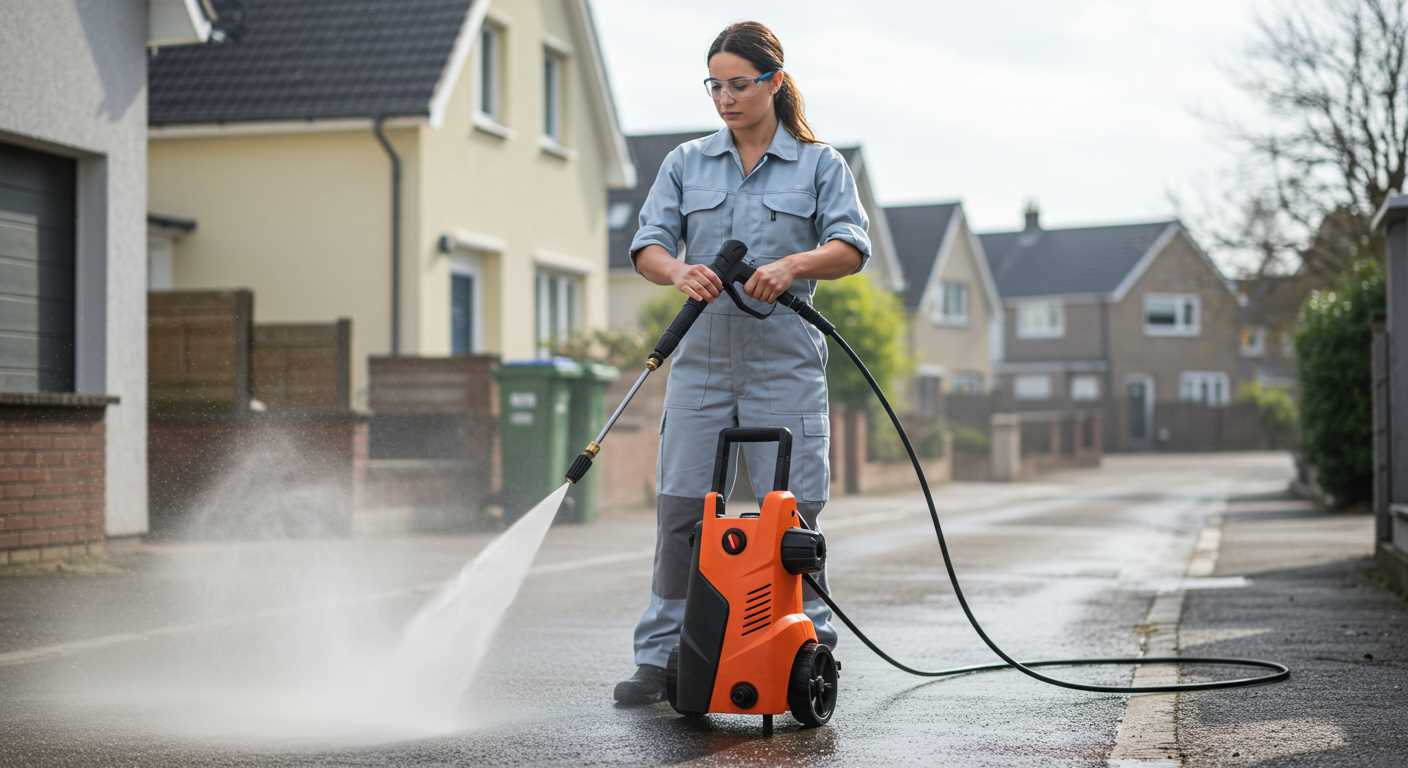
Utilise only fresh fuel–always choose a high-quality gasoline with an octane rating of 87 or higher. Avoid using old fuel that has been sitting for over 30 days, as it can lead to starting issues and engine inefficiencies.
Incorporate a fuel stabiliser when using fuel that will not be consumed within a month. This additive helps prevent the fuel from breaking down and forming deposits within the fuel system.
Check fuel levels regularly, topping up as needed to prevent running the engine dry, which can cause damage. Ensure the fuel cap is tightly sealed to avoid evaporation.
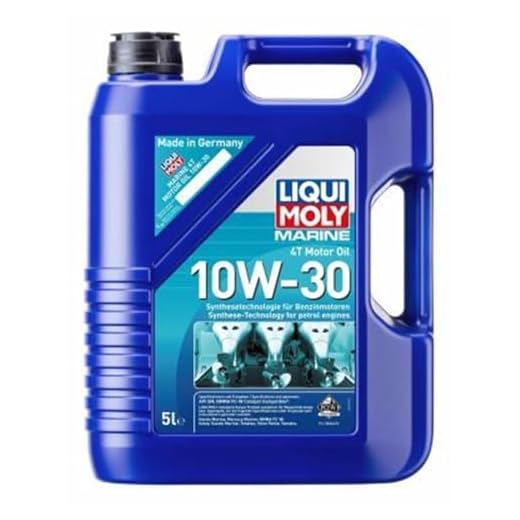
Use the specified oil type recommended by the manufacturer–typically a detergent oil classified by SAE (Society of Automotive Engineers). Commonly, 10W-30 or 10W-40 oil is advised in most climates.
Change the engine oil after the first 5 hours of operation and then every 50 hours or annually, whichever comes first. Always check the oil level before starting the unit and ensuring it’s at the proper level.
Follow the correct procedure for oil changes by warming up the engine first, which aids in the efficient removal of used oil. Allow the oil to drain completely, and replace it with fresh oil to maintain optimal engine performance.
Keep the air filter clean to ensure optimal air intake, changing it when it appears dirty. A clean filter not only promotes efficiency but also prolongs the life of the engine.
Error-free maintenance creates a significant difference in the durability and performance of the equipment, allowing for consistently reliable functionality.
Techniques for Safe and Efficient Operation
Always wear personal protective gear, including goggles, gloves, and non-slip footwear. This prevents injuries from debris and high-pressure water jets.
Maintain a safe distance from surfaces while cleaning. Start from a greater range and gradually move closer to avoid damaging materials. A distance of at least 2-3 feet is advisable, depending on the task.
Utilise steady, sweeping motions rather than stationary blasts. This minimizes the risk of causing damage to the surface and ensures an even clean. Move the nozzle in a consistent pattern, overlapping each pass slightly.
Consider the angle of the spray. For vertical surfaces, hold the nozzle at a slight downward angle to let the water flow off the surface. For horizontal areas, maintain an angle that helps remove dirt effectively without pushing debris around.
Prior to each session, inspect hoses and connections for any signs of wear or leaks. Use only manufacturer-recommended accessories to avoid compatibility issues that could lead to malfunctions.
Be aware of your surroundings. Avoid spraying at people, pets, or electrical outlets. Always check for loose items that could be pushed away by the water pressure.
Maintain a consistent flow rate by regulating the throttle. Avoid sudden changes in pressure, as this can strain the machinery and lead to performance issues.
After completing the task, always release residual water pressure by turning off the machine and squeezing the trigger until no more water comes out. This prevents potential hazards when disconnecting hoses.
Finally, store the equipment in a dry and secure area, protecting it from extreme weather conditions and prolonging its lifespan.
Post-Cleaning Maintenance and Storage Tips
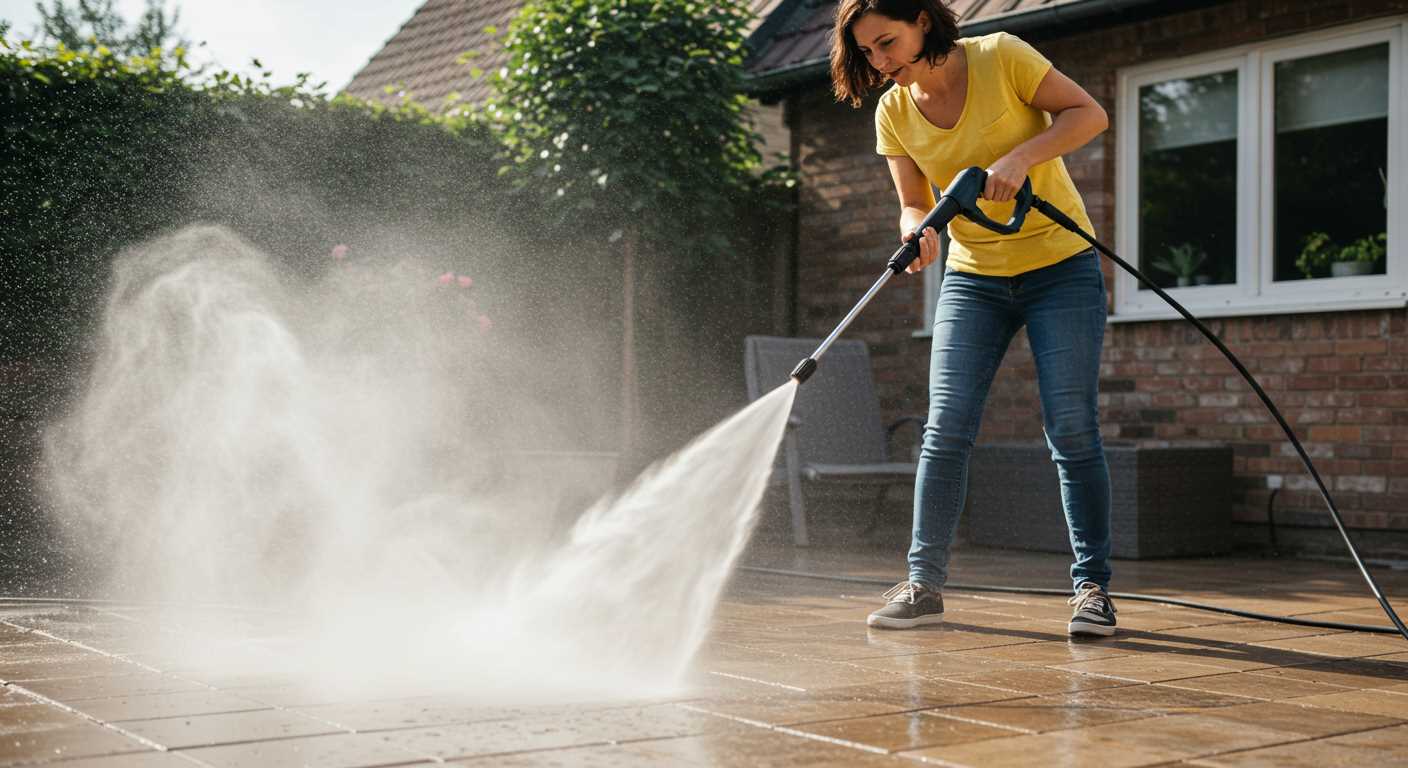
Flush the unit with clean water to remove any detergent residue from the system. Connect the garden hose to the inlet and run water through the machine for several minutes without the nozzle attached. This clears any foam or chemicals that could clog internal components.
Inspect all hoses and fittings for wear and damage after every use. Replace any compromised parts to avoid leaks and ensure optimal performance. Keeping spare hoses and connectors on hand can save time in the long run.
Clean the nozzle using a straight pin or a specialized cleaning tool to remove any obstructions. A clogged nozzle can significantly impact the machine’s output, so regular checks are required to maintain proper functionality.
Drain the fuel tank if the equipment will not be used for an extended period. This prevents the fuel from degrading and clogging the carburettor. If possible, fill the tank with fresh fuel and add a fuel stabiliser to extend its shelf life.
Store the machine in a dry, sheltered location to protect it from moisture and extreme temperatures. Covering it with a breathable fabric can help prevent dust accumulation. Avoid plastic covers, as they may trap moisture.
Check the oil level regularly, topping up or replacing it as needed. Follow manufacturer guidelines for oil type and change intervals to keep the engine running smoothly. Old oil can cause engine wear and reduce efficiency.
Finally, keep an inventory of your cleaning equipment. This helps track maintenance schedules, replacements, and any additional accessories you might need for future tasks.


