
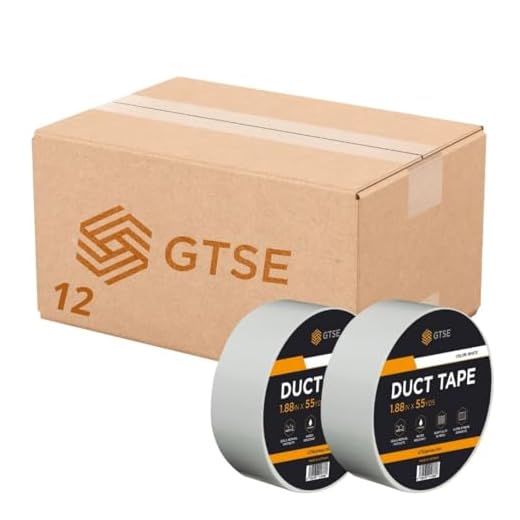
Start by ensuring that you have the right materials at hand: a suitable repair kit, scissors, and strong adhesive tape. First, identify the damaged area on the cleaning line. Once located, thoroughly clean the surface to remove any dirt or grease to ensure proper adhesion.
Next, cut a piece of the repair tape that is at least twice the length of the damaged section to provide adequate coverage. Apply the tape smoothly over the affected area, ensuring there are no bubbles or wrinkles, as these can lead to further leaks. Press firmly to secure the tape in place and wait for several hours, ideally overnight, to allow the adhesive to set properly.
Before testing, double-check that the repair is secure. Reconnect the cleaning equipment and run it at a low pressure to see if any leaks remain. If there are no issues, gradually increase the pressure to ensure the repair holds under normal operating conditions.
Identifying leaks in a pressure-cleaning unit’s tubing

To detect leaks effectively, start by visually inspecting the entire length of the tubing for any obvious signs of wear, cracks, or punctures. Pay special attention to the areas near fittings, as these are common leak points. If a visual inspection doesn’t reveal the issue, perform a pressure test by applying water pressure while monitoring for any escaping fluid.
Another method is to use soapy water. Mix a small amount of detergent with water, and apply it to suspected leak areas. Bubbles will form where fluid is escaping, allowing for precise identification of the problem.
If the tubing is old, consider bending it slightly or flexing it along its length to reveal hidden cracks that may not be immediately visible. This technique can sometimes expose leaks that are only evident when the material is under stress.
Additionally, listening closely while running the unit can reveal the sound of hissing or any unusual noises that often indicate escaping fluid. If a leak is suspected, carefully inspect the components attached to the tubing, ensuring all connections are tight and secure.
Testing the entire system before prolonged use can prevent potential damage and ensure optimal functionality. Regular maintenance checks also enhance longevity and efficiency.
Gathering Necessary Tools and Materials
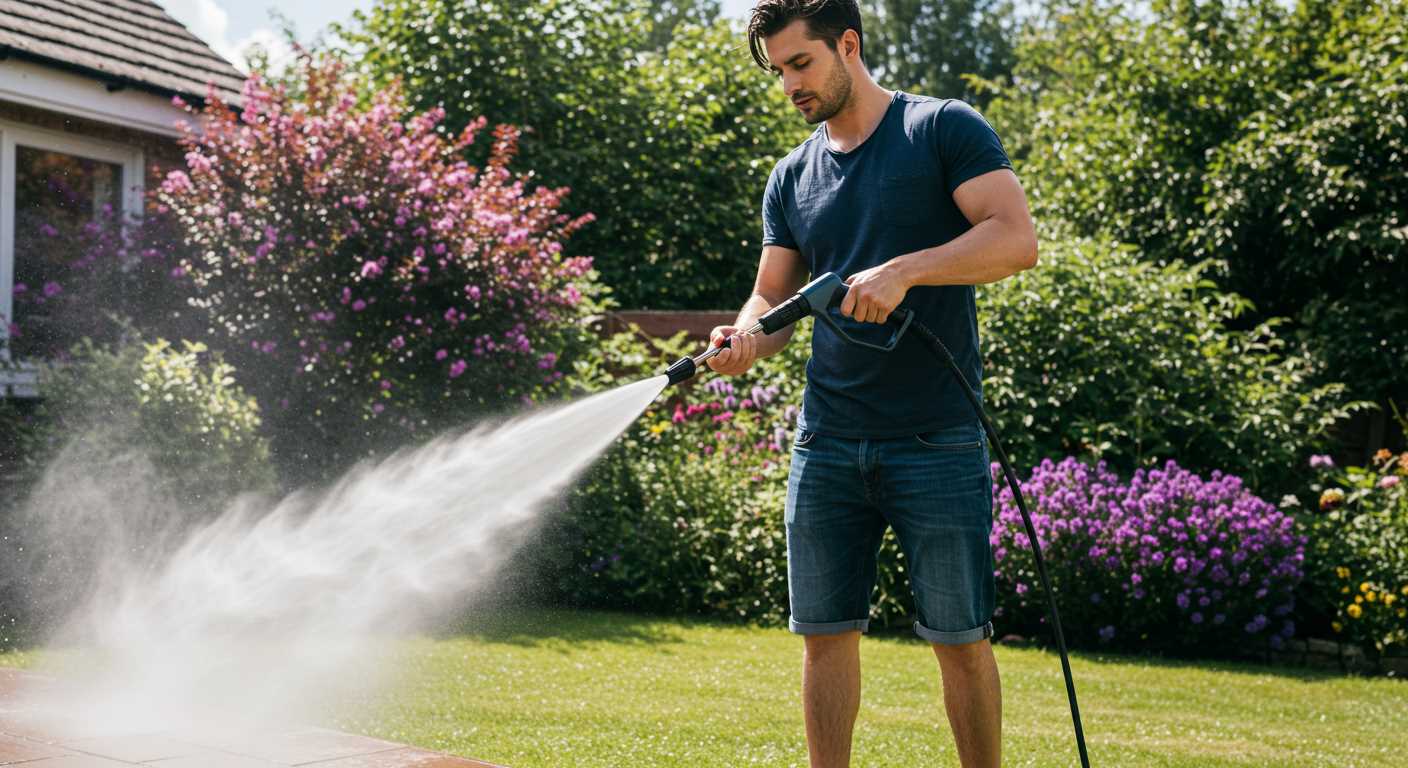
To ensure a successful repair, assemble the following tools and items:
| Tool/Material | Description |
|---|---|
| Utility Knife | For trimming damaged sections of the tubing with precision. |
| PVC Repair Tape | Strong adhesive tape suitable for sealing small cracks and leaks. |
| Heat Gun or Hair Dryer | Useful for softening materials when applying tape or adhesives. |
| Silicone Sealant | To fill larger gaps and create a watertight seal. |
| Clamps | Helps secure the repaired section while curing. |
| Gloves | To protect hands during the repair process. |
| Measuring Tape | For accurate measurement of the damage area. |
| Bucket | To catch any leaking water during the repair. |
Having these tools and materials on hand will facilitate an efficient and effective restoration process. Ensure each item is of good quality to guarantee optimum results.
Preparing the hose for patching
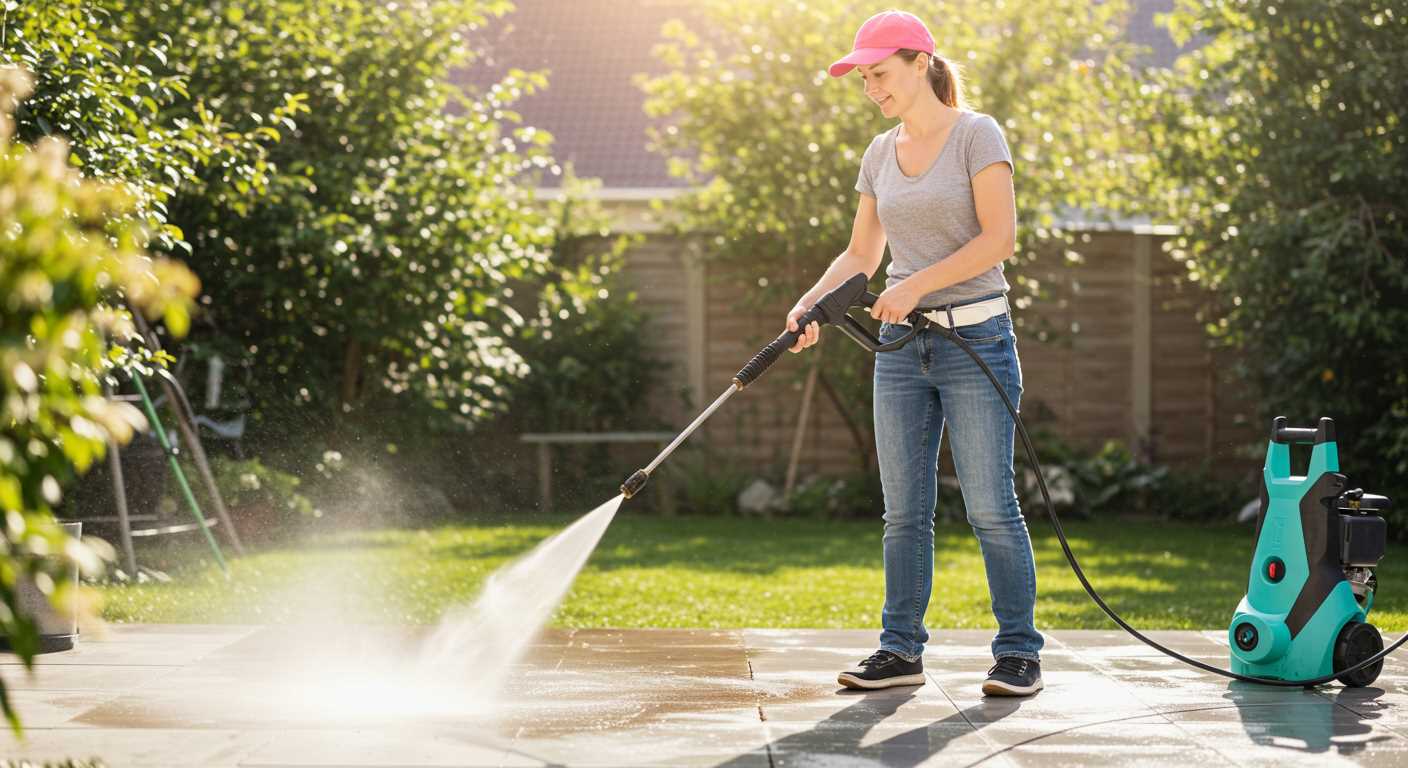
Begin by removing the connected components from both ends of the tube. This facilitates a thorough inspection and ensures accessibility during the repair process. Use a clean, dry cloth to wipe down the exterior, removing dirt and debris that may interfere with sealing. Pay special attention to any area where damage is suspected; it’s crucial to have a clear view of the affected region.
Next, identify the damaged section accurately by expanding the hose fully. This action allows for better visibility and prevents the material from obscuring any potential fractures or holes. Once the area is sufficiently exposed, consider marking it with a permanent marker for easy reference during the application of the fix.
It’s advisable to conduct a water pressure test if feasible. This involves briefly connecting your equipment and checking for any further leaks while the line is under pressure. Make note of any additional weak points detected during this test, as they may require attention post-repair.
Once the damaged area is marked and assessed, ensure the surface is completely dry before applying any repair materials. Moisture can hinder adhesion and compromise the integrity of the fix. If necessary, allow a few minutes for the hose to air out.
Applying a patch to the damaged area
Choose a suitable adhesive specifically designed for rubber or vinyl materials. Apply a thin layer on the clean surface around the tear, ensuring you cover slightly beyond the damaged section.
Cut a piece of repair material, like a rubber patch or vinyl sheet, large enough to overlap the tear by at least 2.5 cm on all sides. Ensure the piece is smooth and free from any imperfections.
Align the patch carefully over the adhesive. Press firmly, starting from the centre and working your way outwards to remove air bubbles. This ensures a tight seal and maximises the bond.
Secure the patch further by wrapping strong adhesive tape around the reinforced area. This additional support prevents the edges from peeling up and adds extra durability.
Allow the adhesive to cure completely, adhering to the manufacturer’s recommended drying times. Avoid using the equipment until fully set to achieve optimal results.
Following the drying period, test for leaks by pressurising the system and inspecting the repaired area. If no water escapes, the repair is successful. If leaks persist, consider reapplying or using a different method for a more robust solution.
Sealing the patch securely
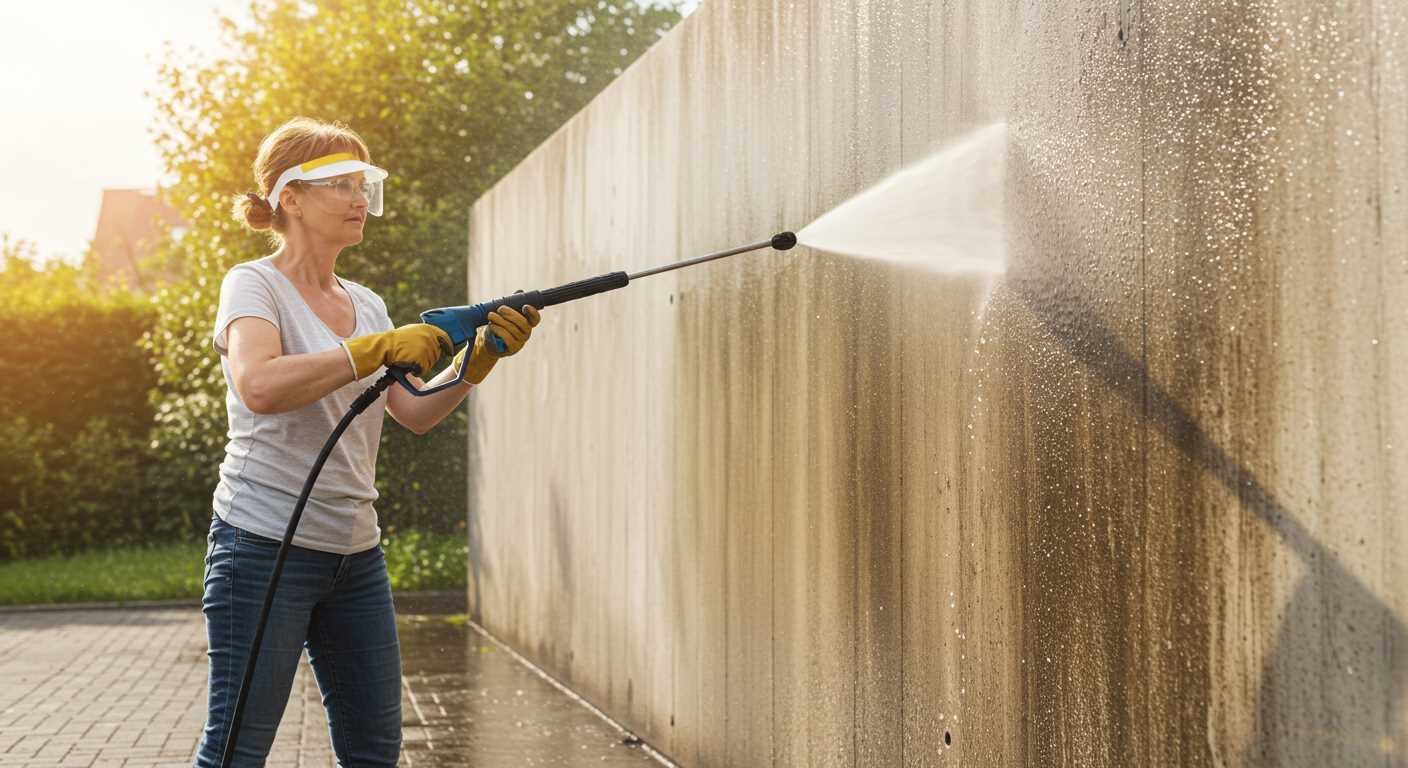
After placing the covering over the compromised section, ensure it adheres properly by applying adequate pressure for several minutes. This helps eliminate any air bubbles that may prevent a tight seal. Consider using a weighted object to maintain pressure as the adhesive dries.
For optimal results, allow the adhesive to cure according to the manufacturer’s instructions. Check the surrounding area for any leaks or weak points that may need further reinforcement. Once the adhesive is completely set, inspect the area again to ensure no gaps remain.
In cases where water flow will be high, I recommend wrapping the patched section with a strong tape specifically designed for hoses. This extra layer of protection can prevent any potential issues during use and prolong the life of your repair.
Lastly, conduct a pressure test before resuming regular operation. Turn on your machine and monitor the patched area for any signs of leaks under normal operating conditions. If everything remains dry, then your repair should hold up well even under pressure.
Testing the Hose After the Repair
After completing the repair, I recommend conducting a thorough examination to ensure the integrity of the newly sealed area. Start by connecting the flexible tubing to the water supply and the device. Turn the water on fully before starting the unit to allow pressure buildup without any stress on the repaired segment.
Follow these steps for proper testing:
- Inspect for leaks: Watch closely around the newly mended spot for any signs of dripping or spraying water. A leak at this point indicates that additional sealing may be necessary.
- Check connection points: Ensure all fittings are secure and free from leaks. Any loose connection can lead to compromised performance and waste.
- Run the system: Activate the cleaning machine to increase pressure. Pay attention to how the repair holds under operating conditions. Listen for any unusual noises, which may suggest improper installation or further damage.
- Observe performance: Assess the flow rate and pressure output during use. Inconsistent performance often points to incomplete repairs or underlying issues.
- Look for signs of wear: Keep an eye on the repaired zone over time. If the area starts to show signs of wear or damage, re-evaluating the repair method might be necessary.
By following these steps, I can confidently determine the success of the repair and ensure that the equipment operates at peak efficiency without any setbacks. Regular monitoring contributes to the longevity of the equipment and minimizes future problems.
FAQ:
What materials do I need to patch a pressure washer hose?
To patch a pressure washer hose, you will need several materials. The most important are a suitable patch (often a rubber or fabric patch specifically designed for hoses), strong adhesive (like epoxy or hose repair glue), scissors for trimming the patch, and optionally a sandpaper to smooth out the area around the leak. Having some duct tape on hand can also provide a temporary solution.
How do I identify the exact location of the leak in my pressure washer hose?
To find a leak, first inspect the hose visually for any obvious signs of wear or damage, such as holes or cracks. Next, you can perform a pressure test: turn on the pressure washer and look for water spraying out. If you cannot locate the leak visually, run your hands along the hose while it’s pressurised; you may feel water escaping. Frequently, leaks are found near the connectors or bends in the hose.
Can I use duct tape to temporarily fix a pressure washer hose leak?
Yes, duct tape can serve as a temporary fix for a pressure washer hose leak. Wrap a few layers of duct tape tightly around the damaged area, ensuring it covers the entire leak. However, this is only a short-term solution. It’s advisable to perform a proper repair with an appropriate patch and adhesive for a long-lasting fix.
What steps should I follow to properly patch the hose?
To patch your pressure washer hose, first, clean the area around the leak to remove any dirt or debris; this will help the adhesive bond better. Cut your patch material to a size that covers the leak by at least an inch on each side. Apply a strong adhesive according to the instructions (make sure not to skimp on it), then place the patch over the leak and press firmly. Finally, allow the patch to cure completely before using the pressure washer again, as per the adhesive’s recommendations, to ensure a strong seal.
How long will a patched pressure washer hose last?
The longevity of a patched pressure washer hose depends on several factors, including the quality of the patching materials used, the severity of the damage, and the frequency of use. A well-applied patch using high-quality materials can last for several months or even years. However, it’s wise to regularly inspect the patched area and the entire hose to ensure no new leaks are developing.


