

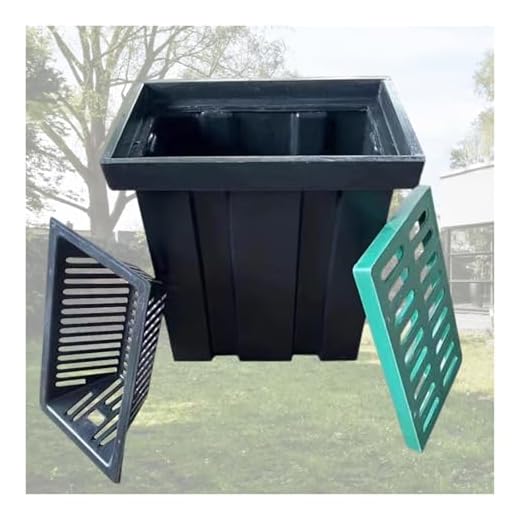

To ensure optimal functionality when setting up your mobile cleaning unit, begin by securing high-quality hoses that can withstand varying pressures without leaking. It is advisable to choose reinforced hoses, as they are more durable and less prone to bursting. The connections should be tight but accessible for future servicing.
Use quick-release couplings for easy attachment and detachment of hoses and nozzles. This allows for seamless transitions between different tasks without the hassle of struggling with stubborn fittings. Always check that the fittings match the diameters of your hoses and equipment to avoid any flow issues.
Install a reliable water filtration system before the pump to protect your cleaning devices from debris. An inline filter can significantly extend the lifespan of your equipment. Make it a habit to clean or replace the filter regularly, ensuring a steady flow of clean water.
Consider placing pressure regulators if your equipment supports different cleaning tasks requiring varying pressures. This flexibility gives you the advantage of tackling both delicate surfaces and tough grime without damaging your gear.
Don’t forget the importance of a robust mounting system to keep your equipment secure during transport. Use a dedicated trailer or platform that can accommodate your setup and check that it complies with local regulations for towing and weight limits.
Choosing the Right Water Source for Your Setup
Opt for a clean, reliable water source to maintain optimal performance. City water is usually ideal due to its consistent pressure and clarity. Ensure it’s free from contaminants that could clog the system.
For a portable solution, consider equipping your unit with a large-capacity water tank. Select a tank made from durable materials, like polyethylene or stainless steel, which resist corrosion and UV damage. A tank with a minimum capacity of 100 gallons is advisable for extended use without the need for constant refills.
If drawing from a well or natural body of water, install a pre-filter to trap sediments and impurities. This extension is crucial as it protects the pump and extends the life of the equipment. Pay attention to the water’s temperature; it should ideally be between 50°F and 150°F to prevent damage to the washing machines.
Use a water flow rate that matches your specifications. A minimum flow rate of 5 gallons per minute (GPM) is common, but check your equipment’s requirements. A hose with a minimum diameter of ¾ inch helps ensure an adequate supply without creating pressure drops.
Consider adding a pressure regulator to maintain consistent pressure, especially if fluctuations are common. This device will help enhance the overall effectiveness of your processes.
Lastly, check local regulations regarding water usage before starting any operations, particularly if drawing from natural sources. Compliance prevents potential fines and ensures sustainability.
Selecting Appropriate Hoses and Fittings
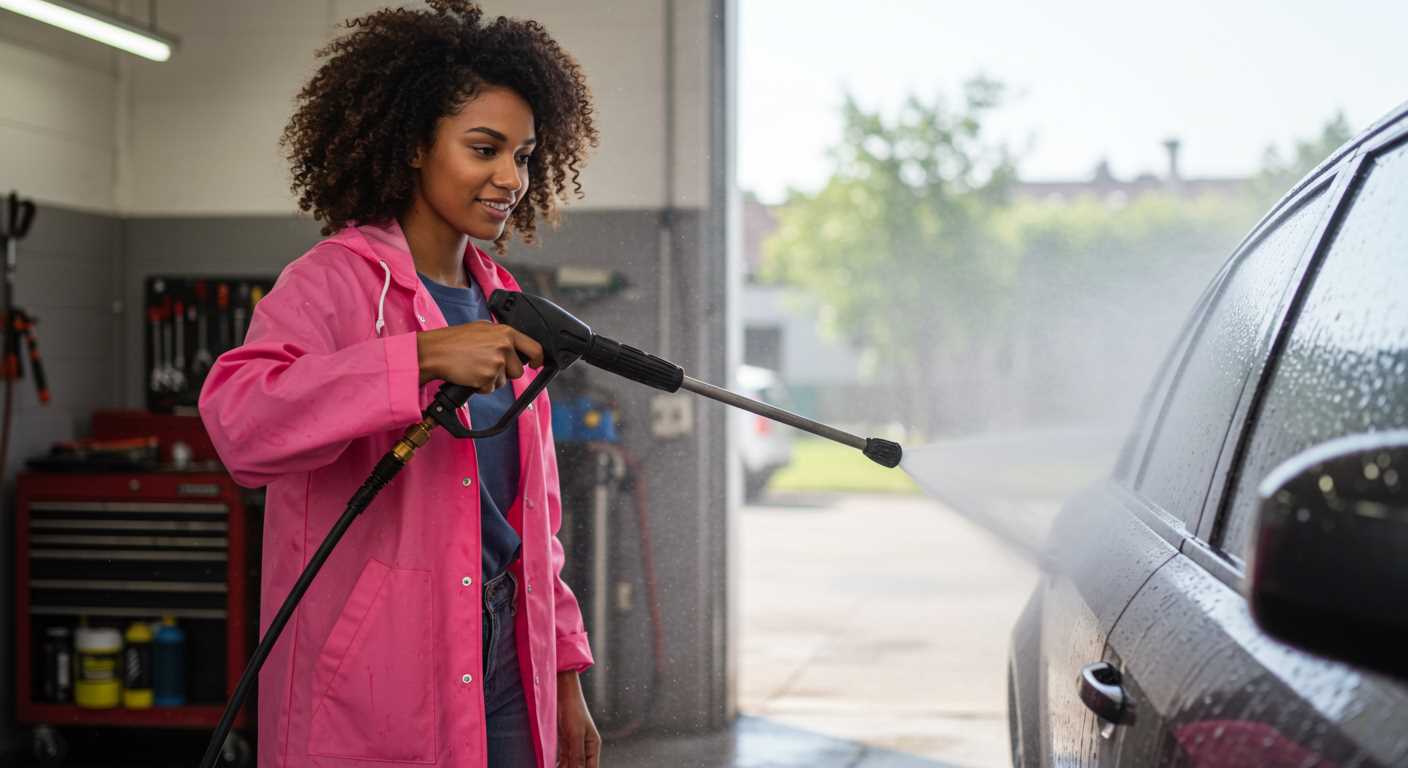
For efficient water transfer, select hoses with a diameter suitable for your system’s output. Typically, a 3/8-inch hose works well for most setups. Choose hoses with a high-pressure rating, ideally exceeding your unit’s maximum output. Reinforced rubber hoses offer durability, while PVC hoses are lightweight and flexible but may not withstand excessive pressures as well.
Types of Hoses
- Rubber Hoses: Resilient and heat-resistant, suitable for high-pressure applications.
- PVC Hoses: Lightweight and easy to handle, best for lower pressure scenarios.
- Steel Braided Hoses: Provide extreme strength and resistance to abrasions, designed for the most demanding tasks.
Hydraulic hoses may be required for particularly high-pressure or heavy-duty operations, particularly if the machinery operates above 4000 psi. Always verify compatibility with your specifications.
Selecting Fittings
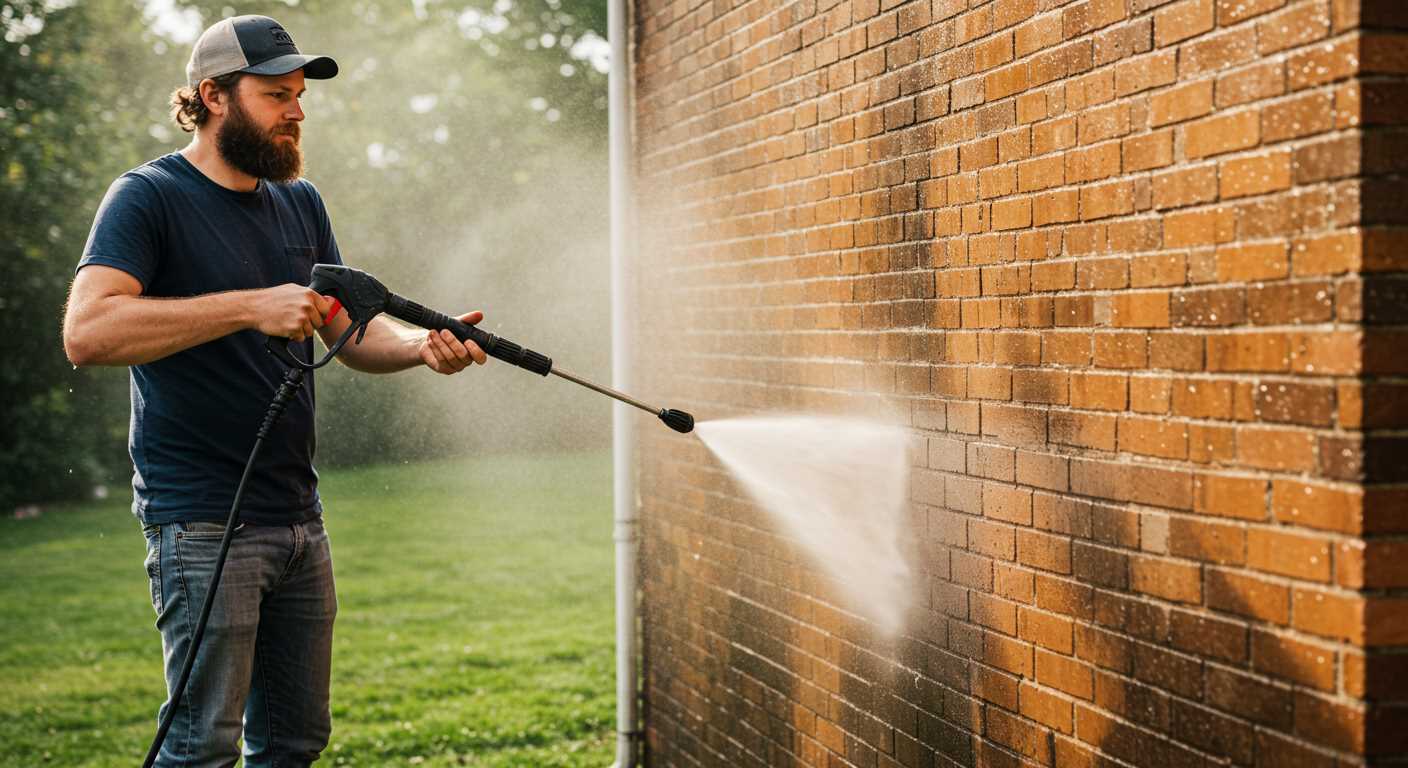
Choose fittings that match the hose diameter and pressure capacity. Look for the following types:
- Quick Connect Fittings: Allow rapid disconnection, convenient for frequent changes.
- Barbed Fittings: Provide a secure fit for hoses, requiring a hose clamp for added sealing.
- Swivel Fittings: Enable flexible hose movement, reducing kinks and twists during operation.
Ensure the fittings are compatible with your hose material to prevent leaks. Metal fittings tend to offer greater durability compared to plastic. For outdoor applications, consider weather-resistant materials to enhance longevity.
In summary, the right hose and fitting selection directly impacts the performance and safety of your cleaning setup. Investing in quality components will ensure reliability and efficiency in your operations.
Installing the Pump and Connecting to the Water Supply
Position the pump securely within the frame, ensuring it is easily accessible for maintenance. Align it with the inlet pipe from your chosen water source, typically located on the side or bottom of the pump unit. Use a mounting kit designed for your specific pump model to simplify installation. This will minimise vibrations and prevent misalignment during operation.
Attach the inlet hose to the pump inlet. Choose a high-quality, reinforced hose that can withstand the pressure and flow rate required by the pump. Make sure to utilise appropriate fittings–connectors should be thread-sealed to prevent leaks. If the pump includes a filter at the inlet, ensure it is clean and correctly installed; this prevents debris from entering the system and damaging internal components.
Next, connect the water supply. If sourcing from a municipal supply, use the existing spigot, ensuring the pressure matches the pump specifications to avoid overloading. For alternative sources like rainwater tanks or lakes, install a suction strainer to prevent intake of sediment. Always check the compatibility of the water source with the pump’s requirements.
Incorporate a shut-off valve between the pump and the water source to allow for easy maintenance or disconnection without spilling. Ensure all connections are tight and check for leaks before starting the equipment. It’s prudent to run a test cycle to monitor operation and adjust as needed. This final step confirms that all components are functioning correctly and that the setup is reliable for your cleaning tasks ahead.
Setting up the connections
Begin by positioning the main unit securely in your designated spot. Ensure that the connections to both the water source and the motor are easily accessible for maintenance. I recommend using flexible hoses that can accommodate slight movements without causing strain on the fittings.
Next, install a quick-connect fitting at the end of your water intake hose. This allows for rapid connection and disconnection from the water supply without the hassle of threading hoses each time. Secure the fitting tightly but avoid overtightening, as this can damage the hose or fittings.
While connecting, check for compatibility between the fittings and hoses. Use high-quality brass or reinforced plastic fittings, as these offer improved durability and resistance to leaks. If you’re utilizing a garden hose, ensure it matches the designated diameter required by your unit.
Once the hose is connected, turn on the water supply to check for leaks. Inspect all connections carefully. If any dripping occurs, tighten the fittings slightly until the dripping ceases. Using thread seal tape on male threads can also eliminate any gaps that might lead to leaks.
It’s wise to leave enough slack in the hoses to allow for movement when you operate the equipment. This will prevent unnecessary stress on the connections during use. Be sure to keep the hoses organised to avoid tripping hazards or kinks that can restrict water flow.
Lastly, keep a check on your connections after each use to ensure they remain tight and leak-free. A little maintenance goes a long way in prolonging the life of your equipment and ensuring a smooth operation every time you need it.
Implementing Proper Drainage and Waste Management
The first step in managing drainage effectively is to design a containment system that prevents contamination. Use a robust sump basin to collect runoff. Ensure it is strategically located to accommodate any potential spills during operation.
Incorporate a filtration unit within the drainage system. This will capture dirt, oils, and detergents before they enter the main waste disposal lines. Regular maintenance and cleaning of this unit will enhance its lifespan and efficiency.
Waste Disposal Solutions
Utilise eco-friendly waste disposal methods. Instead of directing wastewater into storm drains, find licensed disposal companies that can handle hazardous materials. If local regulations permit, consider installing a greywater recycling system to repurpose used water for non-potable applications.
Routine Maintenance Checks
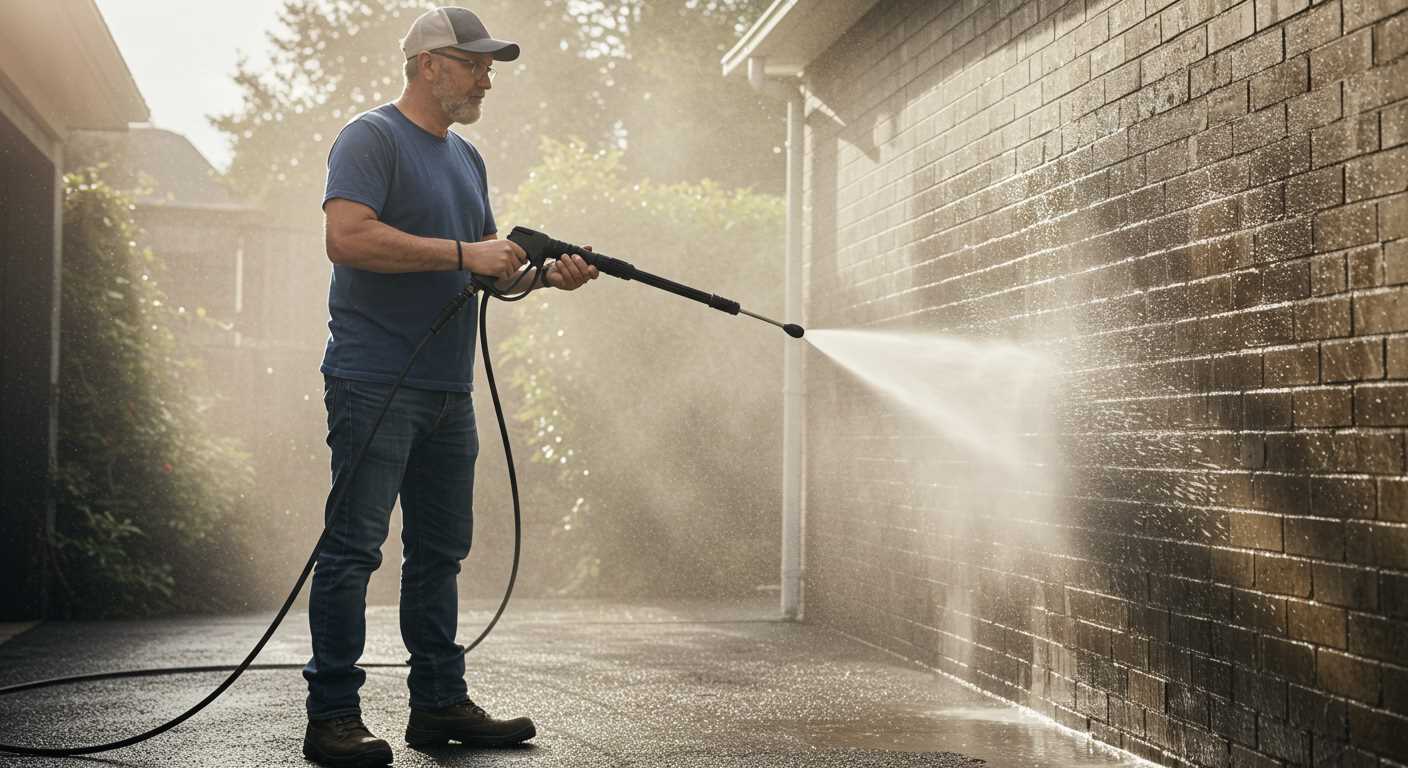
Conduct regular inspections of all drainage components to ensure they are functioning properly. Look for signs of blockage and assess filter conditions. Keeping accurate records of these checks will help in identifying potential issues before they escalate.
Maintaining the plumbing system for longevity
Regular inspections are key to preventing leaks and ensuring that connections remain intact. Check hoses for abrasions or bulges monthly, and replace any damaged sections to avoid sudden failures during use.
Utilise quality connectors to create secure joints. Poor fittings can lead to leaks, causing both water wastage and potential equipment damage. Always tighten couplings with the recommended torque settings to prevent slippage.
Winterisation Procedures
In colder climates, it’s essential to winterise your setup to prevent freezing and cracking of pipes. Drain all water lines after use, and consider using non-toxic antifreeze in the system to protect against frost damage during storage.
Regular Cleaning
To enhance the lifespan of components, routinely clean filters and strainers. Accumulation of debris not only affects performance but can also cause wear on the pump over time. A simple flush with clean water after each use can keep the system functioning smoothly.
| Maintenance Task | Frequency | Notes |
|---|---|---|
| Inspect hoses | Monthly | Look for signs of wear |
| Check connector tightness | Monthly | Avoid water loss |
| Clean filters | After every use | Prevents clogging |
| Winterise system | Before winter | Avoid freezing damages |
Maintain an organised storage area for all equipment and tools. This reduces the chance of accidental damage, and makes it easier to conduct an efficient inspection before starting any task.


