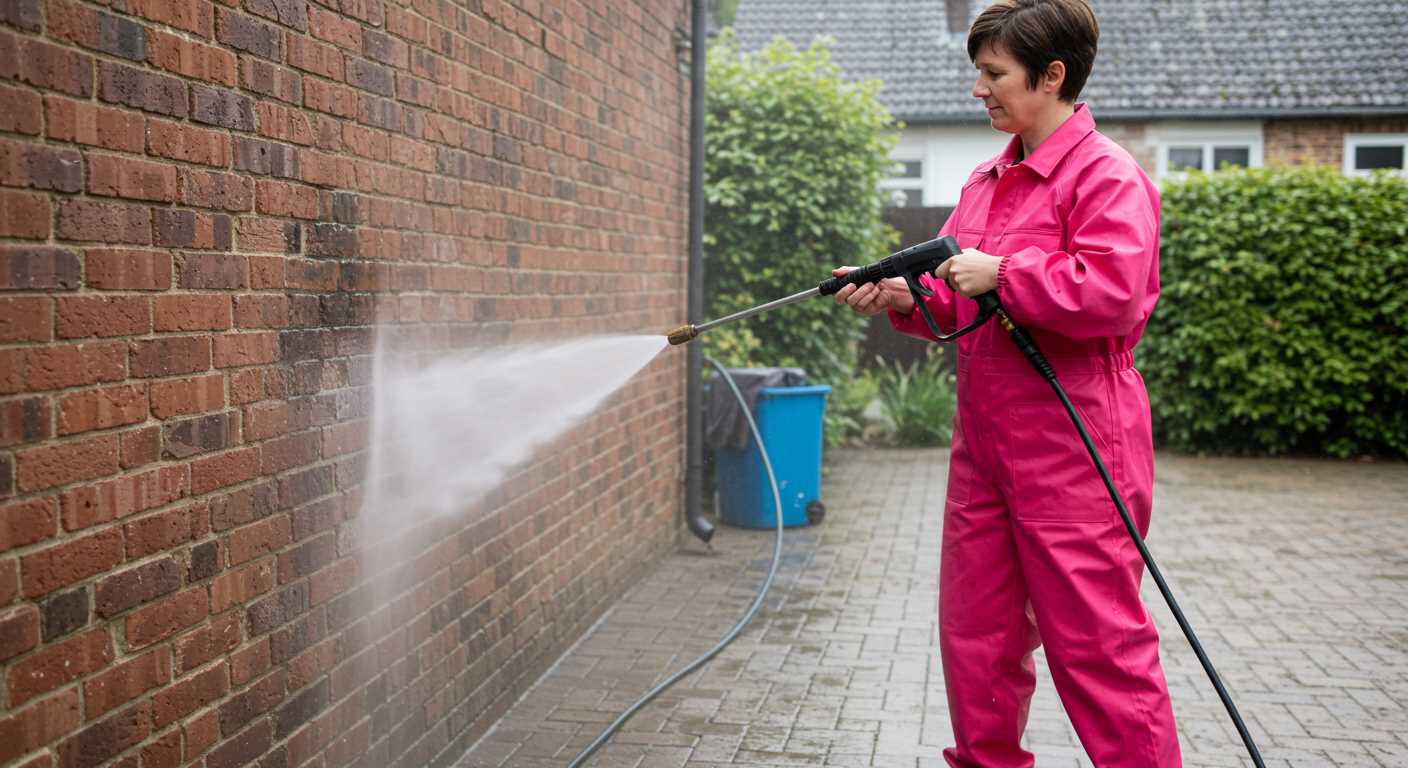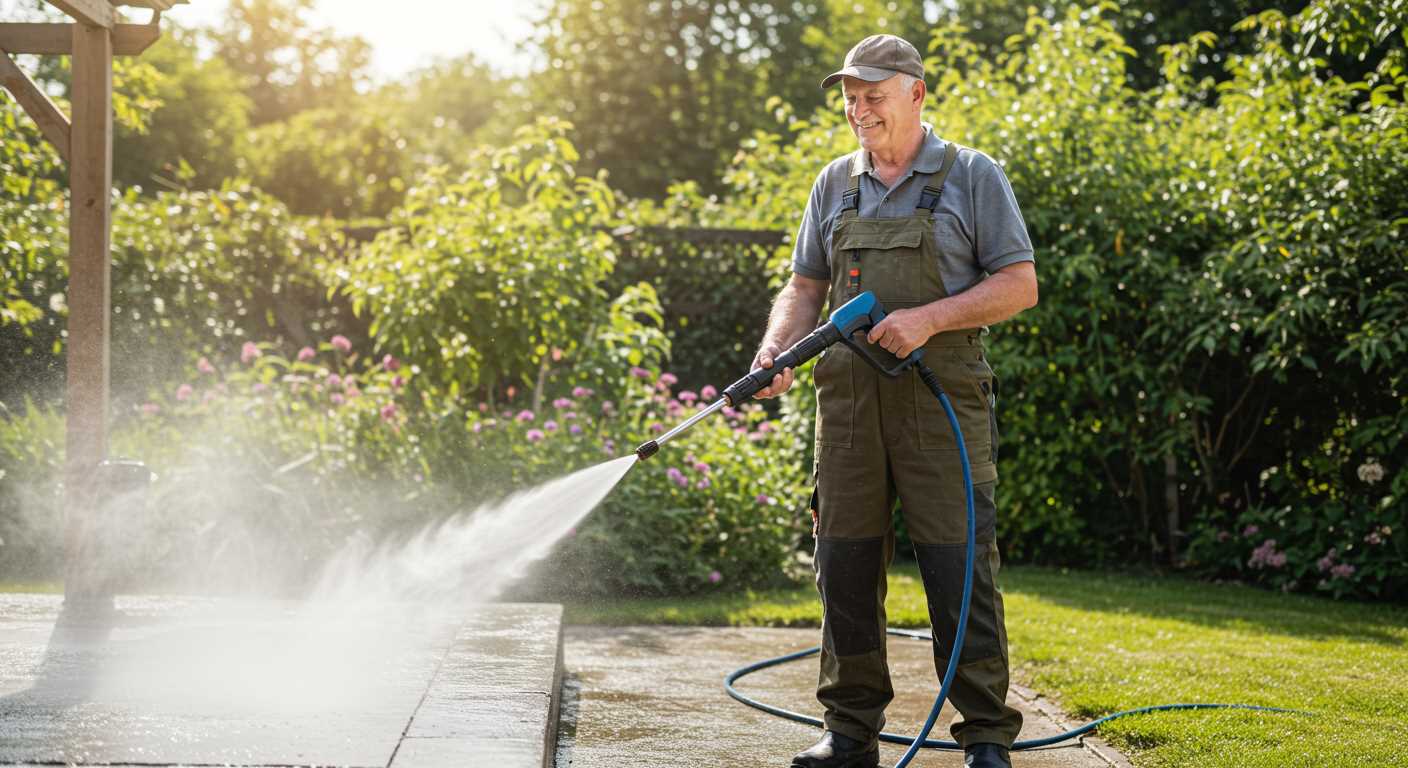

Draining all water from the system is the first crucial step you should take. Begin by disconnecting the hose and any attachments, then run the machine for a brief period without water. This will help eliminate residual moisture that can cause damage due to freezing temperatures.
Next, protect the motor and pump by adding antifreeze specifically designed for cleaning devices. Ensure you pour it according to the manufacturer’s guidelines, which typically can be done through the inlet. This step is essential to prevent internal components from freezing and cracking.
Additionally, store your equipment in a dry, temperature-controlled environment. Keeping the unit indoors will safeguard it against fluctuating temperatures and humidity levels that could lead to corrosion or other damage. A garage or shed is ideal for this purpose.
Lastly, review all hoses and attachments for signs of wear or damage. Replace any worn parts before storing. This proactive approach ensures your cleaning equipment will be ready and in optimal condition when it’s time to use it again.
Winter Readiness of High-Pressure Cleaners

Winterising your high-intensity cleaning unit is crucial. Follow these steps to safeguard your equipment:
- Drain all fluids. Begin by removing water from the unit. Run the cleaner for a few minutes without connecting to a water source to expel any residual liquid.
- Use antifreeze. After draining, inject non-toxic antifreeze into the water inlet. This will protect internal components from freezing damage.
- Check the fuel. For gas-powered models, ensure the fuel tank is filled with high-quality fuel and add a stabiliser to prevent degradation.
- Disconnect accessories. Detach hoses, wands, and nozzles, ensuring all components are dry before storing. This prevents internal corrosion and ensures longevity.
- Store correctly. Keep your machine in a dry, heated location. Ensure it’s on a stable surface, preferably elevated, to avoid contact with moisture from the ground.
- Inspect seals and filters. Before storing, examine seals and filters for wear. Replacing worn parts now will save time and effort in the spring.
Following these guidelines will ensure your high-pressure cleaner remains in optimal condition, ready for use as the seasons change.
Drain Water from the Pressure Cleaner
Begin by disconnecting the water supply hose from the inlet on the unit. This step prevents any residual water from remaining inside. Next, locate the drain plug or valve, typically found at the bottom of the machine. Open this plug carefully, allowing any remaining water to exit. If your model lacks a drain valve, tilt the machine slightly to help with water removal.
Remove Remaining Water from Hoses and Attachments
After draining the main unit, focus on the hoses and nozzles. Detach all hoses from the cleaner and ensure water empties from them. Use a clean cloth to wipe out any residue inside the connectors. For the nozzles, point them downwards and shake gently to dislodge trapped water.
Final Checks
After everything is drained, inspect the unit for any signs of moisture. Use an air compressor on low pressure to blow out any stubborn water from hard-to-reach areas. Make sure all openings are dry to prevent freezing and damage during cold months.
This meticulous approach not only prolongs the lifespan of your equipment but also ensures readiness for use when warmer weather arrives.
Clean the Nozzle and Filters
Remove the nozzle and inspect it for clogs or debris. Use a soft brush or a pin to clear any blockages, ensuring the spray pattern remains effective. After cleaning, soak the nozzle in warm soapy water for a few minutes to wash away any remaining dirt.
Next, turn your attention to the filters. Detach the inlet filter and rinse it thoroughly under running water. If the filter appears damaged or heavily clogged, replace it. Keeping filters clean prevents dirt from entering the pump, extending its lifespan.
- Use a soft brush for the nozzle.
- Soak the nozzle in soapy water for effective cleaning.
- Rinse filters under running water.
- Replace damaged or clogged filters to protect the pump.
Regular cleaning of these components greatly enhances performance and ensures optimal functioning during the next use.
Add Antifreeze to the Pump
Add an appropriate antifreeze solution to the pump chamber. I recommend using a non-toxic antifreeze specifically designed for pressure equipment. This helps prevent internal components from freezing and cracking during low temperatures.
Begin by checking the manufacturer’s guidelines for the correct antifreeze type and recommended amount. If none is specified, a general rule is to use approximately one cup of antifreeze. Pour this directly into the inlet to ensure that the entire pump system is adequately protected.
After applying the antifreeze, activate the machine for about 30 seconds. This ensures the solution circulates throughout the pump and reaches all critical areas. Make sure to monitor the operation to confirm it runs smoothly without any issues.
Finally, disconnect the unit from the power supply and empty any remaining liquid from the hose and nozzle to prevent damage. Retaining a small amount of antifreeze in the pump can enhance its longevity, ensuring that your equipment remains in optimal shape for future use.
Store the Pressure Washer in a Dry Place

Position the unit in a protected environment, away from moisture and humidity. A dry garage or shed is ideal. Avoid basements or outdoor storage where dampness can damage internal components.
Prior to storing, ensure all debris and residues are cleared from the machine. This prevents corrosion and extends lifespan. Store the equipment upright for stability, keeping the nozzle and hose properly coiled to avoid kinks.
If space permits, use a cover to shield it from dust. Consider using silica gel packets or desiccants nearby to absorb excess moisture. Before starting the machine again, check seals and connectors for any signs of wear or damage from moisture exposure.
Disconnect Hoses and Accessories
Remove all hoses and attachments from the machine to prevent any potential damage during colder months. This includes the high-pressure hose, water supply hose, and any additional accessories such as detergent tanks or spray guns.
Inspect each component for wear and tear before disconnection. This ensures that any damaged parts can be addressed in advance, avoiding issues when the equipment is needed again. Make sure to check for cracks or leaks, especially in hoses, which are susceptible to freezing temperatures.
Once disconnected, store hoses and accessories in a sheltered location, ideally coiled up neatly to prevent kinking. If the items are exposed to low temperatures, they could become brittle. Use an airtight container to store smaller accessories, reducing the risk of loss or damage.
Be mindful of the manufacturer’s guidelines regarding storing these components. Following their recommendations can extend the life of the items and ensure efficient use once warm weather returns.
| Component | Storage Tip |
|---|---|
| High-pressure hose | Coil gently to avoid kinks, place in a cool dry place |
| Water supply hose | Store indoors, protect from cold; inspect for damage |
| Spray gun | Remove any pressure and store in a padded container |
| Detergent tank | Empty completely and clean before storage |
Disconnection and proper storage of hoses and accessories will greatly contribute to the overall longevity and performance of your equipment, showcasing the importance of attention to detail in maintenance routines.
Check for Any Damages Before Storage
Inspect the unit carefully for any signs of wear or damage. Look for cracks on the casing, especially around the pump and hose connections. Pay attention to the power cord; frayed wires can lead to hazards. Ensure that all components are securely attached and functional. A thorough check can prevent surprises when you retrieve the equipment next season.
Examine the hoses for kinks or tears that can compromise performance. Test connections by tightening them; loose fittings may cause leaks. Also, check the nozzles for clogs or physical damage–it’s crucial for maintaining optimal spray patterns. Assess the filter for blockages, as this can impact the overall efficacy.
Document any damages you find and consider addressing them before storing the equipment. Repair or replace parts as necessary to ensure readiness for future use. Regular maintenance not only extends the lifespan of your unit but also enhances its performance, saving you time and effort when you’re ready to clean again.
Review Manufacturer’s Winterisation Recommendations
Consulting the manufacturer’s guidelines is crucial for a successful transition of the equipment into colder months. Each brand provides specific instructions tailored to their designs, ensuring longevity and optimal performance. I recommend starting with the user manual, which outlines detailed winterisation steps unique to the model.
Common Recommendations from Leading Brands

Most manufacturers suggest several key practices, and here are some generalisations based on industry standards:
| Manufacturer | Recommendation |
|---|---|
| Brand A | Flush the system with water and then with antifreeze solution to protect components. |
| Brand B | Ensure all accessories are removed and stored in a frost-free location. |
| Brand C | Apply a light coat of oil on the pump and other moving parts to prevent rust. |
| Brand D | Store the unit upright to allow any remaining fluids to drain completely. |
Following these specifications aids in maintaining the integrity of the equipment. Brands also advise regular checks throughout the off-season to ensure no damages develop during storage. Referencing the manufacturer’s recommendations reduces the risk of malfunctions when operations resume in the spring.


