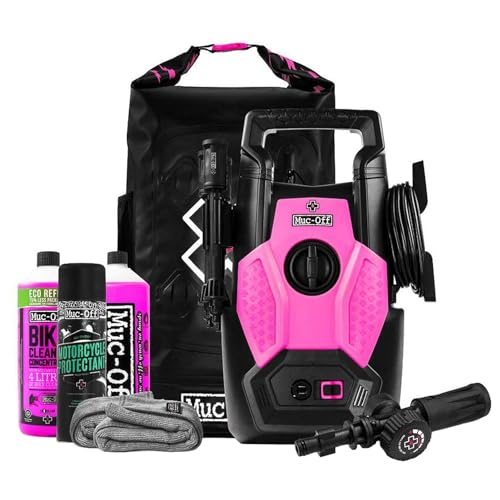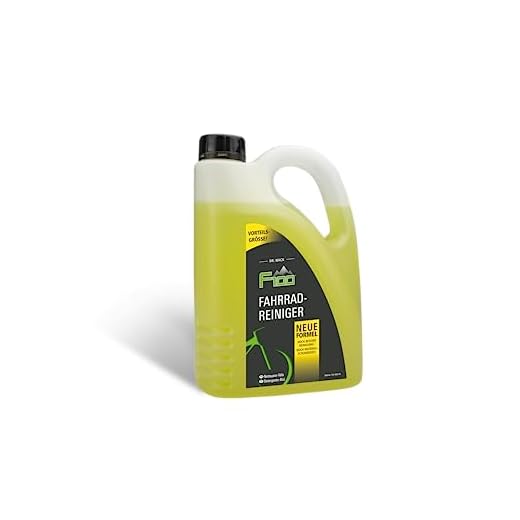


Utilise a low-pressure nozzle for the safest approach when using high-pressure water equipment on your cycle. This attachment helps prevent damage to delicate components while thoroughly removing dirt and grime.
Always maintain a distance of at least 30 centimetres from sensitive areas such as bearings, brake pads, and derailleurs. A good technique is to spray from the side rather than directly at these components, which can lead to unwanted water ingress.
Start with a thorough rinse using just water to dislodge loose debris. Follow this with a targeted application of biodegradable detergent to break down stubborn stains. Remember to apply the detergent evenly and allow it to sit for a few minutes before rinsing thoroughly.
After cleaning, dry the frame and components with a soft, lint-free cloth to prevent water spots and corrosion. Don’t forget to lube the chain after it dries to keep everything running smoothly.
Detailed Steps for a Thorough Clean
Begin with a thorough inspection of your ride. Look for any loose components, including bolts and screws. Tighten all necessary parts to avoid damage during the cleaning process.
Next, remove any accessories. Take off bags, lights, and other items to ensure they don’t get unintentionally soaked or damaged.
Position your gear in a well-ventilated area, ensuring there’s ample space to operate safely. Cover sensitive areas such as the seat and handlebar grips with a plastic bag to prevent water ingress.
Water Settings and Usage
Adjust the machine to a low-pressure setting. A high setting can force water into bearings and electrical components, leading to malfunctions. Standing at a distance of about 30 cm, apply a steady stream of water from bottom to top, ensuring you’re not lingering on any area too long.
- Start at the wheels, then move to the frame.
- Use a nozzle designed for wide coverage to prevent excessive force on any part.
Cleaning Products and Techniques
Utilise a mild detergent specifically formulated for bikes. Apply it using a soft brush to areas with stubborn dirt. Allow it to sit briefly before rinsing off with the machine. Always ensure the detergent is rinsed thoroughly to avoid residue build-up.
For optimal results on the chain and gears, apply a degreaser. After applying, scrub with a brush and rinse carefully to maintain the components’ functionality.
- Avoid using anything abrasive that could scratch surfaces.
- Consider a dedicated bike cleaner for tough stains.
After washing, dry the bicycle with a clean cloth to prevent water spots and rusting, focusing on metal components to keep them in prime condition. Regular upkeep will keep your gear performing well and looking great.
Choosing the Right Pressure Washer Settings for Bicycles
Utilise a low-pressure setting, typically around 1200 to 1500 PSI, to avoid damaging sensitive components.
Nozzle Selection
- Opt for a 25-degree nozzle for an effective cleaning experience without excessive force.
- A 40-degree nozzle can be used for delicate areas, providing a wider spray to gently clean without risk.
Water Temperature
- Use cold water, as hot water can strip lubricants from bearings or painting.
- Consider adding biodegradable soap to improve cleaning power, but ensure it’s rinsed thoroughly afterwards.
Adjust the distance between the nozzle and the frame to about 12-18 inches. This range prevents abrasion to the paint and components while ensuring effective dirt removal.
Always start with a test on a less visible area to ensure settings are suitable. Regular checks on seals and connections before operation can prevent malfunction and damage.
Preparing Your Bicycle for Pressure Washing
Remove any accessories such as lights, mirrors, and bags from your cycle. These components can be damaged by water pressure. Ensure all moving parts, including the chain, derailleurs, and brake mechanisms, are well-lubricated. A light application of lubricant can protect them from water infiltration.
Inspect the frame and components for loose bolts or cracks. Tightening bolts and addressing any damage beforehand helps prevent further issues during the cleaning process. Cover sensitive areas such as the bottom bracket and headset with plastic bags to keep water out.
Consider dusting off the frame and wheels with a dry cloth or brush to eliminate loose dirt before using any equipment. This step reduces the chances of abrasive action during cleaning. Make sure to have a suitable cleaning solution ready for application on stubborn grime post-wash.
Gather your equipment, ensuring your cleaning device is compatible with the task. Check the water source and hose connections to avoid interruptions. Familiarise yourself with the device’s safety features to ensure safe operation while washing.
Protecting Sensitive Components During Washing
Cover or remove delicate parts like the seat, grips, and any electronic components such as displays or GPS units. This simple step prevents potential damage from the force of the water or cleaning agents.
Always shield sensitive areas such as bearings, hubs, and bottom brackets. Water can infiltrate these parts if not properly protected. Use silicone spray or grease to seal these areas temporarily to prevent moisture from causing rust or corrosion.
| Component | Protection Method |
|---|---|
| Seat and Grips | Covers or Removal |
| Electronics (GPS, lights) | Waterproof Bags |
| Bearings and Hubs | Silicone Spray or Grease |
| Chain | Chain Lube After Washing |
| Brake Components | Careful Targeting, Avoid Direct Spray |
After cleansing, immediately check and apply lubricant on the chain to ensure smooth operation. Inspect and dry any areas that might have been exposed to excess water.
Effective Techniques for Cleaning Bicycle Frames
Rinse the frame thoroughly with water before applying any detergent to remove loose dirt and debris. This initial step prevents scratches during the cleaning process.
Choosing the Right Detergent
Select a biodegradable and non-toxic cleaner specifically formulated for metal and plastic surfaces. Avoid harsh chemicals that can damage the paint and components. Apply the cleaner using a soft sponge or cloth to work on any stubborn stains, focusing on areas such as the chainstay and bottom bracket.
Optimising Cleaning Technique
Utilise a wide spray pattern while maintaining a distance of at least 30 cm from the surface. Start from the top and work downwards to ensure that dirt flows downwards without splattering onto clean areas. Pay extra attention to tight spots like the dropouts and fork crown.
After rinsing, I suggest performing a spot check for any remaining grime. For those places that need further attention, apply the cleaner directly and scrub gently to avoid damaging the finish. Finally, dry the frame with a clean microfiber towel, ensuring to get into any crevices to prevent water spots.
This approach results in a well-maintained frame that not only looks good but also contributes to the overall longevity of the bike.
Cleaning Wheels and Tyres Without Damage
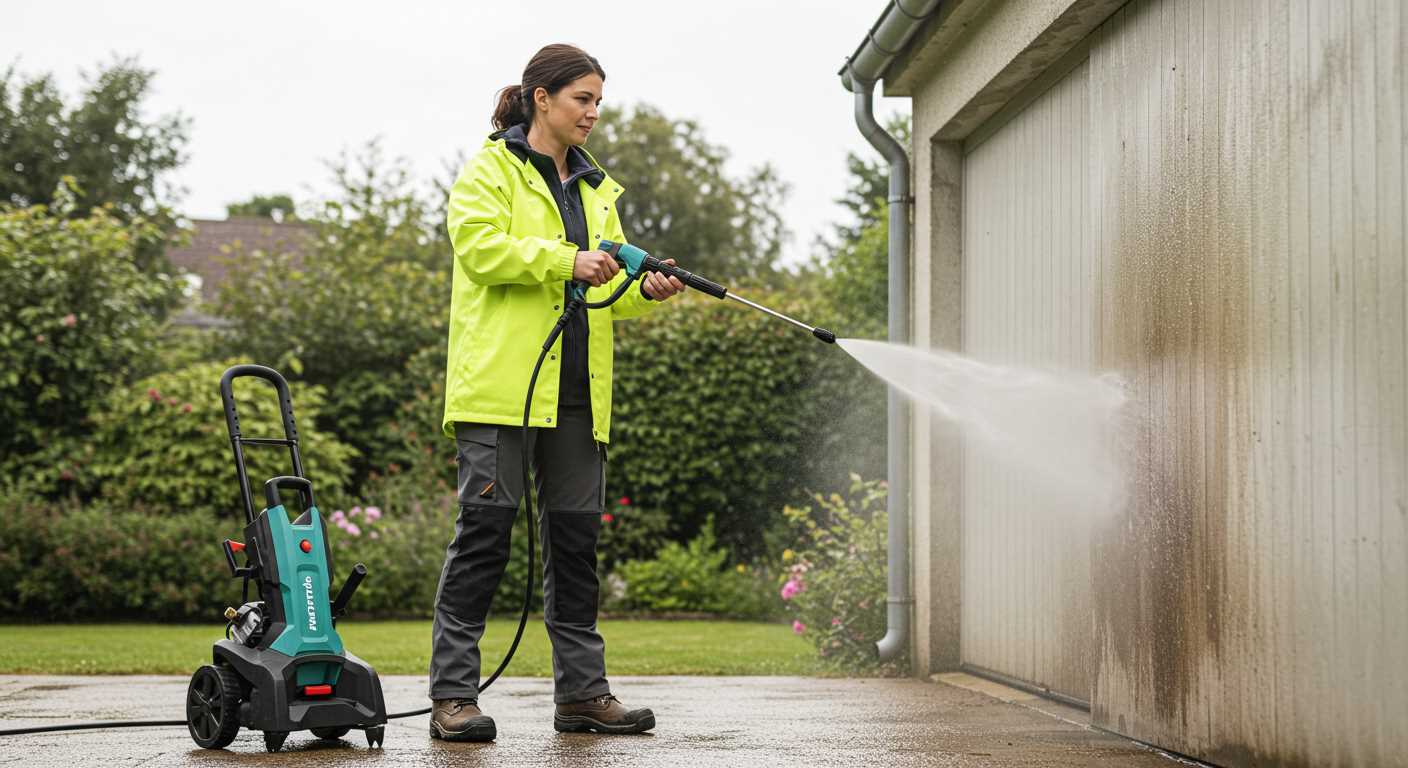
Utilise a soft-bristle brush to clean the wheels and tyres. This prevents scratches and ensures thorough dirt removal. Start by dampening the surface with water before applying cleaning solution. Avoid aggressive chemicals; instead, choose those specifically designed for rubber and plastics.
For rinsing, select a low-pressure setting to avoid displacing the valve stems or damaging the treads. Maintain a distance of at least 30cm when rinsing to control water force. Use a gentle spray pattern, ensuring it flows over the tyre sides and inner wheel rims. Focus on the central area of the tyres, as grime accumulates there.
After rinsing, inspect for stubborn spots. If necessary, apply a bit of cleaning solution directly to those areas. Use the brush to gently work on stains without vigorous scrubbing, which can wear down the material over time.
Once clean, allow the wheels to air dry completely before putting the equipment back into service. This helps avoid moisture build-up that could lead to rust or deterioration. If desired, apply a tyre protectant to maintain the rubber’s flexibility and prevent cracking.
Post-Wash Maintenance and Inspection Tips
Inspect your cycle thoroughly for any signs of damage or wear after cleaning. Pay special attention to the brakes and gears; ensure they function smoothly. Look for any loose components or signs of corrosion that may have been hidden by dirt and grime.
Lubrication
Immediately apply lubricant to the chain and moving parts. This prevents rust and ensures optimal performance. Use a bike-specific lube to avoid attracting excess dirt. Wipe off any excess to prevent a build-up.
Check Tire Pressure
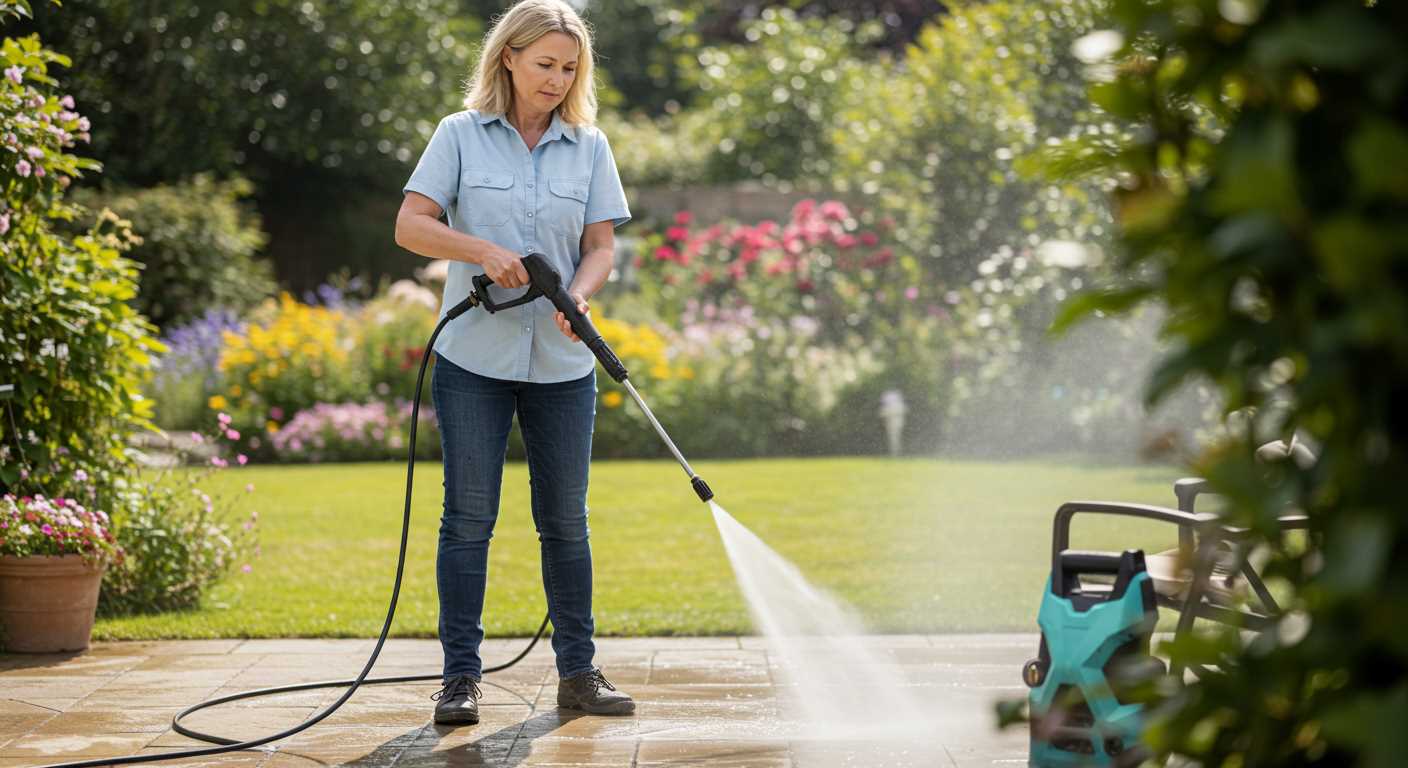
Examine your tyres for proper inflation. Cleaning can sometimes lead to unnoticed changes, especially if the valve stems were inadvertently exposed. Inflate to the manufacturer-recommended pressure to enhance your riding experience.
Ensure all accessories, such as lights and reflectors, are functioning correctly. Take the time to check bolts and screws to confirm everything is tightened properly, enhancing safety during rides.
Common Mistakes to Avoid When Cleaning Bicycles
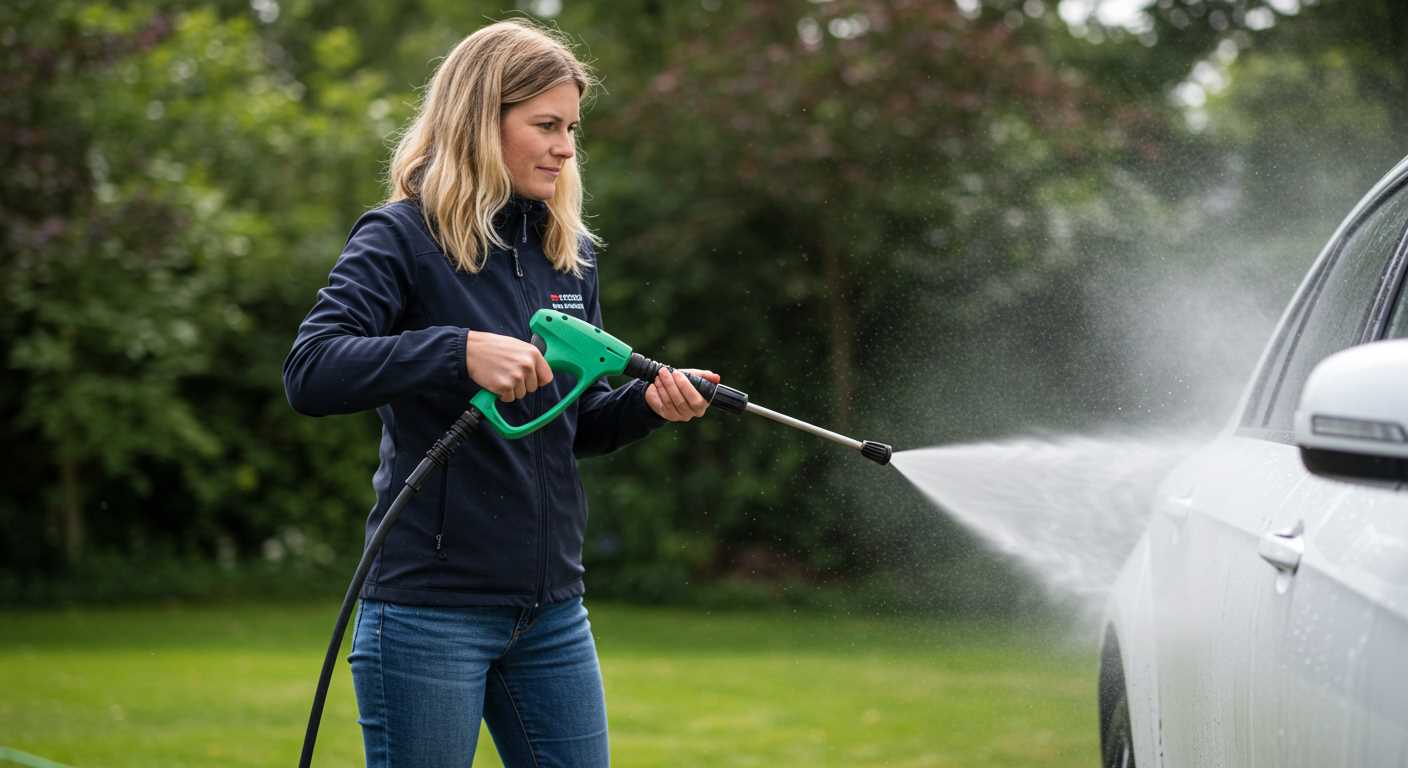
Using a high-pressure appliance on sensitive components can lead to damage. Always maintain a safe distance from delicate areas, like bearings and seals, to avoid forcing water into places that should remain dry.
Ignoring Protective Measures
Not covering electronic components and sensitive parts can cause malfunction. It’s wise to use plastic bags or tape to shield these areas before starting any cleaning. This precaution helps prevent unintentional water ingress.
Excessive Pressure Settings
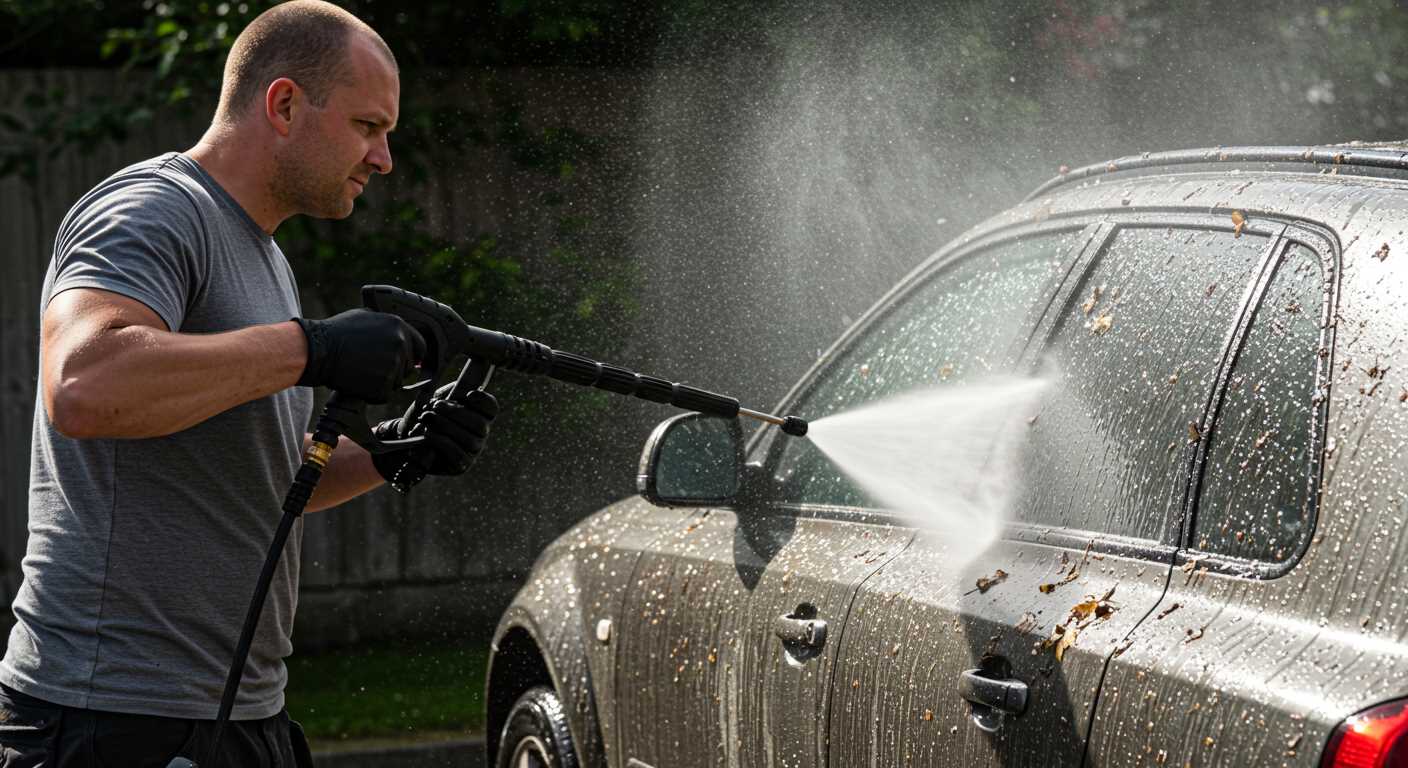
Setting the device too high can strip decals or ruin paint finishes. It’s essential to select a lower setting and gradually increase intensity if necessary. Finding the right balance ensures thorough cleaning without damaging the frame.
Neglecting regular inspections post-cleaning is another oversight. After washing, take a moment to examine the bike for loose parts or any signs of wear and tear. Addressing minor issues like this can extend the life of your ride significantly.

