

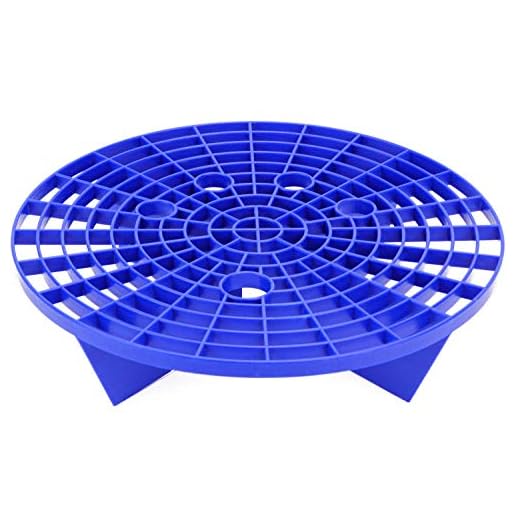
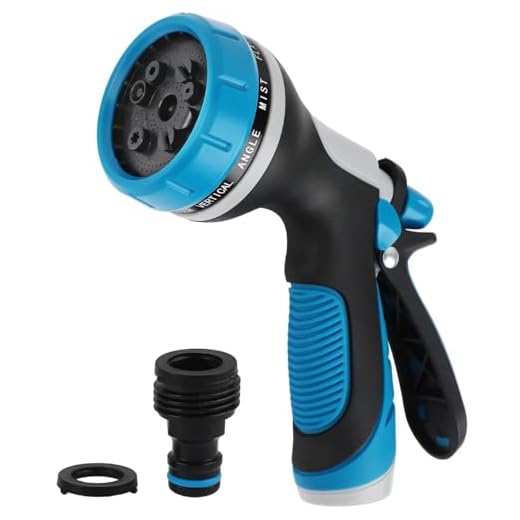
To achieve a thorough clean, employ a simple method using a bucket, sponge, and a gentle detergent. This approach allows for effective removal of dirt and grime while being gentle on surfaces. Fill a bucket with warm water and mix in the recommended proportion of cleaning solution. The pre-treatment of surfaces is critical for ensuring a pristine finish.
Utilise a soft sponge or wash mitt to apply the soapy mixture to the exterior. Start from the top and work downwards, allowing the detergent to penetrate stubborn stains. This technique not only ensures comprehensive cleaning but also helps in preventing water spots from forming. Rinse the sponge frequently to avoid spreading dirt back onto the surface.
After thoroughly washing areas, rise with clean water, using a separate bucket or hose if available. A clean rinse is essential to avoid any residue from the detergent that could mar the appearance. For best outcomes, consider using a microfibre cloth for drying, as it effectively absorbs water and leaves a streak-free shine.
Effective Alternative Techniques for a Thorough Wash
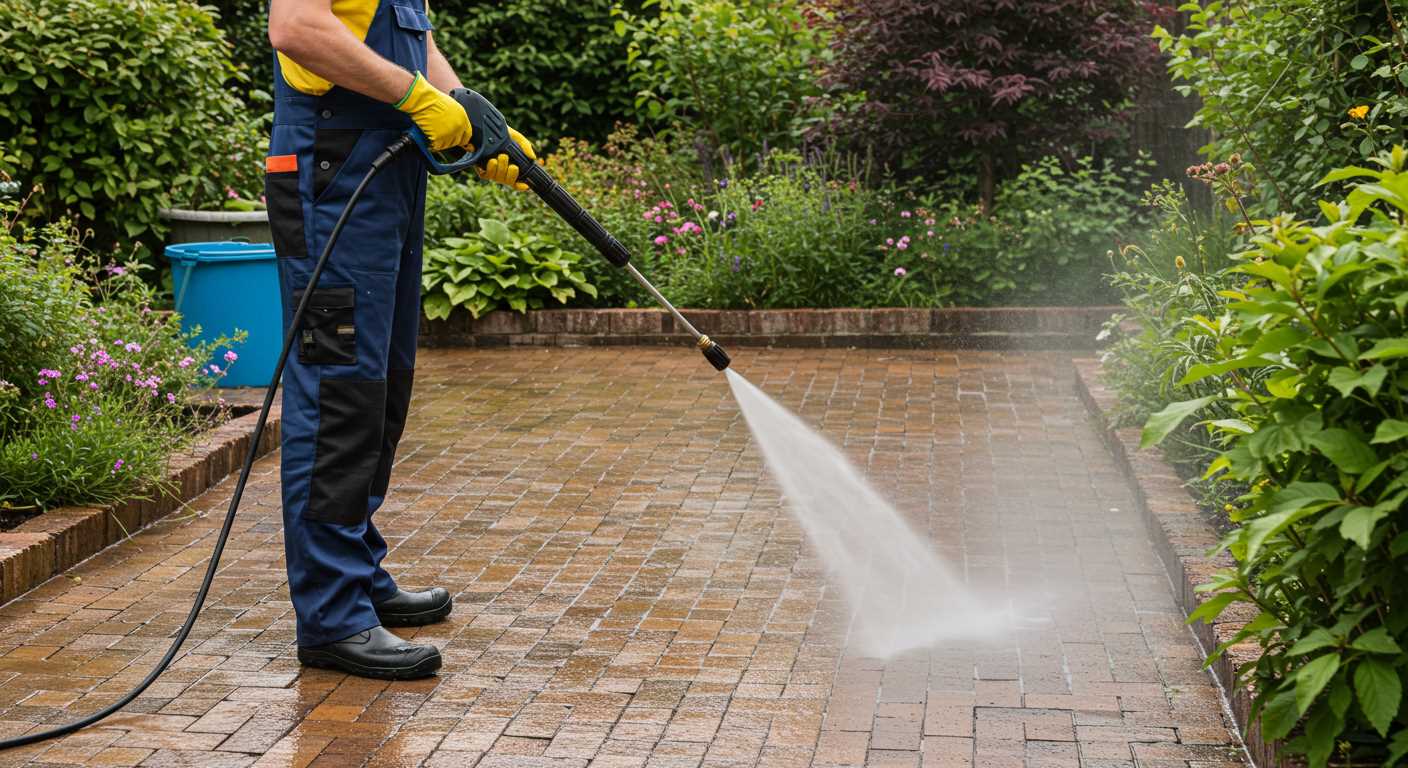
Mix a solution of high-quality auto shampoo with warm water in a bucket. Ensure to follow the manufacturer’s instructions for proper dilution ratios. This solution will aid in loosening dirt and grime.
Utilise a soft sponge or microfiber cloth to gently scrub the exterior surfaces. Start from the top and work your way down, allowing dirt to flow downwards. Rinse the sponge frequently to prevent scratches.
For difficult spots, such as bug residue or tree sap, use a dedicated detailing spray. Apply it directly to the affected areas, let it sit for a few moments, and then wipe with a soft cloth. This method ensures effective removal without harsh scrubbing.
Employ a hose or a watering can with a spray nozzle to rinse off the soap solution. This helps to remove any remaining dirt while conserving water. Adjust the nozzle to a gentle spray to avoid damaging surfaces.
After rinsing, dry the surfaces using a dedicated drying towel or chamois. This prevents water spots and promotes a streak-free finish. Work on small sections at a time for the best results.
Lastly, consider applying a wax or sealant for added protection. This not only enhances shine but also makes future cleaning easier by repelling dirt and debris.
Choosing the Right Cleaning Products for Prewashing
Selecting appropriate cleaning agents is crucial for achieving optimal results. Look for a pH-neutral formula, as this will effectively lift dirt and grime without harming surfaces. Brands that offer biodegradable options provide a safe choice for the environment. One such product is a car shampoo specifically designed to break down contaminants without leaving streaks.
If the vehicle has stubborn spots, consider a targeted spot cleaner. These products, often citrus-based, break down organic material efficiently. Always verify compatibility with finishes, especially on older models or those with special coatings.
After identifying your primary cleaner, consider a wheel cleaner. This product should tackle brake dust and road grime with ease. A gel formulation can cling better to surfaces, enhancing contact time and effectiveness.
Lastly, never underestimate the importance of microfiber towels. Pair these with the chosen cleaning products for gentle scrubbing without scratching. Always opt for quality, as inferior fabrics can lead to more damage than good.
Preparing Your Vehicle for a Manual Wash

Simplify the manual cleaning process by gathering essential tools beforehand. This ensures an organised approach and minimizes the chance of missing spots. Consider the following items:
- Soft microfiber towels for drying.
- A dedicated wash mitt to prevent scratches.
- Two buckets–one for soapy water and another for rinsing.
- Car-safe soap, avoiding dish detergents that can strip wax.
- A soft brush for wheels and trims.
- A hose with a spray nozzle for adjustable water pressure.
Before getting started, ensure that the vehicle’s surface is cool and parked in a shaded area to prevent streaking and water spots. Remove any external items like antennas or mats that might impede the process.
It’s wise to assess the condition of the exterior and make note of any specific areas that require extra attention, such as stubborn dirt or bird droppings. Pre-treat these spots with a suitable cleaning solution; spray it on and allow it to sit for a few minutes before washing.
Rinse the entire surface of the vehicle thoroughly to remove loose debris. Start from the top and work your way down, as dirt from higher sections can transfer to areas that are cleaner. Ensure that all dirt is softened and ready for removal with the mitt.
Maintain a methodical approach: use the two-bucket method to prevent dirt from reapplying to the surface. Frequently rinse the mitt in the clean bucket, ensuring a dirt-free washing experience. Finish with a thorough rinse to eliminate any soap residue.
Post-wash, carefully dry the surface with high-quality towels to prevent water spots. Check for any missed areas and re-clean if necessary. Following these steps will help establish a sound foundation for a thorough manual wash, setting the stage for applying any protective products later.
Using a Garden Hose for Prewashing Techniques
Start by connecting the garden hose to a water source, ensuring a secure fit to prevent leaks. Utilize a standard spray nozzle to control water flow, allowing for a gentle yet effective soak. Apply a liberal amount of water to the exterior, focusing on areas with noticeable dirt or grime buildup. For stubborn spots, consider using a foam gun attachment to enhance cleaning efficiency.
It’s advisable to approach the washing process from the top down, enabling dirt and debris to flow downwards as you clean each section. Pay special attention to wheel arches and lower panels where grime accumulates more readily. A good technique is to allow the water to dwell for a minute or two on heavily soiled areas to help loosen dirt.
Once the vehicle is adequately soaked, refine the technique by using the nozzle settings. Switch to a wider fan spray for larger surfaces and a concentrated stream for detailed areas, such as around badges, seams, and wheel wells. This versatility helps in reaching all nooks and crannies effectively.
While rinsing, avoid using hot water as it may cause damage to certain finishes. Keep the hose moving to prevent streaks or water spots from forming. Finally, ensure thorough removal of any soap residue and debris by rinsing until the water runs clear.
Washing the Wheels and Tyres Properly
Start with dry scrubbing the wheels and tyres to remove loose dirt and debris. A stiff-bristled brush works best for this initial step, ensuring to reach into the rims and wheel wells.
Cleaning Product Selection
Choose a dedicated wheel cleaner that is safe for your type of rims–whether alloy, chrome, or plastic. Avoid acidic products, as they can damage the surface. Spray the cleaner generously on each wheel and allow it to sit for a few minutes to break down grime.
Cleaning Technique
- Use the same stiff brush for scrubbing the tyres. Ensure you get into the tread and sidewalls to remove built-up dirt and brake dust.
- For heavily soiled areas, a soft sponge or cloth can help to reach sensitive spots without scratching the surface.
- If present, use a detailing brush for intricate parts of the rims, such as spokes and crevices.
After scrubbing, rinse off the cleaning solution thoroughly with a hose. Make sure to remove all residue to prevent the product from affecting tyre performance or wheel finishes.
Last but not least, drying the wheels and tyres with a clean microfiber towel prevents water spots and allows for a polished finish. Regular maintenance will keep your wheels looking sharp and enhance the overall appearance of the vehicle.
Applying a Snow Foam Alternative by Hand
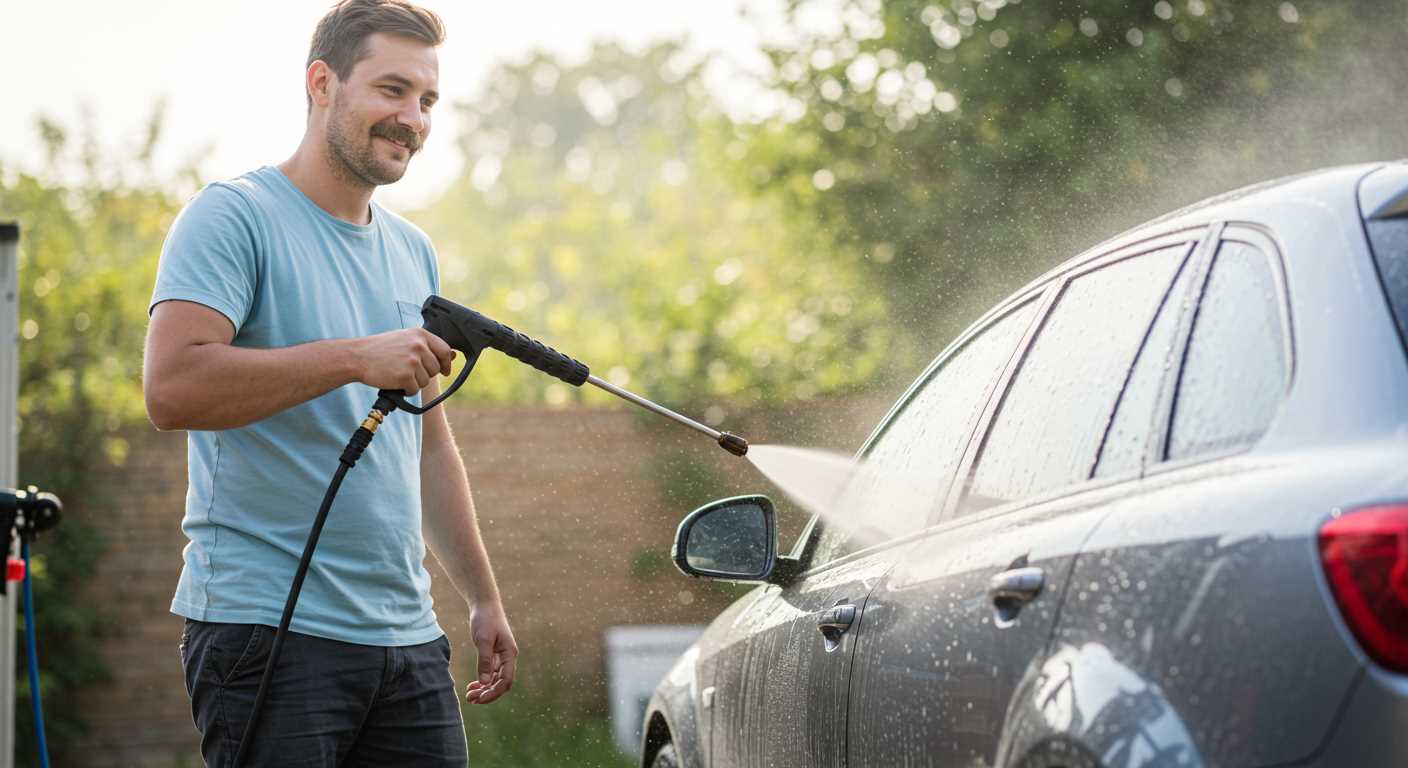
Utilising a foam solution manually can effectively lift grime and contaminants. Start by selecting a high-quality pH-neutral foam cleaner, which is gentle yet effective on surfaces. Mix the recommended amount of foam with water in a clean bucket, observing the manufacturer’s instructions closely.
Once mixed, use a clean sponge or wash mitt to apply the foam generously over the exterior. Work from the top down, as dirt tends to flow downwards, ensuring complete coverage. Allow the foam to dwell on the surface for a few minutes to break down stubborn residues.
For optimal results, rehydrate the sponge in the solution frequently. After the foam has set, rinse thoroughly with a hose to remove all residues. This method mimics the benefits of snow foam but remains effective even in the absence of high-pressure equipment.
Consider working in sections to avoid drying out the foam before rinsing; it maximises cleaning efficiency. If you encounter particularly stubborn spots, reapply the foam and gently agitate with your mitt for enhanced lifting power.
Tackling Stubborn Dirt and Contaminants
Start with a high-quality, pH-neutral soap designed for automotive surfaces. Mix it in a bucket with water according to the instructions on the label. This creates a thick foam that loosens tough grime.
For areas with stubborn contaminants like tar or tree sap, apply a dedicated adhesive remover or tar remover. Allow the product to dwell on the surface for a few minutes before agitating with a microfiber cloth or soft sponge.
Pay extra attention to any areas where dirt tends to accumulate, such as around the wheel wells and under the bumpers. Use a soft-bristle brush or an old toothbrush for these crevices; it’s effective for dislodging particles without scratching the paint.
If clay bars are at hand, they can remove embedded debris and contaminants. Lubricate the surface with a clay lubricant or a mixture of car soap and water to prevent scratching. Glide the clay bar over the area, applying gentle pressure and folding the clay frequently to reveal a clean surface.
For excessive road grime or mud, a pre-soak with a spray bottle filled with the soap solution can help. Mist the affected areas, wait a few moments for the solution to penetrate, then scrub gently with a wash mitt or sponge.
Lastly, rinse thoroughly with clean water after each method, ensuring no residue is left. This guarantees that the paint retains its shine and the cleaning products don’t cause damage over time.
Drying Your Vehicle After a Manual Prewash
Microfibre drying towels are my go-to for effective moisture removal. They trap water efficiently and minimise the risk of scratches. Always choose a plush towel for the best results.
Start at the top and work your way down, using a blotting technique rather than dragging the towel across the surface. This prevents swirl marks and helps lift off any remaining dirt. For windows, a separate towel or a dedicated glass cloth is advised to avoid streaks.
Do not forget to dry the crevices and door sills, where water tends to accumulate. A soft detailing brush can help dislodge any trapped moisture in tight spots.
For optimal results, consider using a drying aid spray. This product not only enhances the drying process but also adds a layer of protection and shine. Spray lightly on the surface and follow with your drying towel.
Lastly, always check your towels for any debris or dirt before use. Wrapping up this step ensures a spotless finish and prepares your vehicle for any waxing or sealing to follow.
Tips for Maintaining a Clean Vehicle
Regular maintenance prevents build-up of grime and reduces the effort required for thorough cleaning. Here are tried and tested methods to keep your ride looking fresh.
Use Microfibre Cloths
Invest in high-quality microfibre cloths. They lift dirt effectively without scratching surfaces. It’s wise to have separate cloths for different areas like windows, bodywork, and interiors to avoid cross-contamination.
Frequent Dusting and Wiping
Dust can accumulate quickly. I recommend giving the interior a quick once-over with a soft brush or cloth every week. This approach not only keeps the cabin tidy but also is better for overall air quality inside the vehicle.
Regularly Clean the Mats
Mats trap dirt and moisture. Remove and shake them out frequently, especially during wet seasons. Occasionally, wash them thoroughly with soap and water, and let them dry completely before re-installing.
Creating a Cleaning Schedule
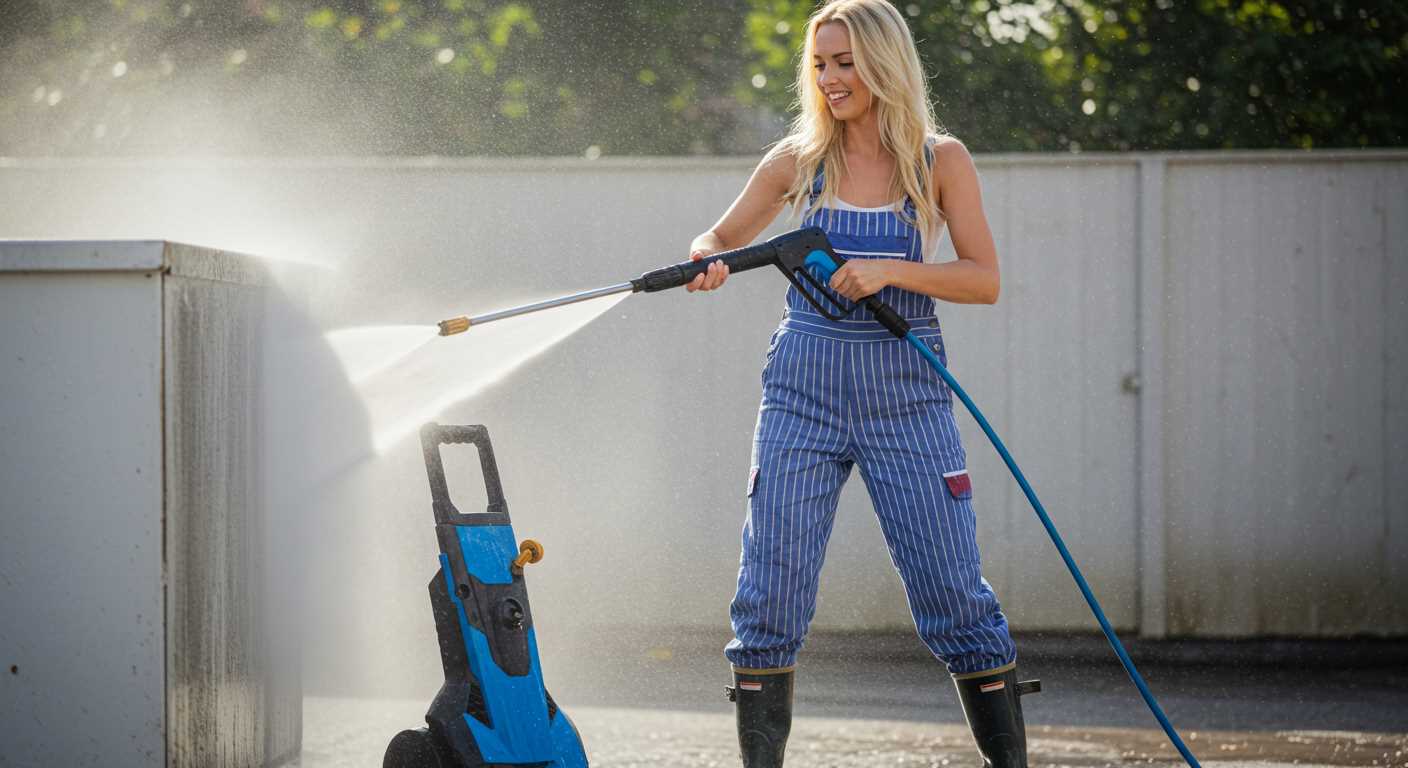
Establish a routine based on your environment and usage. If regularly driving on dirt roads, increasing the frequency of cleanings will help maintain condition. A simple checklist can streamline this task.
| Cleaning Task | Frequency |
|---|---|
| Interior Dusting | Weekly |
| Washing Mats | Monthly |
| Waxing Exterior | Every 3 Months |
| Window Cleaning | Bi-Weekly |
Maintaining a clean vehicle enhances aesthetics and prolongs its lifespan. Simple efforts yield significant results. Consistency is key to a stunning finish that turns heads wherever you go.


