

To achieve optimal performance, ensure the hose is fully submerged in the water supply before starting your device. This simple practice prevents air pockets from forming in the system.
If you’ve noticed inconsistent water flow, inspect the connections for any looseness. Tightening those fittings can help create a secure seal, minimising the chances of air entering the lines.
After turning off the unit, release any built-up pressure by squeezing the trigger of the spray gun. It’s essential to do this step repeatedly to ensure that all excess air and water are expelled completely.
Last, check for any blockages in the nozzle or hose that may disrupt water flow. A clean setup reduces the likelihood of air interference, guaranteeing smooth operation during your cleaning tasks.
Guidelines for Air Removal in Your Cleaning Equipment
Begin with ensuring the unit is off and disconnected from the power source. Attach the garden hose to the inlet with the quick-connect feature, securing it tightly.
Next, turn on the water supply. This step fills the system with water and displaces any trapped gases present in the hose and pump.
Activate the handle trigger while the machine is still off. Doing this allows water to flow through the wand and eliminates any remaining pockets of gas. It’s crucial to keep the trigger pulled for a few moments until a steady stream emerges, indicating that mostly liquid is present.
Afterwards, turn on the equipment. Watch for any unusual sounds such as sputtering or pulsing, which might indicate residual gas. If you hear these sounds, repeat the previous steps until you achieve a consistent flow.
Finally, ensure proper maintenance by frequently checking for leaks or wear that could introduce air again. Regular inspections help maintain optimal performance and prevent complications down the line.
Understanding Air Lock in Pressure Cleaners
To address the challenge of air entrapment within these machines, I recommend familiarising yourself with its causes and effects. An air lock occurs when air pockets form in the system, preventing water from flowing efficiently. Recognising this issue early can save time and frustration.
Common signs of air lock include:
- No water output during operation.
- Unusual sputtering sounds from the motor.
- Intermittent bursts of water when squeezing the trigger.
Preventing air pockets can be done through proper setup and maintenance. Here are steps to ensure optimal performance:
- Always ensure the inlet hose is fully submerged in water to avoid drawing air.
- Check hose connections for leaks or damage that might introduce air.
- Store your equipment in a position that prevents water from draining back into the washer, which can lead to air pockets forming upon subsequent use.
Being attentive to these aspects can greatly reduce the likelihood of encountering this problem again. If you do find yourself facing an air lock, the techniques outlined previously will serve as effective methods to clear the system and restore normal operation.
Identifying Symptoms of Air in Your Pressure Washer
Experiencing inconsistent water flow is a major sign indicating entrapment of air in the system. If you notice intermittent bursts or sputtering while operating, it’s time to inspect the unit for trapped gas.
Unusual noises, such as a loud rattling or rough operation, may suggest that the fluid dynamics are affected by gaseous pockets. A normal operational sound should be smooth; any irregularity is a red flag.
Reduced pressure output is another symptomatic indication to monitor. If your cleaning device fails to deliver a consistent and robust spray, check for the presence of gas as this could significantly hinder performance.
Leaking around the pump or fittings is also a concern. When leaks occur, it can create vacuum spaces that lead to the introduction of unwanted gas. Inspect all connections thoroughly to safeguard optimal performance.
To assist in diagnosing these symptoms more effectively, I recommend the following table as a quick reference guide:
| Symptom | Possible Cause |
|---|---|
| Inconsistent water flow | Trapped gas in the lines |
| Unusual noises | Fluid dynamics disrupted |
| Reduced pressure | Air pockets affecting output |
| Leaks around pump | Vacuum spaces causing gas intrusion |
Regular maintenance checks can help prevent these issues from arising, ensuring that your cleaning equipment remains in top condition. Pay close attention to these signs to maintain the efficiency of your device and enhance its longevity.
Necessary Tools for Air Removal Procedure
Investing in the right tools simplifies the task immensely. Here’s a concise list of what I recommend.
Basic Equipment
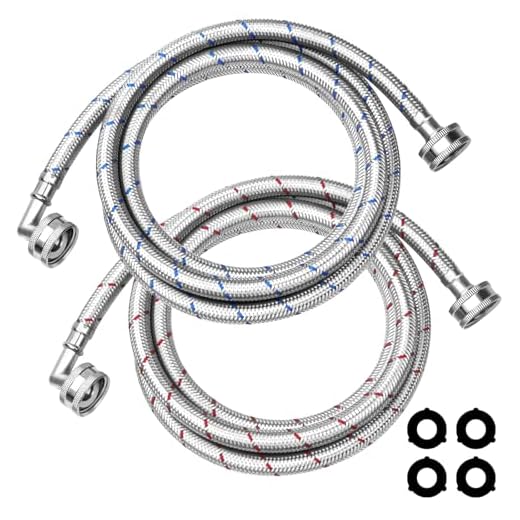
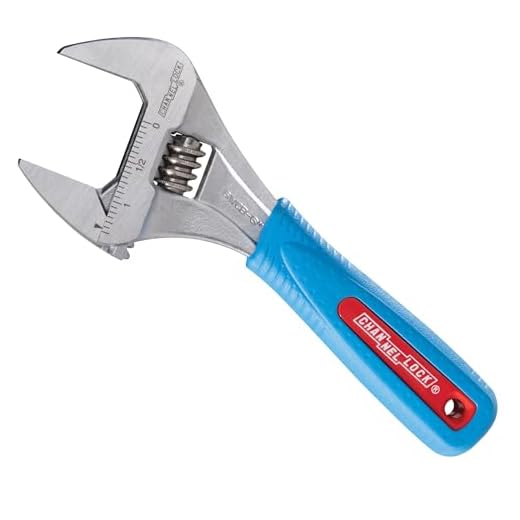
A reliable garden hose with an appropriate connection to the equipment is essential. Ensure it is in good condition without leaks. Additionally, a high-quality adjustable wrench will be useful for loosening and tightening fittings as needed.
A sturdy bucket or reservoir can assist in capturing any displaced fluids during the process, keeping your workspace tidy.
Protective Gear
Wearing safety goggles is mandatory to protect your eyes from any debris or spray. Rubber gloves will keep your hands safe and clean when working with various components and liquids.
If you are operating in an area with limited visibility, a good quality flashlight aids in accurately examining connections and components.
Step-by-Step Guide to Bleeding Air from the System
Begin the process by placing the unit on a flat surface, ensuring stability. Next, locate the water inlet and ensure it is securely connected to a water source. Open the valve to allow water to flow into the system.
Release Valve Operation

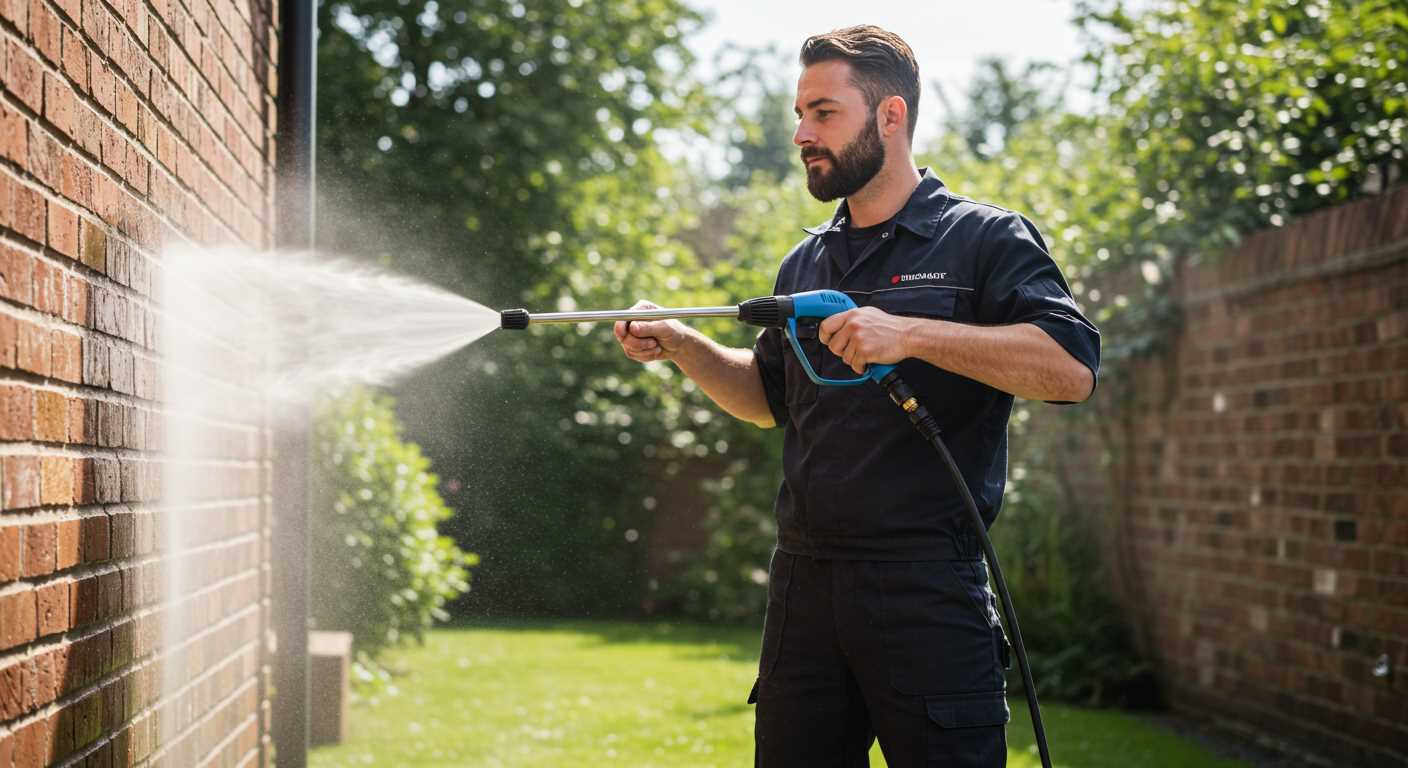
Identify the release valve, typically found on the gun or lance. Squeeze the trigger on the gun while opening the release valve. This action should allow any trapped gas to escape, while water starts to flow steadily.
Running the Machine
Start the cleaner while keeping the trigger engaged. Let the equipment run for approximately 30 seconds. Observe the output; a consistent stream indicates successful removal of unwanted gas. If you notice sputtering, it suggests that more trapped bubbles remain.
If the issue persists, turn off the device, close the release valve, and shake the unit gently to help displace the remaining bubbles. Repeat the release valve operation until a steady flow is achieved.
Checking the Inlet and Outlet Valves for Air Traps
Inlet and outlet valves can trap fluid and create blockages. Begin by inspecting both valves for any signs of obstruction. Remove any debris or corrosion that might impair functionality.
Inlet Valve Inspection

Detach the inlet hose and check for clogs. A clean filter ensures free movement. If the valve is stuck, gently tap it with a soft tool to dislodge any trapped contaminants.
Outlet Valve Examination
After disconnecting the outlet hose, visually inspect for blockages. If water doesn’t flow freely through the outlet, consider cleaning it with a soft brush or cloth. Ensure the valve closes securely to prevent leaks during operation.
After addressing both valves, reconnect the hoses and test the unit. Watch for steady flow and listen for unusual sounds, which could indicate remaining obstructions. Regular maintenance will help avoid potential issues.
Maintaining Consistent Performance After Air Removal
To ensure optimal functioning of your cleaning unit, follow these strategic steps after addressing air entrapments:
- Check Fluid Levels: Regularly inspect the detergent and water reservoir. Keeping these filled ensures a steady flow, preventing additional disruptions.
- Inspect Hoses: Examine all hoses for kinks or blockages that could hinder fluid passage. Replace any damaged sections immediately.
- Monitor Connections: Verify that all fittings are tight and secure. Loose connections may lead to loss of pressure and inefficiency.
- Run at Optimal Settings: Adjust the pressure and flow settings according to the task. Using the correct settings for your specific application enhances performance and prolongs lifespan.
- Keep Filters Clean: Regularly clean or replace filters to prevent debris from affecting performance. Clogged filters can severely impact efficiency.
Implementing these practices not only improves cleaning power but also extends the life of your unit, ensuring it continues to operate at peak performance.
Troubleshooting Persistent Air Issues in Your Washer

Check the water supply. Ensure there are no kinks or blockages in the hose that could affect flow. Inspect the inlet filter; debris can cause restrictions leading to air being trapped. Clean or replace it if necessary.
Look at the pump. Sometimes, seals wear out or become damaged, resulting in leaks that can introduce pockets of gas. Regularly inspect for signs of wear or damage, and replace seals as needed.
Evaluate the connections on both the inlet and outlet. Loose fittings can create gaps, allowing for the introduction of unwanted elements. Tighten any loose connections to maintain a solid seal.
Monitor the siphon mechanism if your model employs one. Ensure it is functioning correctly and not allowing air to enter the system. If faulty, consider replacing the entire assembly.
Run a few cycles without high pressure. This approach helps flush out pockets of gas that may not respond to standard purging procedures.
Consult the user manual for specific models. Some brands have unique features and troubleshooting suggestions to address ongoing issues more effectively.
Keep records of maintenance. Noticing patterns or recurring issues can aid in identifying persistent problems, allowing for targeted interventions.
Safety Considerations During the Air Purging Process
Always switch off the equipment and disconnect it from the power source before beginning any procedure. This reduces the risk of accidental activation while working on the unit.
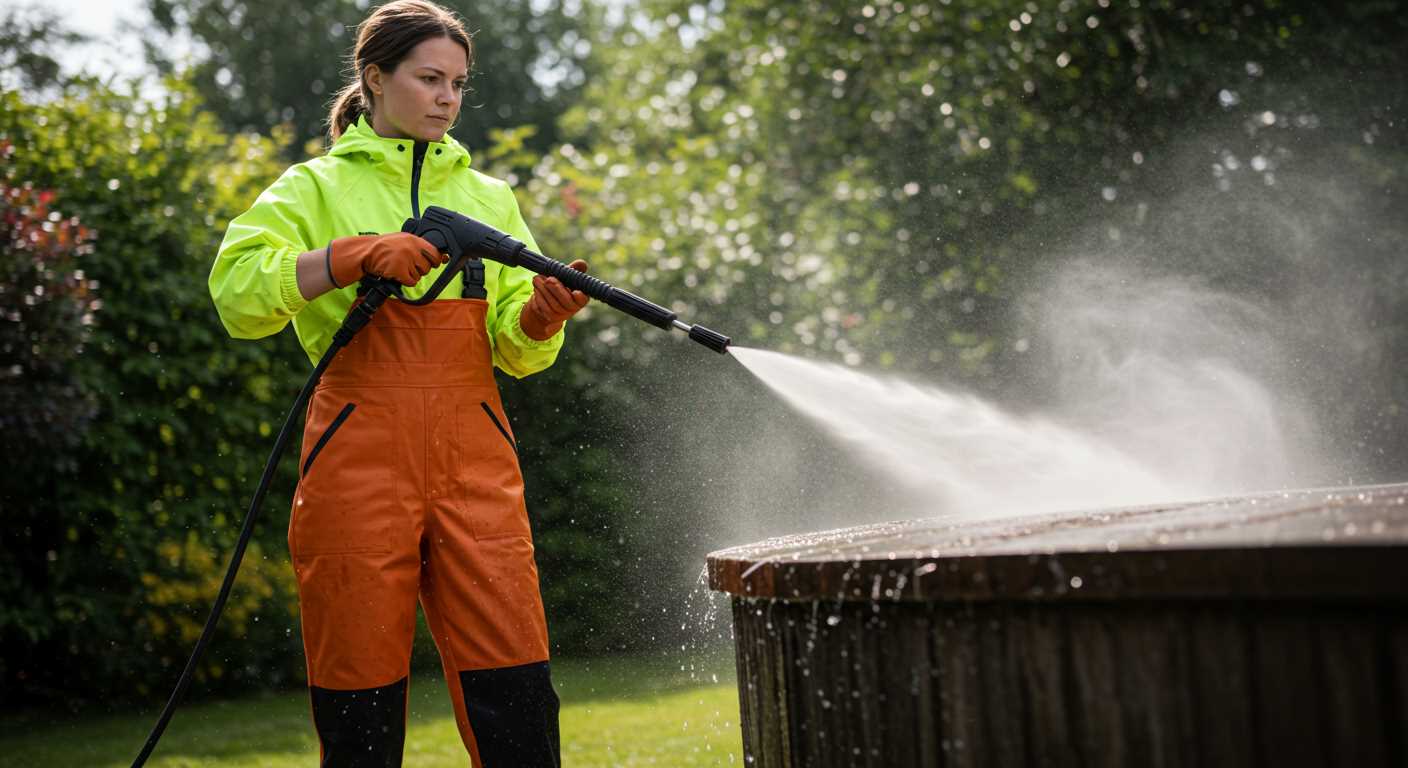
Wear protective eyewear and gloves throughout the process. High-pressure systems can cause unexpected sprays or splashes that may lead to injuries.
Ensure your workspace is clear and free from hazards. A cluttered area increases the risk of tripping or damaging the machine during maintenance.
Be cautious of pressurised water. Even after releasing pressure, residual water may remain within the system. Handle hoses and fittings carefully to avoid sudden bursts.
After releasing pressure, check the surrounding area for any leaks or damage. Persistent leaks may indicate further issues that require addressing before continuing.
Never attempt to use sharp tools or excessive force on fittings and hoses, as this could lead to ruptures. Instead, use appropriate tools designed for the job.
Finally, keep children and pets away from the working area. Educate anyone nearby about the potential dangers associated with high-pressure equipment during maintenance activities.
FAQ:
What is the best method to remove air from my pressure washer?
The most effective way to purge air from a pressure washer is to ensure that the water supply is connected and turned on. Then, switch the machine to the on position and pull the trigger on the spray gun. This action will allow water to flow through the system, pushing out any trapped air. Keep the trigger pulled until a steady stream of water is produced without any sputtering.
Why is it necessary to purge air from the pressure washer?
Purging air from a pressure washer is crucial as trapped air can disrupt the machine’s operation. It may prevent the pump from working efficiently and cause inconsistent water pressure. This can affect the cleaning performance and might even lead to damage over time if air is not removed before use. Ensuring a proper flow of water helps maintain the longevity and functionality of the equipment.
How can I tell if there is air in the pressure washer system?
You can usually tell if there is air in the system if the pressure washer produces a sputtering sound or if water comes out intermittently rather than in a smooth stream. Additionally, if you notice a significant drop in pressure or a failure to start spraying immediately, it could indicate trapped air. Regularly checking the system can help prevent these issues.
What should I do if my pressure washer does not remove air with the standard method?
If the standard method of purging air does not work, start by disconnecting the water supply and checking for any kinks or blockages in the hoses. Make sure the inlet filter is clean. Reconnect the water, and repeat the process of running the machine and pulling the trigger. If the issue persists, it might be wise to consult the manufacturer’s manual or seek professional assistance to avoid damaging the unit.
Is there a specific maintenance routine to prevent air from entering the pressure washer?
To reduce the chances of air getting trapped in your pressure washer, ensure that all connections are secure and free from leaks before use. Regularly clean the inlet filters and check hoses for wear or damage. Additionally, storing the machine properly and ensuring that the inlet hose is always primed with water can help maintain optimal performance and prevent air accumulation.


