

If you’re dealing with unwanted markings on external surfaces, a high-pressure cleaning device is your best ally. Ensure that you use a model with adjustable pressure settings to safely tackle different types of surfaces without causing damage. Start by selecting the right nozzle; a wide fan tip is ideal for larger areas, while a narrow jet is more suitable for concentrated spots.
Before initiating the cleaning process, prep the area. Clear away any loose debris and protect nearby plants or surfaces that might be affected by the high-velocity water stream. A pre-treatment with a suitable cleaning solution can significantly enhance the outcome, so consider applying a specialized agent formulated for such conditions.
Always maintain a consistent distance from the surface; this is generally around 12 inches. Move the nozzle in a steady back-and-forth motion, avoiding prolonged focus on a single spot to prevent etching. After the initial pass, reassess the area; stubborn marks may require additional attention using a different nozzle or cleaning solution.
Finally, rinse the area thoroughly to remove any leftover residue from the cleaning agents. Proper care and technique not only elevate the appearance of your surfaces but also extend their longevity. Engaging in this meticulous approach transforms marked exteriors back to their original state.
Approach for Eliminating Unsightly Tags
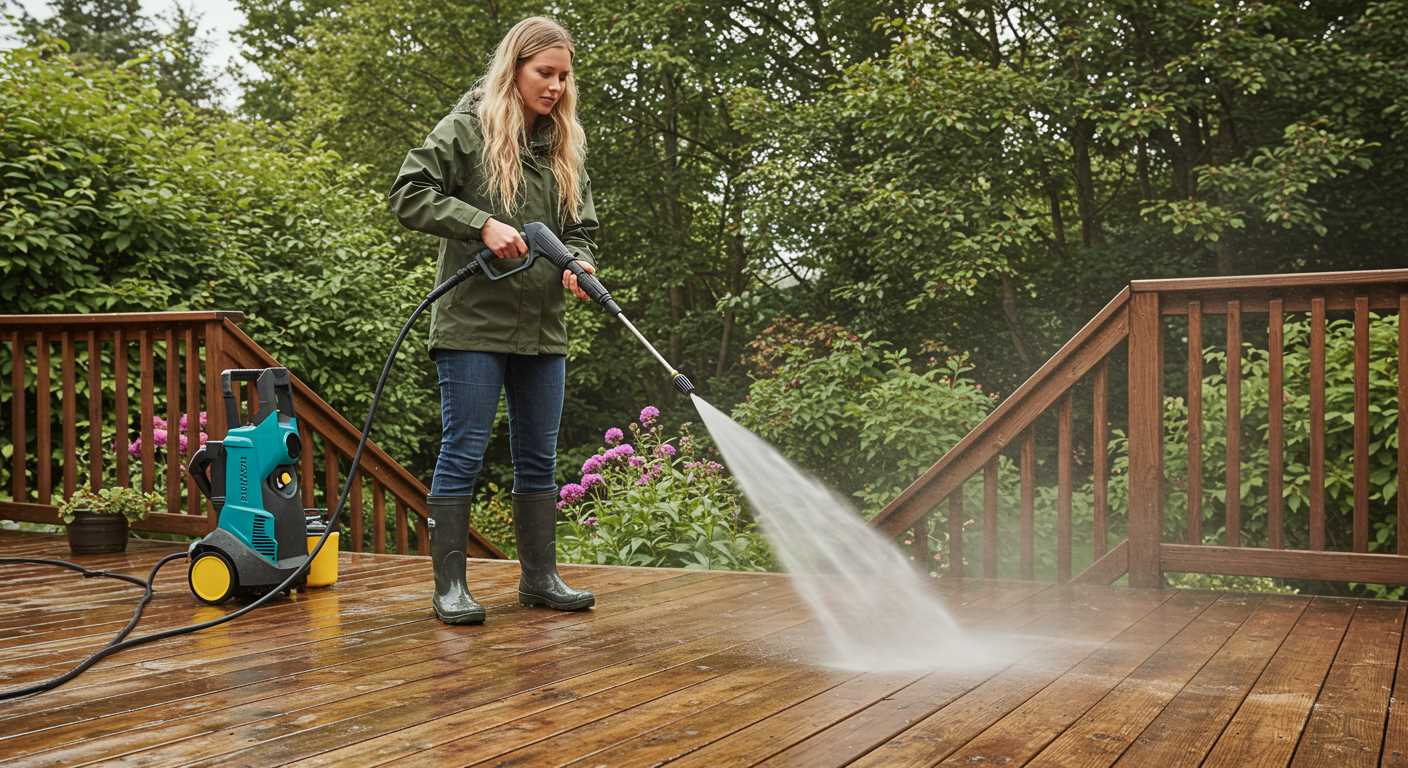
Select a unit with a minimum of 3000 PSI for optimal results. This power effectively dislodges unwanted marks from various surfaces. Ensure you pair it with a nozzle that narrows the water stream to focus pressure. A 15-degree or 25-degree nozzle typically works best for tough marks.
Prior to commencing, thoroughly evaluate the affected area. Surface material impacts your strategy; brick, concrete, and wood all react differently to vigorous cleaning. Always conduct a spot test on a small, inconspicuous section to ascertain the compatibility of the surface and the force applied.
Recommended Detergents
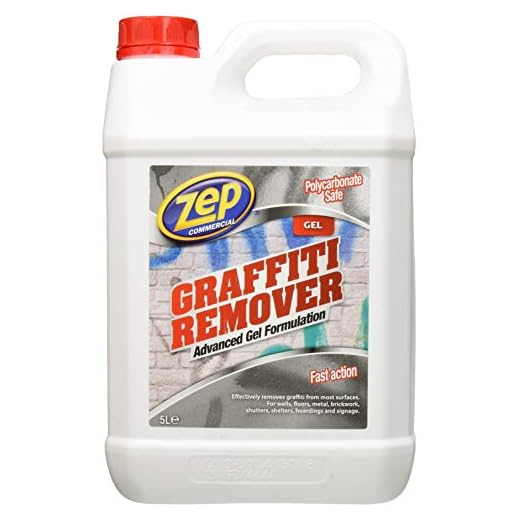
Incorporate cleaning solutions specifically designed for this task. Many products available on the market can enhance the removal process by breaking down the substance more efficiently. Apply the detergent generously to the area and let it sit for a few minutes before washing it off. This dwell time allows the formula to penetrate and weaken the bond of the marks.
Technique for Application
Maintain a consistent distance of about 12-18 inches from the surface during the process. Begin at the top of the area and work your way down to minimise streaking. Use sweeping motions, ensuring even coverage and avoiding concentrated blasts that could damage the surface. If residues persist, repeat the application until satisfied with the results.
Choosing the Right Pressure Washer for Graffiti Removal
Select a unit with a minimum pressure of 2500 PSI and a flow rate of at least 2.5 GPM to tackle stubborn markings effectively.
- Type of Machine: Opt for electric models for lighter tasks and residential use. Gas-powered versions handle larger jobs and perform better in outdoor settings.
- Nozzle Selection: Utilise a variety of nozzles, especially the 15° or 25° options, to adjust the spray pattern and intensity according to the surface condition.
- Heated Water Feature: Consider machines that allow for hot water usage, as heat enhances the removal process.
- Cleaning Agents: Ensure compatibility with specific detergents for better effectiveness on various surfaces.
- Durability: Look for robust materials and construction; a solid chassis will withstand frequent use.
For best results, confirm the power source matches your requirements, catering to portability or extensive outdoor use. Regular maintenance will prolong the life and efficiency of the equipment. Invest time in understanding the manufacturer’s guidelines for operation to maximise outcomes.
Selecting the Appropriate Cleaning Solution
I recommend using a specific cleaning agent designed for graffiti, as this significantly enhances the outcome. Ensure the formula is compatible with your surface type, whether it’s masonry, wood, or metal. Alkaline-based solutions work well on porous surfaces, while solvent-based options are effective on non-porous materials.
Read the manufacturer’s instructions for optimal dilution rates. A concentrate might require mixing, and it’s vital to follow these guidelines to achieve the best results. Test a small, inconspicuous area to confirm the compatibility of the cleaner to avoid potential damage.
Consider the environmental impact when choosing cleaning agents. Eco-friendly solutions are available, minimising harm to surrounding vegetation and wildlife. Always check for safety and toxicity ratings; products labelled as biodegradable are often preferable.
If you encounter stubborn spots, a gel-based cleaner can cling better to vertical surfaces, enhancing penetration and effectiveness. Using a brush to agitate the solution can also boost its efficacy, particularly on textured or rough surfaces.
Finally, having the right cleaning solution on hand can reduce the time spent tackling tough areas. Preparing in advance ensures a more seamless and successful cleaning process, leaving you satisfied with the results.
Preparing the Surface for Efficient Cleaning
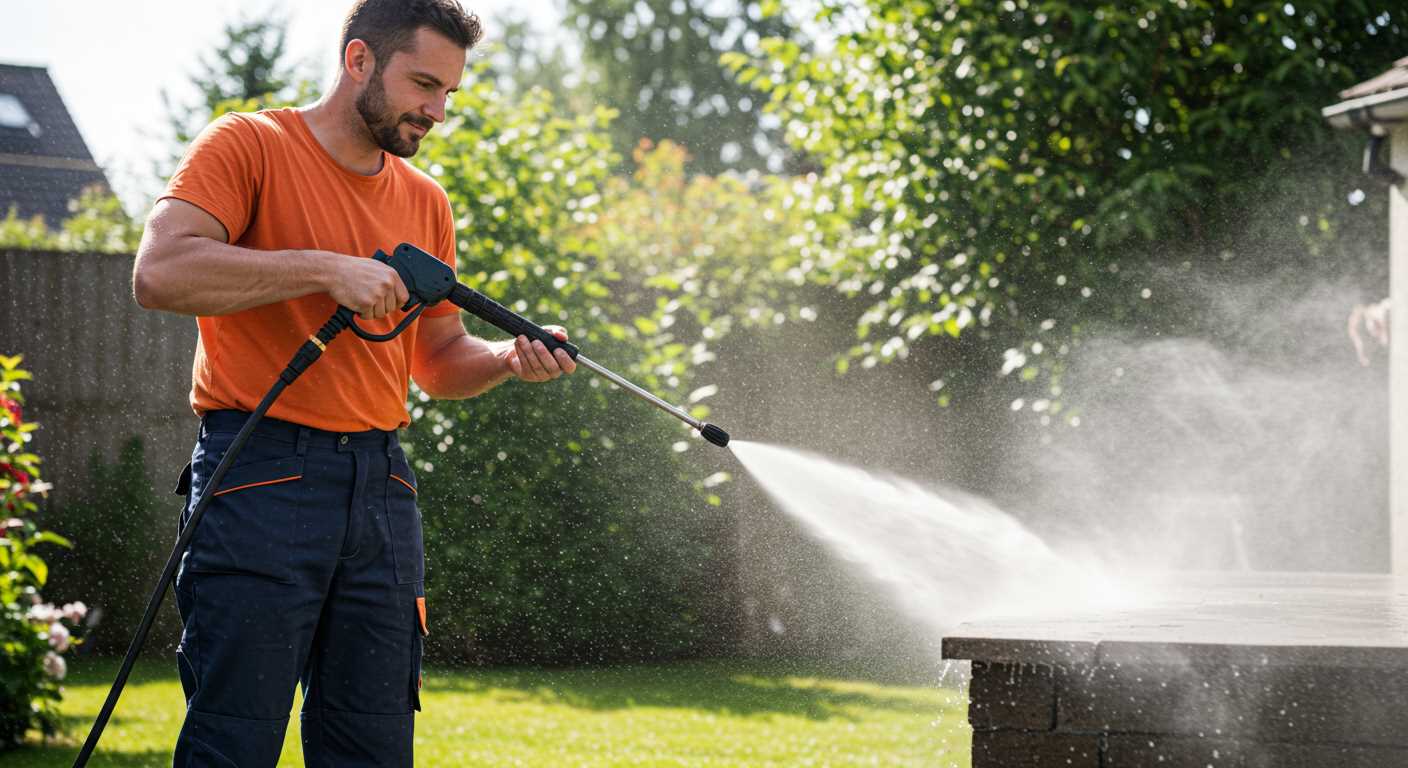
Ensure the area is free from obstacles. Remove any furniture, plants, or decor that might impede access. It’s crucial to provide a clear workspace to focus on the task.
Conduct a thorough inspection of the surface. Look for any cracks, flaking paint, or structural issues. Addressing these problems beforehand can prevent further damage during the cleaning process.
Consider the surroundings. Cover windows, doors, and any adjacent surfaces with plastic sheeting or tarps. This precaution safeguards against unintended overspray that could affect nearby areas.
Identify any delicate materials nearby. Areas with wood or specific types of stone may require special care. Use a lower setting on the machine or test in an inconspicuous area to prevent damage.
Gather necessary tools:
- Broom or brush for debris removal
- Protective eyewear and gloves
- Plastic sheeting or tarps
- Cleaning solution suited for the surface
Prepare the cleaning solution according to the manufacturer’s instructions. Proper dilution ensures optimal performance without damaging the surface being treated.
Once the area is prepped, perform a test strip. Applying the cleaning solution in a small section first will help assess the effectiveness and ensure the surface can handle the cleaning pressure.
Applying Pressure: Optimal Settings and Techniques
For best outcomes, adjust your device to a pressure setting between 1500 and 2500 PSI, ensuring suitable force without causing surface damage. Use a fan nozzle (25° to 40°) for broader coverage, while a zero-degree nozzle can target stubborn areas more aggressively.
Equipment Settings
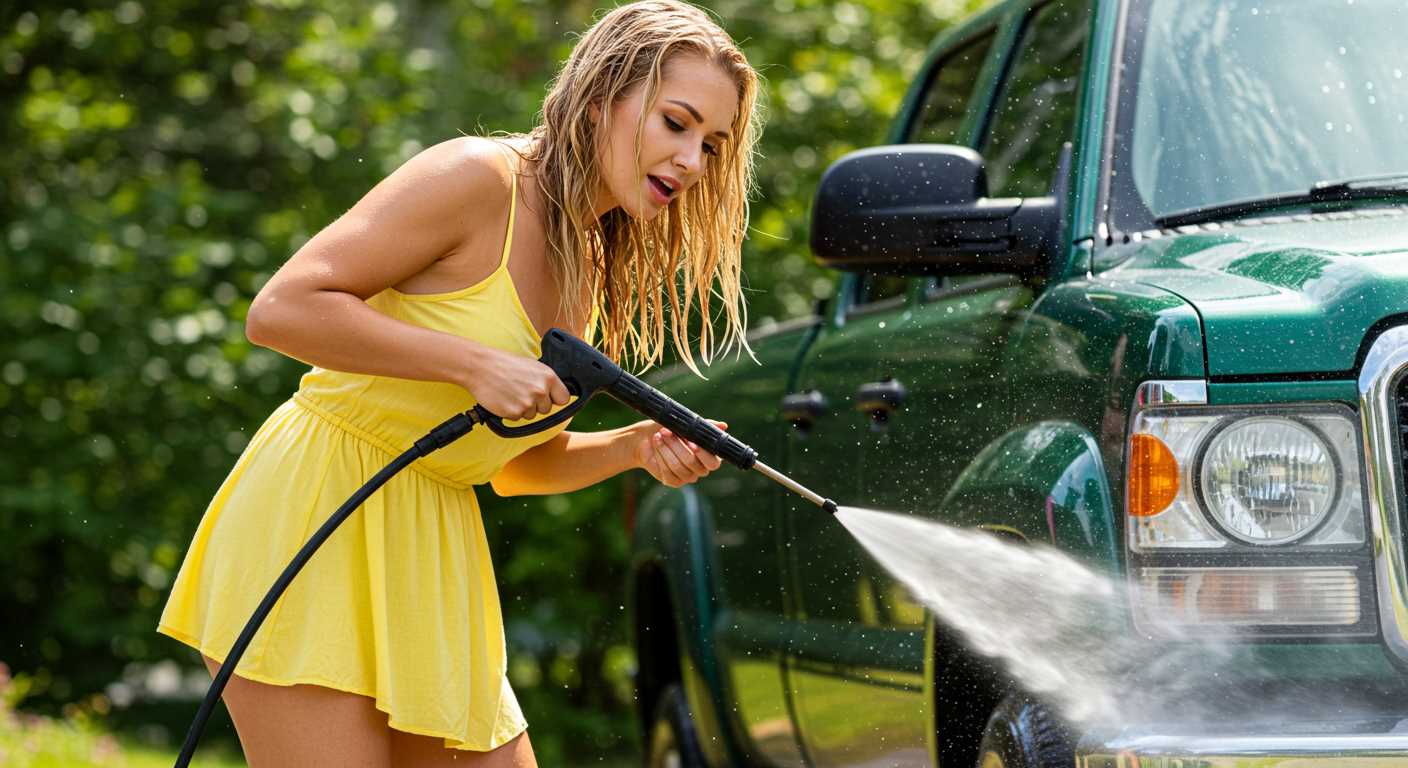
Begin with the following initial settings, then modify based on surface response:
| Surface Type | Recommended PSI | Nozzle Type |
|---|---|---|
| Concrete | 2500 – 3000 | 15° |
| Brick | 2000 – 2500 | 25° |
| Wood | 1500 – 2000 | 40° |
| Glass | 1000 – 1500 | 40° |
Technique
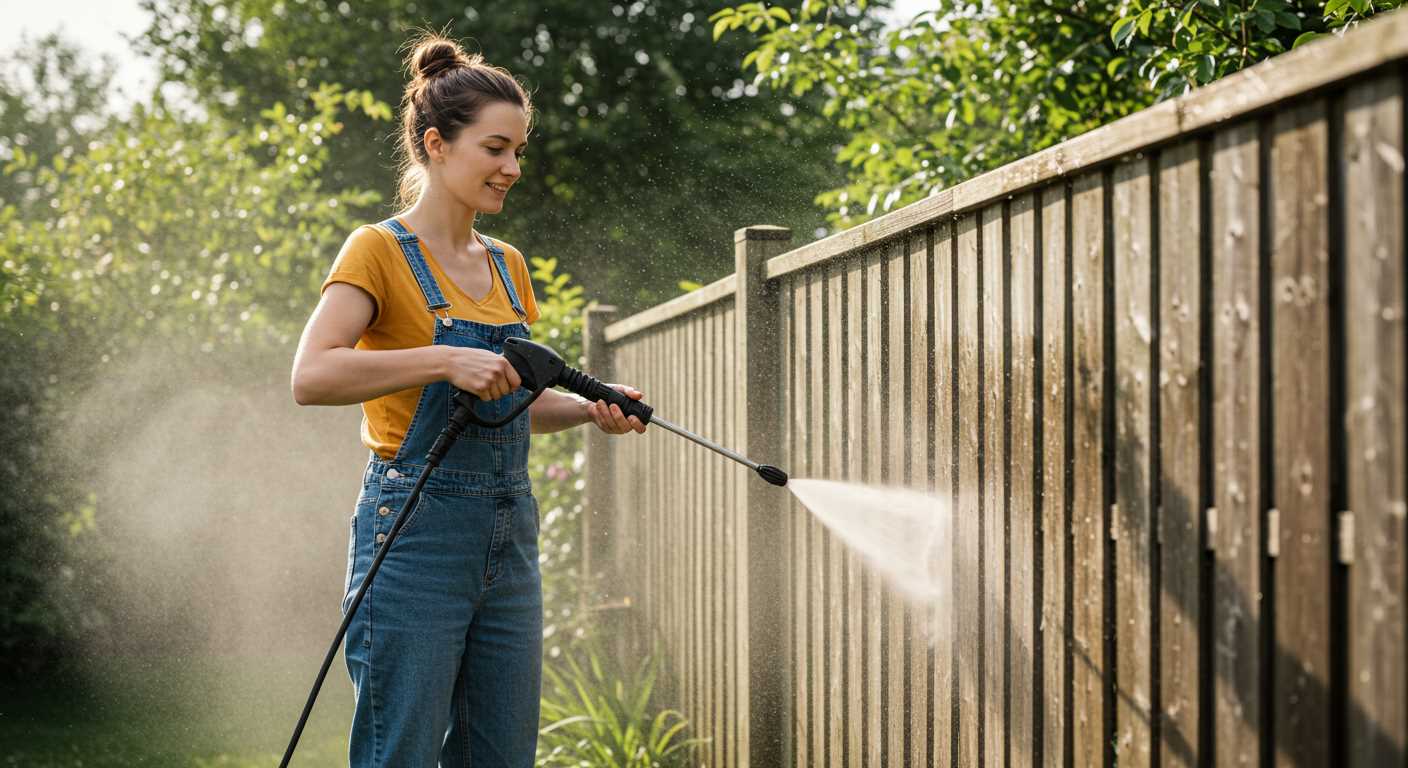
Maintain a steady distance of 12 to 24 inches from the surface, moving the lance in straight lines. Overlap each stroke slightly to ensure comprehensive cleaning. For particularly difficult spots, apply the cleaning solution, allow dwell time, then use the washer to enhance efficacy.
Concentrate on one small section at a time to maximise pressure impact and control the output, reducing the risk of damaging the substrate. Following these settings and techniques can yield effective outcomes while preserving the integrity of the underlying material.
Aftercare: Cleaning and Protecting the Surface
Immediately after you’ve finished the job, I recommend rinsing the area thoroughly with clean water. This step removes any remaining cleaning agents and debris, ensuring the surface is ready for further treatment.
Once dry, inspect the surface for any signs of damage. If any areas seem compromised, consider repainting or applying a sealant to restore their integrity. Use a high-quality exterior primer for better adhesion, followed by paint that suits your environmental conditions.
To enhance longevity and prevent reoccurrence of unwanted markings, applying a protective coating is advisable. This adds a barrier against future stains and makes subsequent clean-ups much easier. Look for a transparent sealant designed for the specific material of your surface, whether it be masonry, wood, or metal.
Regular maintenance is key. Set a schedule for periodic cleanings to remove dirt and grime before it settles, and take proactive measures to address any vandalism as soon as it occurs. Keeping the area well-lit can deter unwanted action and help spot issues early.
In case of repeat offences, consider installing barriers or planting foliage to increase privacy and reduce visibility. This not only contributes to aesthetic appeal but also functions as a preventative measure against graffiti.
Finally, educating the community about the importance of respecting public and private spaces fosters a culture that values cleanliness and respect for property. Encouraging local initiatives that promote art in designated areas can channel creative expression away from unwanted markings.
Dealing with Stubborn Stains and Residual Paint
For persistent marks that resist initial cleaning attempts, a combination of techniques proves effective. First, increase the water temperature, if possible. Hot water enhances the efficacy of most cleaning agents. Aim for approximately 60°C, which helps loosen the bonds of the remaining paint.
If initial washing fails, consider foam cleaners designed for tough stains. These products cling to vertical surfaces, providing longer contact time. Apply the foam thoroughly and let it sit for the indicated duration, usually around 10-15 minutes, to ensure optimal penetration.
Scrubbing for Success
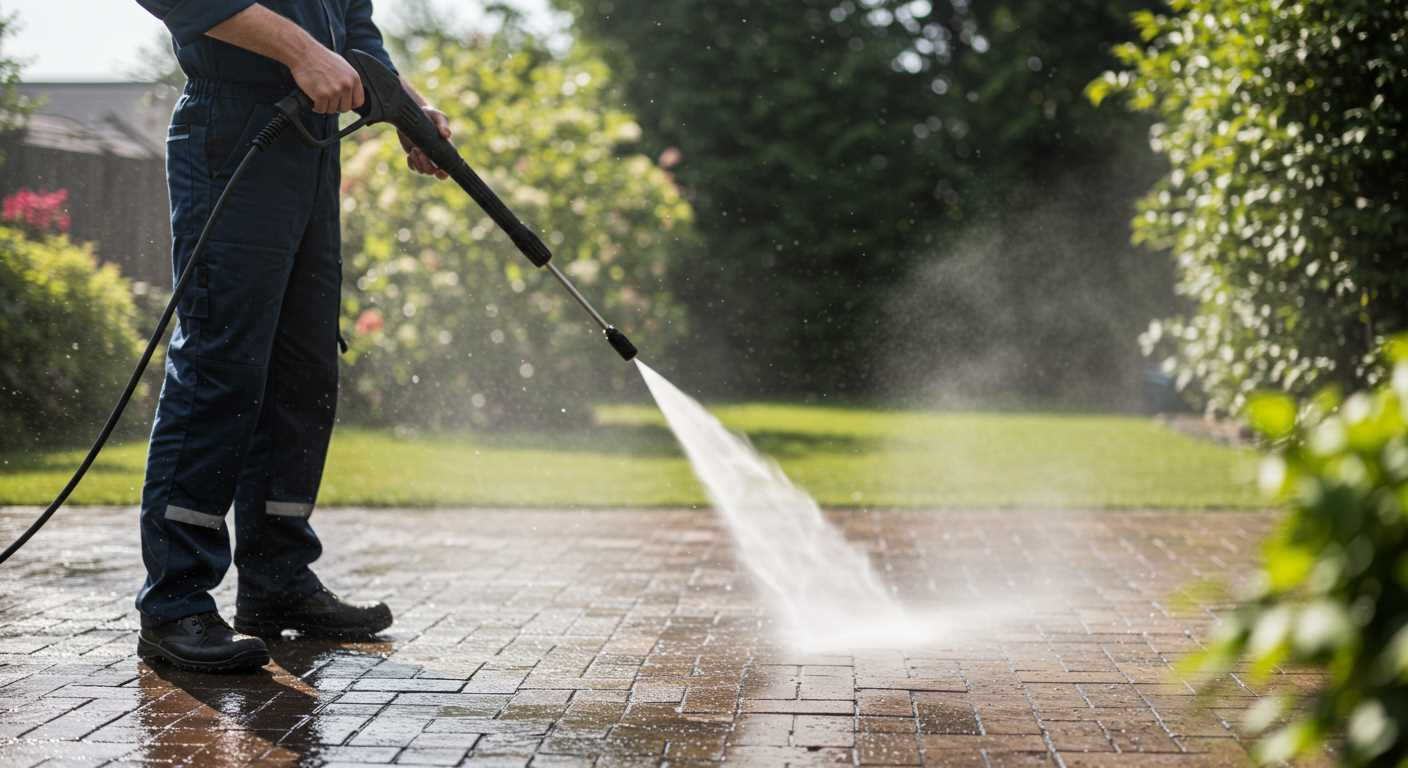
After treatment with foam, utilise a stiff-bristled brush to scrub the area. This manual action removes stubborn residue that the washer may not eliminate entirely. Target edges and corners where paint often accumulates. Ensure you maintain a consistent angle for the best results.
Final Touches
If paint persists, a secondary application of cleaner might be necessary. This time, focus on smaller sections, applying cleaner and agitating the surface. After scrubbing, repeat the power washing process. Often, a few cycles of cleaner application and washing yield the desired clarity.


