

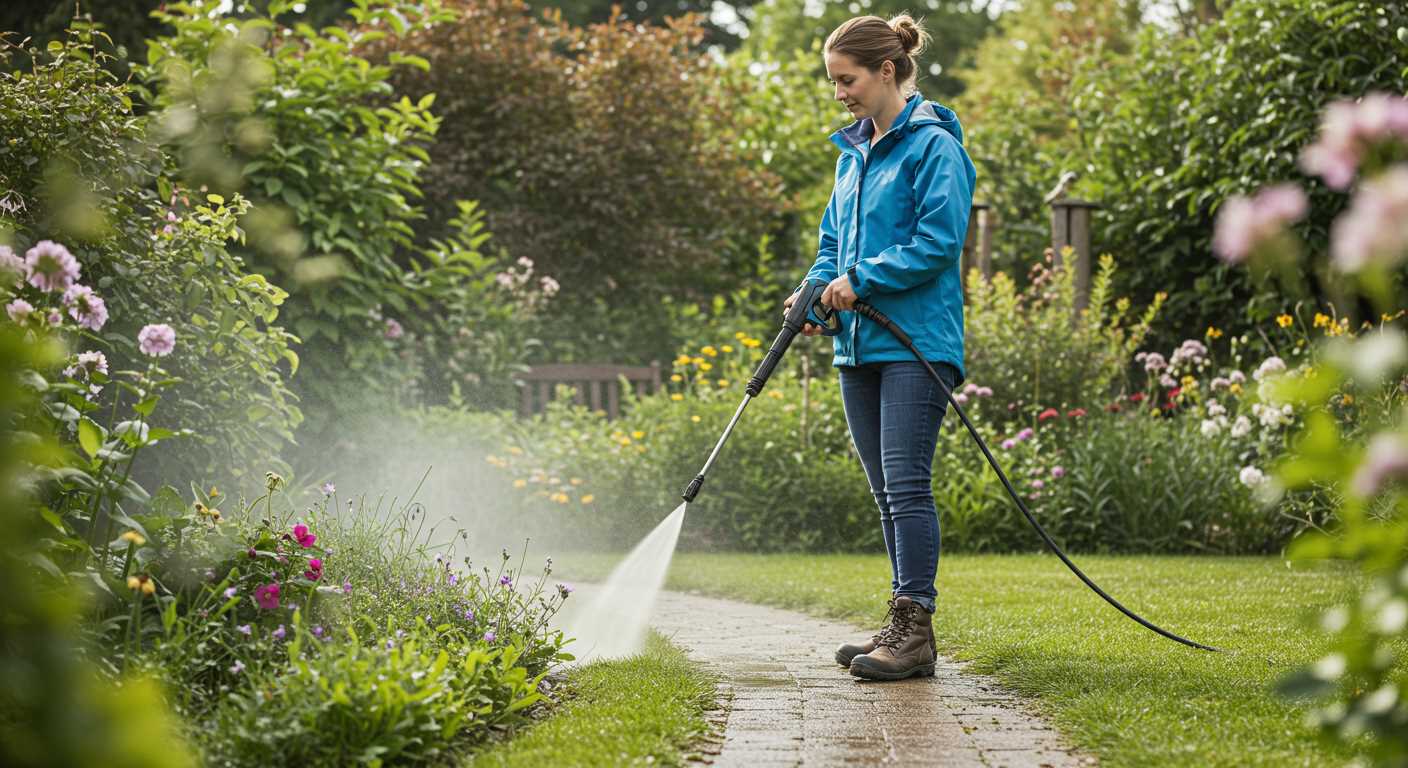
A pressure cleaning unit capable of delivering at least 2000 PSI is ideal for tackling unwanted marine life on the underside of your vessel. This level of force ensures the elimination of tough biofouling, all while remaining safe for the surface material.
Before initiation, secure the craft on stands to provide a stable working environment. Always wear protective gear, including goggles and appropriate footwear, to ensure your safety during the process. Additionally, it’s wise to thoroughly rinse the surface with plain water prior to the application of the cleaning equipment. This step loosens debris and prepares the area for optimal results.
Using the right nozzle is crucial; a 15-degree or 25-degree nozzle attachment will direct a concentrated spray that effectively dislodges stubborn clumps. Maintain a distance of approximately two feet between the nozzle and the surface to avoid damage and achieve a thorough clean. It’s advisable to work systematically, starting from the stern and moving towards the bow, to ensure every section receives attention.
Choosing the Right Equipment for Cleaning Tasks
For optimal cleaning results, focus on models with a pressure range of 2000 to 3000 PSI. This capability effectively tackles stubborn contaminants adhering to surfaces without causing damage.
Here are factors to consider:
- Water Flow Rate: Aim for a GPM (gallons per minute) of at least 2.0. Higher flow rates increase cleaning efficiency, allowing for quicker work.
- Nozzle Types: Select adjustable nozzles for versatility. A fan nozzle is effective for general cleaning, while a narrow jet nozzle removes tougher residues.
- Portability: Opt for lightweight designs with wheels for ease of movement around larger vessels. A compact model may be ideal for smaller crafts.
- Motor Type: Electric models suit home use, but gas-powered variants provide greater power and mobility for extensive tasks, especially in remote locations.
- Attachments: Look for brushes or surface cleaners designed for water jet machines; these can enhance the cleaning performance.
Choose a unit from reputable brands with robust customer support, ensuring ease of maintenance and replacement parts availability. This choice influences long-term satisfaction with your cleaning regimen.
Preparing the Vessel for Pressure Washing

Secure the craft on a stable surface, ensuring it’s elevated to allow for easy access to all areas. Remove any items such as fenders, ropes, or personal belongings that might obstruct cleaning. It’s essential to check for any loose fittings or attachments, tighten them to prevent damage during the process.
Cover sensitive components like electrical systems and vents with waterproof materials to avoid water damage. Use tape or plastic sheeting to protect these areas effectively. This precaution will preserve functionality and ensure safety.
If there are visible stains or hard deposits, pre-soaking with a suitable marine cleaner can assist in softening these spots. Apply the cleaner generously, allowing time for it to act before starting the cleaning. This step reduces the effort needed during the main washing phase.
Ensure the water source is adequate and compatible with the device chosen for cleaning. Gather all necessary equipment and accessories, ensuring everything is in working order. A clean environment contributes significantly to achieving optimal results.
Check weather conditions before commencing. An ideal temperature and low wind present the best conditions for effective cleaning without the disruption of debris or adverse weather impacts. Proper preparation sets the stage for a successful and efficient cleaning process.
Selecting Appropriate Cleaning Solutions and Additives
Prior to launching this cleaning project, I found that the right cleaning products can significantly enhance results. It’s critical to select formulations specifically designed for watercraft, as these are tailored to dissolve marine deposits without damaging the underlying materials.
Types of Cleaning Solutions
Consider the following categories of cleaning solutions:
| Solution Type | Description |
|---|---|
| Biodegradable Cleaners | Eco-friendly options that break down naturally, minimising environmental impact. |
| Gel-Based Cleaners | Thicker consistency provides better adherence to vertical surfaces and offers prolonged action. |
| Enzymatic Cleaners | Utilise enzymes to digest organic matter, proving effective against stubborn stains. |
| Calcium and Rust Removers | Specially formulated to combat mineral deposits and rust, ideal for older vessels. |
Additives for Enhanced Cleaning
Additives can augment the cleaning impact. Here are a few I recommend:
- Degreasers: Excellent for tackling oily residues, especially in engine compartments.
- Stain Removers: Formulations designed to specifically combat particular stains, such as algae or barnacles.
- Sealants: Products offering protective layers post-cleaning can prevent future adherence of marine growth.
- Surface Protectants: Help preserve the finish of the material used on watercraft.
Always read labels meticulously to ensure compatibility with the surfaces you’ll encounter, and perform a patch test in an inconspicuous area when using new products for the first time. This approach ensures the best outcomes while safeguarding your vessel’s integrity.
Adjusting Pressure Settings for Different Hull Materials
For fiberglass, I recommend a pressure setting around 1200 to 1500 PSI. This will effectively lift algae and other debris without damaging the surface. Maintain a distance of about 2 feet when applying the nozzle to prevent any potential abrasion.
When dealing with painted surfaces, keep the pressure between 1000 and 1200 PSI. This lower setting helps preserve the paint finish and avoids stripping any layers. A fan spray tip works best to distribute the pressure evenly, reducing the risk of peeling.
For metal surfaces, such as those made from aluminium, up to 2000 PSI is acceptable. However, I advise caution, particularly around welded joints, as excessive pressure may cause harm. A distance of around 1.5 to 2 feet is advisable here as well.
Wooden boats require the most careful approach. I suggest using a low pressure between 800 and 1000 PSI to prevent splintering. Always maintain a safe distance of at least 3 feet to protect the wood’s integrity while still effectively cleaning marine growth.
Testing the pressure on a small, inconspicuous area before proceeding with the entire surface is a wise practice. This helps gauge how the material reacts without risking damage. Adjustments can then be made based on the results observed. Accurate pressure settings can greatly enhance the cleaning process while preserving the condition of the vessel.
Techniques for effective cleaning of the hull

Utilise a consistent sweeping motion while aiming the nozzle at an angle of approximately 45 degrees to optimise the rinsing effect. This technique ensures that debris and residues are efficiently dislodged without causing potential damage to the surface.
Maintain a distance of 12 to 18 inches between the nozzle and the vessel’s surface. Staying within this range allows for effective removal of contaminants while minimising the risk of etching or scoring the surface.
In tight corners or hard-to-reach areas, consider using a rotating scrub brush attachment. This approach enhances cleaning power, especially for persistent stains and encrusted material.
Begin working from the top of the surface to the bottom, allowing debris to flow downward. This method maximises efficiency and reduces the likelihood of re-soiling areas that have already been cleaned.
Utilise strong water flow initially to lift larger particles and then adjust to a finer spray to tackle stubborn spots. Relying on this technique ensures thorough cleaning while adapting the pressure to suit varying levels of dirt.
Avoid concentrated bursts of high-pressure water on delicate areas such as fittings or paintwork, as this can lead to damage. Instead, use a lower pressure setting for these sections, ensuring preservation of the surface integrity.
Incorporate a systematic approach by dividing the surface into sections. Clean one area at a time, thoroughly rinsing before moving on to the next. This prevents any dirt from settling back onto freshly cleaned regions.
Employ a methodical strategy to handle different types of contaminants. For example, stubborn barnacles might require pre-soaking with a suitable solution before washing. Understanding the type of grime will dictate the cleaning approach.
Lastly, after the rinse, give the area a final inspection. A quick wipe with a microfiber cloth on any remaining spots can enhance the finish, ensuring no residue or streaks remain.
Safety precautions to take while using a pressure washer
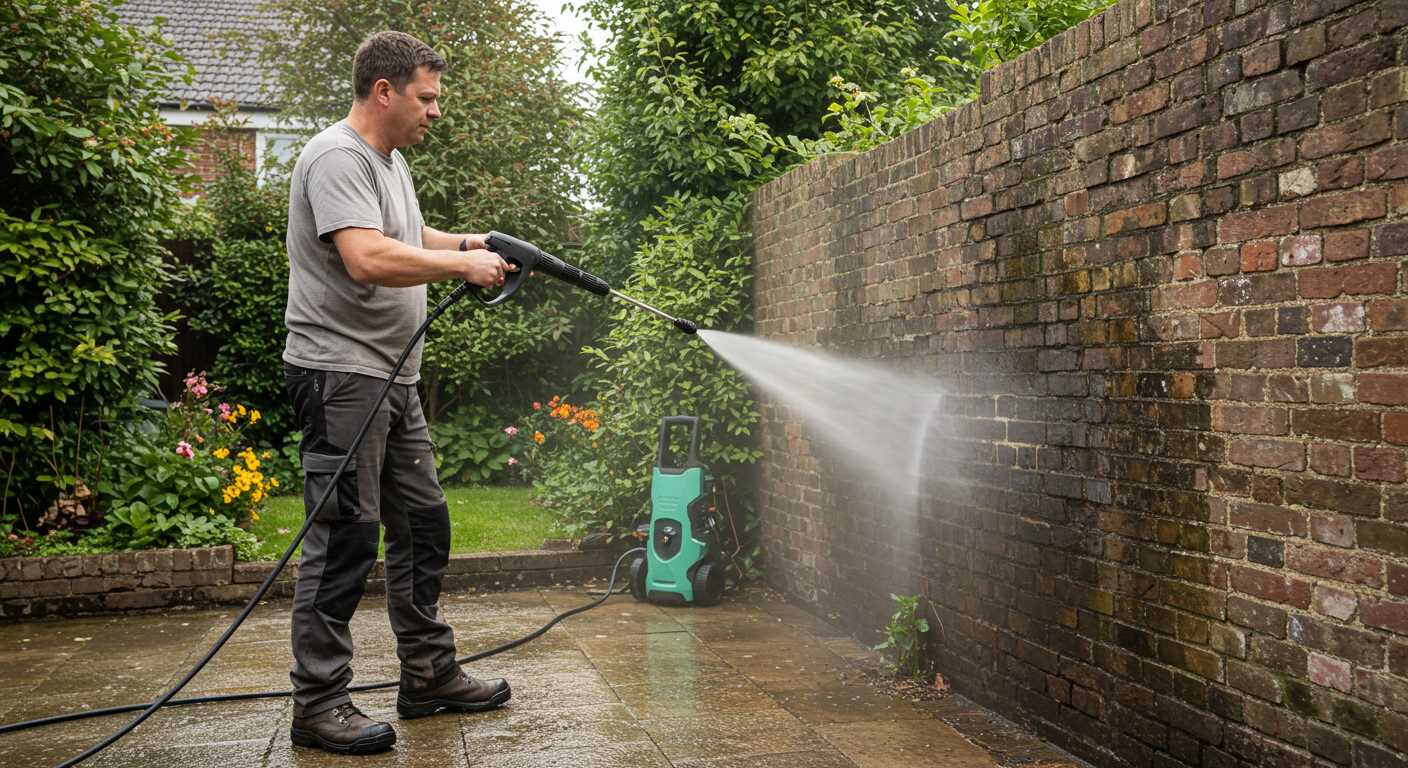
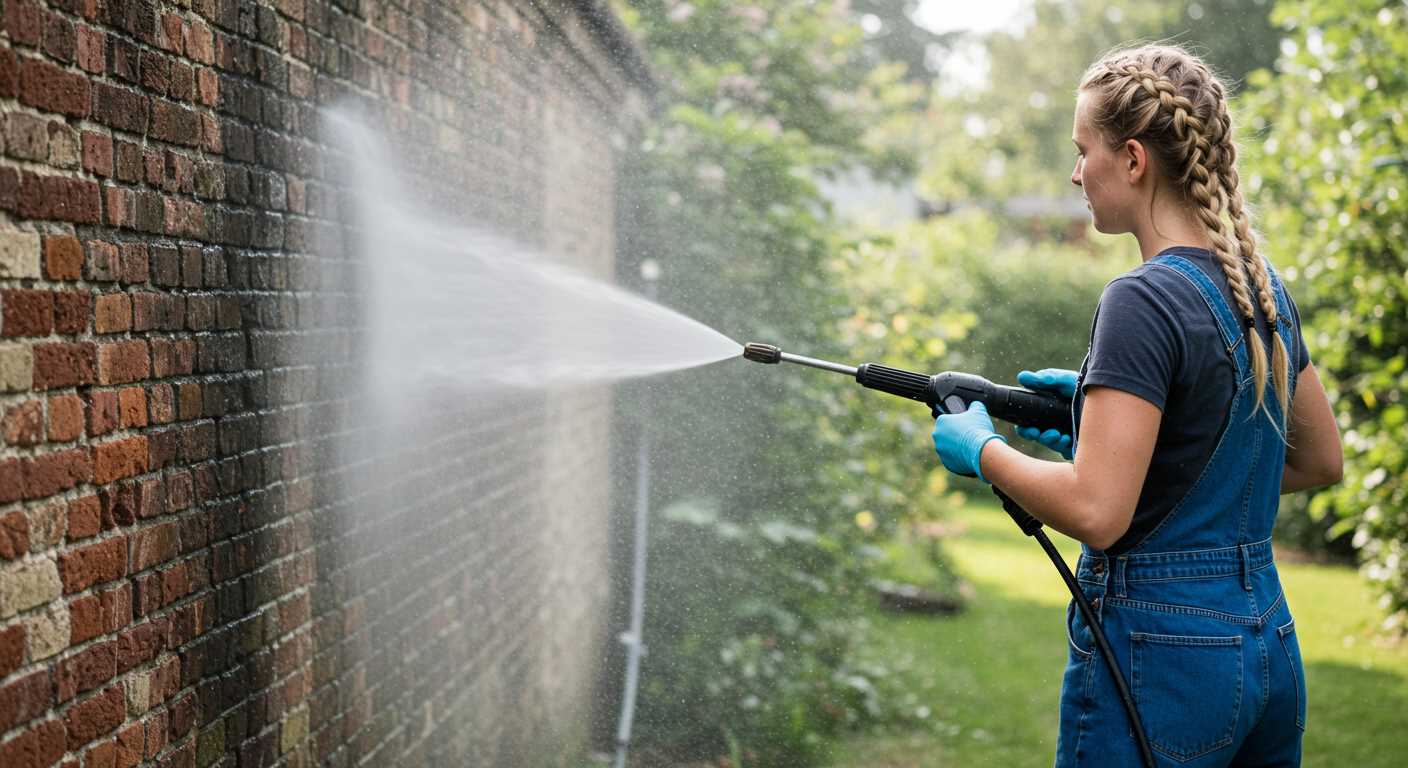
Always wear appropriate personal protective equipment (PPE), including safety goggles, gloves, and non-slip footwear. This prevents injury from flying debris and slipping on wet surfaces.
Check the electrical connections and ensure the equipment is properly grounded. Avoid using extension cords that are frayed or damaged to prevent electrical hazards.
Maintain a safe distance between the nozzle and the surface to prevent injury and damage. A minimum of 30 cm is advised, adjusting as needed based on pressure rating.
Be aware of your surroundings and ensure bystanders, pets, and children are at a safe distance. Establish a clear work zone and communicate effectively before starting any cleaning task.
Before operating, read the manufacturer’s instructions and safety guidelines. Understanding the equipment’s specifications is vital for safe use.
Work in dry conditions whenever possible. Moist environments can increase the risk of slips and electrical hazards. If indoors, ensure adequate ventilation.
Finally, do not direct the pressure stream at yourself or others, and avoid aiming it at loose items such as windows or vehicles, which may cause harm or damage.
Post-cleaning care and maintenance for the hull
Ensure thorough drying after the wash by using a chamois or a soft towel, which prevents water spots and mineral deposits from forming. Once the surface is clean and dry, inspect for any damage. Small scratches or chips can be treated with marine-grade repair kits to maintain the integrity of the surface.
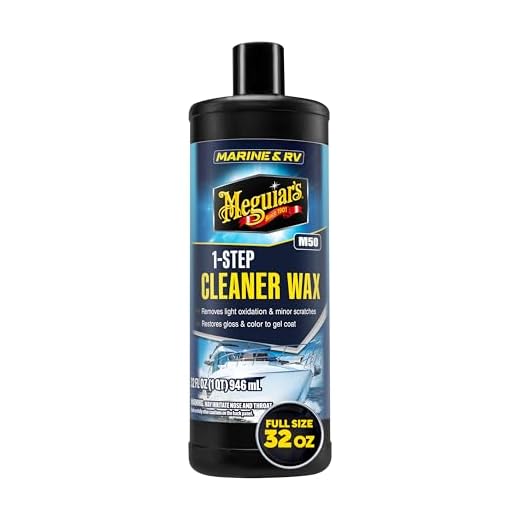
Apply a high-quality marine wax or sealant to protect against UV rays and saltwater. This not only enhances the appearance but also makes future cleanings easier, as it creates a barrier against new build-up.
Schedule regular inspections and maintenance every few months. Check for loose fittings, signs of wear, or ongoing deterioration. Keeping a detailed record of inspections can help predict future maintenance needs.
Consider using maintenance products designed specifically for the type of material of your vessel. For instance, gel coat and fibreglass require different care compared to aluminium or wood. Adhering to these specifications prolongs the life of the exterior.
Store the vessel properly. If it’s kept in the water, consider using a high-quality antifoulant designed for long-term protection. When not in use, cover the vessel to shield it from environmental elements. This practice significantly reduces cleaning frequency and preserves the condition of the exterior.
Lastly, maintain the engine and other mechanical components. Regular engine checks ensure operational efficiency and enhance fuel economy, contributing to overall vessel longevity.


