

Begin by selecting a high-pressure device with an output of at least 2500 PSI for optimal results. This strength is crucial for effectively dislodging unwanted green growth without damaging the surface beneath. Attach a suitable nozzle, typically one with a narrow spray pattern–this concentrates the force of water to better tackle tough spots.
Before starting, ensure you’ve cleared the area of any loose debris or large obstacles. This not only prevents damage to your machine but also enhances efficiency as you work. Create a safe working zone by covering nearby plants and delicate items with protective sheets to avoid potential harm.
Adjust the pressure setting on your equipment to suit your needs–start lower to assess how the surface reacts. Begin cleaning at one corner, spraying directly at a 45-degree angle to break the grip of the greenery. Maintain a steady motion to prevent any concentrated stress on a single area, which could lead to surface wear.
Repeat the process as needed, moving systematically across the entire area until all growth is eradicated. For particularly stubborn patches, consider using a cleaning solution specifically designed to target organic growth before applying water. This method not only accelerates removal but also helps to prevent future regrowth, maintaining the appearance of your paved entrance.
Effective Techniques for Clearing Greenery Using a High-Pressure Cleaner
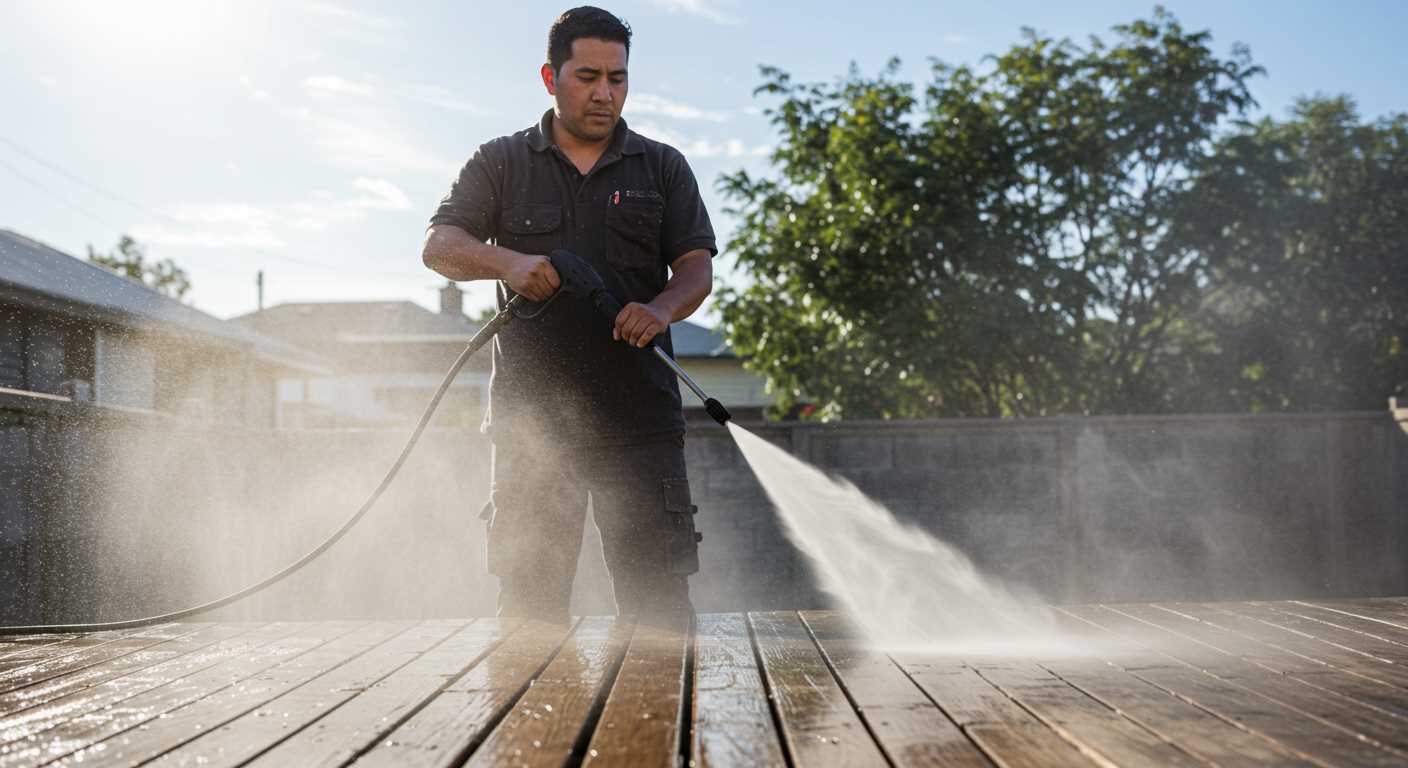
Utilise a nozzle with a narrow spray pattern, such as a 15-degree tip. This focuses the water jet, enhancing its ability to dislodge stubborn vegetation. Keep the nozzle approximately 12 inches away from the surface to prevent any damage while delivering adequate force.
Adjust the pressure setting if your machine allows it. Too much power can harm the surface; therefore, I advise starting with a lower setting and gradually increasing it if necessary. Always refer to the manufacturer’s guidelines for your specific equipment.
Use sweeping motions while cleaning; avoid directing the water stream in one spot for extended periods. This approach helps in covering a larger area effectively and minimises the risk of harming the underlying material.
Consider pre-treating the surface with a suitable environmentally friendly cleaner that can assist in loosening the unwanted growth. Allow the solution to dwell for a few minutes before employing the high-pressure cleaner; this will facilitate better results.
Monitor your progress closely. If you encounter areas that resist initial cleaning, reapply the cleaner and make additional passes instead of increasing the pressure, which might risk damage.
After the cleaning session, conduct a thorough rinsing to ensure no residual solution remains. This step not only provides clarity but helps prevent future regrowth issues.
Lastly, for ongoing maintenance, consider regular inspections and cleanings to prevent the re-establishment of undesired growth in the future.
Choosing the Right Pressure Washer for Moss Removal
For optimal cleaning results, select a unit with a minimum pressure rating of 2000 PSI. This level effectively dislodges stubborn growth while remaining safe for various surfaces.
Electric vs. Gas Models
Electric models are quieter, lighter, and more suitable for residential tasks. They typically operate under 1500 PSI, ideal for lighter cleaning jobs. Gas-powered alternatives provide greater pressure and are designed for demanding tasks, making them appropriate for extensive areas or recurring accumulations.
Additional Features to Consider
Look for adjustable nozzles for varying spray patterns, allowing precise handling for different surfaces. A detergent tank is beneficial for applying cleaning solutions, enhancing the cleaning process. Furthermore, check for ease of transport, as units with wheels or a lightweight build are more manageable during use.
Preparing Your Driveway for Pressure Washing
Firstly, clear the area of any obstructions. Remove vehicles, outdoor furniture, and planters to create a safe and effective workspace. This avoids damage and allows for unrestricted access.
- Inspect the surface for any cracks or damage. Repairing these issues before cleaning ensures a better outcome.
- Consider sweeping away loose debris such as leaves and dirt. A clean surface enhances the efficacy of the high-pressure cleaning process.
- Cover nearby plants and landscaping with tarps or plastic sheeting. This prevents any solution used during cleaning from causing harm.
- Dilute any cleaning agents if required. Ensure you read the manufacturer’s instructions to avoid surface damage.
Water Source and Configuration
Connect the equipment to a reliable water supply. Ensure the hose is in good condition, and verify the availability of water during the entire cleaning process. This step prevents interruptions and maintains consistent performance.
Safety Precautions
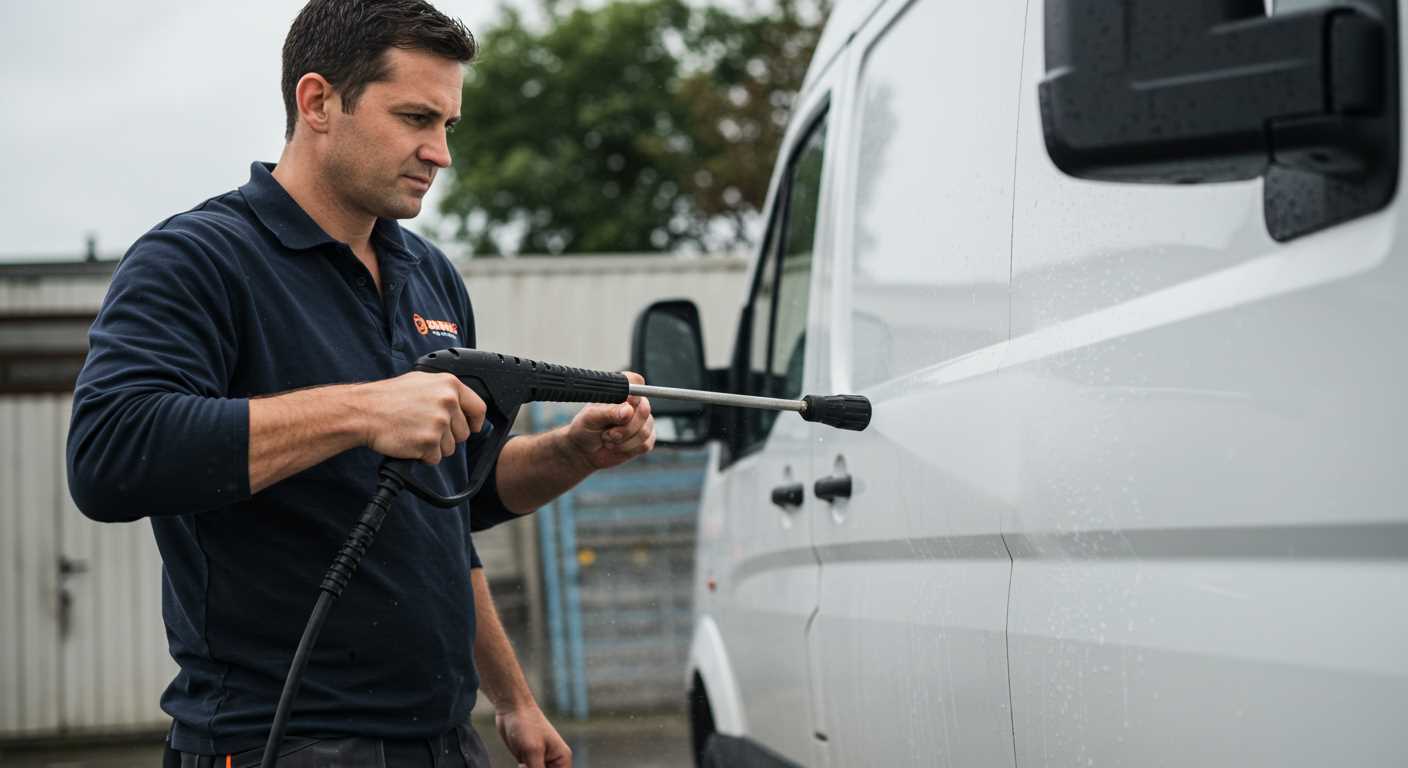
Wear appropriate protective gear, including gloves, goggles, and non-slip footwear, to prevent accidents. Conduct a test spray in a small, inconspicuous area to ensure the equipment settings do not damage the surface.
By taking these precise steps, the cleaning process becomes smoother and more effective, leading to better results. A well-prepared area not only ensures safety but maximises the performance of the cleaning equipment.
Setting Up the Pressure Washer Correctly
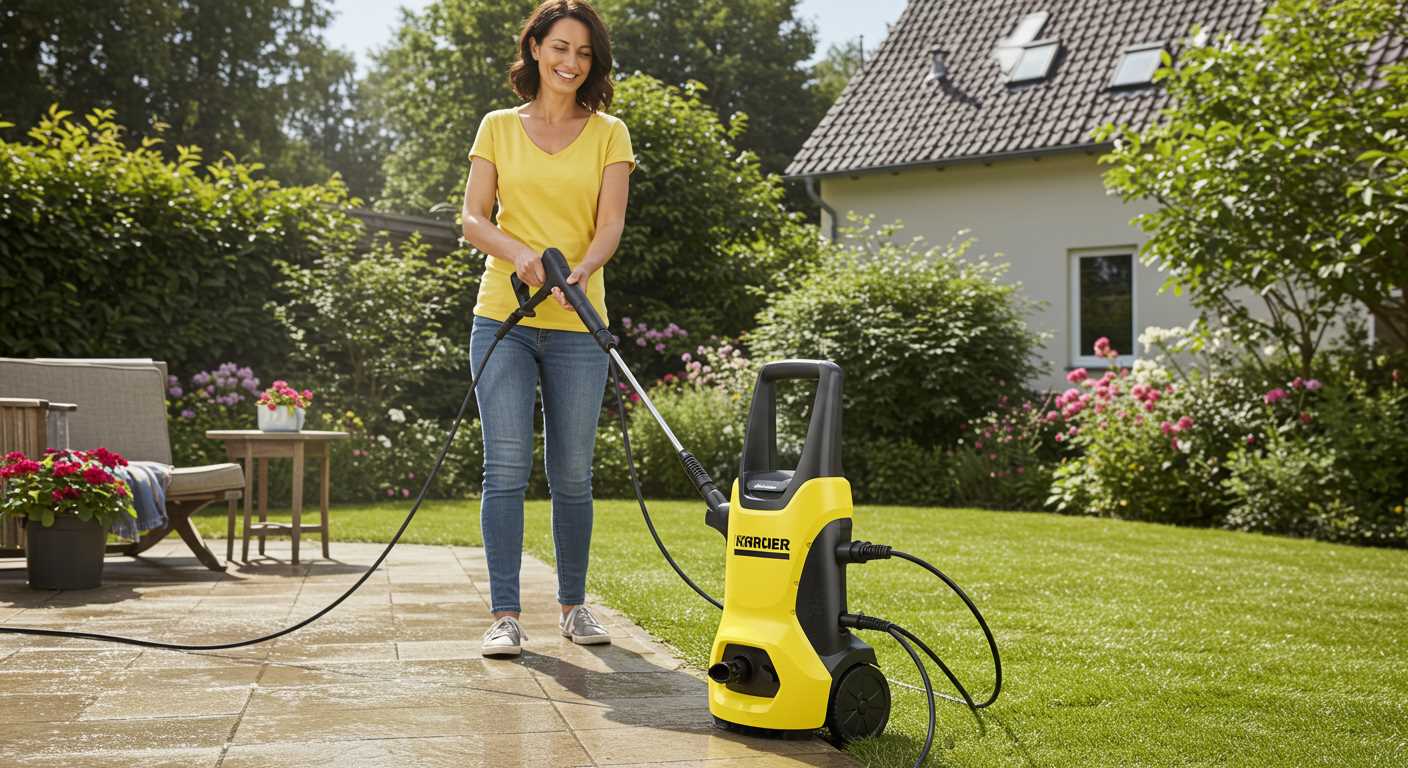
For optimal performance, ensure you connect the water supply before starting the machine. A steady flow at adequate pressure is crucial for achieving the desired results. Check that the garden hose is tightly linked, with no leaks.
Select an appropriate nozzle, often a wide-angle spray tip, which effectively covers larger areas while minimising damage to surfaces. A low-pressure option is advisable for delicate tasks.
Adjust the pressure settings based on the surface’s condition. A moderate pressure level typically suffices; excessively high pressure can deteriorate the asphalt.
Fill the detergent tank with a suitable cleaning solution if required. Always follow the manufacturer’s instructions for dilution rates. Applying detergent before washing allows it to penetrate effectively, loosening any stubborn residues.
Test the machine on a small, inconspicuous section before full-scale use. This practice confirms that the settings and detergent work harmoniously without causing damage.
Maintain awareness of surrounding areas. Ensure no items, including plants or furniture, are in the path of the flow, as debris can become projectiles under pressure. Taking these precautions guarantees a safe and thorough clean.
Selecting the Appropriate Nozzle for Asphalt
For optimal results during cleaning, choosing the correct nozzle type is paramount. A 15-degree or 25-degree nozzle is ideal for tackling stubborn growth while ensuring the surface remains unharmed. The tighter spray fan of the 15-degree option delivers high pressure, effectively blasting away set-in residues, while the 25-degree nozzle provides a broader spray pattern, suitable for larger areas.
Considerations for Nozzle Selection
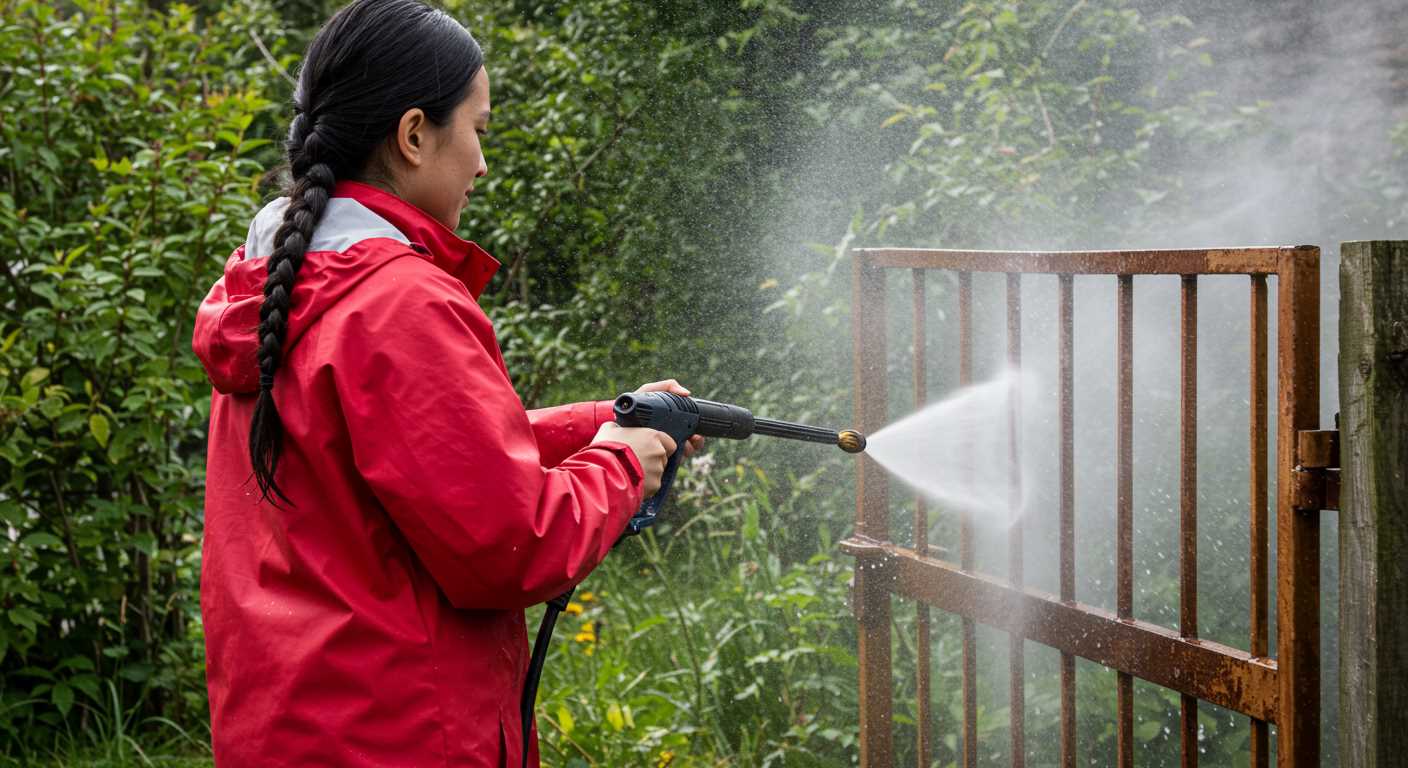
- Pressure Level: Higher-pressure nozzles assist in tackling deep-rooted deposits, but they require caution to avoid potential surface damage.
- Distance: Maintain a safe distance while spraying to prevent fracturing or chipping the surface. The recommended distance typically ranges from 12 to 18 inches.
- Surface Condition: Assess the existing condition; a heavily soiled area may benefit from a narrower nozzle for initial cleaning, followed by a wider nozzle for rinsing.
- Care of Surroundings: Consider surrounding areas and adjacent features. A wider spray may help prevent collateral damage.
Testing Different Nozzles
Before committing to one nozzle, conduct a test in an inconspicuous area. This trial allows for observing the cleaning efficiency and any potential surface impact. Adjust your choice based on the results obtained during this preliminary testing.
Step-by-Step Process for Removing Moss
Begin by assessing the extent of the growth; identify the most affected areas to focus your efforts and save time. Prior to getting started, ensure you have proper safety gear: gloves, goggles, and non-slip footwear.
Next, ensure the surface is dry. If possible, allow sunlight to shine on the area for a couple of hours. A dry surface helps facilitate effective cleaning.
Connect the equipment to a water source and turn it on. As you begin, maintain a distance of about 12 inches from the surface to prevent damage. Start washing in a corner of the space, working your way towards an exit point to avoid walking over already cleaned sections.
| Step | Action | Notes |
|---|---|---|
| 1 | Assess the area | Identify heavily affected spots |
| 2 | Put on safety gear | Use gloves, goggles, and proper footwear |
| 3 | Ensure the surface is dry | Use sunlight if possible |
| 4 | Connect to water supply | Make sure the equipment is operational |
| 5 | Start cleaning from a corner | Keep a distance of 12 inches from the surface |
| 6 | Work towards an exit point | Avoid walking on already cleaned areas |
After completing the cleaning, inspect the surface for any remaining spots. Repeat the washing process on any stubborn areas as necessary. After the task, allow the area to dry completely to prevent further regrowth.
Post-Cleaning Care and Maintenance for Your Driveway
After tackling the growth on your surface, it’s crucial to take immediate steps to safeguard the area. Begin by rinsing thoroughly with clean water to remove any residual cleaning solution and loosened debris. This will help prevent new growth from establishing itself. Make sure to check the drainage; any pooling water can foster the return of unwanted vegetation.
Regular Inspection
Conduct scheduled checks every few months. Look for signs of regrowth or any damage to the surface. Early detection means early action, minimising the chances of a more extensive problem later on. If you notice any issues, address them promptly using a mild cleaning solution specifically designed for asphalt.
Sealant Application
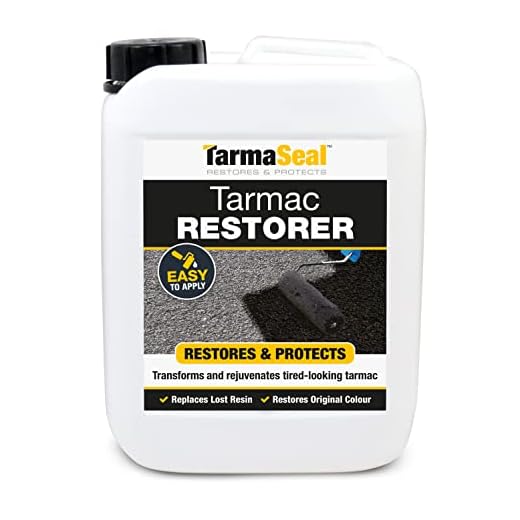
Consider applying a sealant after your thorough cleaning. This will not only extend the life of your surface but also provide a barrier against new growth and the elements. Wait at least 30 days after cleaning to apply a sealant for optimal adhesion. A sealant can also enhance the appearance, giving your surface a refreshed look.


