
Begin with an absorbent material like baking soda or cornstarch. Apply a generous layer directly onto the soiled area and let it sit for a minimum of 30 minutes. This allows the material to absorb the oily residue effectively.
Next, create a paste by mixing dish soap with warm water. Use a scrub brush with stiff bristles to apply this solution over the affected area. Work the paste into the surface in circular motions, focusing on areas with heavy buildup. The combination of the soap and your scrubbing action will help lift the contamination.
For persistent marks, consider using white vinegar or a solution of hydrogen peroxide mixed with baking soda. These natural agents are known for their degreasing properties. Apply the solution and allow it to sit for around 15 minutes before gently scrubbing again.
Once cleaned, rinse the area with clean water to remove any residue from the cleaning agents. For the final touch, consider applying a concrete sealer to protect the surface and prevent future issues. This will enhance the durability of the pavement while keeping it cleaner longer.
Eliminating Grease Residues on Paved Surfaces
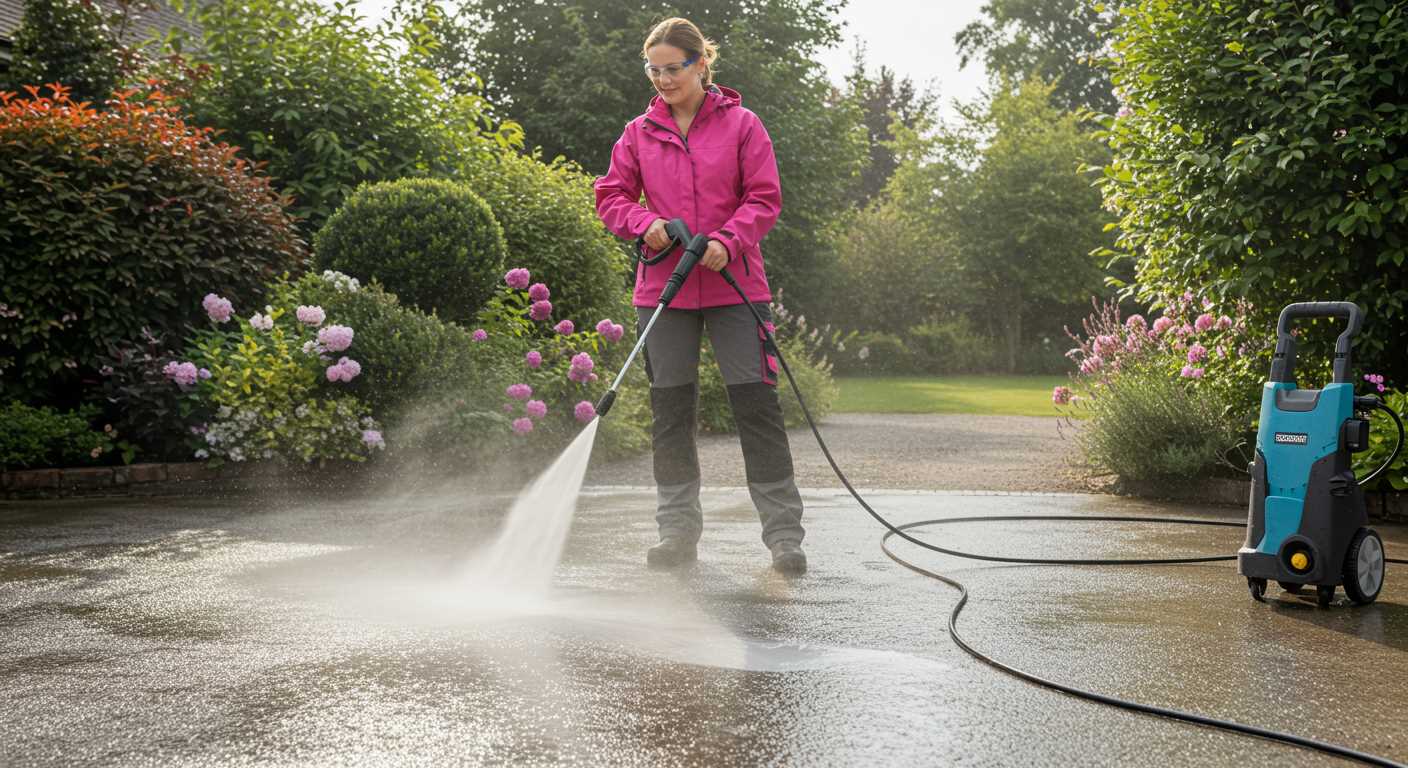
A mix of baking soda and water can effectively tackle greasy blemishes on exterior surfaces. Combine one cup of bicarbonate of soda with a few cups of water to create a paste. Apply this mixture directly onto the target area and let it sit for about 30 minutes to absorb the grease. Afterward, scrub the area with a stiff-bristled brush, followed by rinsing with clean water.
<pFor tougher spots, consider using cat litter. Sprinkle a generous amount over the area, ensuring complete coverage. Leave it to sit for several hours or overnight to absorb excess grease. Once you return, sweep up the litter and wash the surface with soap and water.
An alternative approach involves white vinegar. Pour it directly onto the affected area, allowing it to sit for 15 to 20 minutes. The acidity in the vinegar works wonders on oily marks. Scrub the spot after soaking and rinse thoroughly.
If the residue proves stubborn, a commercial degreaser may be necessary. Ensure to choose one that is suitable for your paving. Follow the manufacturer’s instructions for application and rinsing.
For preventative measures, placing mats or absorbent pads under vehicles or machinery can catch spills before they reach the surface, reducing the frequency of clean-ups.
Understanding the Nature of Oil Stains
Recognising the components of these blemishes is crucial for effective treatment. Hydrocarbons present in lubricants are typically the primary culprits, penetrating porous surfaces. Due to their inherent properties, they can be particularly stubborn.
Composition and Characteristics
- Hydrophobic Nature: These substances repel water, making them challenging to eliminate with standard methods.
- Viscosity Variations: Different grades of lubricants have distinct thicknesses, which affects how deeply they infiltrate surfaces.
- Weathering Effects: Environmental factors such as heat and moisture can exacerbate penetration, causing the blemish to spread or become more entrenched.
Impact on Surfaces
Long-term exposure can lead to discolouration and deterioration of the substrate. If treated early, the chances of complete eradication increase significantly. Different surfaces react uniquely based on their texture and composition, necessitating tailored approaches to each case.
Understanding these characteristics allows for selecting the right methods and solutions, improving the likelihood of effectively addressing the challenge presented by these unsightly marks.
Gathering Necessary Cleaning Supplies
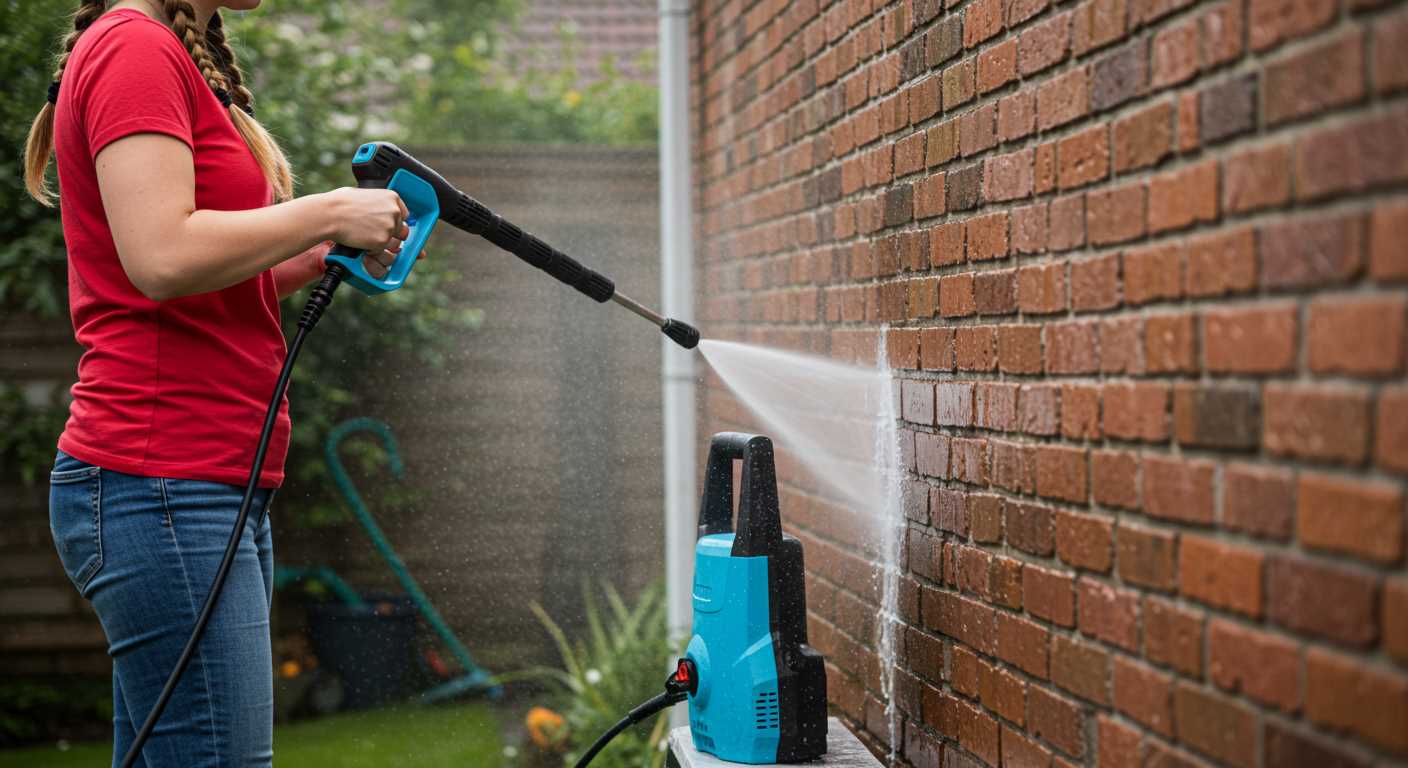
To effectively tackle those unsightly marks, I recommend assembling a few specific items before beginning the cleaning process. Here’s a straightforward list that ensures you’re well-prepared:
Essential Items
| Item | Purpose |
|---|---|
| Absorbent material (e.g., kitty litter) | Helps to blot up excess liquid before cleaning. |
| Brush with stiff bristles | Effective for scrubbing the surface. |
| Dish soap or laundry detergent | Breaks down grease for easier cleaning. |
| Bucket | For mixing cleaning solutions and rinsing. |
| Hot water | Enhances the effectiveness of soap and detergent. |
| Vinegar or baking soda | Acts as a natural deodoriser and stain lifter. |
| Safety gloves | Protects skin from harsh chemicals and grime. |
| Old rags or towels | Useful for wiping and drying the area. |
Assemble these materials before you start. By doing so, you have everything at hand to effectively tackle the task and achieve positive results.
Choosing the Right Cleaning Agent for Oil Stains
Start with a degreaser specifically formulated for grease and grime. Look for industrial-strength options that promise high absorbency and deep penetration. Brands like Blue Bear or Krud Kutter have proven effective in tough situations.
If you prefer a natural alternative, consider using baking soda or cornstarch. Both can absorb residual substances when sprinkled over the affected area, making them a viable choice. Allow them to sit for several hours, then sweep away and follow up with a rinse.
For a DIY solution, mix dish soap and hot water. The soap’s surfactants break down the molecules in the residue, promoting easier extraction. Apply the mixture generously, scrub with a stiff bristle brush, and rinse thoroughly.
Enzyme-based cleaners offer another effective option. These products contain microorganisms that digest organic matter. They often have less environmental impact compared to harsher chemicals and are worth considering for prolonged tasks.
Always test a small, inconspicuous area before applying any cleaning agent widely, ensuring no adverse reactions occur with the surface. This step is crucial to prevent further damage. Select an option that best fits your specific needs and preferences for optimal results.
Applying Baking Soda as a Natural Absorbent
Sprinkling baking soda directly over the affected area is a practical step. This substance works effectively to soak up residual grease over time. The process involves covering the patch with a generous layer, ensuring it fully envelops the contaminant.
Let It Sit

After spreading the soda, leave it undisturbed for at least 30 minutes – longer if possible. This allows ample time for the granules to absorb the liquid. If the stain is particularly stubborn, consider applying a second layer and waiting overnight for optimal results.
Cleaning Up
Once the time has elapsed, sweep away the baking soda carefully using a broom. The absorbed substance, now mixed with the baking soda, should come up easily. Follow up with a damp mop to remove any lingering residue, ensuring the area is clean and free of debris.
Using Cat Litter to Absorb and Lift Stains
Choose a clumping variety of cat litter, as its absorption capabilities are optimal for this task. Spread a generous layer over the affected area, ensuring complete coverage. Allow it to sit for several hours, preferably overnight, to maximise absorption.
After the waiting period, sweep or vacuum the litter. You may notice that it has taken on a discoloured appearance, indicating that it has drawn in the unwanted material effectively.
If traces remain, repeat the process. You might also consider dampening the exposed surface slightly before adding another layer of cat litter for enhanced efficacy. This technique helps to lift lighter residues that may linger post-absorption.
For persistent blemishes, combine the litter technique with other methods, such as natural absorbents or cleaning agents. Cat litter is particularly helpful due to its non-abrasive nature, making it safe for various surfaces while being adept at tackling different types of contaminants.
Always ensure you sweep thoroughly after using cat litter, as leftover granules can create a mess on clean areas. Regular maintenance, in conjunction with this approach, can keep surfaces looking their best.
Creating a DIY Cleaning Paste for Stubborn Stains
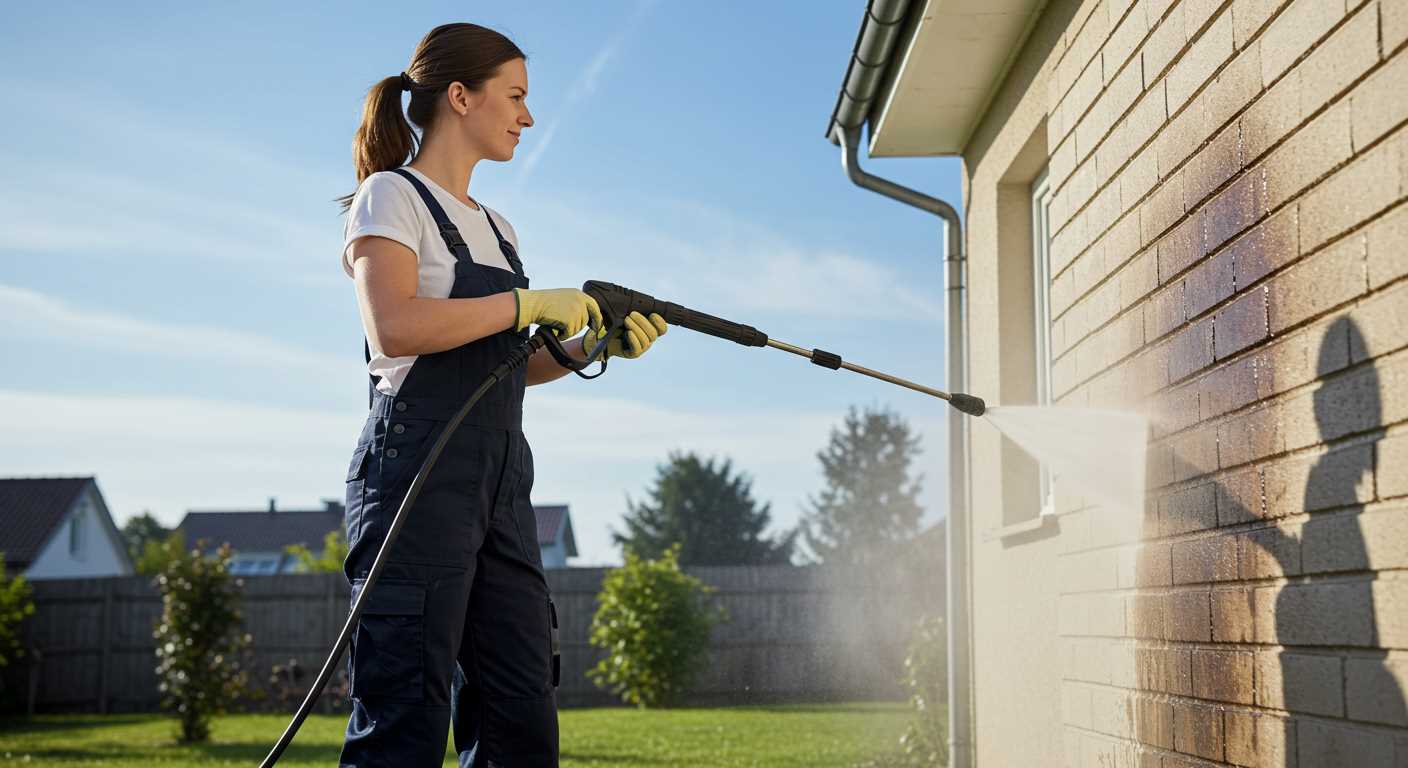
For those persistent marks, a homemade cleaning paste can be a game-changer. Gather common ingredients like baking soda, dish soap, and white vinegar to formulate an effective solution. This paste works on various surfaces, including driveways and garage floors.
Ingredients Needed
| Ingredient | Quantity |
|---|---|
| Baking Soda | 1 cup |
| Dish Soap | 1/4 cup |
| White Vinegar | 1/2 cup |
In a mixing bowl, combine baking soda and dish soap to form a thick paste. Gradually add the vinegar, stirring to achieve a consistency that is not too runny but easy to spread. Apply this mixture generously over the affected area, ensuring it covers the entire mark.
Application Process
Allow the paste to set for approximately 30 minutes. This duration lets the mixture penetrate deeply and tackle the residue effectively. After this period, scrub the area with a stiff-bristle brush, using firm but gentle strokes to lift the grime.
Finally, rinse the area thoroughly with water to wash away the paste along with the lifted dirt. Repeat the process if necessary for tougher blemishes. This DIY solution not only saves time but is also cost-effective, giving you pristine surfaces without the need for specialised equipment.
Scrubbing Techniques for Effective Stain Removal
Utilising a stiff-bristled brush can enhance the cleaning process significantly. I recommend selecting a brush with durable bristles to tackle tougher residues embedded in the surface. Make sure to choose one that won’t damage the concrete, yet has enough strength to agitate the area effectively.
Looping Motion for Better Penetration
When scrubbing, employ a circular motion. This technique allows the cleaning solution to penetrate deeper into the embedded debris. Focus on smaller sections one at a time, ensuring thorough agitation. A consistent back-and-forth motion also works well, particularly in areas with densified grime.
Combining Tools for Maximum Efficiency
Incorporating additional tools can enhance the scrubbing method. A putty knife or a flat-head screwdriver can be useful for lifting stubborn residues. After applying the cleaning agent, gently scrape away layers that are resistant to scrubbing. This combined approach can yield excellent results, especially in conjunction with homemade cleaning pastes or absorbents.
For added effectiveness, periodically rinse the area with clean water, removing dislodged debris and allowing the process to breathe. This refresh prevents re-soiling and ensures that progress is visible. Always stay vigilant to avoid allowing cleaning agents to dry on the surface before rinsing.
Sealing Concrete After Stain Elimination
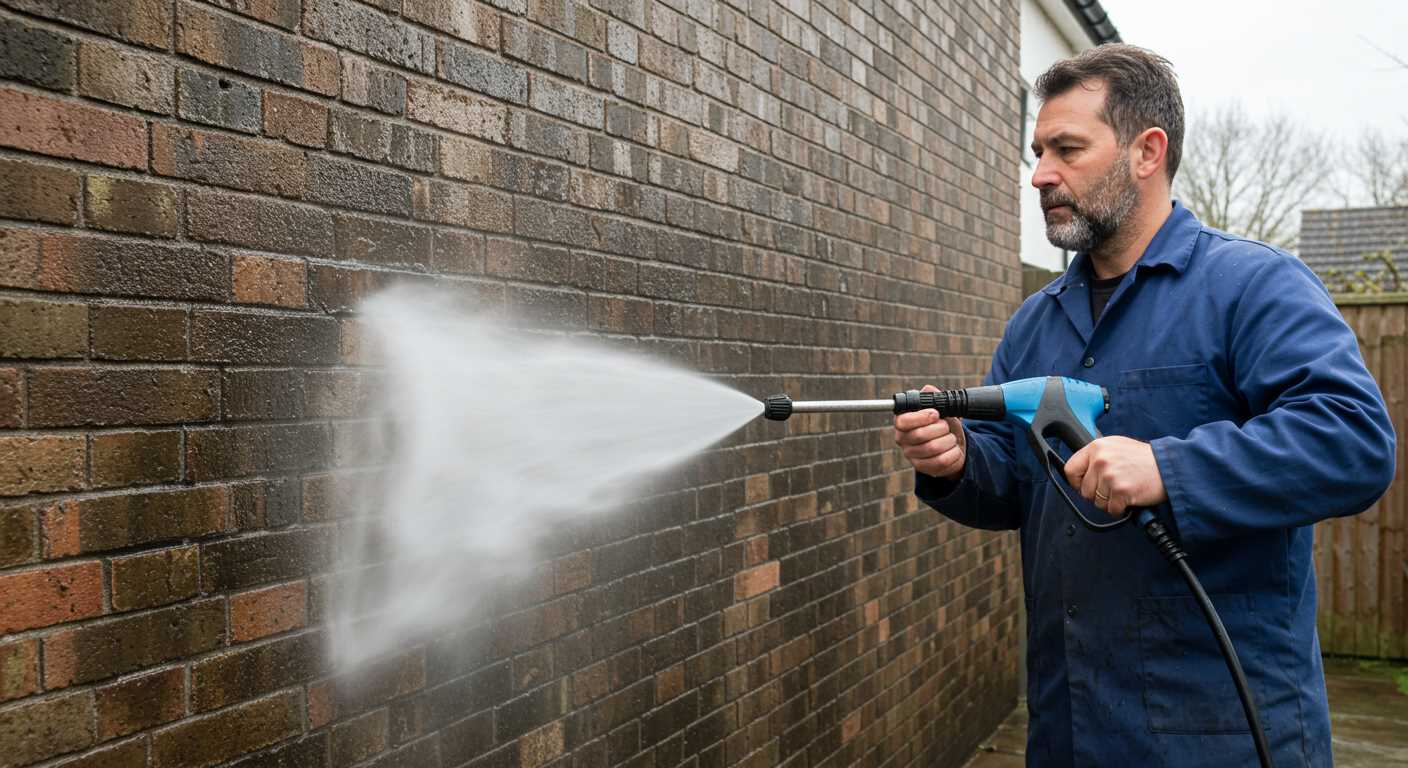
Application of a high-quality sealant is critical following the cleaning process. This step prevents future marks and extends the lifespan of your surface. Opt for a sealant designed specifically for porous materials; this enhances protection against both moisture and subsequent discolouration.
Before sealing, ensure the area is completely dry and free from any residue. Waiting 24-48 hours after cleaning can help with this. Apply the sealant using a roller or a sprayer, covering every corner evenly. A thin coat is ideal; multiple layers can boost durability. Always refer to the manufacturer’s instructions for drying times and application methods.
Regular maintenance is vital. Resealing every few years is recommended to maintain an effective barrier against stains. The specific frequency can depend on the amount of foot traffic and exposure to the elements your surface encounters.
A well-sealed surface not only looks good but provides peace of mind, reducing the likelihood of future marking and wear. Reinforce your efforts by routinely cleaning the treated area to maintain its protective qualities.


