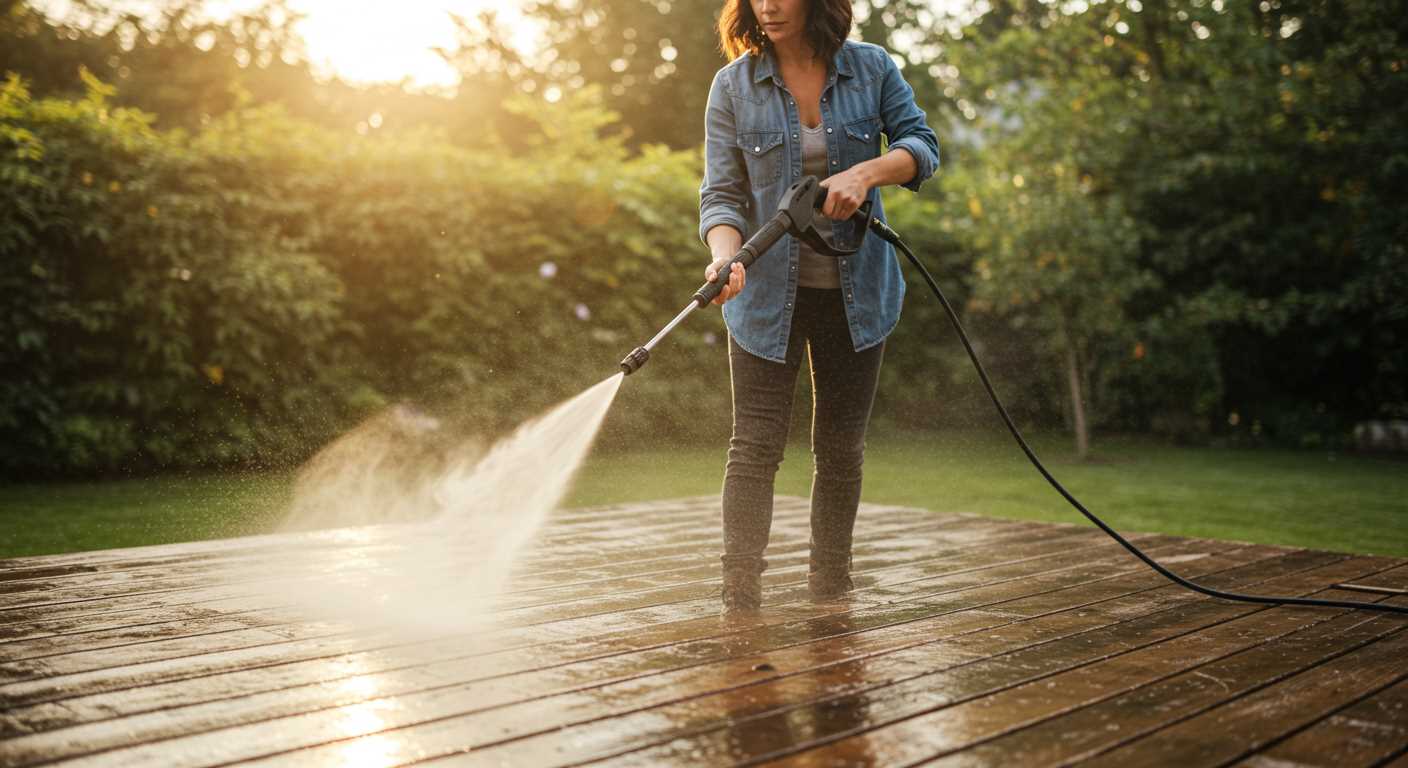
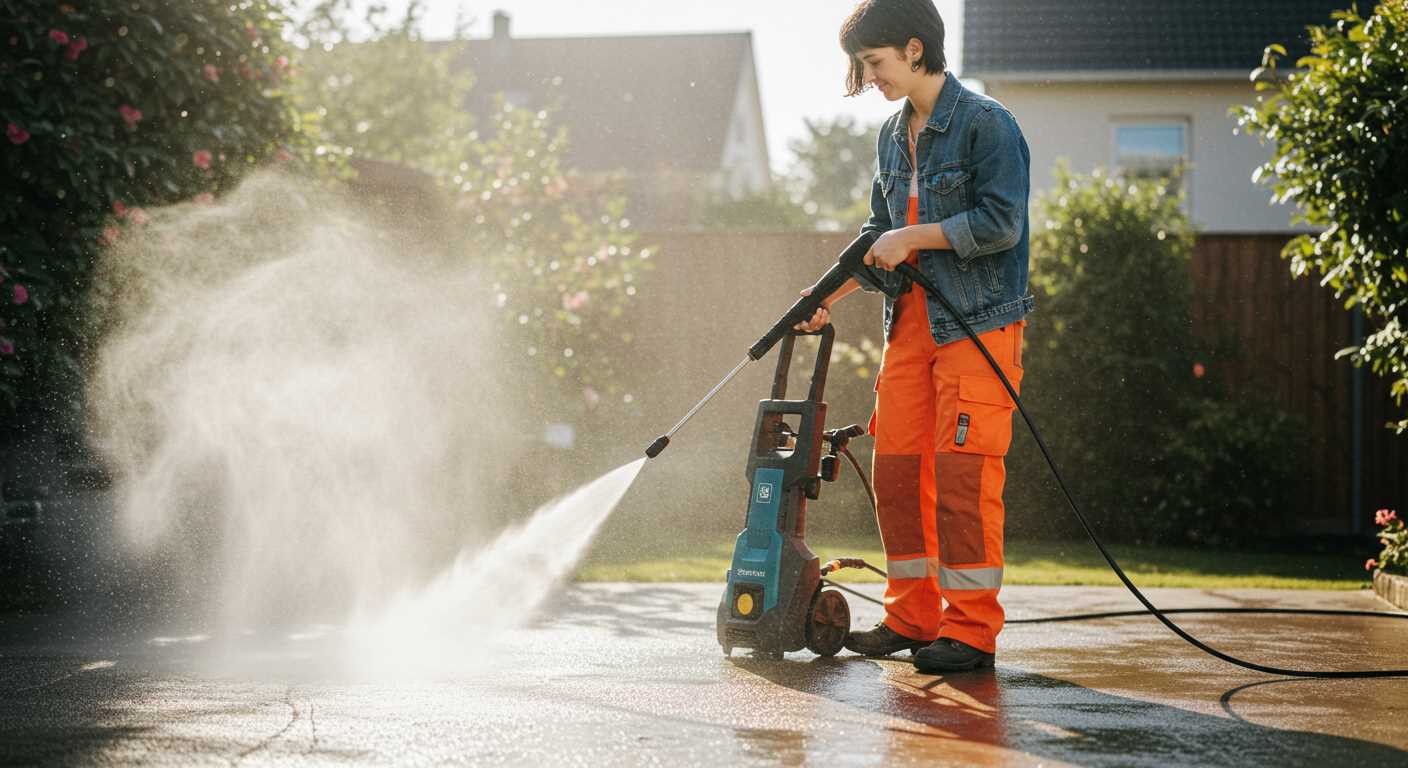
Set the pressure level to around 2500 to 3000 PSI for optimal scrubbing action on tougher surfaces. Use a wide fan nozzle, typically 25 degrees, to effectively cover more area and to prevent damage to the underlying material. Hold the lance at a distance of approximately 12 to 24 inches from the substrate for a balanced approach, ensuring thorough cleaning without compromising integrity.
Begin working in small sections, moving systematically to ensure no area is overlooked. It’s advisable to apply a dedicated cleaning solution designed for surface restoration prior to pressure application; this significantly boosts the cleaning power and minimises the effort required. After letting the cleaner sit for 10-15 minutes, rinse thoroughly to remove any residue.
Utilise a sweeping motion, maintaining a consistent speed and distance throughout the application. This technique helps in achieving even results while reducing the risk of streaking or patches. After completion, inspect the area to identify any stubborn spots that may need extra attention, which can be handled with a concentrated spray.
Techniques for Effective Stripping
To achieve optimal results, adjust the nozzle to a narrow spray pattern, typically around 15 degrees, for focused pressure. Begin at a distance of approximately 12 inches from the surface, gradually moving closer as needed. Always keep the nozzle in motion to prevent damage to the wood. A sweeping side-to-side motion ensures even removal and avoids concentrated pressure on a single spot.
Preparation Steps

Firstly, clear the area of furniture and debris. Next, use a broom to eliminate any dust or dirt. Consider using a degreaser on heavily soiled spots. Pre-soaking painted sections for a few minutes aids in softening the layers, enhancing your efforts during the cleaning process. Also, wear protective gear, such as goggles and gloves, to shield against debris and overspray.
Post-Cleaning Care
After completing the cleaning task, allow the surface to dry thoroughly before any treatments. Sanding may be necessary to smooth out any rough patches left behind. Once dry, it’s advisable to treat the wood with a suitable sealant or stain to protect it against future weathering and UV damage, prolonging its lifespan.
Choosing the Right Pressure Washer for the Task

Selecting an appropriate cleaner can significantly impact the quality of results. Based on my extensive experience, I recommend focusing on the following specifications:
| Feature | Description |
|---|---|
| Pressure Rating | A model between 2000-3000 PSI suits most needs, delivering adequate force to tackle tough spots without damaging surfaces. |
| Flow Rate | Look for machines with a flow rate of at least 2.0 GPM for optimal cleaning efficiency. Higher GPM helps in rinsing away residues effectively. |
| Type | Electric units are quieter and more portable, while gas models provide higher power and are suitable for larger areas. |
| Weight | Choose a lightweight model if mobility is a priority. However, heavier machines often come with more robust features. |
| Accessories | A good assortment of nozzle tips enhances versatility. Consider models that include adjustable nozzles for different applications. |
Test out various brands, as each manufacturer has unique engineering qualities. Pay attention to user reviews and warranty options, as they can indicate long-term reliability. Always opt for a reputable brand known for durability and performance to minimise the risk of future issues.
Preparing the Wood Surface for Paint Removal
Begin by thoroughly clearing the area of any furniture, plants, or obstacles. This allows for unobstructed access and ensures safety during the cleaning process.
Inspect the surface for any damaged boards or protruding nails. Replace or repair these sections to prevent injury and achieve more uniform results. It’s critical to ensure the integrity of the material before starting.
Gather cleaning supplies, such as a broom and a stiff-bristled brush. Sweeping away debris and dirt enhances the effectiveness of the chosen cleaning method. Scrubbing stubborn spots will facilitate better results once the high-pressure equipment is used.
Ensure proper drainage around the space to avoid water pooling. This not only assists with effective cleaning but also protects the surrounding environment. Consider covering nearby vegetation with tarps to prevent any unwanted exposure to the cleaning process.
Finally, familiarize yourself with the recommended pressure settings for the equipment you’ll use. This helps avoid damage while ensuring the best possible outcome. A lower pressure setting may be beneficial for the initial cleaning phase, especially if there are fragile areas present.
Selecting the Appropriate Nozzle for Pressure Washing
For optimum results, choose a nozzle that complements the task at hand. I recommend using a 25-degree nozzle for general cleaning and paint stripping. It strikes a balance between power and control, which is particularly useful on softer surfaces.
Here are some key points to consider:
- 0-degree nozzle: Produces a high-pressure jet ideal for tough stains or materials. Use sparingly, as it can damage softer surfaces.
- 15-degree nozzle: Offers a concentrated spray that effectively tackles difficult spots. Best for hardened coatings but requires caution.
- 25-degree nozzle: Versatile option, perfect for cleaner applications. Effective in removing residue without high risk of damage.
- 40-degree nozzle: Suitable for delicate cleaning tasks. Provides a wide spray pattern for rinsing without stripping finishes.
In addition to the degree of the nozzle, consider the material of the assembly. Stainless steel nozzles deliver durability, while plastic options are lighter but less robust.
Test your selected nozzle on a small, inconspicuous area first. This ensures you understand how the specific nozzle interacts with the surface and avoids unintentional damage during the cleaning process.
Setting the Correct Pressure for Different Wood Types
For softwoods like pine and cedar, a pressure level of 1200 to 1500 PSI is optimal. This range gently cleans surfaces without risking damage. Transitioning to hardwoods such as oak or maple, aim for 1500 to 2000 PSI. These denser materials can withstand higher pressures without splintering.
Always test a small, inconspicuous area first, regardless of wood type. Adjust the distance from the surface; maintaining a 12 to 18-inch gap helps control the intensity. If you’re working on weathered or damaged boards, consider lower settings to minimise further wear.
In cases where you face particularly tough grime or residues, gradually increase pressure but stay within safe limits for the specific timber. Remember that flat and textured finishes may also influence your approach. For textured surfaces, stick to lower pressures to avoid undesired peeling or chipping.
Above all, keeping the nozzle parallel to the surface further reduces the risk of gouging or etching. Proper adjustment and application of pressure ultimately ensure a clean result without compromising the integrity of the material.
Techniques to Avoid Damage While Pressure Washing
Always maintain a safe distance between the nozzle and the surface. A minimum of 12 inches is crucial for protecting the material while ensuring thorough cleaning.
Utilise a fan spray pattern, which disperses the water over a wider area, reducing the risk of gouging or eroding the surface. Adjust the angle of the nozzle to direct the spray downwards, allowing debris to be lifted naturally.
Regularly inspect the area for damage or soft spots before starting. If you encounter any compromised sections, reconsider pressure application or seek alternate cleaning methods for those specific areas.
Select a lower pressure setting as a starting point, especially on older or softer surfaces. Testing on an inconspicuous area helps gauge the optimal pressure without causing harm.
- Beware of standing water, which can lead to uneven cleaning and potential structural harm. Ensure proper drainage.
- Always operate in a consistent motion. Avoid lingering in one spot, as this can create unwanted indentations.
- Use proper safety gear. Protect your eyes and hands, as particles can be propelled during the process.
When using a cleaner or detergent, verify compatibility with the surface type to prevent chemical reactions that could damage the material.
Employing these methods ensures a thorough job while preserving the integrity of your surfaces. Remember, meticulous attention to technique can yield excellent results without unintended consequences.
Post-Cleaning Care and Maintenance of the Wooden Surface
Apply a high-quality sealant or stain to protect the surface after cleaning. This will enhance the wood’s longevity and resistance to moisture and UV damage.
Regular Inspection

Annually inspect the area for signs of wear, such as splintering or discolouration. Address any issues immediately to prevent further damage.
Cleansing Routine
Establish a routine for cleansing the surface every six months. A gentle wash with a mild detergent and a soft brush will remove dirt and prevent the accumulation of grime.
Ensure to avoid abrasive tools that may scratch the surface. Using a protective mat in high-traffic areas will also help maintain its appearance and structural integrity.
FAQ:
What is the best pressure washer setting for removing paint from a wood deck?
The best pressure washer setting for removing paint from a wood deck typically ranges between 1500 to 3000 PSI, depending on the type of wood and the thickness of the paint. For softer woods like pine, use lower pressure at around 1500-2000 PSI to avoid damaging the surface. For harder woods or tougher paint, you can go up to 3000 PSI. Always test on a small, inconspicuous area first to find the right balance.
Do I need to use any chemicals in addition to the pressure washer?
While you can remove paint using just a pressure washer, using a paint stripper or deck cleaner can enhance the process. These chemicals loosen the paint and make it easier for the pressure washer to remove it. Make sure to choose a product that’s suitable for wood surfaces and follow the manufacturer’s instructions for application and safety precautions.
How do I prepare my wood deck before using a pressure washer?
Preparation involves several steps. First, clear the deck of any furniture, plants, and debris. Next, sweep the surface to remove loose dirt and dust. If there are any large, peeling areas of paint, scrape them off by hand to make the pressure washing process more effective. Finally, ensure the area is safe and dry before starting, as wet surfaces can become slippery and hazardous.
Can I damage my wood deck with a pressure washer?
Yes, it’s possible to damage a wood deck if the pressure washer is used incorrectly. Using too high of a PSI setting can gouge the wood or strip away its protective layers. To prevent damage, choose an appropriate pressure setting, maintain a distance of about 12 to 18 inches from the surface, and use sweeping motions rather than holding the nozzle in one spot for too long. Always test a small area first.
What should I do after removing the paint from my wood deck?
Once you’ve successfully removed the paint, it’s important to properly maintain the wood. Allow the deck to dry completely before applying any new paint or stain. It’s a good idea to clean the surface with a wood cleaner to remove any remaining debris and then allow it to dry again. Afterward, consider applying a sealant or stain to protect the wood from the elements and prolong its life.


