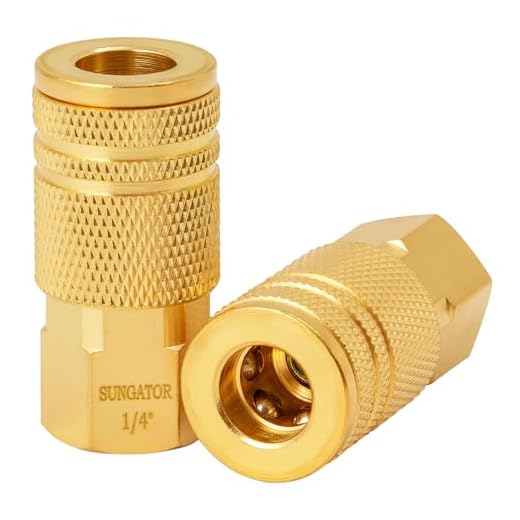


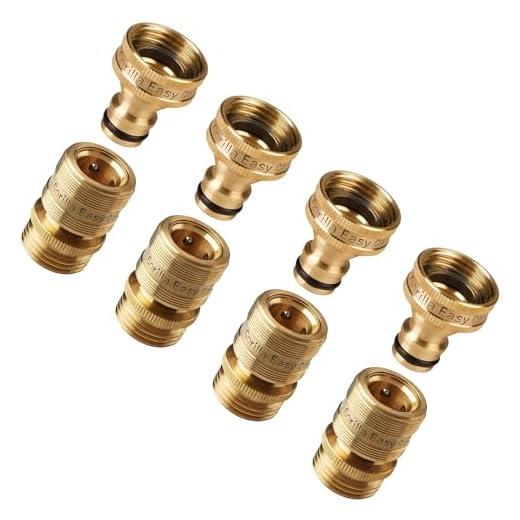
Using a pair of pliers or an adjustable wrench, gently grip the fitting where it connects to the gun or the machine body. Apply consistent pressure while turning counter-clockwise to loosen it. If you encounter resistance, avoid forcing it to prevent damage; a penetrating lubricant can ease the process.
As you proceed, holding the unit steady is crucial. An additional hand can assist in stabilising the washing device, ensuring you have complete control. Take care to support the connector with your other hand to avoid any accidental twisting that could lead to breakage.
Once loosened, continue turning until the fitting separates completely. If the hose is stuck, wiggling it slightly as you turn might help in breaking the bond. Ensure to inspect the connector and the hose for any signs of wear; replacing worn parts will enhance the longevity of your equipment.
Identifying the Type of Hose Connector
First, examine the connection point on the equipment. Common types include threaded, quick-connect, and bayonet fittings. Threaded connections typically have grooves for screws, while quick-connects allow for easy attachment and detachment through a simple push and pull mechanism.
Next, observe the material. Metal connectors tend to be more durable but can be heavier, whereas plastic options might be lighter but less robust. This can influence the choice based on your needs and frequency of use.
Check the size specifications; various models have unique diameters. This affects compatibility with accessories and other equipment. Measure the diameter accurately to ensure a proper fit.
Inspect any locking mechanism present. Some models feature clips or levers that hold the connector securely in place, while others rely solely on friction. Understanding these features will help in the correct handling and manipulation of the assembly.
Finally, compare the identified features against the manual or manufacturer’s website. This source often provides specific details regarding assembly and compatibility, facilitating a proper assessment of the connector type.
Gathering Necessary Tools for Removal
To successfully detach the fitting, ensure you have the following tools at hand:
- Wrench or Pliers: A set of adjustable wrenches will provide the torque needed to loosen the connector.
- Flathead or Phillips Screwdriver: Depending on the type of connector, you may need this for fixing screws or clamps.
- Utility Knife: Handy for trimming any debris or tape that may obstruct the removal process.
- Bucket or Container: Useful for catching water that may spill during disconnection.
- Rags or Towels: Keep these nearby to wipe away excess water or debris from the joint.
Safety Equipment
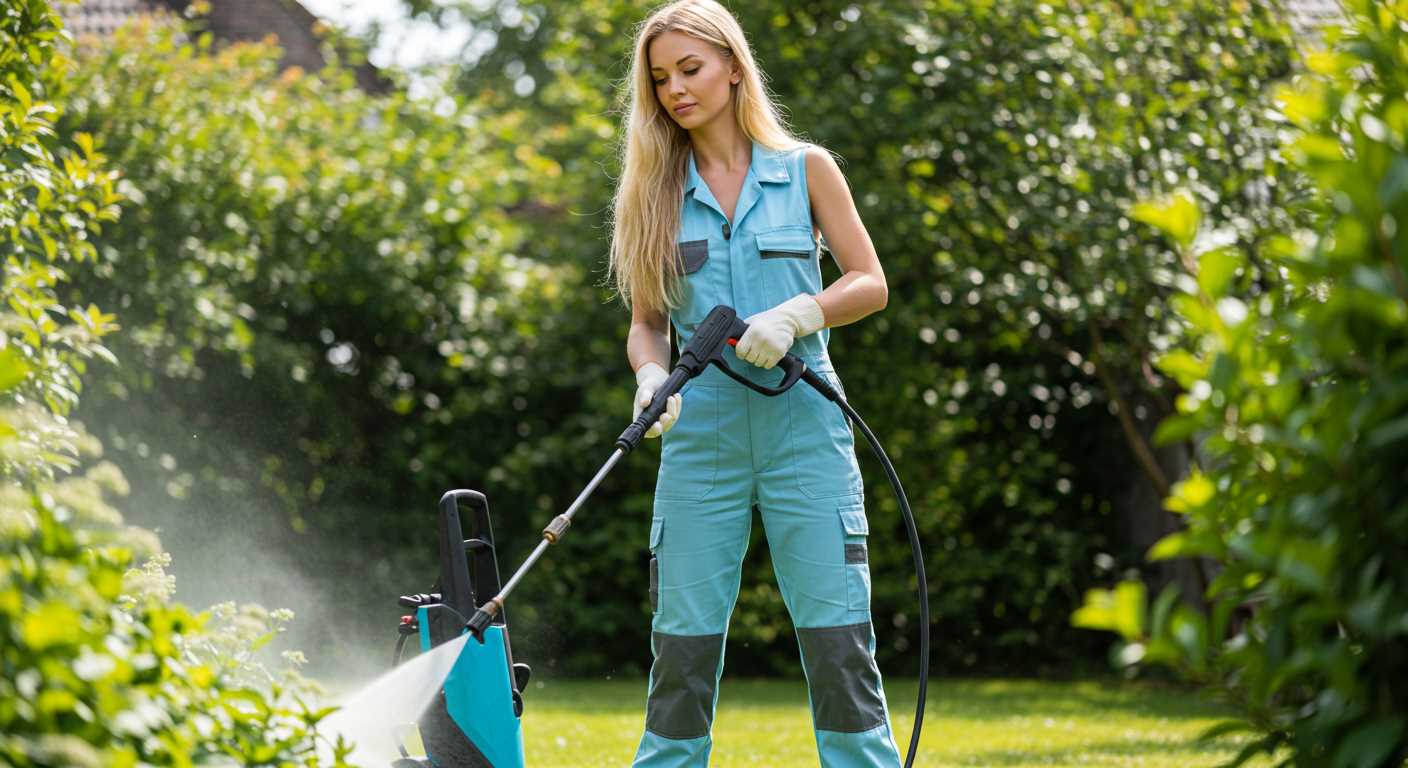
- Safety Goggles: Protects your eyes from any flying debris or pressurised water.
- Gloves: A good pair of work gloves will ensure your hands are safe and clean.
Having these items ready will streamline the process and minimise complications. Preparation is key to a hassle-free experience.
Disconnecting the Pressure Cleaner from Power Source
Always ensure safety by unplugging the unit from its electrical outlet before any service. This prevents accidental activation, which could lead to injuries or damage to the machine. Locate the power cord, which is typically situated at the back or side of the unit, and gently pull it out of the socket without forcing it. If the device is connected to a power bar or extension cord, disconnect it from there as well.
Checking for Residual Power
After disconnection, check if the unit has any remaining charge. If it features an indicator light, verify that it is off. If you observe any signs of power, wait until it fully discharges before proceeding with disassembly. This precaution helps prevent malfunctions during servicing.
Securing the Workspace
Ensure your workspace is clear of any obstructions and that there is adequate lighting. Proper visibility and a tidy area minimise chances of accidents, allowing for a smoother process when detaching other components, such as the flexible line. Consider placing the machine on a stable surface to prevent it from tipping over while you work.
Loosening the Hose Connector Carefully
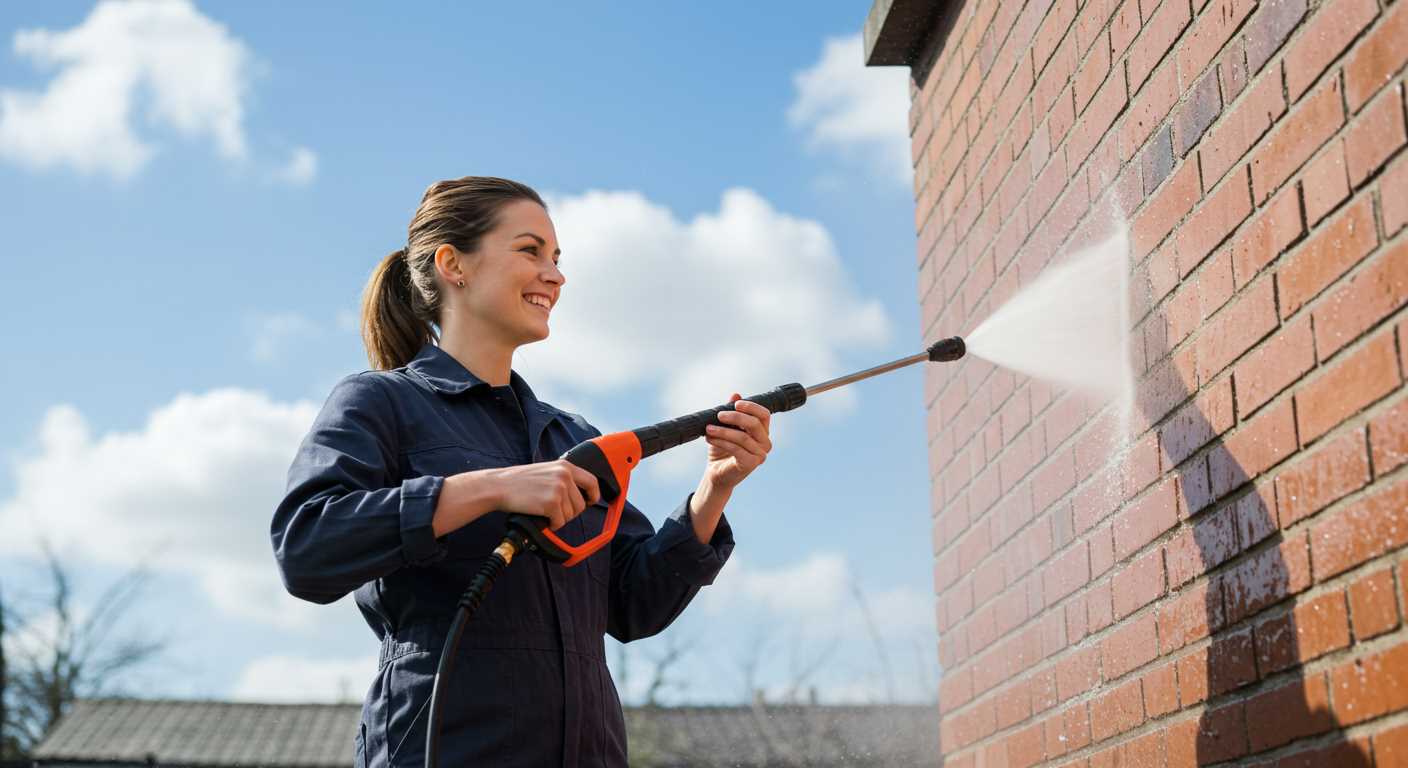
Utilise adjustable pliers to grip the connector securely, avoiding excessive pressure that may damage the fittings. Rotate gently counterclockwise while maintaining a firm but controlled hold. If resistance is encountered, stop and assess the connection for potential issues.
In some cases, applying a penetrating lubricant can assist in breaking up tight seals. Allow the lubricant a few minutes to work before attempting to loosen again. Always wipe away any excess product to prevent contamination.
Employing a heat source, such as a heat gun, can be beneficial for stubborn connections. Apply mild heat for short intervals, then attempt loosening. This method expands the metal, potentially easing disassembly. Maintain caution to avoid overheating, which could lead to damage.
Should the fitting still not budge, consider using a strap wrench. This tool provides additional grip without damaging the connector’s surfaces. Ensure the strap is positioned correctly to maximise torque while turning.
Assess bolt corrosion or debris accumulation around the connector. In some instances, a thorough cleaning may provide enough freedom for easier disconnection. Regular maintenance can prevent such issues in the future.
Always work methodically, allowing patience to guide your approach. Rushing can lead to stripping threads or cracking the plastic components, resulting in costly repairs or replacements.
Removing any protective covers or fittings
Before addressing the connector, ensure that all protective covers or fittings are taken off. This process varies by model, but generally, it involves examining the parts closely. Look for screws or fasteners that hold covers in place, typically made of plastic or metal. Using appropriate tools, like a screwdriver or wrench, carefully remove these components without applying excessive force to avoid damaging them.
In some cases, fittings may be snap-on types, which require gentle prying. Take care not to scratch or compromise the surrounding areas. If you encounter stubborn pieces, lubricating them slightly with penetrating oil can help ease the removal process. Once all covers and fittings are cleared, you will gain unobstructed access to the component you wish to disconnect.
Inspecting the Connector for Wear and Tear
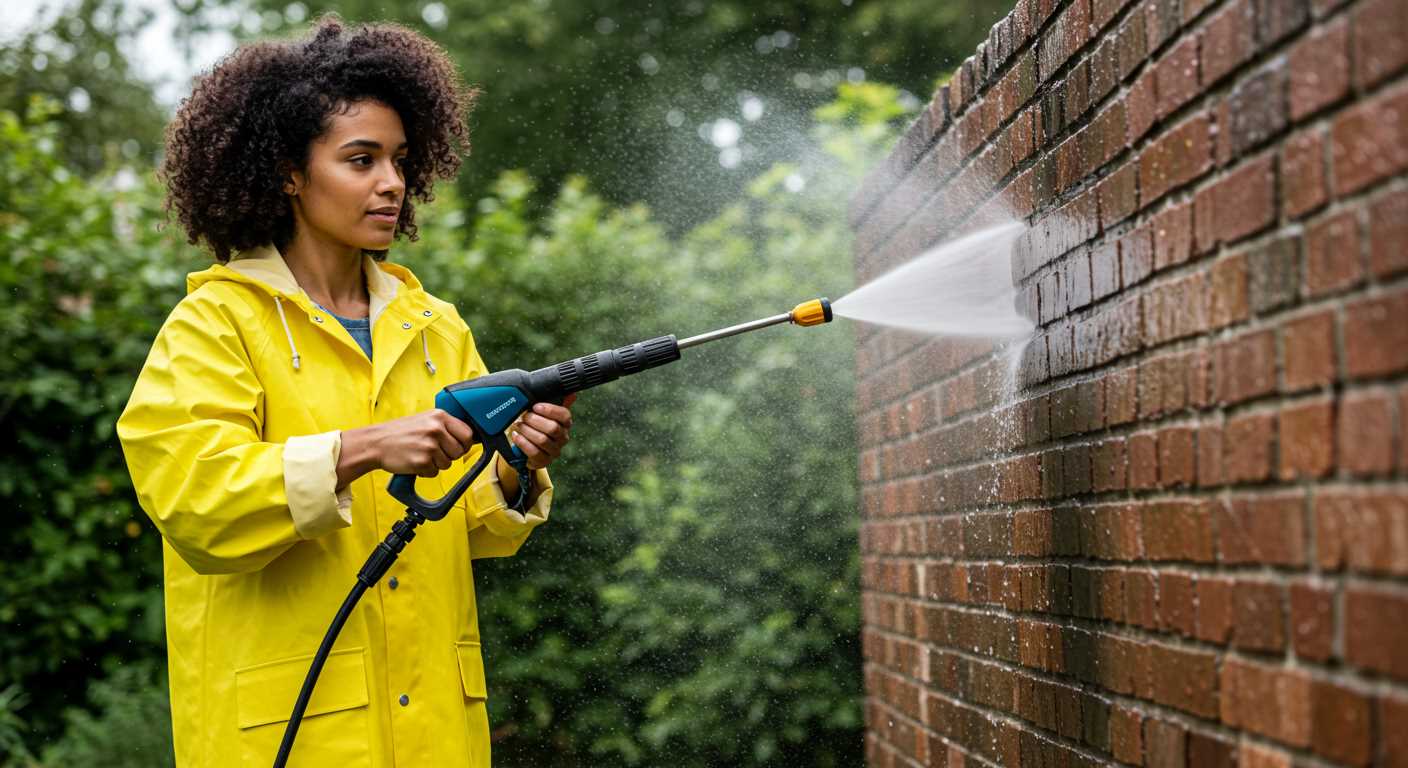
Thorough evaluation of the fittings is crucial before attempting detachment. Inspect for any cracks, corrosion, or deformation that may indicate deterioration. Pay close attention to the threads, as they’re critical for a secure fit and proper function.
Specific Components to Examine
Check the following elements during your inspection:
| Component | What to Look For |
|---|---|
| Threads | Ensure they are not stripped or damaged, as this can lead to leaks. |
| Seals and O-rings | Look for any signs of wear, cracks, or missing pieces that may compromise the connection. |
| Body | Check for signs of rust or material fatigue that could affect the integrity. |
| Connections | Ensure all areas where attachments meet are tight and free from obstruction. |
Address any identified issues immediately to avoid complications during the disconnection process. If the parts show significant damage, consider replacing them to ensure reliability for future use.
Reattaching the Hose Securely After Removal
Ensure that the fitting is clean and free of debris before reattachment. Dirt or residues can cause leaks and affect performance. Start by inspecting both the fitting and the attachment point for any obstructions.
Steps for Reattachment
- Align the fitting carefully with the attachment point to ensure a proper seal. Ensure that any threads are correctly matched.
- Hand-tighten the connection first. Avoid using excessive force, which could damage the components.
- Utilise a wrench or pliers if necessary, but only to secure the fitting moderately. Over-tightening can lead to cracks or breakage.
Once secured, test the assembly for leaks. Turn on the equipment at low pressure and observe the connection closely.
Post-Reattachment Checks
- Inspect for any dripping or escaping water. If detected, loosen and re-tighten, ensuring the position is correct.
- Confirm that all safety mechanisms are functional before operating the equipment.
- Ensure that the fitting is positioned away from any high-traffic areas to prevent accidental disconnection or damage.
Regular maintenance checks will prolong the life of your equipment and help prevent future issues. Make it a habit to inspect connections periodically to maintain optimal performance.


