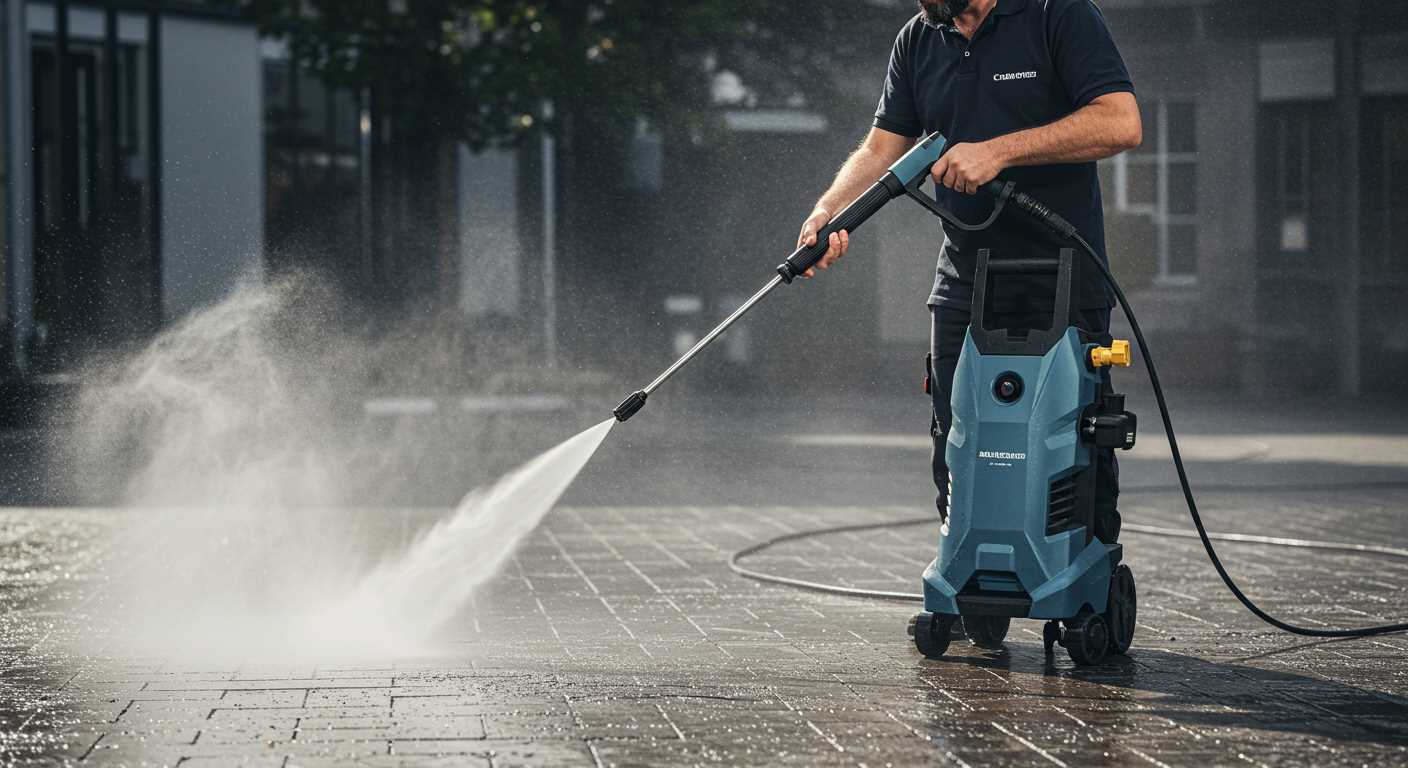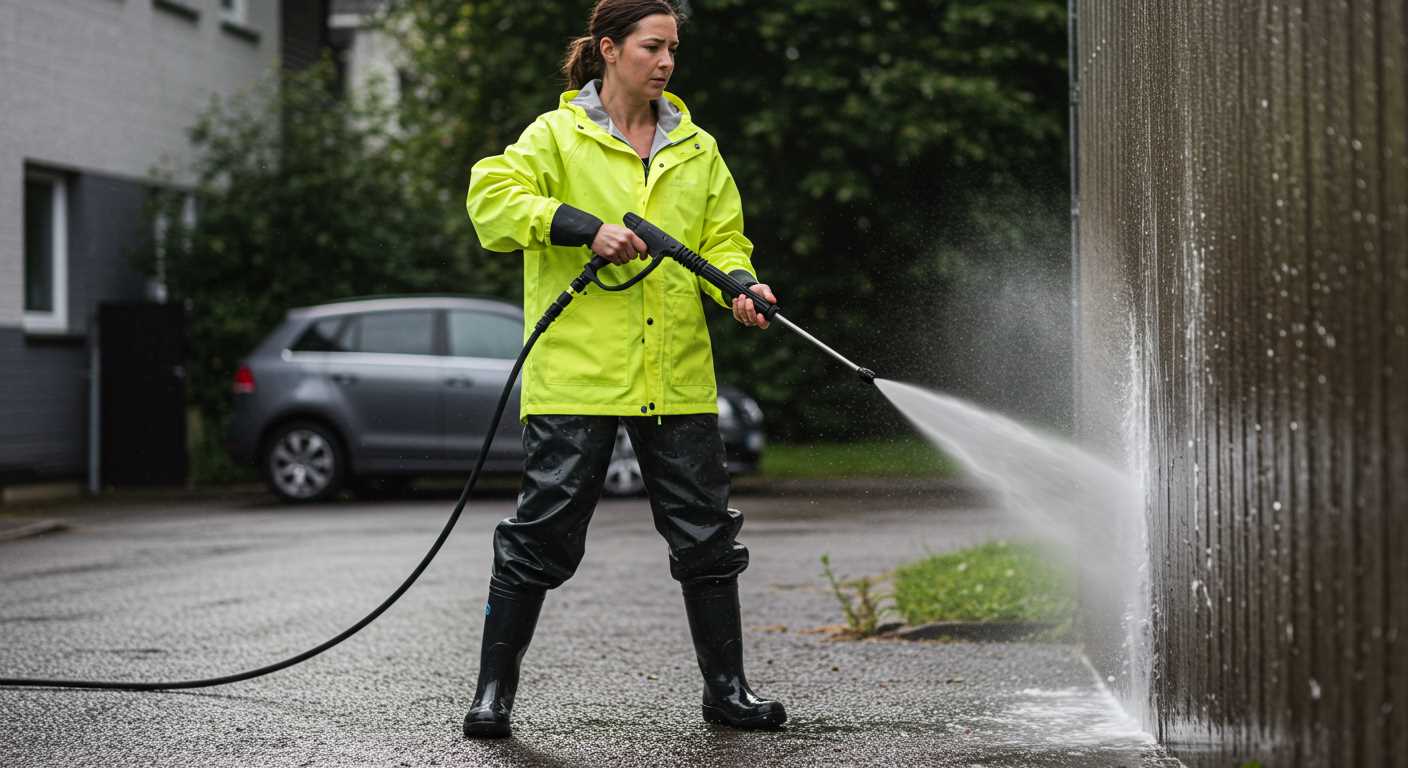

The first step involves ensuring the unit is off and completely disconnected from any power source or water supply. This prevents unexpected activation during the process. Once the machine is powered down, inspect the area where the accessory connects to the main body. Look for a locking mechanism, which is often either a twist lock or a push-button release.
Next, if your model features a push-button mechanism, firmly press it while gently pulling the accessory away from the main unit. For twist locks, rotate the nozzle counter-clockwise until it releases. It’s important to handle the components carefully to prevent damage, as over-tightening or applying excessive force can lead to breakage.
After detaching, inspect the connection points on both the accessory and the main unit for any debris or mineral buildup, as this can affect performance. Regular maintenance enhances longevity and ensures effective operation. Always refer to the user manual for specific guidance regarding your model for any unique procedures that may be required.
Identify the Type of Wand Attachment on Your Pressure Cleaner
Verify the fitting mechanism before attempting to detach the extension. The common types of connections are threaded, quick-connect, and bayonet-style couplings. Each type requires a different approach to disengage safely.
| Attachment Type | Description | Removal Method |
|---|---|---|
| Threaded | Features a screw-like mechanism, typically requiring unscrewing to detach. | Twist counter-clockwise to unfasten. |
| Quick-Connect | Has a simple push-and-pull mechanism enabling swift changes. | Press the release button and pull the extension out. |
| Bayonet | Contains two or more slots where the attachment turns and locks into place. | Press the tabs inwards and rotate to unlock. |
Confirm the attachment type visually or by referring to your owner’s manual for specific guidance tailored to your model. This initial step ensures you avoid damage during the disconnection process.
Turn off the pressure washer and disconnect from the power source
Shut down the machine by turning off the power button. This is critical to prevent any accidental activation during the handling process. Once it is completely off, locate the power cord and unplug it from the electrical outlet. Make sure to inspect the cord for any damage prior to disconnecting; if it appears frayed or worn, consider replacing it for safety reasons.
Consult the user manual

In order to ensure the correct procedure, refer to the user manual specific to your model. It may offer additional instructions or safety warnings related to power disconnection, which can vary between models. Familiarising yourself with manufacturer guidelines enhances both safety and efficiency during the attachment process.
Let the unit cool down
After disconnection, allow the equipment to cool for a few minutes. This helps prevent burns or injuries from heated components. Waiting ensures that you handle all parts safely and effectively.
Locate the locking mechanism for the wand
Begin by inspecting the area where the nozzle connects to the lance. Look for a small button or lever, typically situated on the handle or the wand itself. This component may vary in design; it might be a push-button locking system, a sliding tab, or a twist-lock mechanism. Take care to examine both sides for easy access.
Interact with the locking feature
Once identified, engage this locking mechanism. For a push-button, depress it firmly while pulling the attachment away. If it’s a sliding tab, shift it to the appropriate position. For a twist-lock type, rotate the collar counterclockwise to release. Ensure that you apply consistent force without using excessive pressure to avoid damaging any parts.
Confirm disconnection

After releasing the locking mechanism, check to ensure that the attachment has fully separated. A slight tug can confirm that it’s free and ready for storage or replacement. Avoid pulling too hard to prevent any potential injury or equipment failure.
Release the wand from the pressure washer body

Firmly grip the handle of the attachment and, if there’s a button or lever near the connection point, press or pull it to disengage. Ensure you’re applying enough force to overcome any locking mechanism while maintaining a steady grip to avoid mishaps. Depending on your specific model, some attachments may require a twisting motion; in this case, rotate the handle counterclockwise while simultaneously pulling. It’s important to maintain a controlled movement to prevent any damage to the components.
After detaching, inspect the end of the accessory for any debris or leakage, which could indicate an issue. If everything looks fine, store it in a safe location until it’s needed again. Following these steps will help ensure a smooth process for future use.
Remove any accessories or attachments from the wand
Before detaching the implement, ensure all accessories and attachments are removed. This process begins with inspecting the nozzle, spray tips, or any additional connectors. For models with a twist and lock mechanism, rotate the attachment counterclockwise until it releases. If you encounter a quick-connect fitting, simply press the release collar while pulling the attachment away from the wand; ensuring a firm grip will facilitate the process.
If any accessory seems stubborn, check for a locking pin or clip that might require you to disengage it first. Carefully manipulate mechanical parts without excessive force, as this could lead to damage. Store the attachments in a safe location to prevent loss and maintain functionality for future use.
Store the Wand Properly After Removal
After detaching the nozzle, it’s critical to ensure proper storage to maintain its lifespan and functionality.
Use a Designated Storage Space
- Select a cool, dry environment away from direct sunlight.
- Keep the attachment in a dedicated area to prevent accidental damage.
Secure the Nozzle

- If available, utilise a holder or holster designed for attachments.
- A soft cloth or case can prevent scratching and contact with abrasive surfaces.
Avoid hanging the tool where it could fall or sustain impact. Ensure that any accessories, like spray tips, are stored together with the main attachment to avoid loss.
Regularly inspect the storage area for moisture or pests that could cause deterioration. Keeping your tools organised not only ensures longevity but also optimises your cleaning tasks for future use.


