

Ensure the device is thoroughly disconnected from any power source and the water supply is turned off. This is crucial to prevent any accidents during the procedure. A dry workspace is ideal, as it minimizes the risk of slips and falls.
Begin by locating the fasteners securing the hydraulic component to the motor assembly. Typically, these are bolts or screws that may require a specific tool for removal. Using the appropriate socket or screwdriver, loosen these attachments carefully, keeping an eye on any washers or seals that may come loose during this process.
After detaching the locks, gently pull the hydraulic unit away from its housing. If there is resistance, double-check for any remaining connections that might be hindering the separation. Pay close attention to any hoses or fittings that could be attached; these must be disconnected with caution to avoid damage.
As you complete this task, it is advisable to organise the removed components, including bolts and seals, in a manner that will facilitate reassembly. Taking photographs at various stages can also prove beneficial for reference later. Following these steps will allow a swift and safe detachment of the hydraulic assembly, setting the stage for repairs or upgrades.
Gather Necessary Tools for Pump Removal
Before tackling the disassembly, ensure you have the following items on hand:
| Tool | Description |
|---|---|
| Screwdriver set | A variety of sizes, both Phillips and flathead, to handle different screws. |
| Socket wrench | Choose one with interchangeable sizes to accommodate various bolts. |
| Adjustable wrench | Useful for gripping and turning nuts of different sizes. |
| Pliers | For holding and manipulating small parts, especially if they are stuck. |
| Container | To collect any remaining water or oil for easier clean-up. |
| Shop towel | For wiping off any spills or debris during the process. |
| Safety goggles | To protect eyes from potential splashes or falling debris. |
| Gloves | To keep hands clean and protected while working with tools. |
Having these tools ready will facilitate a smoother transition during disassembly, allowing you to focus on the task without interruption. Always ensure your workspace is clean and organised for optimal efficiency.
Disconnect Power Source
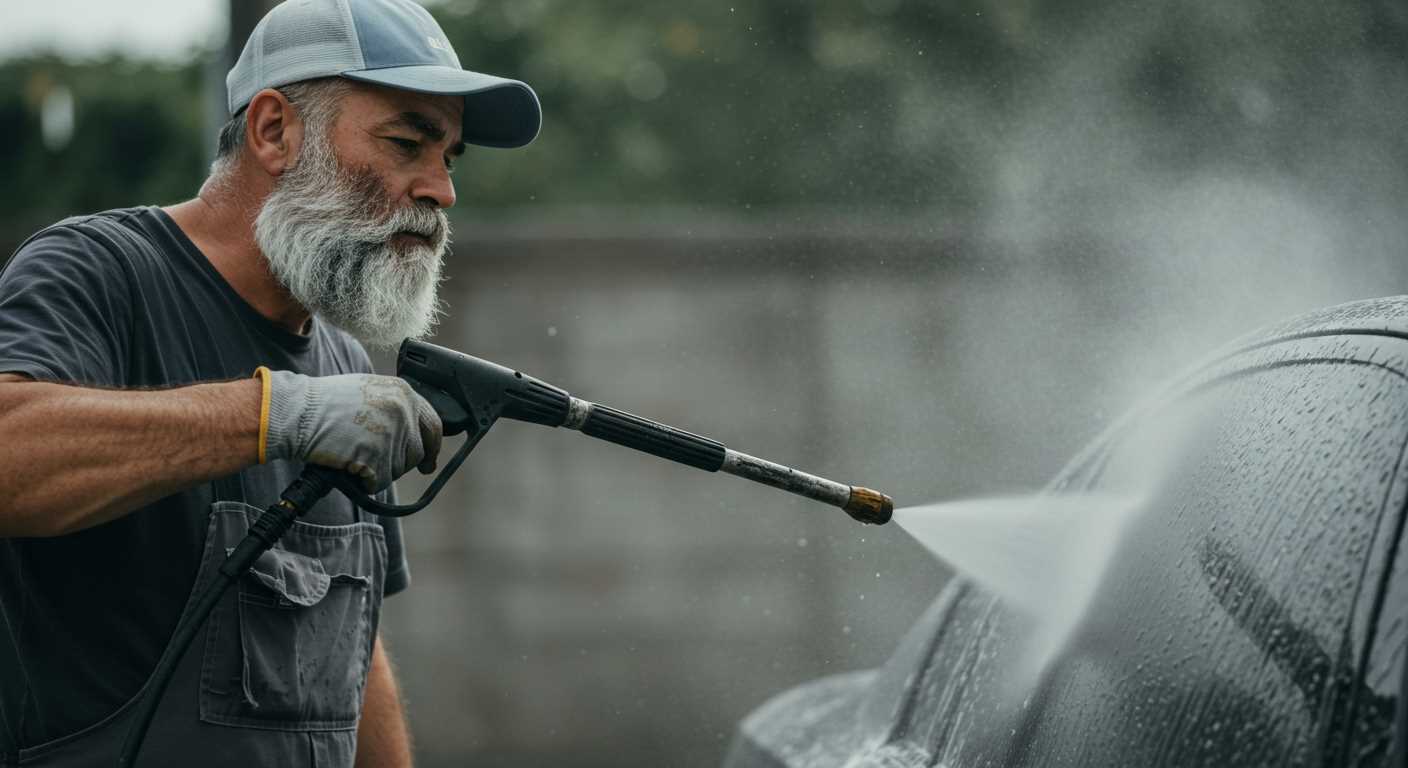
Begin by ensuring that the unit is completely powered down. Unplug the device from the electrical outlet. If your model has a battery, remove it to eliminate any risk of accidental activation during the process.
Verify that the cord is not damaged or frayed. Inspect it for any signs of wear before moving forward. If the unit operates on gas, ensure the fuel valve is turned off to prevent any leakage.
Safety Precautions
Utilise rubber gloves for additional protection while handling electrical components. If the equipment has been running, allow it to cool down to prevent burns. Establish a clean workspace free from distractions.
Final Checks
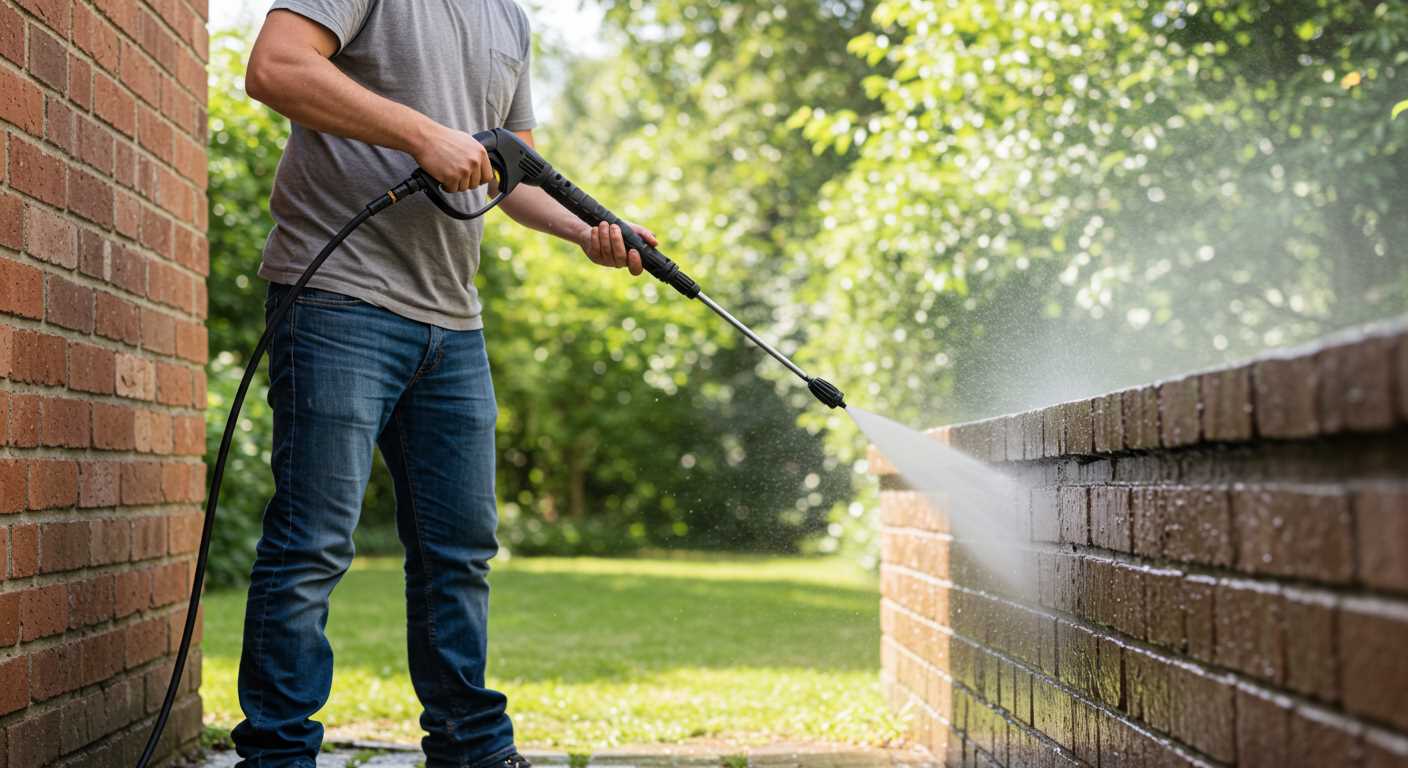
After disconnecting, double-check that all connections are secure and that the device is stable before proceeding with further disassembly. This ensures safety and minimises the likelihood of injury.
Drain water from your machine’s system
Begin by locating the water inlet on your device. Open the valve to allow any remaining water to escape through this opening. If applicable, detach the hose attached to the inlet for thorough drainage.
Next, find the nozzle or spray wand and aim it into an appropriate container to collect residual water. This action helps empty any water still trapped in the system. Activate the trigger to expel any remaining liquid.
Additional drainage step
In case your model has a drain plug, locate it and remove it with an appropriate tool. This will accelerate the draining process significantly. After all the liquid has been expelled, ensure that all parts are dry to prevent any potential freezing damage during storage.
Maintaining a dry environment within your equipment will prolong its lifespan and optimise performance for future use. Make sure to store your device in a sheltered area, protected from extreme temperatures.
Remove hoses and fittings connected to pump
Begin by locating the hoses and fittings attached to your unit. Ensure a clean workspace to avoid any mishaps during detachment. Use a suitable wrench or pliers to unscrew the fittings, taking care not to damage the threads. Have a container ready to catch any residual water when disconnecting the hoses.
Identify and label each hose, as this will aid in reassembly later. Often, there will be one or two high-pressure hoses leading to and from the motor. Loosen these connections gradually; excessive force can cause wear or breakage. If a hose appears stuck, applying a penetrating oil can facilitate easier removal.
Next, disconnect any additional components, such as filter screens or adapters, that may hinder access to the main unit. Keep all hardware organised to prevent loss. It’s crucial to maintain clarity on each connection’s placement for efficient reassembly.
Once all hoses and fittings are detached, inspect them for signs of wear or damage. This inspection provides an opportunity for maintenance or replacement before reinstalling any part. With careful handling, your components will be ready for the next phase of the disassembly process.
Unscrew and detach the pump unit from the chassis
Utilise a socket wrench or a screwdriver to unscrew all mounting bolts securing the assembly to the frame. Ensure each bolt is stored safely for reassembly. Pay close attention to any hidden screws, often located beneath labels or protective covers.
Support the assembly
As you loosen the bolts, support the unit with one hand to prevent it from falling. This will help avoid damage to both the unit and surrounding components. Once all bolts are loosened, gently pull the assembly away from the frame.
Check for additional connections
Before fully detaching the assembly, inspect for any electrical connections or sensors that may still be attached. Carefully disconnect these components to avoid damage. After all connections are undone, streamline any remaining cables or hoses for easy reinstallation.
With everything disconnected, pull the pump assembly free. Ensure to orient it carefully to prevent snagging on any surrounding parts. Store the unit in a secure place until you are ready to proceed with maintenance or replacement.
Inspect the pump and surrounding components
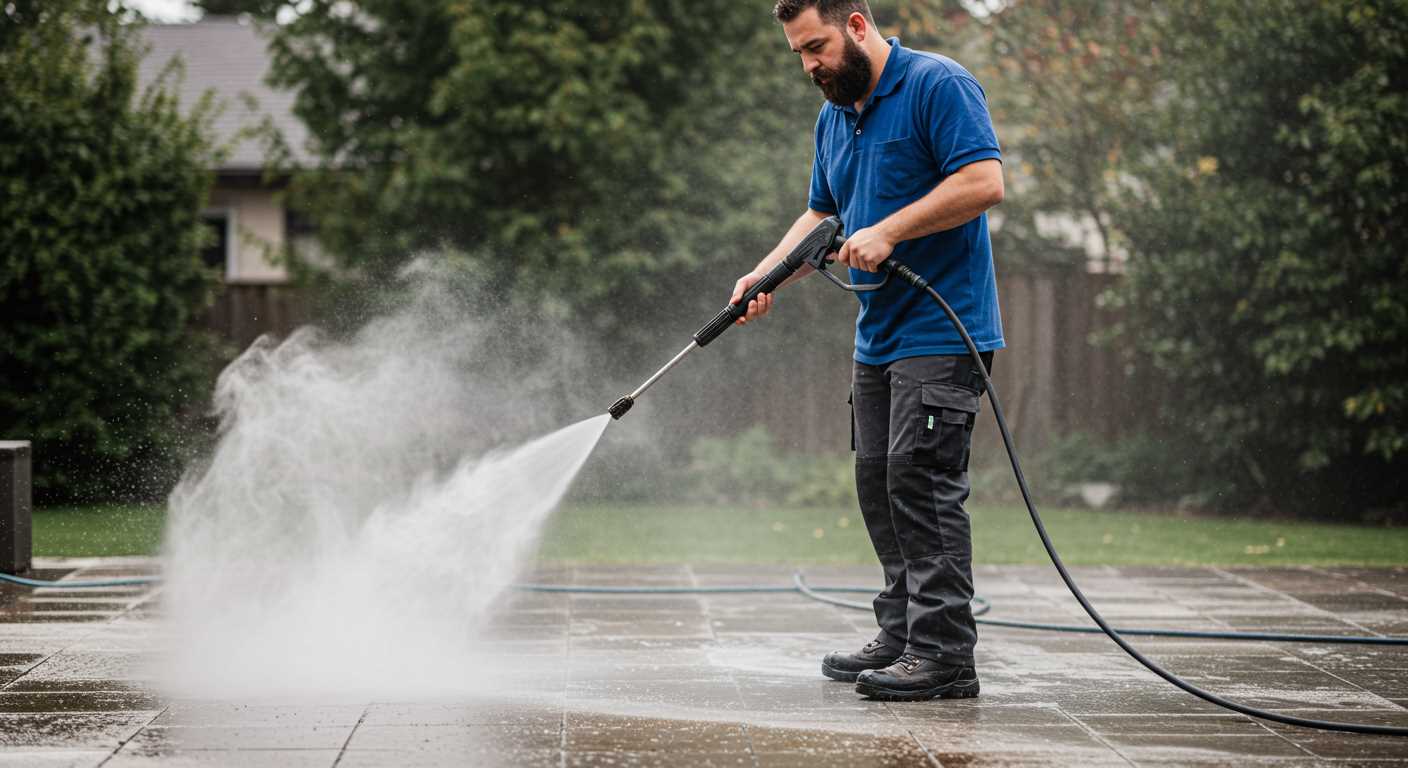
Conduct a thorough examination of the pump unit and adjacent parts. Look for cracks, leaks, or any signs of wear on the housing and fittings. This inspection will help identify potential issues that may need addressing before reinstallation or replacement.
Key areas to inspect:
- Housing for visible damage that could lead to malfunction.
- Seals and gaskets for wear or degradation.
- Connection points to ensure no obstructions or corrosion.
- All fasteners for signs of rust or looseness.
Pay close attention to the hoses linked with the system. Check for kinks, abrasions, and any blockages that could hinder performance post-reassembly. Verify that all connectors are secure and devoid of leaks, which could compromise functionality.
Testing and cleaning components
- Use a cloth to wipe down all accessible surfaces for better visibility of potential problems.
- Test any mechanical parts for smooth movement, making sure there are no obstructions.
- Consider flushing out any water channels or inlets to remove debris.
By meticulously inspecting and addressing the condition of these components, future issues may be mitigated, ensuring optimal operation when reassembled.
Install the new unit or prepare for servicing
Before fitting the new assembly, ensure all components are clean and free of debris. Thoroughly inspect the base where the unit will be mounted for any signs of wear or damage.
Align the new assembly with the mounting points on the chassis. Utilize the previously removed screws to secure the unit in place, ensuring not to overtighten, which could cause warping or cracking.
Reconnect hoses and fittings
Attach the hoses and fittings carefully, ensuring they are properly seated to avoid leaks. Tighten connections adequately, but not excessively, to maintain integrity.
Final checks and testing
After securing all components, connect the power source. Conduct a test cycle to verify the new assembly operates correctly and efficiently. Monitor for any unusual sounds or leaks during operation. If everything appears normal, your setup is complete.
Reassemble and Test the High-Pressure Device
After completing maintenance on the water delivery unit, ensure every component is properly fitted back in place. Follow these steps for reassembly and testing.
- Align the new mechanism with the chassis, ensuring all mounting points are accessible.
- Securely fasten the screws or bolts you previously removed, checking for any alignment issues. Use a torque wrench for the manufacturers’ specified torque settings.
- Reconnect hoses and fittings, confirming that all seals are intact to prevent leaks. Tighten connections hand-tight only, avoiding overtightening.
- Reattach any additional components you might have removed, like the filter or inlet hose, ensuring they fit snugly.
Next, it’s time to test the system.
- Fill the water reservoir if applicable. Ensure there are no obstructions in the intake.
- Reconnect the electrical supply, making sure all connections are safe and secure.
- Switch on the appliance and allow it to run for a few minutes. Observe for unusual noises or vibrations that may indicate improper assembly.
- Check all joints and connections for leaks. If any water escapes, tighten those fittings or replace seals as needed.
- Perform a short test on a surface to ensure the device operates at the desired pressure and flow rate.
If everything operates smoothly, congratulations! Your machine is ready for use. If you encounter any issues, revisit the assembly steps, confirming each component is installed correctly and securely.
FAQ:
What tools do I need to remove the pump from a pressure washer?
To remove the pump from a pressure washer, you will typically need basic tools such as a socket set, wrenches, and possibly pliers. It’s also helpful to have a screwdriver set for removing any screws. Depending on the model of your pressure washer, you may need specific attachments, so be sure to check the manual for recommendations. Having a containment tray or cloth is wise to catch any remaining water or oil during the process.
Are there specific safety precautions I should take before removing the pump?
Yes, safety is paramount when working on pressure washers. Before starting, ensure the machine is disconnected from the power source. If it’s a gas model, turn off the fuel supply and allow it to cool down. Wearing gloves and safety goggles is also advisable to protect your hands and eyes from any accidental splashes or debris. Lastly, ensure you are working in a well-ventilated area to avoid inhaling any harmful fumes.
Can you explain the steps involved in the process of removing the pump?
Certainly! First, disconnect the power supply and water inlet. Next, drain any remaining water from the system by detaching the hoses. Using the appropriate tools, unscrew and remove the pump mounting bolts. It may be necessary to gently tap the pump with a rubber mallet to loosen it if it feels stuck. Once detached, inspect the pump for any signs of wear or damage during disassembly. Finally, carefully lift the pump away from the pressure washer body.
How can I tell if the pump needs replacing or just maintenance?
Signs that the pump may need replacing include visible leaks, unusual noises during operation, or a significant drop in pressure. If the pump is not producing water or if the flow is irregular, maintenance might be necessary. In many cases, cleaning the pump and replacing worn seals can restore functionality. However, if the damage is extensive, such as cracks in the housing or severe corrosion, replacement is likely the best option.
What are common issues that can occur while removing the pump?
While removing the pump, you may encounter several issues. One common problem is rusted or seized bolts, which can be difficult to unscrew. Using penetrating oil can help loosen them. Additionally, if there is debris or buildup around the pump area, it may obstruct removal, requiring some cleaning. Lastly, if you’re not careful, there’s a risk of damaging surrounding components, so take your time and be gentle during the process.

