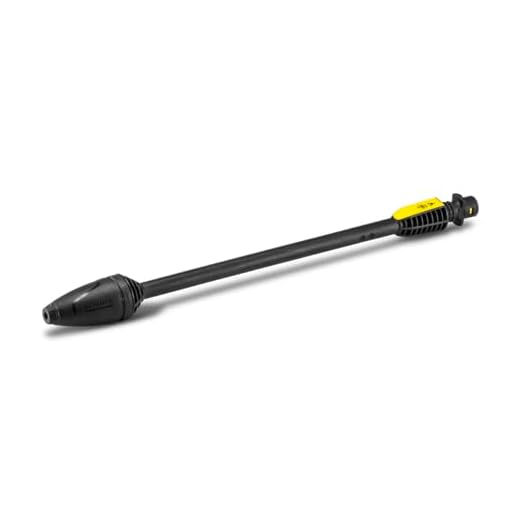

To detach the lance, ensure the machine is powered off and unplugged for safety. Locate the locking mechanism on the handle and press the release button or pull the lever, depending on the model. This will disengage the lance from the trigger assembly.
After unlocking, gently pull the lance away from the trigger. If there’s resistance, check for any locking tabs that may need adjustment. It’s important to apply a steady, firm pull rather than yanking, as this could damage the connection points.
Once the lance is free, inspect the O-rings and connections for wear or dirt. Keeping these areas clean will enhance performance and prevent leaks. Store the lance in a safe position until you’re ready to reattach it for your next cleaning task.
Instructions for Detaching the Nozzle from the Cleaner Unit
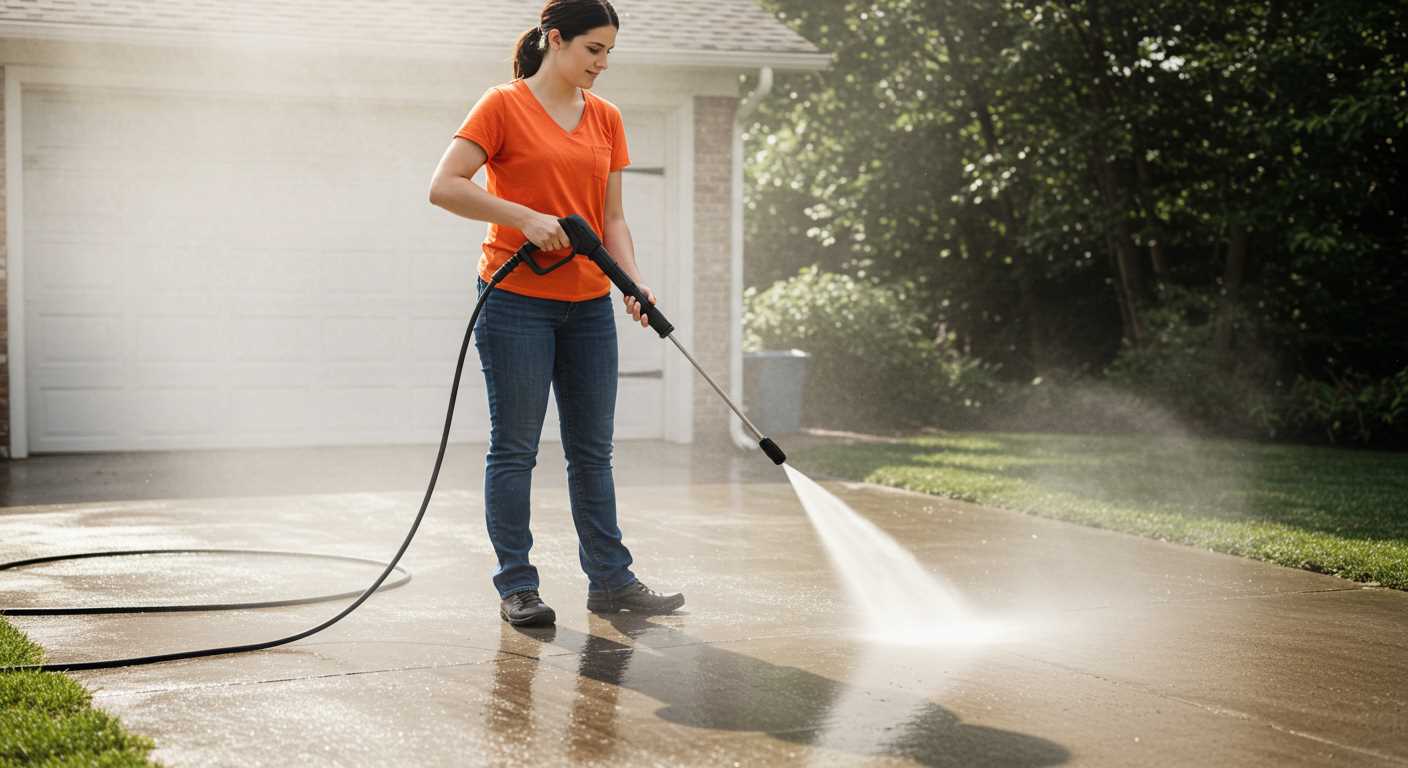
Ensure the device is powered off and disconnected from the mains supply. Hold the lance firmly and locate the locking mechanism where it joins the water outlet. Usually, a simple push or twist is required to disengage the nozzle. Perform this action while maintaining a grip on both components to prevent any accidental drops.
Common Locking Mechanisms
| Type | Description |
|---|---|
| Twist Lock | Rotate the nozzle counterclockwise to unlock it. Align any visible arrows for guidance. |
| Push Button | Press the button located on the handle to release the nozzle. Pull away while holding the button. |
| Slide Mechanism | Slide the collar or sleeve downwards to release the nozzle. Maintain a steady force to ensure separation. |
After detachment, inspect the end of the lance and the nozzle for any debris or damage. Cleaning and servicing the components can prolong the lifespan of the entire assembly. Store the parts securely until next use.
Identifying the Correct Wand Type for Your Model
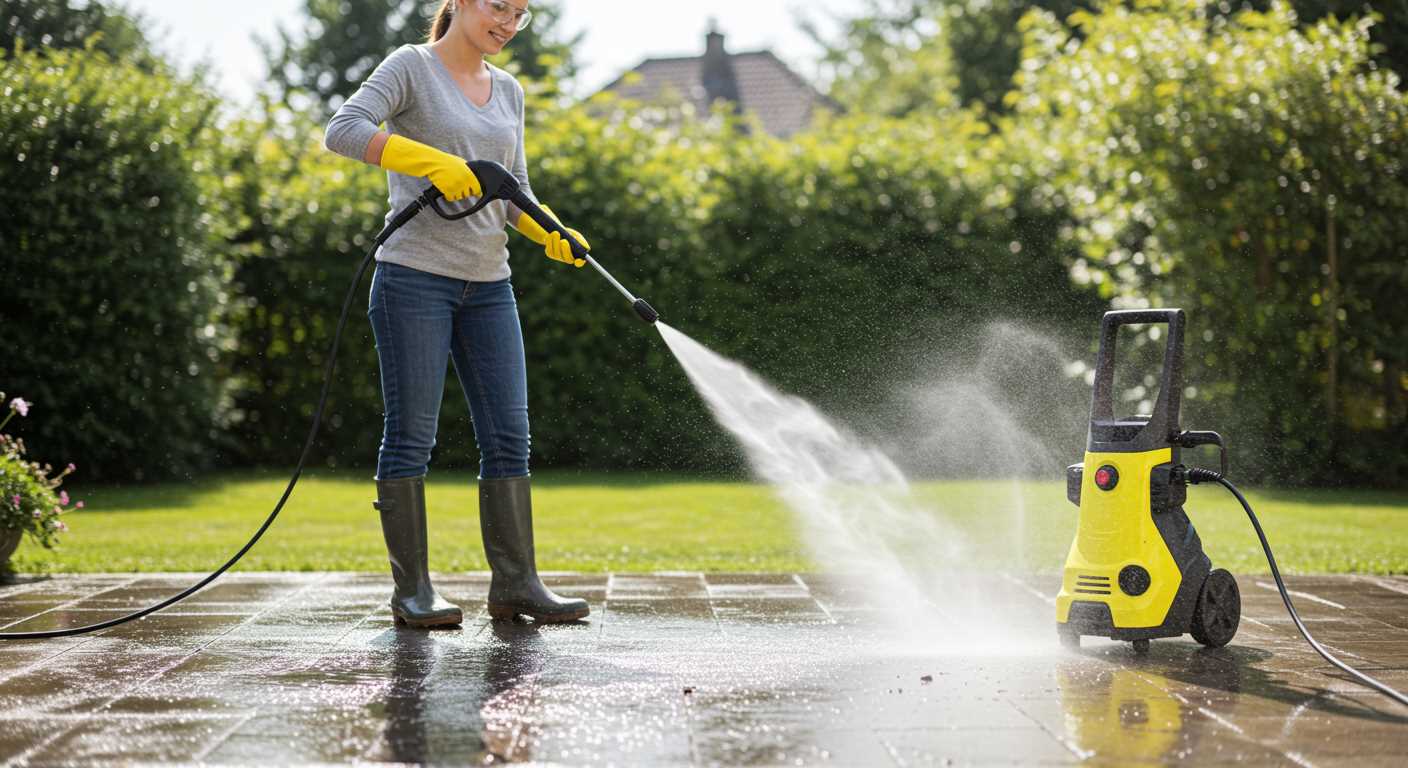
To ensure compatibility, examine your equipment’s model number, typically located on the chassis. Refer to the manufacturer’s manual or website for a detailed list of compatible accessories and extensions. This will guide you in selecting the right attachment.
Common Wand Types
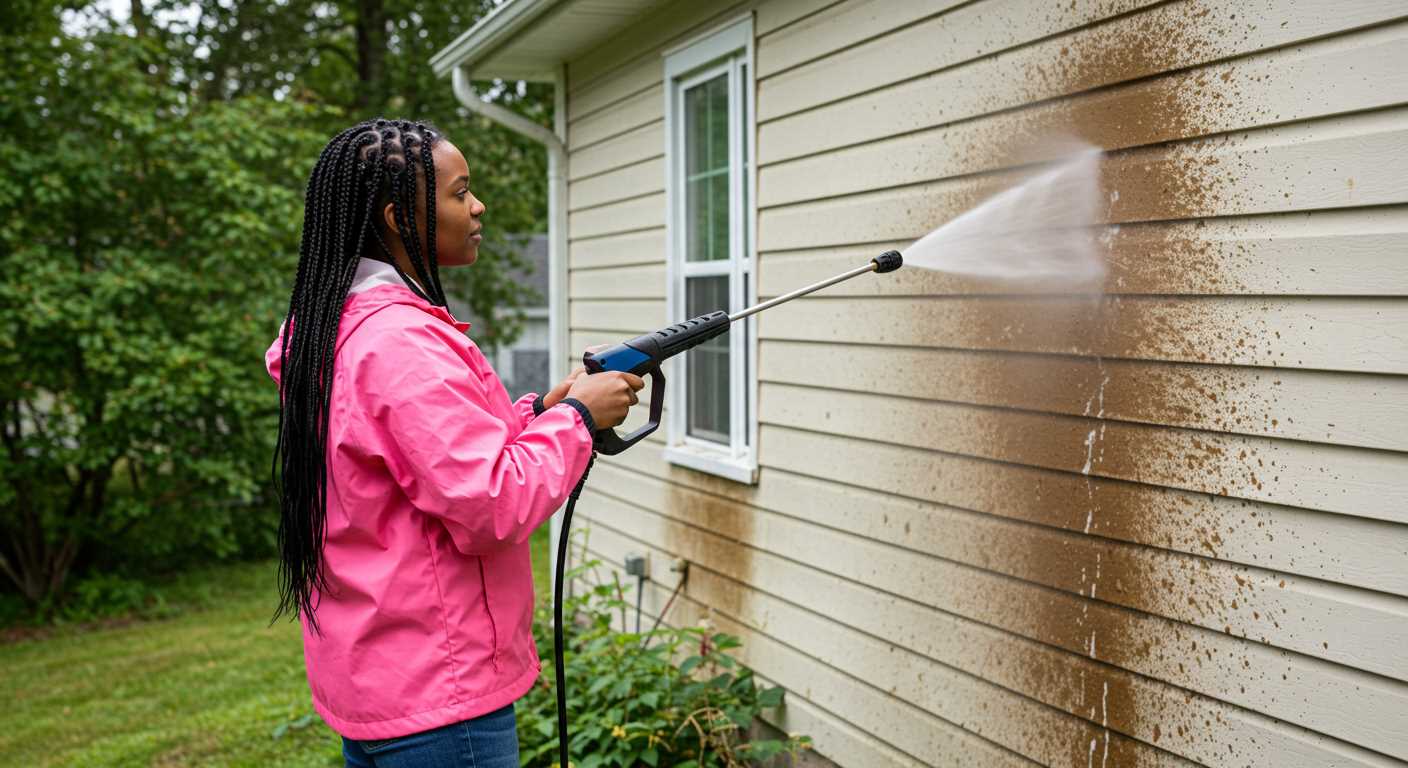
- Standard Nozzle: Ideal for general cleaning tasks, offering a balanced spray pattern.
- Turbo Nozzle: Delivers a rotating jet for tough grime and surface dirt.
- Foam Lance: Perfect for applying detergent effectively to surfaces.
Tips to Identify Your Wand
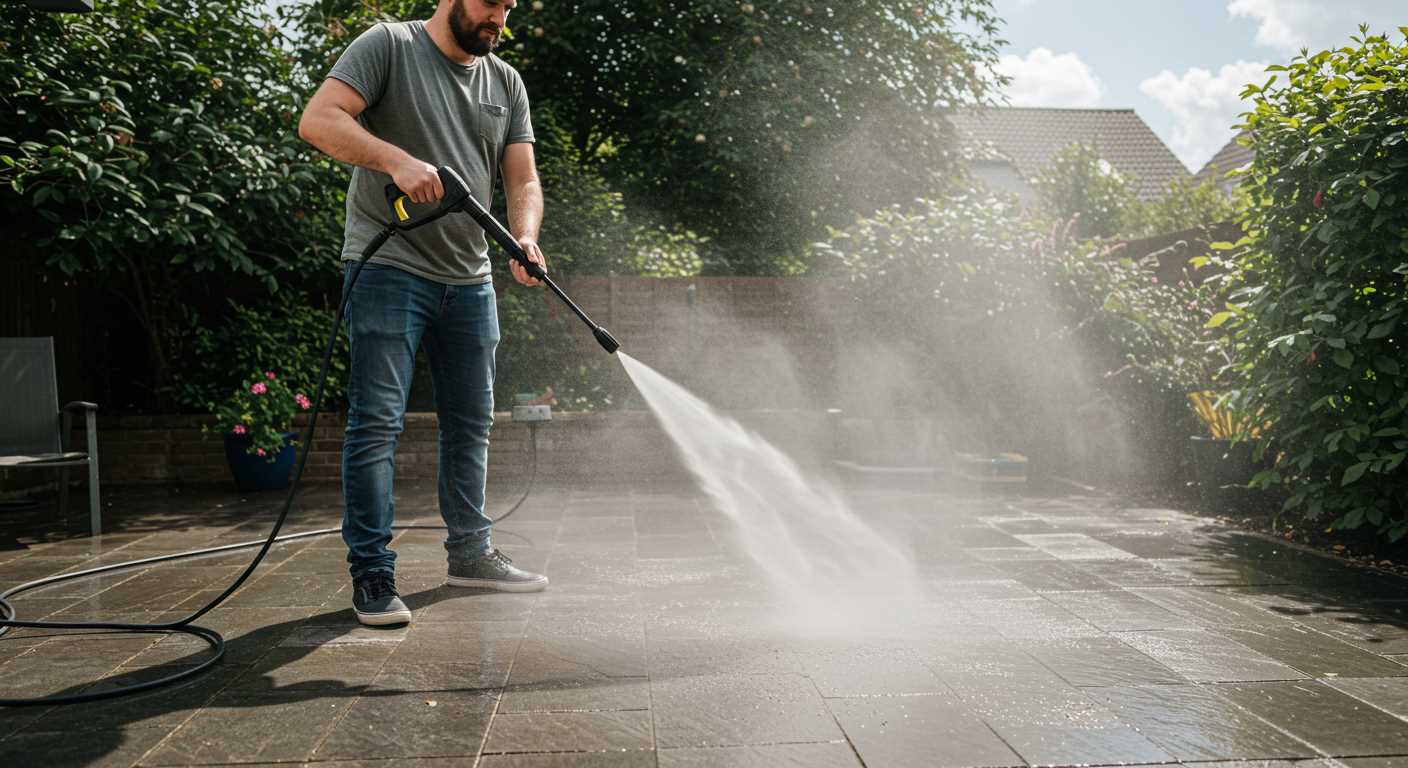
- Check the connection type: threaded, quick connect, or bayonet fit.
- Measure the length and diameter to ensure it matches the specifications outlined in the user manual.
- Inspect for any colour codes or markings that may signify the size or type.
Matching your accessory precisely to your model enhances performance and results. Ensure you maintain the highest standards while selecting components for your gear.
Checking for Safety Features Before Removal
Ensure that the safety switch is disengaged before detaching the nozzle. This step prevents any accidental discharge of water under pressure, which could lead to injuries or damage.
Verify that the machine is disconnected from its power source. For electric models, unplugging from the mains is crucial. If you are using a gas-operated variant, ensure the engine is off and the fuel supply is shut off.
- Inspect the high-pressure hose for any signs of wear or damage, as this can lead to ruptures during operation.
- Confirm that the water supply is turned off and disconnected to avoid unexpected spray while working.
- Examine the trigger lock feature. Many models come equipped with this safety mechanism to prevent unintentional engagement of the spray trigger.
Make sure to release any remaining pressure in the system. Squeeze the trigger on the spray gun to let out excess pressure before attempting any adjustments.
Review the user manual for any specific safety instructions related to your model. Each unit may have differing features that provide additional safety assurances.
Steps to Disconnect the Wand from the Pressure Washer
First, ensure the device is powered off and disconnected from the supply. Locate the quick-release mechanism on the utility tool; most models feature a simple button or lever system. Press this button or pull the lever to engage the release process.
Grip the handle firmly while applying a slight pull to disengage the attachment. If resistance occurs, check for any locking tabs that may restrict movement. These mechanisms vary by design, so be gentle yet firm to avoid damage.
Next, inspect the equipment for any water remaining in the hoses. Relieve any trapped pressure by squeezing the trigger until the water flow stops. This will facilitate the detachment and ensure safety.
After releasing the attachment, carefully store the unit in a designated area, avoiding bends or kinks in the hoses. This practice will prolong the lifespan of the components and maintain optimal performance for future use.
Common Issues When Detaching the Nozzle
One frequent problem I encounter involves a stubborn attachment. An accumulation of grime or a lack of lubrication can make the disconnection process challenging. Regular maintenance, such as cleaning the connection points, can mitigate this issue significantly.
Another concern is misalignment between the components. Ensure that both parts are aligned correctly before attempting to extract the nozzle. Misalignment usually results in unnecessary force application, leading to potential damage.
Pressure retaining mechanisms can sometimes complicate the task. If remnants of water remain, release all pressure from the system first. This not only eases the process but also enhances safety during operation.
Wear and tear on the joints can lead to malfunction. Inspect for cracks or deformations that may hinder proper disengagement. If the fittings appear damaged, replacing them is wise to prevent further complications.
Another issue I often observe involves a lack of follow-through after the initial attempt. Some users may underestimate the required technique. A firm and steady grip, combined with a slight twisting motion, often assists in loosening stuck parts.
Be mindful of seasonal changes affecting materials. In colder climates, plastic components are prone to brittleness, while heat may cause components to expand and stick. Adjust your approach based on the conditions.
Tools Required for Wand Removal
To successfully detach the attachment from the cleaning device, gather the following tools:
- Adjustable Wrench: Ideal for loosening or tightening any nuts or bolts that may be holding the fitting in place.
- Screwdriver (Philips and Flathead): Useful for any screws securing the accessory bracket or connections.
- Replacement O-rings: If you notice any damage during the process, having new seals on hand will ensure a proper fit and prevent leaks.
- Safety Goggles: Protect your eyes from any debris or splashes while you work.
- Gloves: A good grip and protection for your hands against sharp edges or contaminants.
Additional Recommendations
Consider having a soft cloth nearby to clean surfaces before reassembling. A container for small screws and components can help keep everything organised, preventing loss during the procedure.
Cleaning and Maintenance Tips After Wand Removal
After detaching the cleaning tool, it’s crucial to keep the equipment in optimal condition. First, ensure that all residual dirt and debris are cleared from the tool’s nozzle and connectors. A soft cloth or a brush will effectively remove any build-up, preventing clogs during future use.
Next, inspect the threading and seals carefully. Look for any signs of wear or damage that could lead to leaks later. If necessary, apply a small amount of lubricant specifically designed for rubber seals. This will enhance longevity and maintain a proper seal for next time.
Store the cleaning accessory in a dry and sheltered location to protect it from environmental factors that could cause deterioration. Consider using a designated storage bag or container to keep all components organised and secure.
Regularly check the entire unit for signs of wear and tear. Paying attention to hoses, connectors, and pressure gauges will ensure efficient performance. If any components appear damaged, replacing them promptly is advised to avoid further issues.
Consider performing a thorough cleaning of the main device. Remove any remaining water and dirt, and wipe down surfaces with a damp cloth. This simple step can significantly prolong the life of the machine.
Always refer to the manufacturer’s guidelines for any specific maintenance recommendations tailored to your model. Following their advice ensures reliable performance every time you utilise your equipment.
Reattaching the Wand: Best Practices
Align the connection point carefully and ensure it clicks securely into place to prevent any accidental disconnection during use. I recommend holding the unit steady with one hand while positioning the accessory with the other. This helps maintain control and ensures a proper fit.
Regular Inspection
Check the attachment point for debris or damage prior to reattaching. Even minor obstructions can affect performance. Replace any worn components immediately, as they can lead to leaks or reduced functionality.
Test the Connection
After securing the accessory, perform a quick functionality test. Power on the device and briefly operate it to confirm that everything is attached correctly. Observing the performance under low pressure initially can prevent potential issues.


