
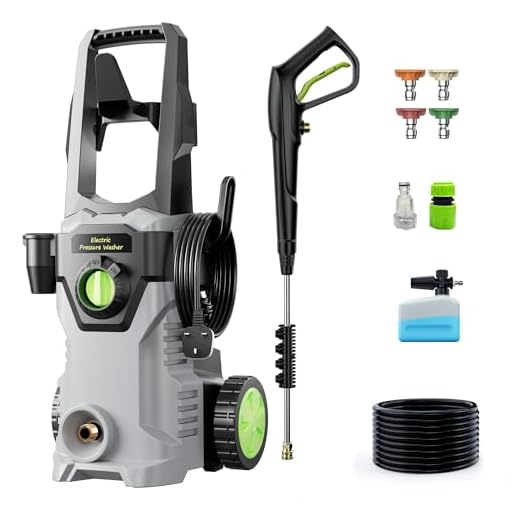


Using a high-pressure cleaning device is one of the most practical ways to tackle unwanted greenery between your stone slabs. Begin with a nozzle that delivers a concentrated stream of water. This precision helps dislodge stubborn vegetation while minimizing the risk of damaging the surrounding material.
Before starting the machine, ensure that the area is free of loose debris and large particles. A clean surface will yield better results and decrease the likelihood of sediment clogging the equipment. Adjust the pressure setting according to the type of material you’re working on; softer surfaces require lower settings to avoid harm.
As you apply the water pressure, maintain a consistent distance of about 10-12 inches from the surface. This distance allows you to effectively target the vegetation without causing excessive erosion or chipping. Use sweeping motions, working in sections to systematically cleanse the entire area.
After thorough cleaning, consider sealing the gaps. A quality joint stabilizer will deter future growth and keep your paving looking pristine. By following this straightforward process, you ensure a clean, attractive outdoors while prolonging the life of your installation.
Choosing the Right Pressure Washer for Weed Elimination
For successful eradication of unwanted vegetation lodged in your stone surfaces, opt for a device with a minimum pressure rating of 1500 PSI. This level ensures that tough root systems are adequately targeted.
Types and Features to Consider
.jpg)
Select a machine that utilises hot water if feasible. Hotter water breaks down organic matter more effectively than cold. A model featuring adjustable nozzles is a bonus, as this allows for switching between intense blasts for stubborn growth and gentle sprays for delicate areas.
| Feature | Importance |
|---|---|
| Pressure Rating (PSI) | 1500 and above is ideal for tough cleaning |
| Water Temperature | Hot water aids in breaking down residues |
| Nozzle Adjustability | Versatility for different surfaces and growth levels |
| Weight and Portability | Lightweight models ease handling and manoeuvring |
| Hose Length | Longer hoses reduce need to reposition the machine |
Brand Recommendations
In my experience, brands like Karcher, Ryobi, and Honda consistently perform well. Karcher’s models stand out for user-friendliness, while Ryobi offers excellent versatility. Honda engines are robust and reliable, particularly for commercial-grade devices.
Preparing Surfaces and Surrounding Areas Before Cleaning
Clear the area of any furniture, pots, or items resting on or around the hard surfaces. This allows for unobstructed access during the cleaning process.
Ensure that you sweep the surface thoroughly to dislodge loose dirt and debris. A broom or a leaf blower can be effective for this task. Dust and loose particles may hinder the result of the subsequent cleaning.
Inspect for any damages or fractures in the stonework prior to operation. Repairing these gaps is vital to avoid exacerbating the issue during the cleaning process.
Consider pre-soaking the area with water if the surfaces are particularly dry. This helps in softening stubborn build-up and facilitates a more thorough clean.
Ensure nearby plants and shrubs are covered with tarps or plastic sheeting to protect them from water pressure and any chemical agents you may use.
Check for any slopes in the area that could affect water runoff. Adjust your cleaning strategy accordingly to prevent pooling and ensure effective drainage.
Lastly, set up the washer according to the manufacturer’s guidelines, ensuring all connections are secure to avoid leaks during use. Testing the equipment before commencing ensures it operates correctly and avoids complications later.
Setting Optimal Equipment for Weed Eradication
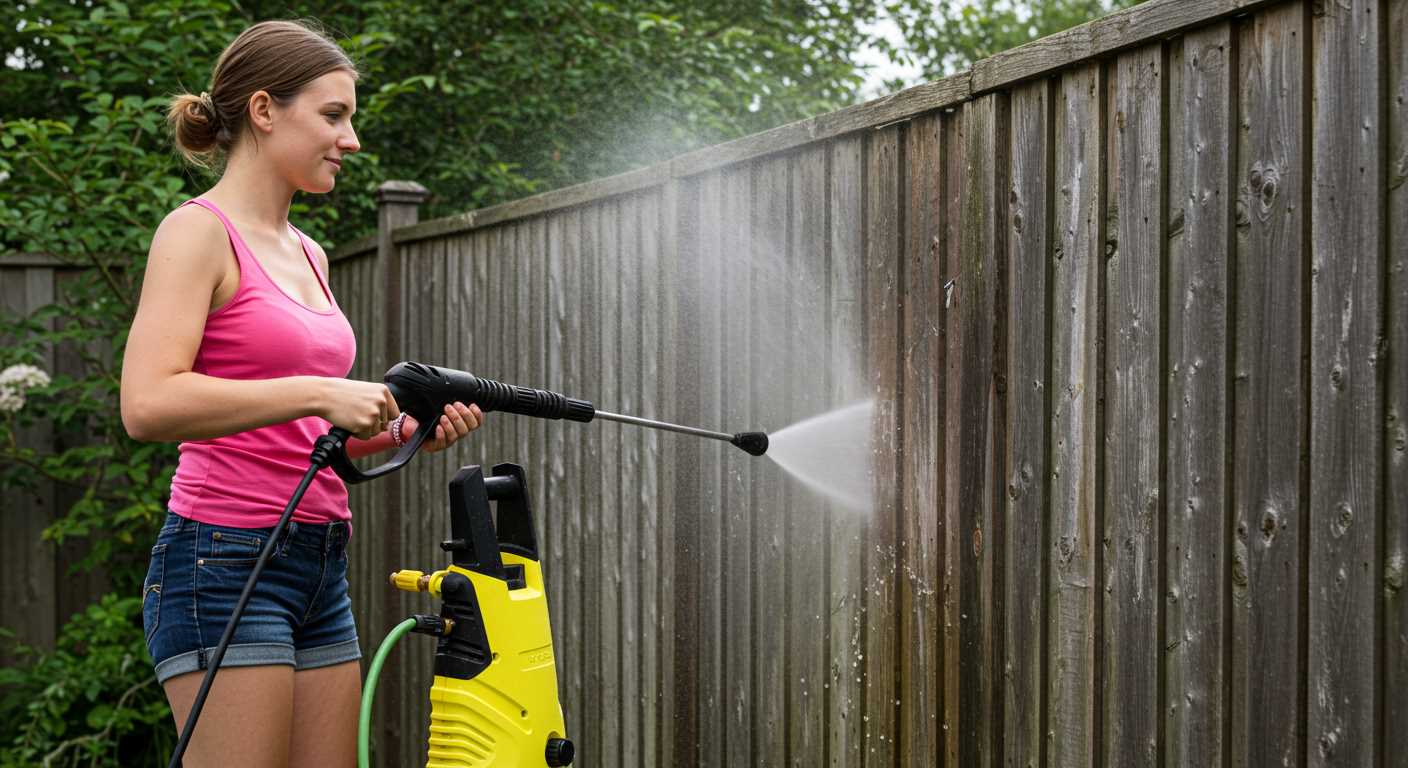
Adjust the nozzle to a narrow spray pattern, ideally around 15 degrees. This concentration allows for deeper penetration into the crevices. Aim for a distance of approximately 6 to 12 inches from the surface; too close may cause damage, while too far could reduce effectiveness.
Pressure settings should ideally be between 1500 and 2000 PSI for this task. Lower settings may not adequately clear stubborn growth, while higher settings risk harming the stone. It’s advisable to test on a less visible area to confirm suitability.
Temperature Management
Utilise hot water if your machine permits. This enhances cleaning action and increases the chances of effective removal. If not possible, regular water can suffice, but always ensure it’s at least lukewarm. Avoid cold water, as it reduces the impact, especially on tough areas.
Flow Rate Considerations
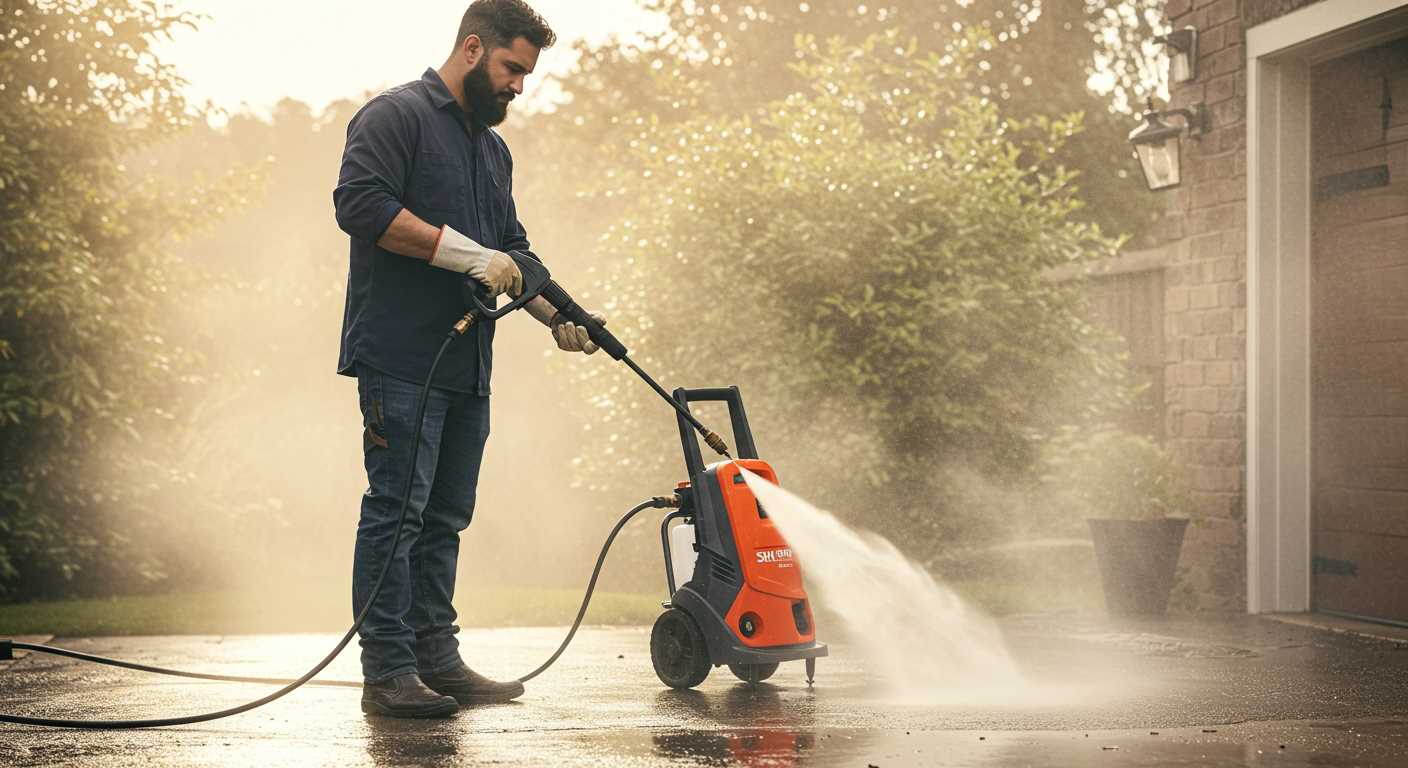
Choose a model with a flow rate of at least 2.5 GPM. This ensures adequate coverage and efficiency, enabling quicker work without excessive overlap. A balanced flow rate facilitates thorough cleansing while conserving water usage.
Techniques for Directing Water to Effectively Eliminate Unwanted Growth
Adjust the nozzle to create a narrow, focused jet for precision. This concentration will help target the base of unwanted plants directly, ensuring maximum impact and less water waste.
Adopt a sweeping motion while applying the stream. Rather than holding the spray in one spot, move it in a fluid arc. This prevents damage to the surrounding surfaces and enhances coverage, ensuring that each area receives sufficient force.
Maintain a consistent distance from the surface, typically around six to twelve inches. This distance balances pressure and control, preventing splatter while allowing enough force to dislodge stubborn entities.
Angle the spray slightly for optimal reach into crevices. Keeping the nozzle tilted at approximately 30 degrees helps the water penetrate gaps between stones more effectively, dislodging deeply-rooted growth.
Alternate the direction of the spray. Switching from side to side can help dislodge debris that may have settled or compacted over time, ensuring no residue remains after the initial pass.
Utilise a cleaning solution compatible with your machine if necessary. Many models allow for the addition of detergents that can aid in loosening hold on unwanted plants, especially those that are particularly stubborn.
Work in sections. Tackling smaller areas methodically allows for thorough cleaning, ensuring no spots are missed, while also providing a more manageable process overall.
Inspect your results frequently. After doing a section, evaluate the effectiveness of your method. Adjust angle and distance as required for optimal performance.
Finally, consider the ambient conditions. Working during dry weather can enhance the performance, as wet conditions may reduce visibility and the effectiveness of your efforts.
Cleaning and Maintaining the Pressure Cleaning Equipment After Use
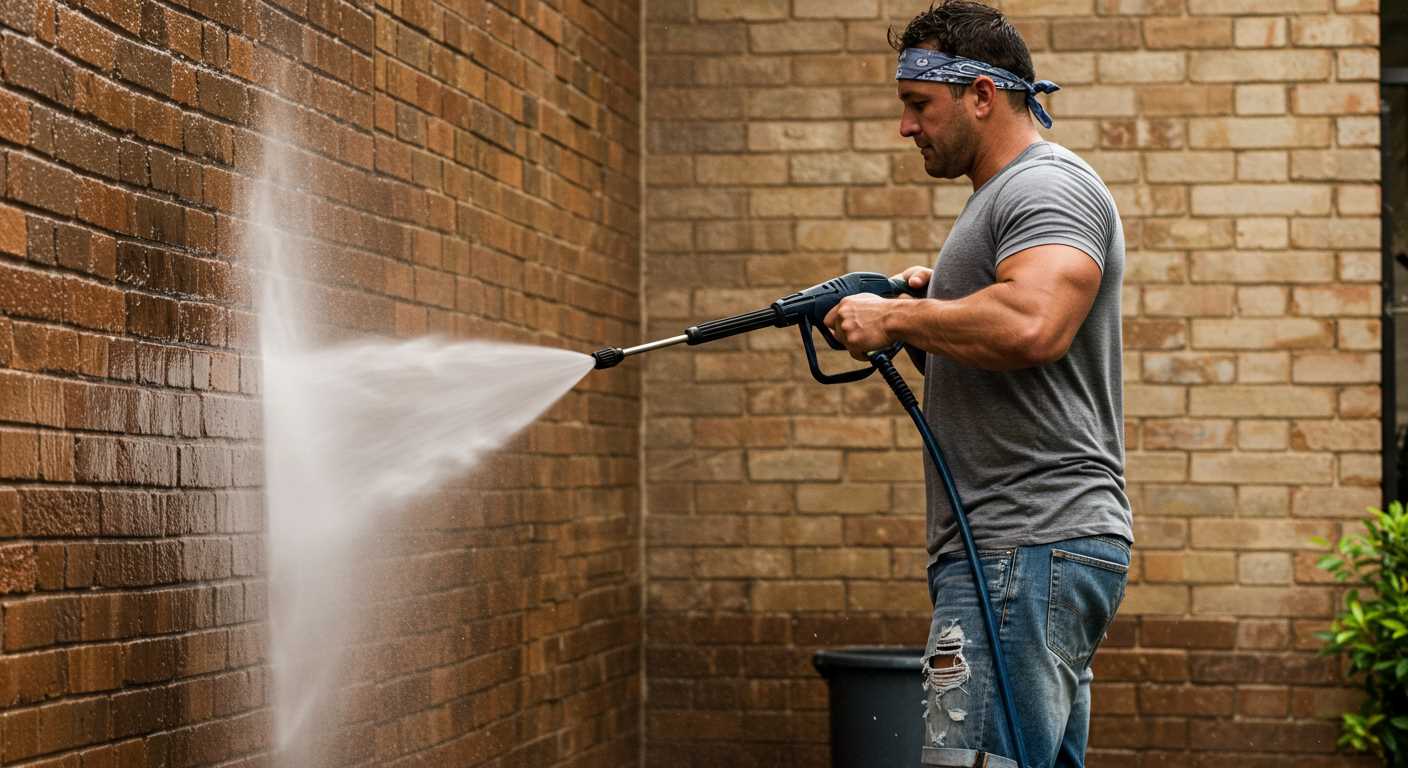
Once the task is complete, immediate care for the cleaning device is critical for longevity and performance.
- Disconnect the Power: Always unplug the unit from the electrical source to ensure safety during maintenance.
- Empty the Water Tank: Remove any residual water from the tank to prevent bacteria growth and internal corrosion.
- Flush the System: Run clean water through the system for a few minutes. This helps clear out any debris that may have lodged inside the hoses or nozzle.
Attention to the nozzle is vital:
- Detach it from the wand and clear any blockages using a small brush or needle.
- Soak in warm, soapy water if necessary, rinsing thoroughly before reattachment.
Maintain the pump by:
- Adding pump protector fluid as specified by the manufacturer. This prevents damage during colder months.
- Inspecting seals regularly for signs of wear and replacing them as needed.
Cleaning the exterior is also important:
- Wipe down the casing with a damp cloth to remove dirt and grime.
- Avoid harsh chemicals that may damage protective coatings; stick to mild soap solutions.
Store the equipment appropriately:
- Keep in a dry, cool place out of direct sunlight.
- Ensure hoses are coiled properly to avoid kinks, which can lead to leaks.
Regular checks before the next use can save time and enhance functionality, ensuring everything is in top condition and ready for the next task.
Preventing weed regrowth between pavers post-cleaning
Apply a high-quality polymeric sand in the joints after cleaning to deter growth. This type of sand hardens when wet, forming a barrier that hinders new plants from taking root.
Regularly inspect the area for any signs of emerging greenery. Immediate action is crucial; manually pull out any plants before they establish themselves. I found that dedicating a few minutes weekly can save hours of extensive work later.
Utilising Mulch
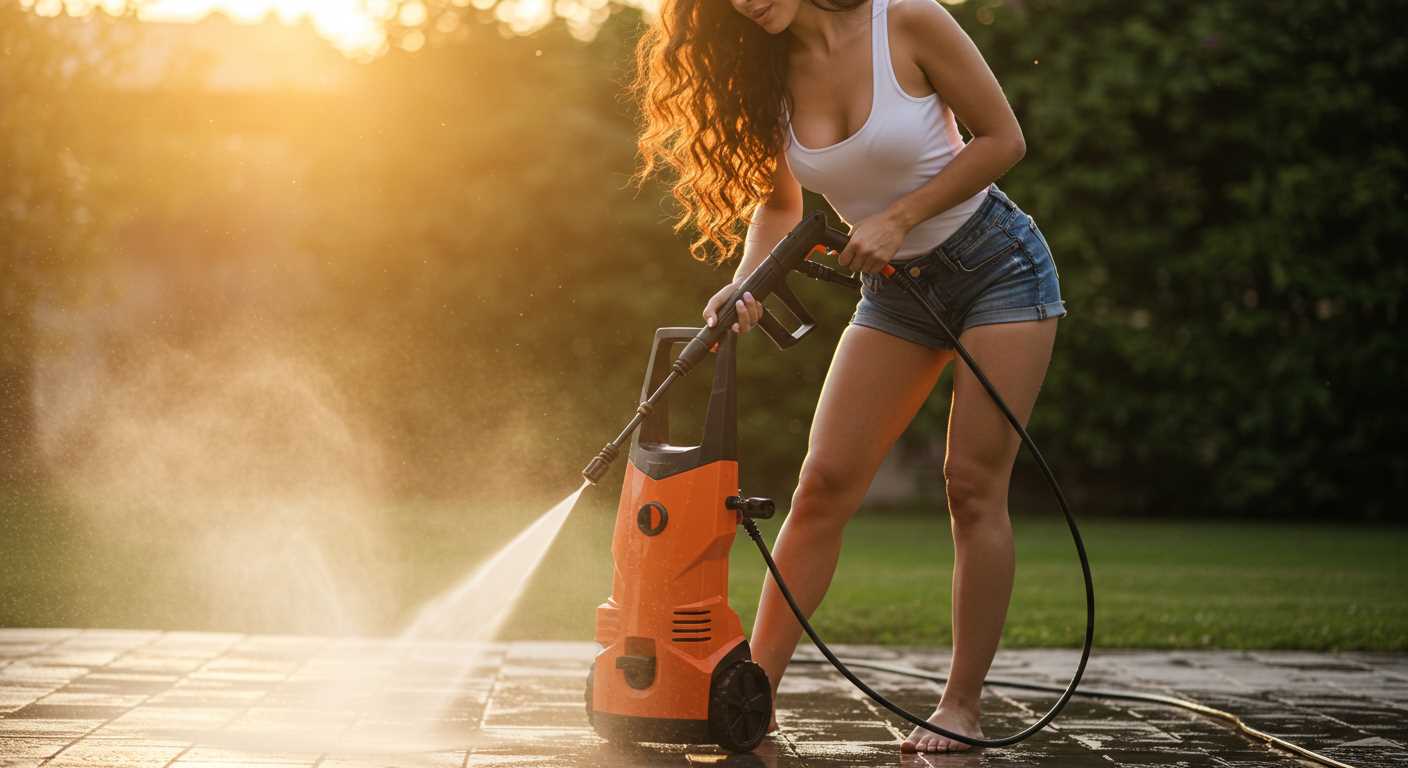
Incorporate decorative mulch around the edges of your stonework. This practice not only improves aesthetics but also blocks sunlight, thus inhibiting seed germination. Organic mulches, like wood chips, can decompose over time, enriching the surrounding soil.
Applying Pre-emergent Herbicides
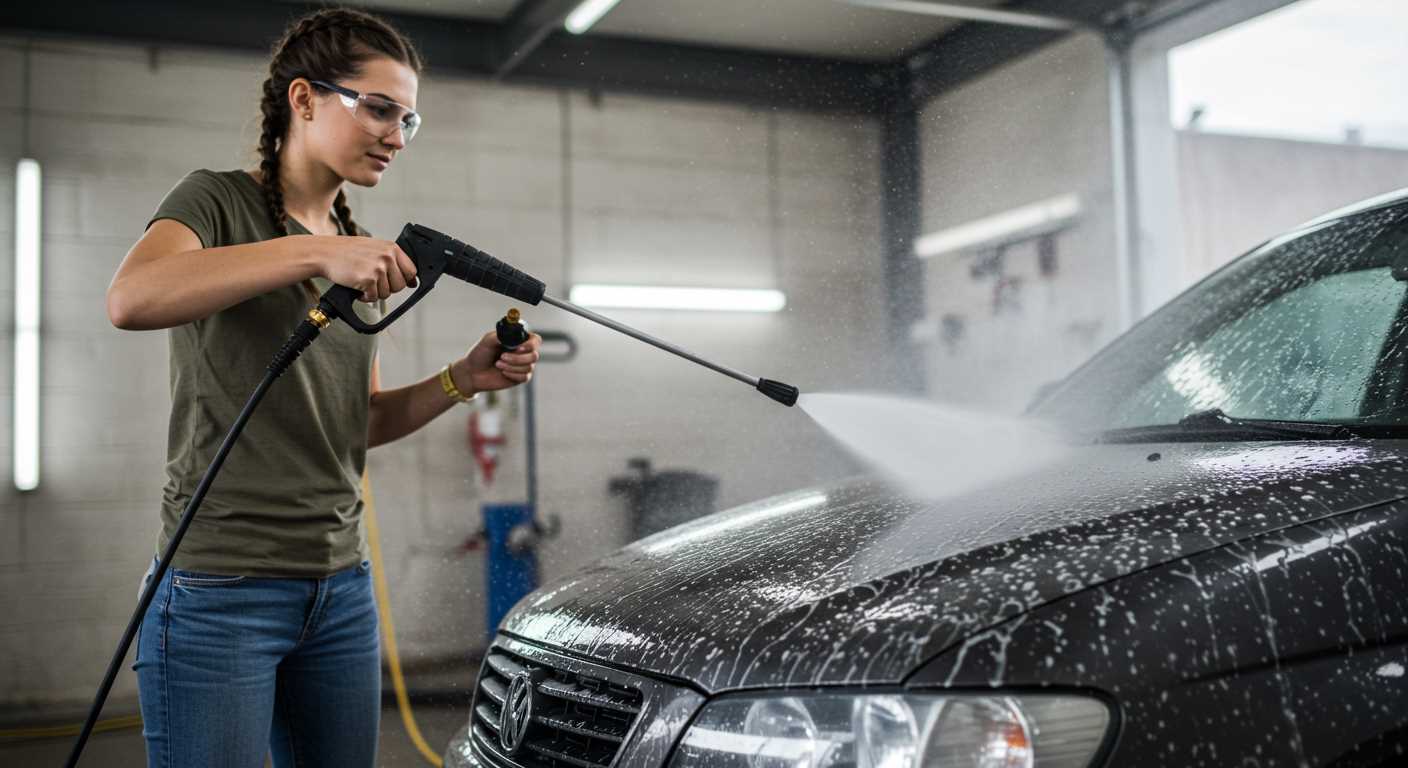
Consider applying a pre-emergent herbicide in spring. These products target germinating seeds, preventing them from developing. Be sure to select products that are safe for use around the pavers to avoid any unwanted side effects.
Regular maintenance and proactive measures will keep your outdoor spaces looking pristine while minimising the effort needed for future cleanings.


