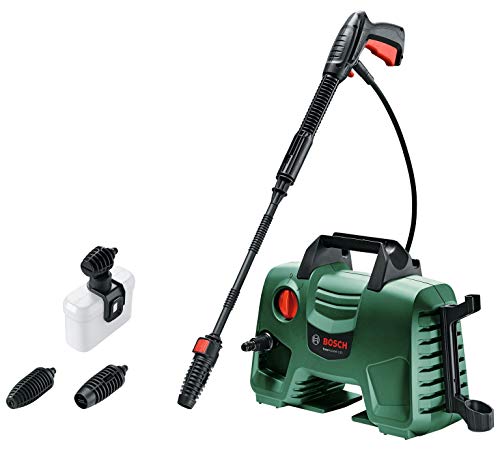



Begin this task by gathering all necessary tools: a wrench set, screwdrivers, a sealant or epoxy specific for plastics, and a cleaning cloth. First, ensure that the power source is completely disconnected from the unit to avoid any accidents. Carefully inspect the impacted area for visible fractures or missing pieces. If the damage is minor, a high-quality epoxy can be used to seal the affected spots.
Following the manufacturer’s guidelines, clean the area around the fault with alcohol or a suitable cleaner. This step is crucial as it ensures proper adhesion of the repair material. Apply the epoxy using a putty knife, making sure to cover the entire damaged region thoroughly. Allow the compound to cure as per the instructions on the packaging, which typically requires several hours.
Once fully set, sand the repaired area lightly to restore a smooth surface. Reassemble any parts that were removed during inspection and apply appropriate lubricants to keep moving components in top condition. Finally, conduct a test run to ensure the unit operates effectively without leaks or performance issues, ensuring everything functions as intended before regular use.
Repairing a Damaged High-Pressure Cleaning Unit
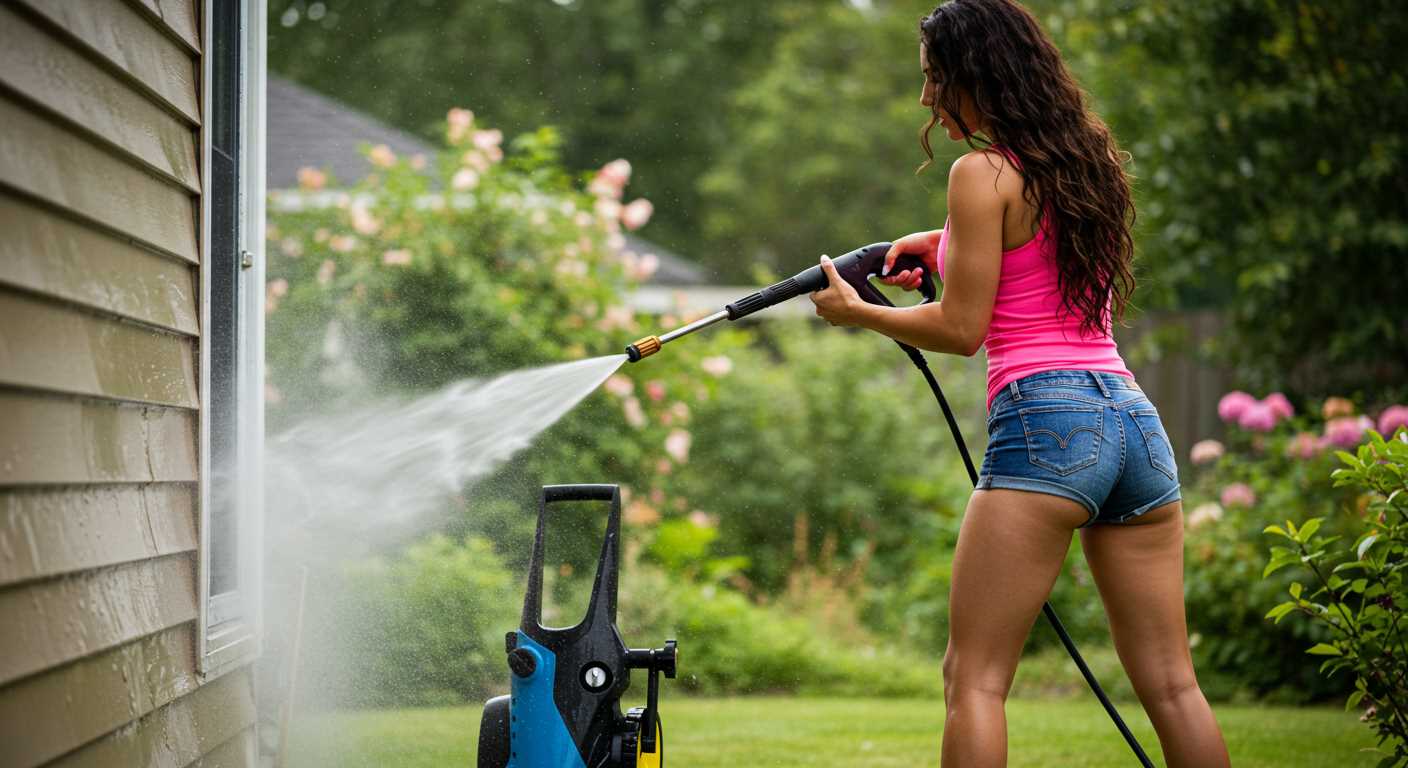
For an effective remedy, consider a high-strength epoxy or a specialised sealing compound. Clean the affected area thoroughly to remove any residue or dirt, then apply the adhesive according to the manufacturer’s instructions. Ensure a complete seal around the damaged region and allow adequate curing time before testing the equipment.
- Gather necessary tools: epoxy, sandpaper, cleaning cloths, and possibly a clamp.
- Lightly sand the surface around the damage to enhance adhesion.
- Mix the adhesive as specified and apply it generously to the crack.
- Clamp the area if required to hold the adhesive in place as it cures.
After the adhesive has set, test the unit by slowly powering it on. Watch for any leaks during operation. If all appears well, conduct a thorough cleaning session to ensure everything functions smoothly. Regular maintenance checks can prevent future issues.
Replacing Components
If the damage is extensive, replacing specific components might be necessary. Identify the parts that require substitution, such as seals or casing segments. Ensure you acquire the right size and specifications for your model.
- Turn off and unplug the machine before disassembling.
- Remove damaged parts carefully, taking note of their arrangement.
- Install new components, ensuring they are fitted tightly.
Finally, reassemble the unit, ensuring all screws and connections are secure. Run a test with water to check for leaks and confirm functionality. Keeping replacement parts on hand can minimise downtime, ensuring your cleaning tasks are not interrupted for long.
Identifying the Source of the Crack
First, visually inspect the unit for visible signs of damage, focusing specifically on areas prone to pressure buildup, such as joints and seams. Ensure the equipment is completely drained and disconnected before investigation.
Next, use a flashlight to check for hairline fractures, which can be hard to see without adequate lighting. Take note of any discoloration or bubbling in the material, indicating stress points or weakness.
Apply soapy water around the suspected areas; bubbles will form if there is a leak. This method is straightforward for isolating the source, particularly in challenging spots.
Additionally, consider the operating conditions. Overuse or high-temperature environments can exacerbate wear, leading to breakdowns. Take note if the machine has been run continuously beyond recommended limits.
Finally, the type of cleaning solution used can contribute to structural degradation. Verify if the chemicals correspond with manufacturer guidelines, as incompatible solutions can weaken materials.
Necessary Tools and Materials for Repair
A robust toolkit is fundamental for addressing issues with the washing machine unit. The required instruments and supplies include the following:
Tools
- Socket wrench: Essential for loosening and tightening bolts.
- Screwdriver set: Both flathead and Phillips types are necessary.
- Torque wrench: Ensures precision when securing connections.
- Pliers: Useful for gripping and manipulating components.
- Utility knife: Ideal for cutting through seals or gaskets.
- Measuring tape: For accurate measurements of any new parts to be installed.
Materials
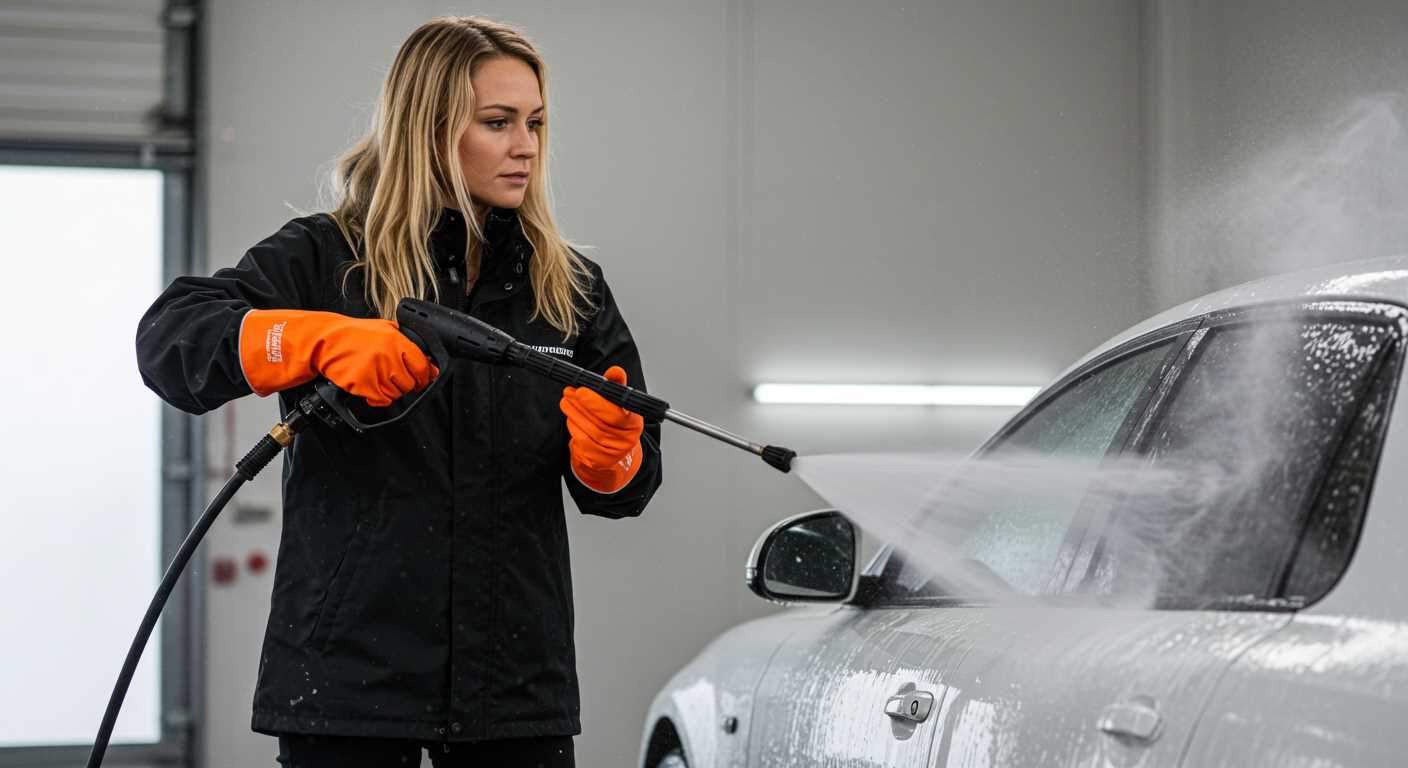
- Epoxy adhesive: A strong bond will secure any fractures.
- Replacement seals or gaskets: Necessary if the integrity of existing ones is compromised.
- Lubricant: Facilitates smooth reassembly of moving parts.
- Cleaning solution: To ensure all surfaces are free of debris before reassembly.
- Protective gloves and eyewear: Safety measures are important during repair tasks.
Having these items ready will make the entire process smoother and more efficient. Proper preparation is key to achieving a satisfactory outcome.
Steps to Drain and Clean the Pump
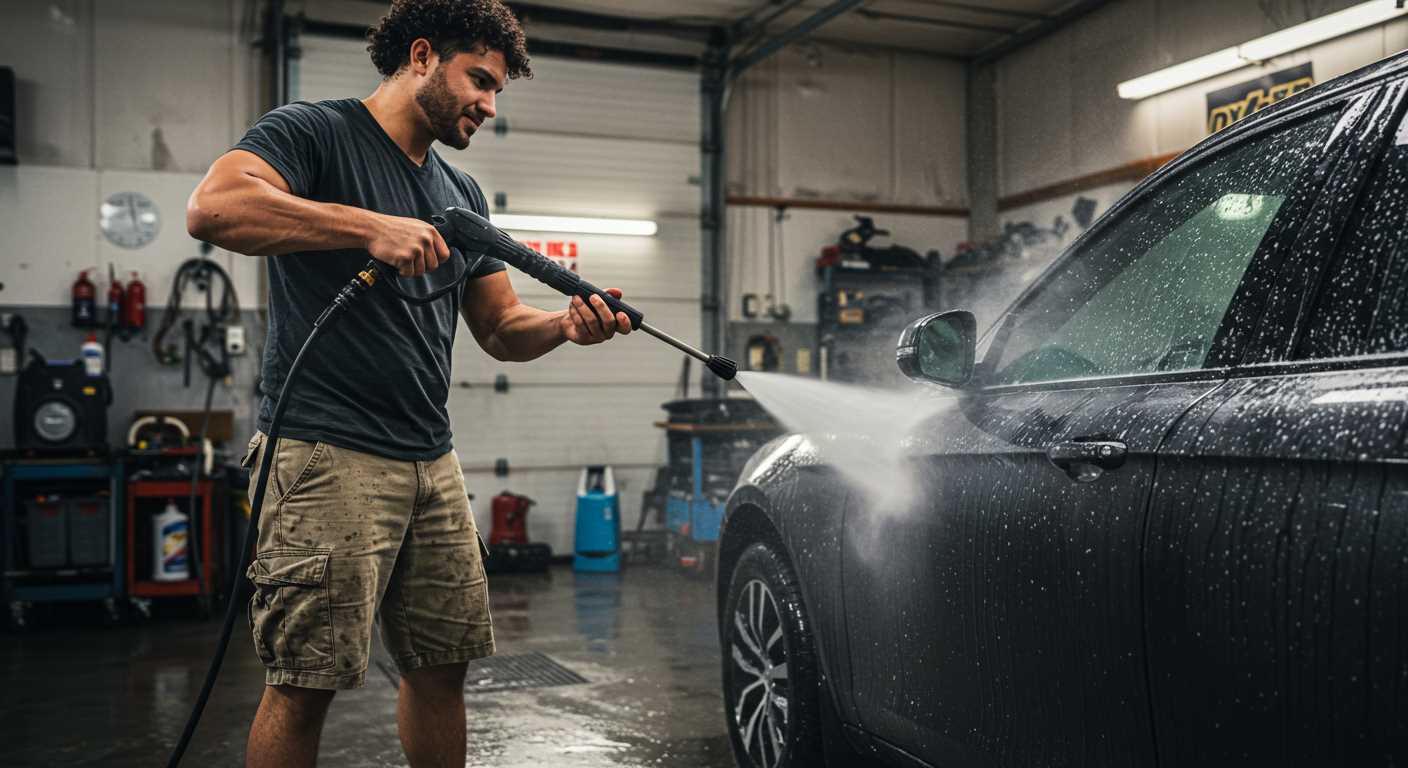
Begin by disconnecting the water supply and power source to ensure safety. Next, locate the drain plug, which is typically found on the lower part of the body. Position a suitable container beneath it to collect the residual fluid.
Carefully unscrew the drain plug and allow the liquid to exit completely. This step is crucial to prevent contamination during the cleaning process. After draining, inspect the removed plug and its O-ring for wear or damage; replace if necessary.
With the fluid expelled, focus on the interior of the housing. Use a soft brush or cloth to scrub away any debris or sediment. For stubborn deposits, a mild detergent mixed with water can help dissolve any build-up. Rinse thoroughly with clean water to remove any cleaning agents.
Examine the sealing surfaces and interior components for any signs of wear or damage. Pay particular attention to gaskets and seals, as these can affect performance if not in optimal condition.
After cleaning, reassemble the unit by replacing the drain plug securely. Ensure that no cross-threading occurs, which could lead to leaks. Finally, check all connections and fittings to guarantee everything is sealed properly before reconnecting the water supply.
Methods to Seal the Crack Permanently
For a lasting solution, consider applying epoxy resin or a specifically formulated adhesive designed for plastic or metal. These products create a robust bond, ensuring the integrity of the component is maintained. Start by thoroughly cleaning the area surrounding the fissure to remove any debris or residue, as this will promote better adhesion.
Once the surface is prepped, mix the epoxy according to the manufacturer’s instructions. Apply it generously to the damaged area, making sure to cover the crack completely. Use a small putty knife for precision and to smooth the surface. Allow the adhesive to cure for the recommended period to achieve maximum strength.
If the breach is substantial, reinforcing it with a backing material can enhance durability. A piece of cloth or a metal mesh can be embedded into the epoxy while it is still wet. This step will provide added support and help prevent future issues.
After curing, sand down the surface to create a seamless finish. If desired, paint or apply a sealant compatible with the material to improve aesthetics and provide extra protection against corrosion and moisture. Regularly inspect the area for any signs of wear or new damage to ensure the longevity of the repair.
Testing the Pump After Repair
After finishing the sealing process, it’s crucial to ensure everything is functioning properly. Begin by reconnecting all necessary hoses and components. Fill the reservoir with clean water, making sure that all connections are tight to prevent leaks. This initial step will help you monitor any potential issues as the unit operates.
Conducting a Preliminary Check
Once you have filled the reservoir, select a low-pressure setting on the machine. Start the engine and observe the system. Listen for unusual sounds, which may indicate misalignment or internal issues. Inspect for leaks around newly sealed areas while the machine is running. A steady flow of water is expected; any signs of drips point to inadequate sealing.
Performance Evaluation
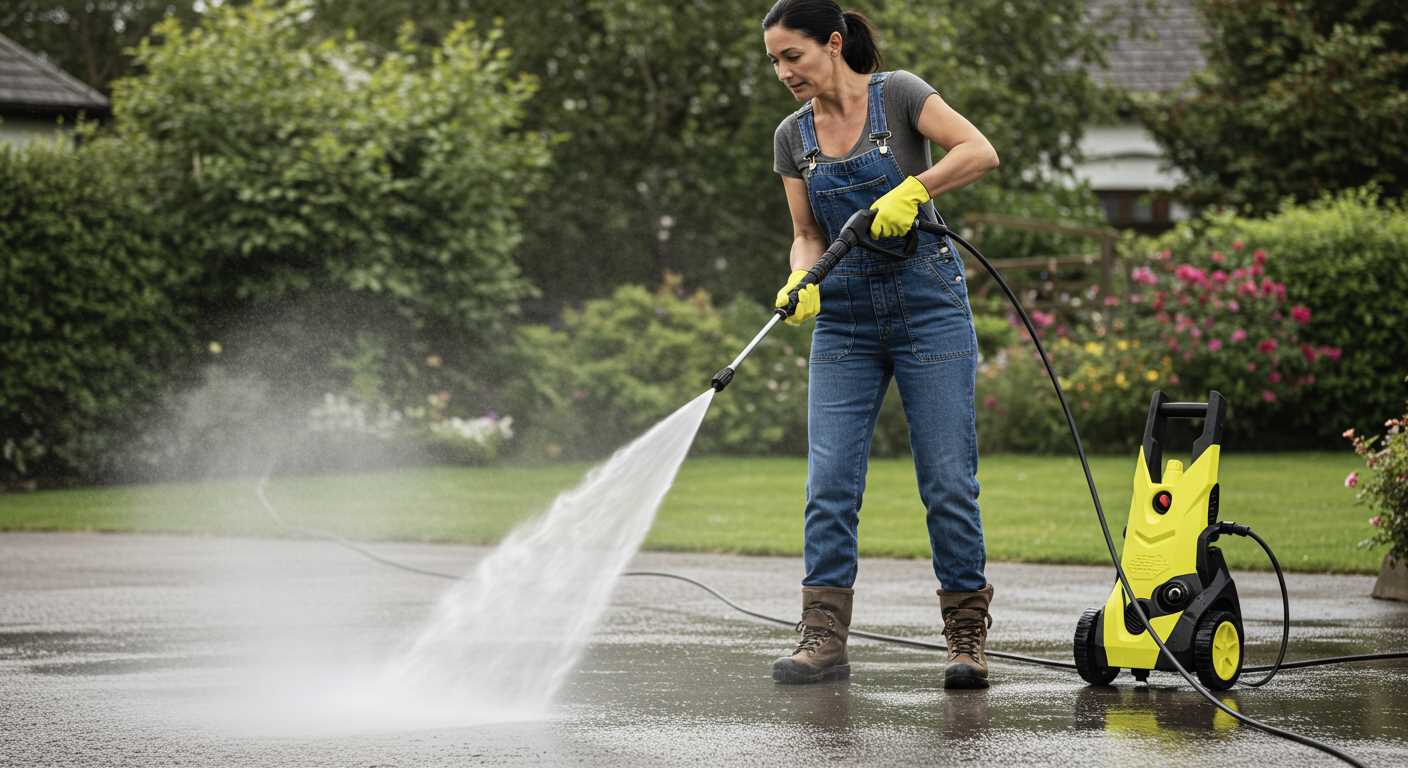
After the preliminary check, it’s time to assess the overall performance. Increase the pressure gradually while being attentive to the water output. A consistent stream without fluctuations reflects a successful repair. Check the pressure gauge to confirm it aligns with the manufacturer’s specifications. If discrepancies arise, it may require further investigation into the mechanical aspects.
For additional accuracy, conduct a load test during the operation. Set up a suitable nozzle that replicates the conditions of actual use. Monitor the machine under load for stability and efficacy. If it passes these tests without problems, it confirms that the sealing effort was successful and the unit is ready for normal tasks.
Preventative Measures to Avoid Future Cracks
To minimise the risk of damage in your cleaning equipment, the following methods are highly recommended:
Regular Maintenance
Perform routine checks on the system, ensuring all components are properly lubricated and free from debris. A well-maintained unit operates more smoothly, reducing strain on parts that may be prone to fractures.
Temperature Control
Always operate the unit within the recommended temperature range. Avoid using hot water above specified limits, as excessive heat can weaken materials and lead to fractures over time.
Use Quality Chemicals
Opt for cleaning agents that are specifically formulated for your equipment. Harsh chemicals can corrode materials, leading to compromised structural integrity. Always verify compatibility with the manufacturer’s guidelines.
Proper Storage
Store the equipment in a climate-controlled environment. Extreme temperatures and humidity can cause materials to expand and contract, increasing the risk of fissures. Keep the unit in a dry and moderate-temperature space when not in use.
Avoid Pressure Surges
Utilise a pressure regulator to prevent sudden spikes in pressure during operation. Abrupt changes can stress connections and cause harmful fractures. Maintaining steady pressure can prolong the lifespan of the system.
Training and Usage Techniques
Ensure all users are properly trained in the use of the equipment. Improper handling can inadvertently lead to stress points and subsequent cracking. Following best practices is essential for longevity.
| Action | Benefit |
|---|---|
| Regular Maintenance | Reduces wear and tear |
| Temperature Control | Prevents material weakening |
| Use Quality Chemicals | Protects against corrosion |
| Proper Storage | Minimises expansion and contraction |
| Avoid Pressure Surges | Reduces stress on components |
| Training and Usage Techniques | Enhances proper handling |
Implementing these strategies will significantly diminish the likelihood of encountering material failures in your cleaning tools, protecting your investment and ensuring effective performance for years to come.
When to Consider Professional Assistance
If the situation appears too complicated or time-consuming, consider hiring an expert. Instances involving significant leaks or extensive damage generally necessitate professional assessment. A seemingly minor fissure may mask underlying issues, which experts can identify during thorough inspections.
Should you lack the required tools or feel ill-equipped to perform the task safely, seeking help is advisable. Working with high-pressure equipment demands proper knowledge, and attempting repairs without adequate skills can lead to further complications or personal injury.
Furthermore, if any doubts arise regarding the suitability of the repair methods or materials used, consulting a specialist can provide reassurance. They possess advanced techniques and can often accomplish repairs more efficiently, saving valuable time and ensuring proper function.
Lastly, if you need to ensure compliance with warranty conditions or safety regulations, a professional may offer the necessary documentation and expertise. This guarantees that any work completed meets industry standards and maintains the integrity of the machine.


