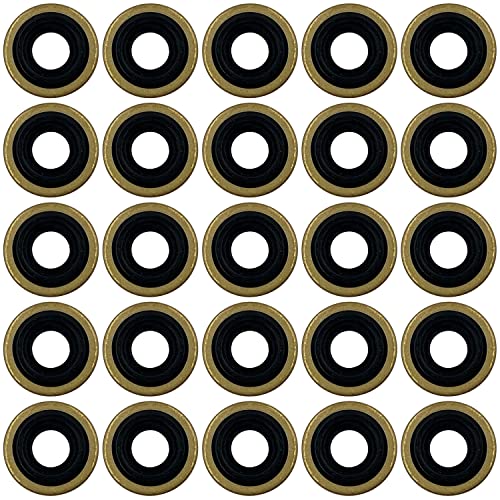

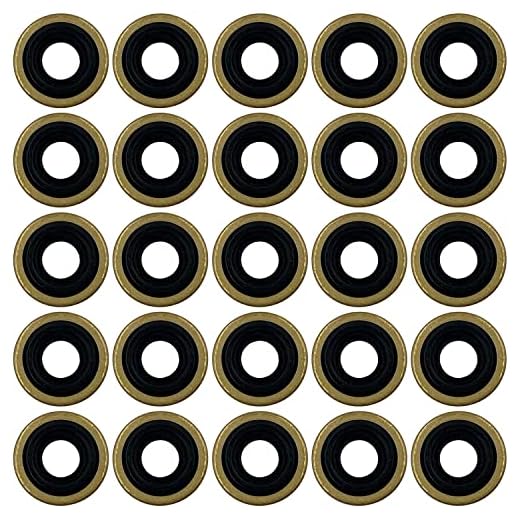

Addressing malfunctioning water delivery units requires immediate attention. Begin by detaching the component from the machine, ensuring you have the correct tools–typically a socket set and a screwdriver. Once it’s free, inspect for visible damage or wear. Seals often degrade, leading to leaks. Replacing worn gaskets is a straightforward yet effective solution.
Carefully check the internal components for signs of corrosion or clogs. A blocked inlet filter can drastically reduce performance. Clean it thoroughly with a brush and a mixture of vinegar and water to dissolve any mineral deposits, restoring optimal flow.
If performance issues persist, the issue might lie with the actual components inside the unit. Assess the valve mechanisms; they can become stuck or malfunction due to debris. Removing and cleaning these parts can resolve many common issues. In severe cases, consider replacing faulty valves to ensure your equipment operates smoothly once more.
Troubleshooting and Fixing Issues with Your Cleaner’s Mechanism
If the machine fails to generate adequate water pressure, inspect the inlet filter for blockages. Remove and clean any debris using a soft brush. This simple action can significantly enhance performance.
Next, check the connections to ensure they are securely attached. Loose fittings might lead to pressure drops, so tightening them often resolves the issue. If leaks persist, consider replacing any rubber washers or O-rings that appear worn or damaged.
Addressing Noisy Operation
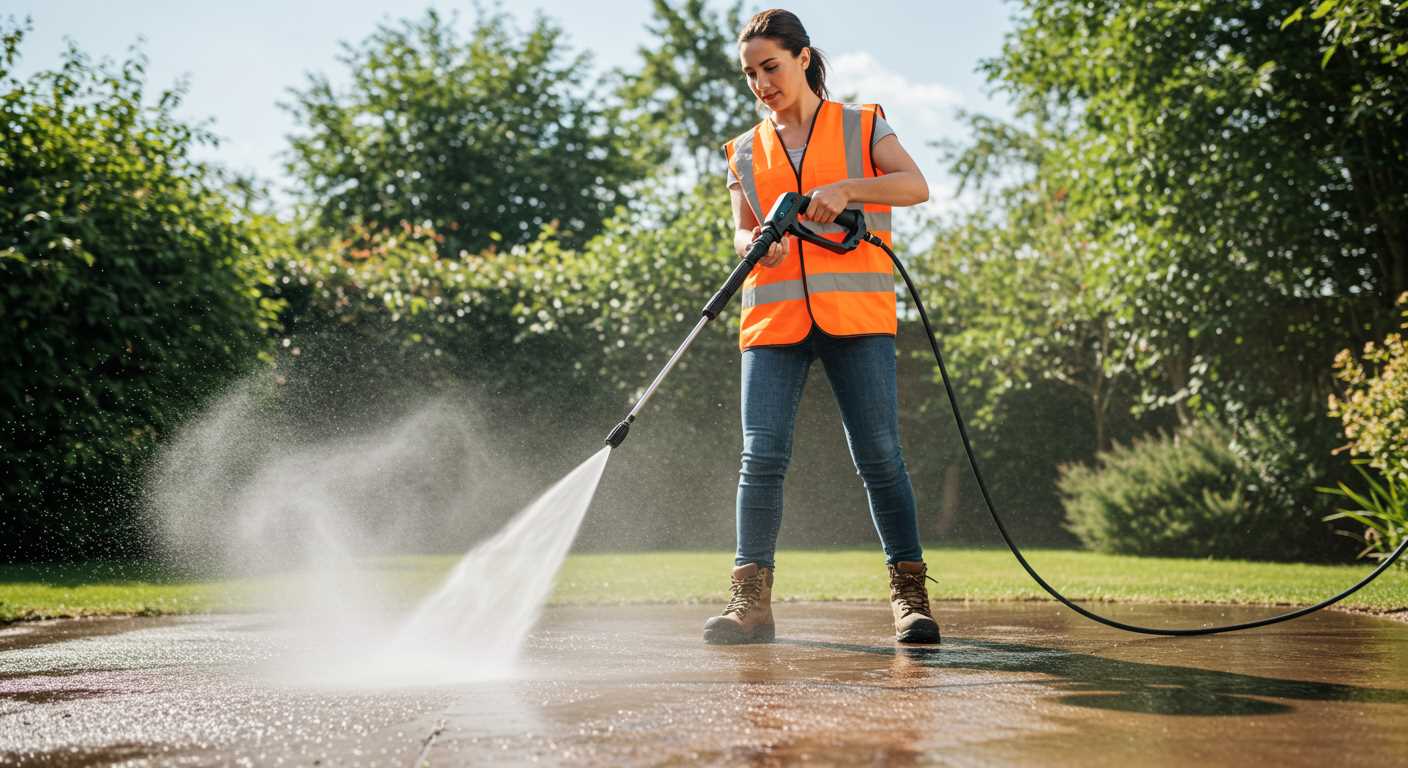
Unusual sounds can indicate an internal issue. First, listen carefully to distinguish between a rattling sound and a grinding noise. Rattling may be due to loose components, which can be tightened, while grinding often points to wear in bearings or seals.
For grinding noises, take apart the unit carefully. Examine the internal parts, focusing on bearings and seals for signs of wear. Replacing these components may restore quiet and smooth operation.
Resolving Starting Issues
If starting proves problematic, begin by examining the fuel system. Ensure your cleaner has fresh fuel and check the fuel lines for clogs. Old fuel can lead to poor ignition.
Pay attention to the spark plug as well. A worn plug will impede starting, so cleaning or replacing it often makes a difference. Finally, verifying the choke operation ensures the engine gets the proper air-fuel mixture for starting.
Identifying Common Pressure Washer Pump Issues
Check for leaks around the seal and connections; signs of water drips indicate seal wear. If you notice a decrease in output, it might stem from clogged filters or a damaged nozzle. Noisy operation often points to air pockets within the system; ensure the inlet is submerged or inspect for air leaks.
Inconsistent pressure can signal issues with the unloader valve. Test its function by observing whether it maintains a steady stream during operation. Excessive vibration often relates to misalignment, requiring examination of component mounting and frame stability.
Table below summarises typical problems and their indications:
| Issue | Symptom | Potential Cause |
|---|---|---|
| Leakage | Water pooling near the unit | Worn seals |
| Low Output | Weak spray | Clogged filter or damaged nozzle |
| Noisy Operation | Unusual sounds during use | Air in the system |
| Inconsistent Pressure | Varying spray intensity | Faulty unloader valve |
| Vibration | Excessive shaking | Misalignment of components |
Listening for sounds can offer clues too; strange noises can denote mechanical wear. Regular inspections aid in early detection of these issues, ensuring longevity of the cleaning device. Always handle necessary replacements promptly to prevent further damage.
Gathering Necessary Tools and Replacement Parts
For a successful fix, assemble the following tools: a socket set, adjustable wrench, flat and Phillips screwdrivers, pliers, and a torque wrench. These will aid in the disassembly and reassembly of the unit with precision.
Specific Replacement Components
Identify the parts required for the task. Common replacements include seals, O-rings, valves, or entire units depending on the damage. Reference the model’s manual to ensure compatibility.
While purchasing components, I recommend sourcing from authorised dealers or reputable online suppliers. This ensures authenticity and quality, preventing future complications. If unsure, compare part numbers or consult technical support from the manufacturer.
Safety Equipment
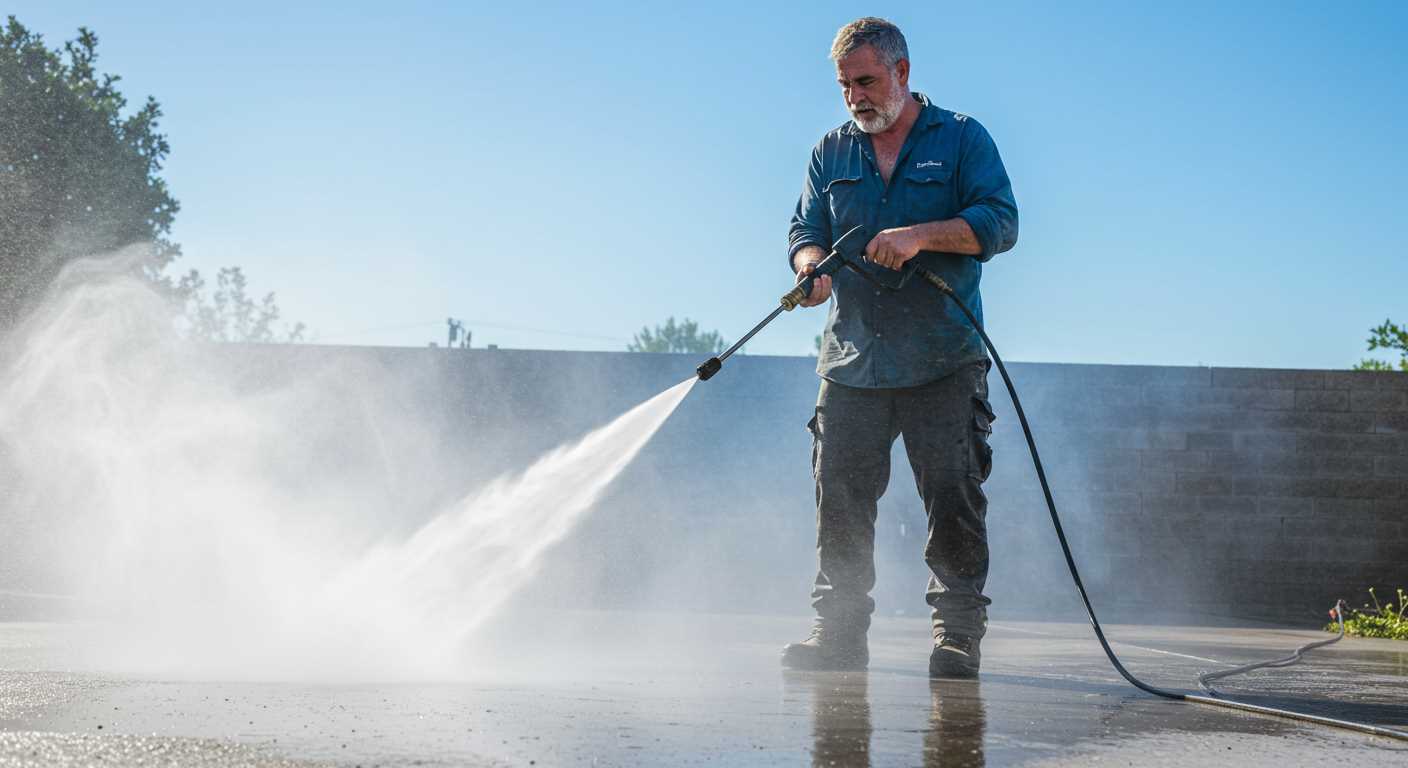
Don’t overlook personal safety. Use protective gloves and safety goggles during the process. This practice prevents injury from sharp components or accidental splashes of cleaning fluids.
Gathering the right tools and components beforehand streamlines the task, allowing for a more focused and efficient approach to addressing the issues at hand.
Draining Oil and Disconnecting the Pump from the Engine

Begin by locating the oil drain plug, typically situated at the bottom of the motor casing. Position a suitable container beneath it to catch the old oil. Using a wrench, carefully unscrew the drain plug, allowing the oil to flow completely into the container. Ensure that all remnants of oil are extracted for optimal performance.
Once the oil is drained, replace the drain plug securely to prevent any leaks during the next steps. Next, disconnect the high-pressure hoses attached to the unit, ensuring to relieve any residual pressure beforehand by pulling the trigger on the spray gun.
Proceed to detach the pump from the engine. Use an appropriate socket to remove the bolts securing the pump to the motor. Keep track of the washers and nuts to avoid any loss. Gently lift the assembly away from the engine, taking care not to damage any connecting cables or pipes during the process.
Check for any signs of wear on the gaskets or seals during disconnection, as this could indicate further maintenance needs. This step ensures all potential issues are addressed as you move forward with further assessments and repairs.
Inspecting and Replacing Seals and O-Rings
Begin by carefully inspecting all seals and O-rings for signs of wear, damage, or leaks. A magnifying glass can help identify small cracks or deformities. Focus on critical points such as the inlet and outlet connections as well as the cylinder assembly.
The following steps will guide you during the replacement process:
- Remove the existing seals and O-rings using a flat-head screwdriver or a similar tool to avoid damaging the surrounding components.
- Clean the grooves where the seals sit. It’s vital to remove any debris or remnants from the previous components to ensure proper installation of the new parts.
- Substitute the old seals and O-rings with new ones, ensuring they are the correct size and type for your equipment. Always refer to the manufacturer’s specifications or a replacement guide when selecting new parts.
- Lubricate the new seals lightly with a compatible oil or grease. This step helps facilitate easier installation and improves sealing capabilities.
- Carefully fit the new seals into place, ensuring they sit evenly within their grooves without twisting. Pay attention to the orientation if the seals are directional.
After replacing the components, reassemble any parts removed during the inspection. Test for leaks by running the machine at low pressure initially, observing closely for any signs of moisture around the seals.
Regular monitoring of these components can prevent future issues, extending the life of your equipment and maintaining optimal performance.
Cleaning and Flushing the Pump Components
Begin with a thorough disassembly of the components. Ensure each part is accessible and free from any residue that could inhibit performance. Use a gentle degreaser and a soft brush to eliminate built-up grime and dirt from the casing and internal channels.
Next, prepare a mixture of warm water and mild detergent. Submerge all non-electrical components into the solution to dissolve stubborn grime. Allow them to soak for at least 15 minutes.
After soaking, use a soft cloth or scrub brush to wipe the parts clean. Pay particular attention to the areas around seals and gaskets where debris can accumulate. Rinse thoroughly with clean water to remove any soap residue.
Flush internal passages using clean water to ensure no contaminants are left behind. You can use a garden hose or a handheld spray nozzle. Ensure to direct water through all ports and openings to cleanse every section effectively.
For stubborn blockages, employ compressed air to blow out any remaining crud from hard-to-reach areas. Make sure to wear safety goggles during this process to protect your eyes from debris.
Once cleaned, inspect all components for wear or damage. Pay close attention to seals and O-rings; any imperfections should be replaced to maintain a proper seal. Allow all pieces to dry completely before reassembly.
- Always follow manufacturer instructions for cleaning to avoid damaging components.
- Dispose of any cleaning materials and debris responsibly.
- Use protective gear to prevent injury while working with cleaning solutions and compressed air.
Reassembling the Pump and Ensuring Proper Alignment
Begin by placing the cleaned components back together systematically. Ensure that any seals or O-rings are seated correctly in their respective grooves before assembling parts. Misalignment at this stage can lead to leaks or malfunction during operation.
Next, carefully align the pump body with the mounting brackets of the engine. It’s essential that all bolt holes align perfectly. Insert bolts loosely at first to prevent binding. Once all bolts are in place, tighten them incrementally, alternating between them to evenly distribute pressure and avoid warping the assembly.
Check the position of the inlet and outlet ports as you reassemble each section. Using a straight edge or ruler can help confirm alignment to avoid any restriction in water flow. Keep an eye on the crankshaft; it should rotate freely without any resistance. If you notice any stiffness, disassemble again to identify the misaligned parts.
After securing the main assembly, connect the hoses, ensuring that they are not kinked or twisted. This will ensure unobstructed water flow. Tighten hose clamps to secure connections, being cautious not to overtighten and damage the fittings.
Finally, perform a visual inspection of the overall assembly. Look for any gaps or misaligned parts before connecting the assembly back to the power source. Once satisfied with the positioning, you are ready to proceed to the testing phase to confirm functionality.
Testing the Equipment After Fixing
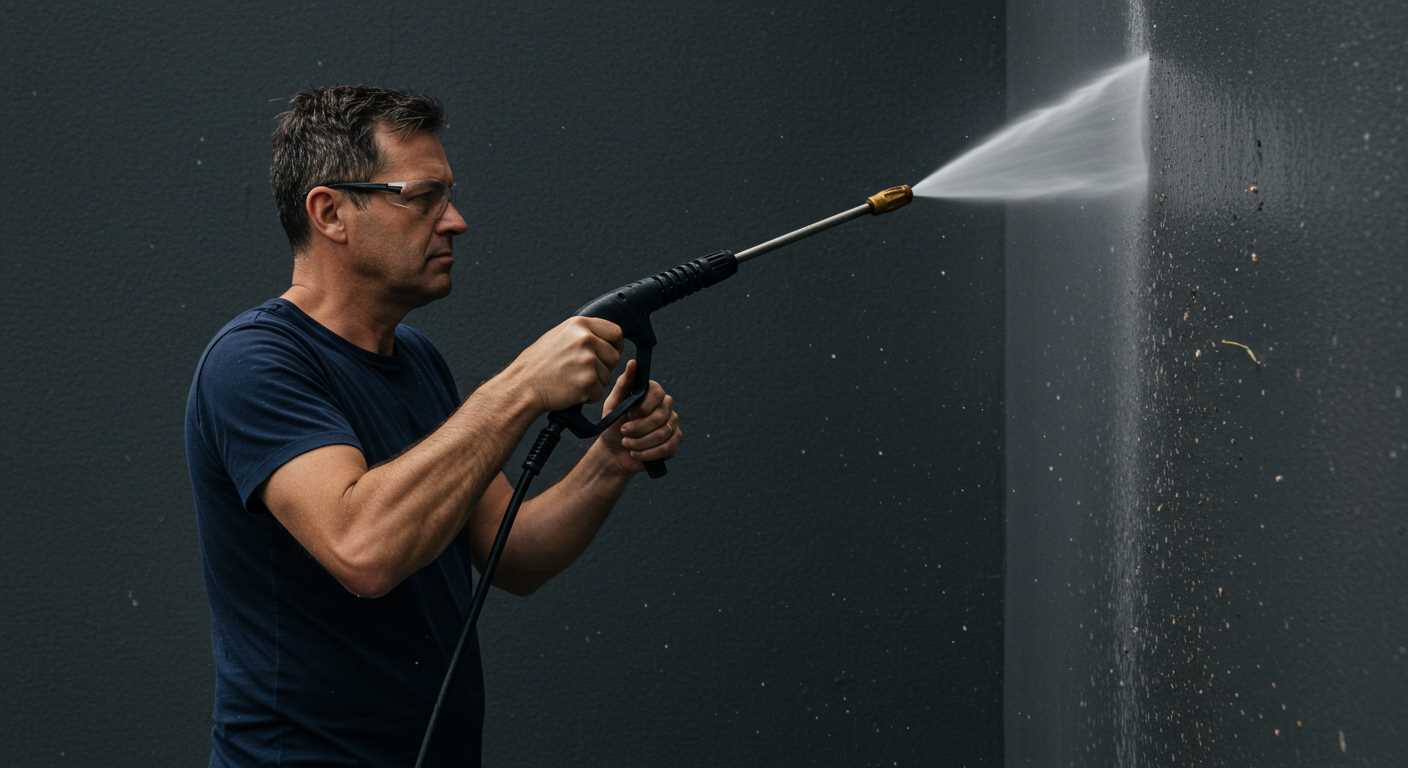
Begin the assessment by reconnecting your unit to a water source. Ensure the hose is properly attached to prevent leaks. Activate the water and allow it to fill the system for approximately one minute before starting the engine. This will prime the interior components and eliminate air pockets.
Start the motor and observe for unusual noises or vibrations. If it runs smoothly, proceed to check the flow of water at the nozzle. Aim at a suitable surface and engage the trigger. Monitor the output; it should be consistent and powerful without sputtering. If you encounter any interruptions, double-check the installation of internal components.
Checking for Leaks
While the machine is operational, inspect all connections for any signs of leakage. Pay particular attention to joints and seals, which are common culprits. If you notice any fluid escaping, shut down the system immediately and address the issue, as this can cause further damage.
Performance Evaluation
After confirming stability and leak-free operation, evaluate the cleaning efficiency. Use a variety of surfaces to assess the versatility. Watch for any drop in performance or pressure while moving between tasks. A well-functioning unit should adapt without issues. If you notice a decline, return to your prior steps to ensure all modifications were executed correctly.

