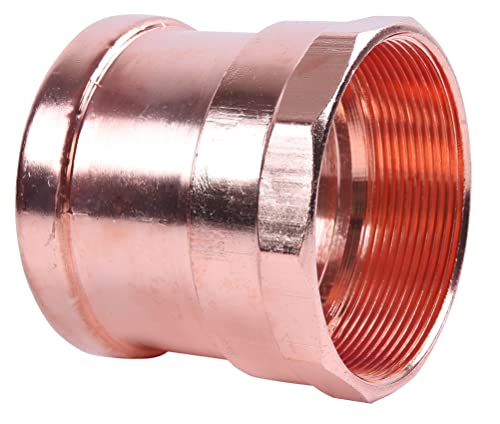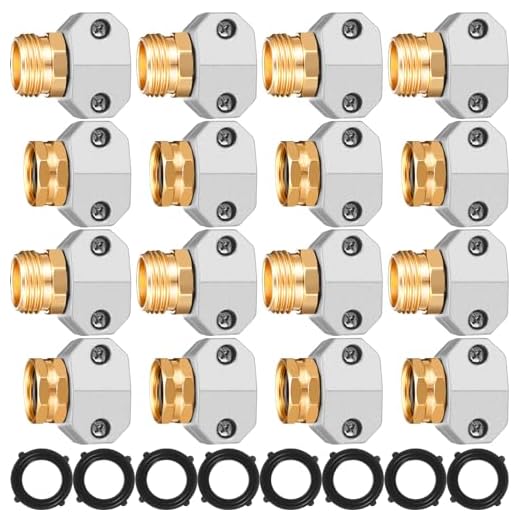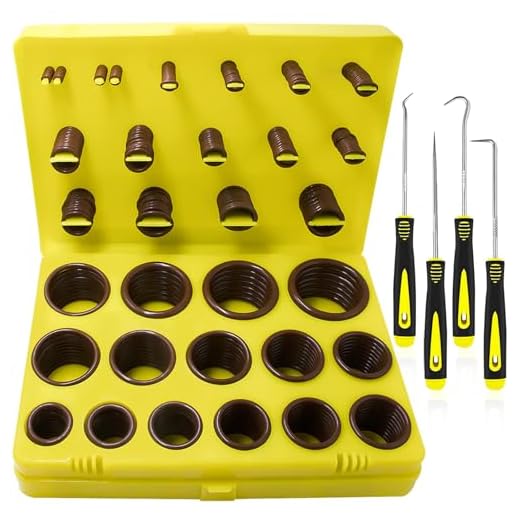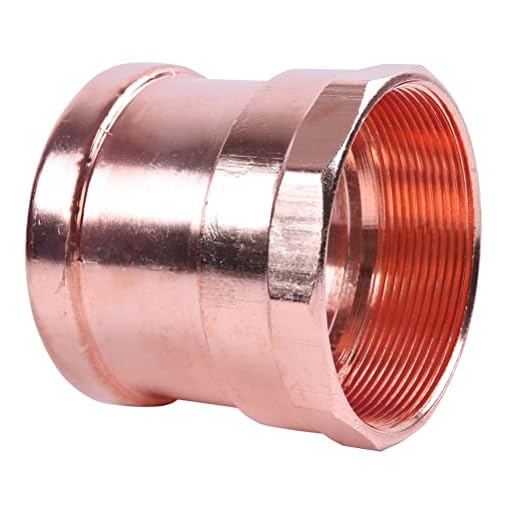


Examine the seals and O-rings. Cracked or worn-out seals often lead to unwanted drips. These components are typically inexpensive and can be easily replaced. For best results, remove the old part carefully and ensure the new one fits snugly.
Next, check the connections and couplings. Loose fittings can also contribute to water escaping. Tighten any loose screws or clamps, ensuring a secure attachment. Sometimes, a simple re-tightening can solve the issue without further intervention.
If the problem persists, inspect the hoses for damage. Look for signs of wear, such as bulges or tears, which compromise their integrity. If you spot any issues, replacing the hose is often a straightforward solution that can greatly enhance performance.
Additionally, consider the pump and its components. If you uncover any cracks or corrosion, it might be necessary to replace the entire unit. Always refer to the manufacturer’s guidelines for compatible parts and installation instructions.
Lastly, maintain regular upkeep to prevent future issues. Clean the equipment after each use, store it properly, and conduct routine inspections. This proactive approach ensures longevity and optimal performance.
Repairing Leaks in Your Cleaning Device
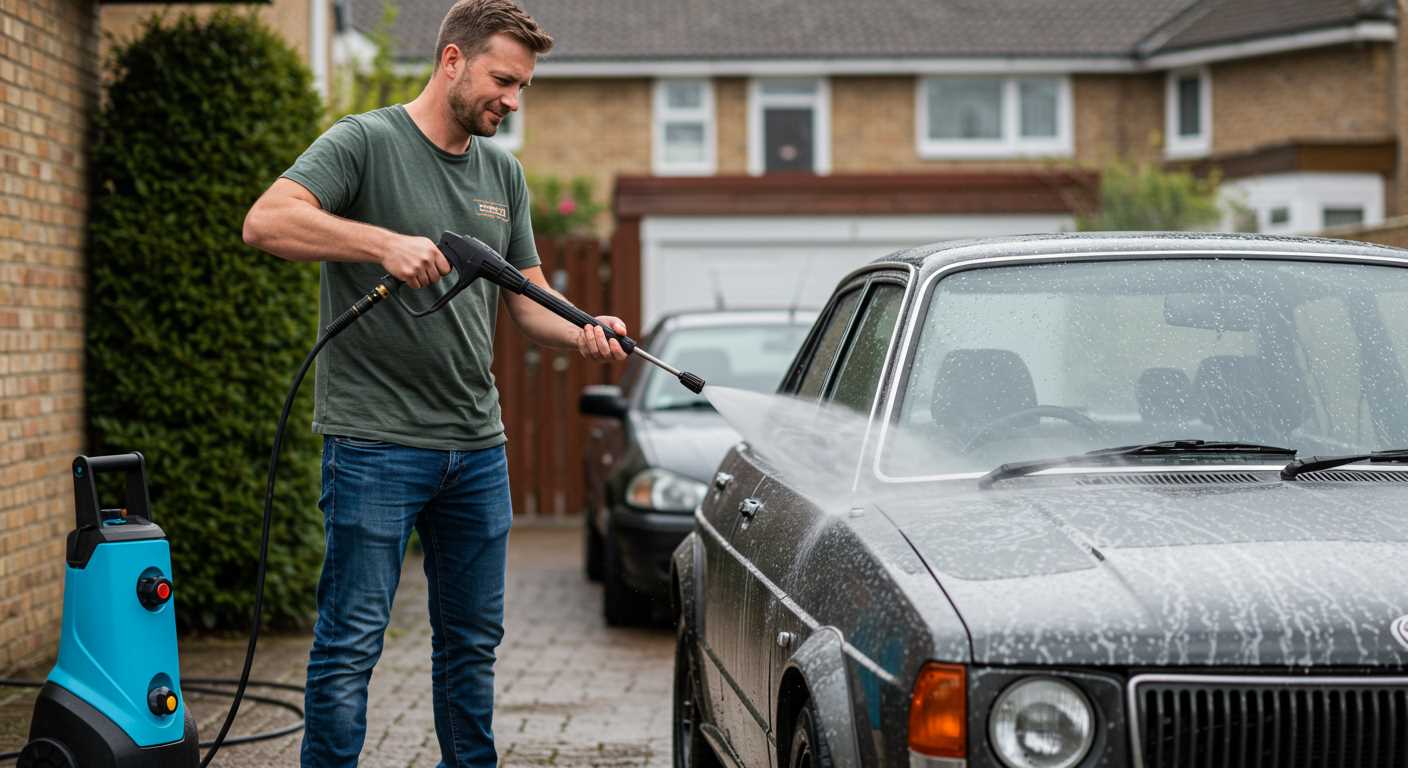
Inspect the hose connections first. Ensure that they are tightened securely to prevent any fluid from escaping. If you notice any signs of wear, replace the washers within the connectors to restore a tight seal.
Identify Faulty Seals
Detaching the components is necessary to check the O-rings and seals for damage. A worn or cracked seal can easily lead to issues. Replace any damaged O-rings with new ones to eliminate the source of the issue. Ensure you lubricate the new seals lightly with petroleum jelly to enhance longevity.
Examine the Pump Assembly
For leaks near the pump, carefully inspect the assembly for cracks or loose bolts. If the casing appears damaged, it might require replacement. Check the pump’s internal components as well, as wear can lead to inefficiencies and promote leakage. Seek replacements for any worn parts to restore functionality.
Identifying the Source of the Leak in Your Karcher
Start by inspecting the unit for visible signs of moisture accumulation. Pay particular attention to the areas around fittings, hoses, and connection points. These are common areas for issues to develop.
Check the hoses for cracks or damage. A simple test is to run your hand along the length of each hose to feel for any rough spots or irregularities. If you notice any wear, replacing the hose may be necessary.
Next, examine the fittings. Loose connections often result in water escaping. Use a wrench to tighten any loose fittings carefully. Avoid overtightening, as this can cause additional damage.
Inspect the water inlet as well. A malfunctioning valve can lead to dripping or continuous water flow. Remove the valve and check for blockages or signs of wear, which could necessitate a replacement.
Don’t overlook the pump. If you detect water seeping from the bottom, this could indicate a problem within the pump itself. Listen for unusual noises during operation, as this can also signal an internal fault.
Lastly, conduct a pressure test. If the pressure drops unexpectedly, this could suggest a hidden leak in the system, warranting a more thorough investigation. Create a simple table to log your findings during the inspection process to track potential problem areas.
| Component | Issue | Observation |
|---|---|---|
| Hoses | Cracks or damage | Yes/No |
| Fittings | Loose connections | Yes/No |
| Water inlet | Blockage or wear | Yes/No |
| Pump | Internal fault | Yes/No |
| Pressure test | Pressure drop | Yes/No |
By following these steps, you’ll pinpoint the exact location of the issue, making the process of addressing it much more straightforward. After identifying the problem, move on to implementing the necessary solutions efficiently.
Tools and Materials Needed for Pressure Cleaner Leak Fixing
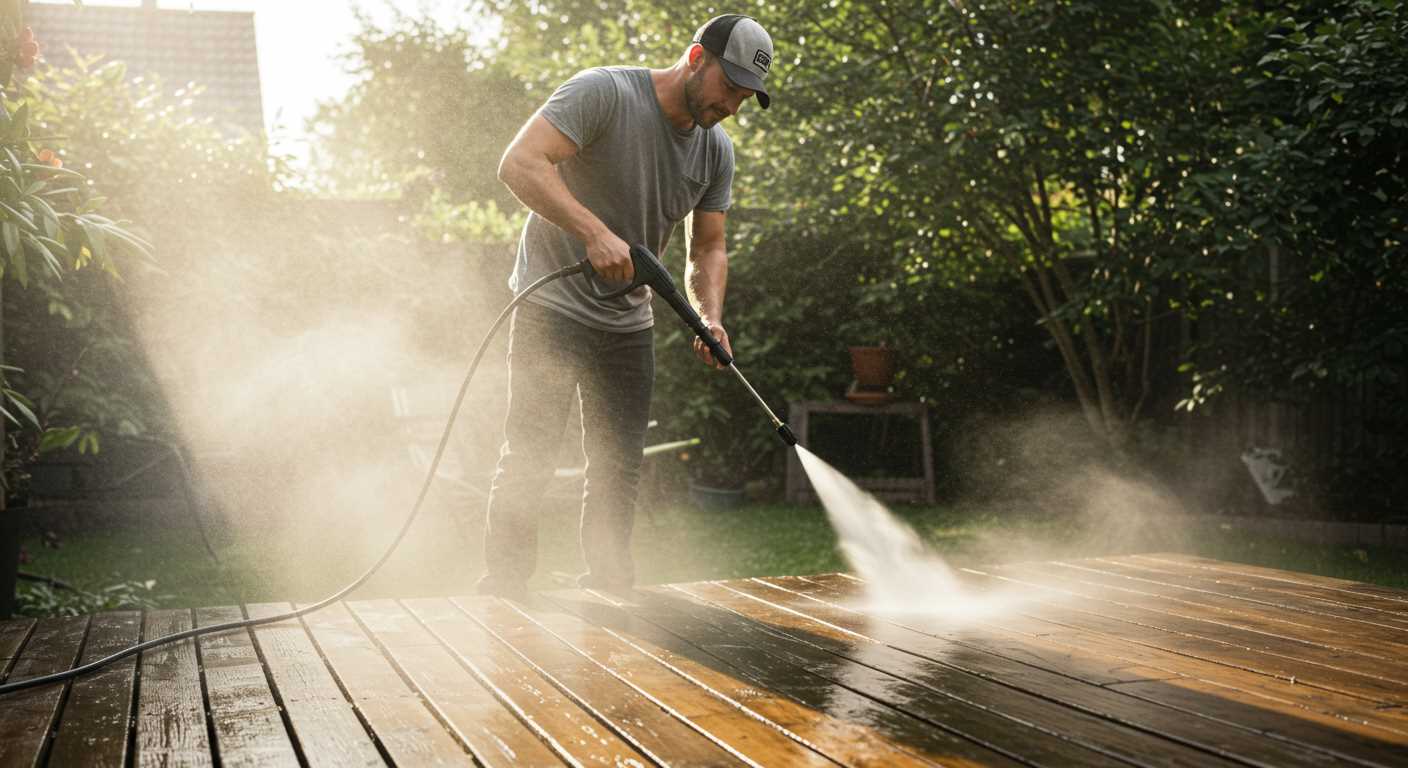
Gather the following items to effectively address issues with your cleaning device:
Hand Tools
A set of wrenches, preferably adjustable, will assist in loosening and tightening connections. Pliers are essential for gripping and manipulating smaller components. A flat-head and a Phillips screwdriver will handle various screws and fasteners. Don’t forget a utility knife for cutting worn hoses or seals.
Replacement Parts
Ensure access to compatible O-rings, gaskets, or seals specific to your model, as these components often wear out and cause leaks. Having a new pressure hose handy can save time if the existing one is compromised. A high-quality sealant or adhesive may also be required for reassembling parts that have been removed.
Additionally, gather cleaning supplies like a cloth or rag to wipe surfaces clean and prevent debris from entering during the process. A drainage pan is useful for catching any residual fluid when hoses are detached. Having a container for small parts will keep your work area organised.
Step-by-Step Guide to Disassembling the Pressure Washer
First, ensure the device is disconnected from the power source to avoid any accidents. This includes unplugging it from the electrical outlet and disconnecting any hoses or accessories.
Gather Required Tools
Collect necessary tools, typically a screwdriver set, pliers, and possibly a wrench. A container for storing small parts will also be handy.
Remove the Housing
Begin by removing screws from the housing cover. Typically, these will be located at the rear or sides of the unit. Use a screwdriver to gently pry off the cover once the screws are removed, taking care not to damage any clips or tabs that may be holding it in place.
Next, identify and disconnect any visible wires that connect to the internal components. Make sure to take a photo or note the connections for reassembly later.
Carefully set the housing aside, ensuring it does not come in contact with any dirt or debris to maintain cleanliness.
Access Internal Components
With the housing removed, inspect the internal parts, including the pump and motor assembly. Depending on the design, you may need to detach additional screws or fasteners. Remove any clamps that secure hoses to gain full access.
Be particularly cautious while handling the motor and pump connections. Mark or label any connections you might need to reassemble in their original locations–this will save time during reconnection.
Keep track of how components fit together, examining seals and gaskets for wear or damage.
After thoroughly inspecting the internal mechanisms, you can proceed to replace any damaged parts or perform needed maintenance. Reassembly will follow, mirroring the disassembly process to restore the unit to working condition.
Replace Worn Seals and O-Rings
Replacing damaged seals and O-rings is a straightforward task that significantly enhances the longevity of your equipment. Follow these steps to effectively perform the replacement.
- Disconnect the unit from the power source and detach the water supply.
- Identify the specific components requiring new seals or O-rings. Typically, these are found in areas like the spray gun, hose connections, and the pump assembly.
- Use a flathead screwdriver to gently pry out the old seals and O-rings. Take care not to scratch or damage the housing as you remove them.
- Clean the grooves thoroughly, removing any debris or leftover material. This ensures a proper fit for the new seals.
- Select high-quality replacement seals and O-rings that match the dimensions of the originals. Consult your manual or measure the old parts if necessary.
- Apply a thin layer of silicone grease to the new components. This aids in proper seating and prevents tearing during installation.
- Carefully place the new seals and O-rings into their respective grooves. Ensure they sit evenly and are not twisted.
- Reassemble the unit, reconnect the water supply and power source, and check for proper operation.
By attending to these seals regularly, you’ll maintain efficient functioning and avoid future complications. Keeping a set of replacement parts on hand can save time during future maintenance sessions.
Checking and Fixing the Hose for Leaks
First, examine the entire length of the hose for visible signs of wear and damage. Look closely for cracks, bulges, or frayed areas. Pay attention to the connections, as these are common weak points.
Testing the Hose
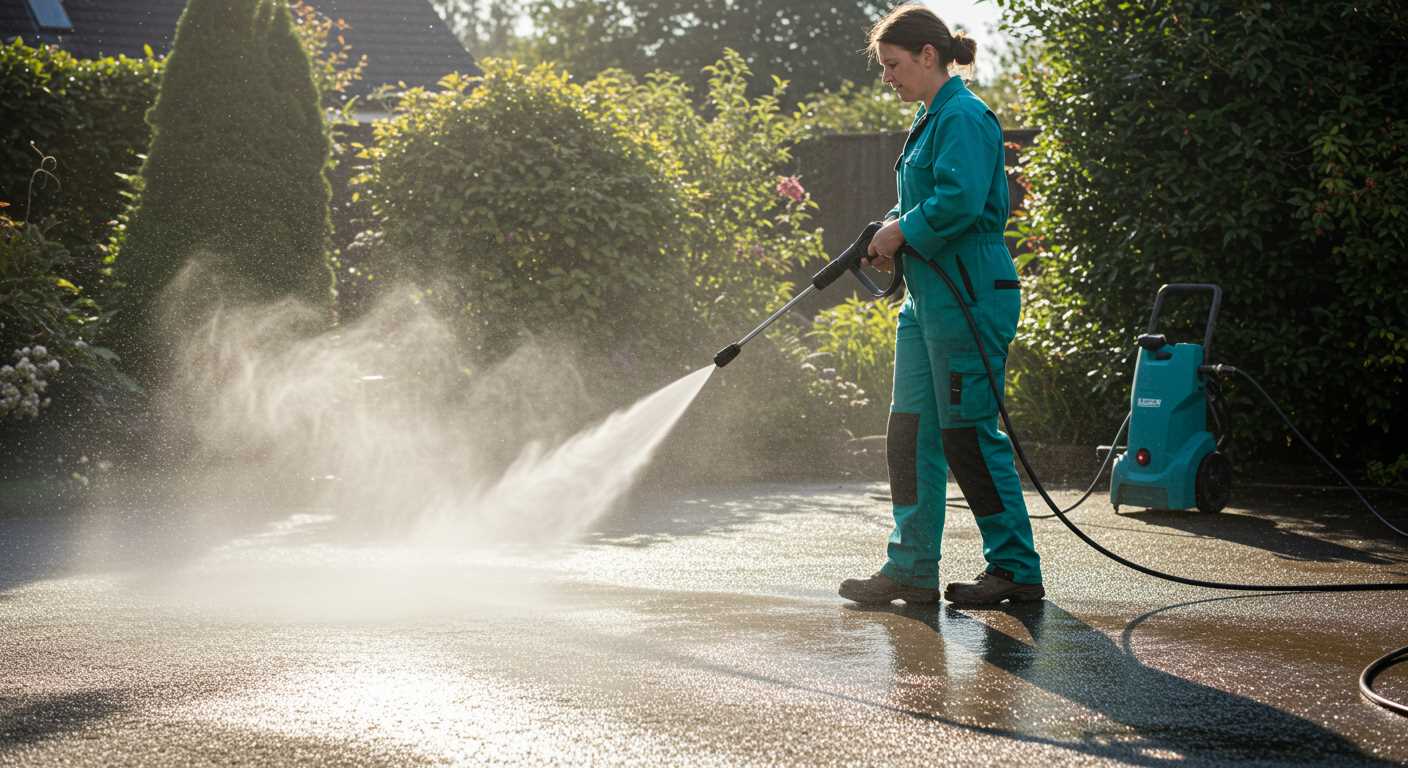
To identify hidden issues, perform a pressure test. Attach the hose to the unit and turn it on without the spray gun connected. Observe for any water escaping from the hose itself. If you see droplets or notice water pooling, that’s a clear indication of a problem.
Repairing the Hose
If you find damage, a hose repair kit can work wonders. Cut out the damaged section and use hose connectors to join the ends with a proper seal. Ensure tight connections to prevent future problems. If the hose is extensively damaged, consider replacing the entire unit for optimal performance.
Testing the Pressure Cleaner After Fixes
After completing all necessary adjustments, the next phase involves verifying that everything operates as it should. Begin by reconnecting the water supply and ensuring that all connections are secure. Inspect for any visible signs of moisture around the seals and tubing before powering it on.
Initial Checks
- Switch on the unit without activating the trigger. This ensures the motor runs smoothly and lets you listen for any unusual sounds, which might indicate unresolved issues.
- Observe the pressure gauge, if equipped, for any abnormal readings when running idle.
- Check for any vibrations or jolting that could suggest loose components.
Testing Under Pressure
Engage the trigger slowly to allow water to flow through the system. Watch for:
- Consistent pressure output, ensuring the spray remains steady.
- Any water pooling around the base of the unit, indicating potential residual issues.
- Sound quality; a smooth operation without excessive noise is ideal.
After running for a few minutes, turn off the cleaner and perform a thorough inspection again. If everything checks out, your machine should be back to performing at its best. Regular maintenance following this process can prolong its longevity and efficiency.
Preventative Measures to Avoid Future Leaks
Regular inspections before and after use are crucial. Check hoses, connectors, and seals for signs of wear or damage. A simple visual check can save you from bigger issues down the line.
Consider using a pressure-reducing valve. This device can help maintain consistent pressure levels, minimizing the stress on seals and connections, which can lead to degradation over time.
Storing your equipment properly is equally important. Ensure that it’s kept in a dry, temperature-controlled environment to avoid exposure to extreme conditions that may lead to material breakdown.
Utilise high-quality lubricants on moving parts. A thin layer can reduce friction and extend the life of components, helping to prevent potential failures.
When using the machine, avoid twisting or kinking hoses. This practice helps maintain structural integrity and prevents unnecessary stress on joints and fittings.
Finally, always adhere to the manufacturer’s recommendations for maintenance. Regular servicing as advised can extend the lifespan of your device and prevent common issues from arising.

