

Begin with checking the power source. Ensure the outlet functions properly and that the extension cord, if used, is in good condition. A faulty connection is a common issue that can easily be overlooked.
Next, inspect the water supply. Check for kinks or blockages in the hose leading to your device. Ensure the faucet is fully open to avoid low water pressure, which can hinder performance. A clogged filter can also be a culprit, so clean or replace it as necessary.
Evaluate the nozzle. A blocked or worn-out nozzle can significantly affect the output. Use a suitable tool to clear any debris or consider replacing the nozzle if damage is evident. Choose the correct nozzle for the task at hand to achieve optimal results.
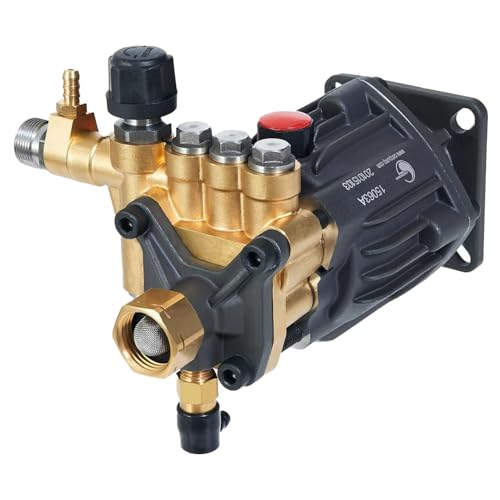
Investigate the pump for leaks or unusual noises. If water leaks from the pump or you hear strange sounds during operation, this may indicate internal damage. Tighten any accessible screws or fittings, and consult the user manual for further guidance on potential repairs.
Don’t overlook the maintenance of the motor. Dust and debris can accumulate and affect performance. Clean the exterior and ensure adequate ventilation around the motor. If the unit won’t start, consider testing the motor with a multimeter to check for electrical issues.
Lastly, consult the manufacturer’s guidelines for specific troubleshooting tips or parts replacements. Following the correct procedures can extend the life of your equipment and enhance its functionality.
Repair Techniques for Your Pressure Cleaner
First, ensure the electric source is operational. Use a multimeter to check voltage at the outlet. If there’s no power, examine the plug and cord for damage. Replace any defective parts immediately.
Identifying Common Problems
If the motor operates but water doesn’t flow, inspect the inlet filter. Clogs are common. Clean or replace as necessary. If you hear unusual sounds, the impeller may be damaged. Dismantle the unit, and inspect for cracks or wear.
Component Replacement Guide
| Component | Symptoms | Replacement Steps |
|---|---|---|
| Gasket | Water leaks from connections | Remove the faulty seal and install a new one. |
| Spray Gun | Low pressure or no spraying | Detach the gun, replace the internal components, or buy a new one. |
| Hose | Kinks or holes | Inspect for damage; replace entire hose if severe. |
Always consult the user manual for specific instructions regarding your model. Regular maintenance helps avoid significant issues in the future. Keep everything clean and check for wear periodically.
Identifying Common Equipment Issues
.jpg)
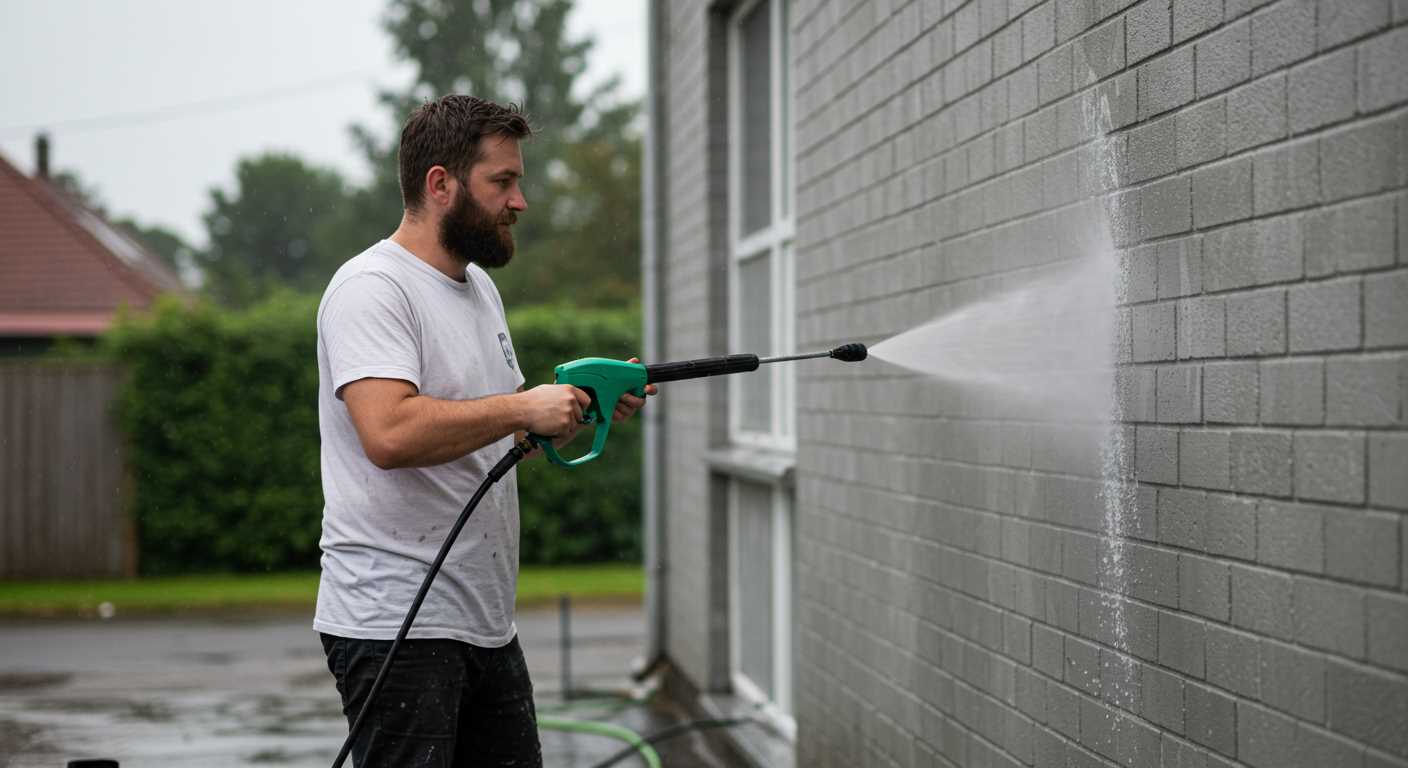
It’s crucial to address problems quickly. Problems often manifest through specific symptoms or signs. Here’s how to diagnose the most frequent issues that could arise.
Key Symptoms to Watch For
- No Start: A failure to initiate could result from a dead battery, power connection issues, or a faulty switch.
- Low Pressure: Check for clogged nozzles, air in the water system, or worn seals.
- Leaks: Inspect hoses and connections for cracks or loose fittings, which can lead to water loss.
- Excessive Noise: Unusual sounds may indicate a malfunctioning pump or loose components.
- Unstable Operation: Erratic behaviour might stem from inconsistent water supply or a dirty filter.
Troubleshooting Steps
- Inspect electrical connections for tightness and functionality.
- Check and clean the filter; a dirty filter can severely restrict water flow.
- Test for blockages in hoses or nozzles; use a pin to clear any debris carefully.
- Look for signs of wear on seals and gaskets; replacing these can improve performance.
- Examine the spray gun for proper functioning; ensure the trigger and nozzle are undamaged.
Recognising these signs early can help maintain performance effectively, ensuring long-lasting use of your cleaning equipment.
Troubleshooting Low Pressure Problems

Check the water supply first. Ensure that the hose is fully open and not kinked. A restricted water flow can significantly affect the unit’s output. Consider replacing the inlet filter if it appears dirty or clogged. Regular cleaning can improve performance.
Inspect the nozzle. If it’s blocked or damaged, pressure will drop. Use a stiff brush to clean the nozzle or a needle to free any blockages. Ensure that you are using the correct nozzle for your cleaning task.
Examine the spray wand for leaks. Any cracks or broken seals will lead to a loss of pressure. Replace any defective parts immediately to maintain optimal performance.
Check the pump operation. If the unit sounds abnormal, or if there is a continuous flow of water without building pressure, the pump may be faulty. Inspect the internal components for wear, and consider a rebuild kit if necessary.
Verify the settings on the machine. Ensure that you’re not operating at a lower pressure setting than required for your task. Adjust accordingly to maximise pressure output.
Inspect the high-pressure hose for leaks. Even small leaks can significantly impact performance. If you find any damage, replace the hose to restore optimal functioning.
Ensure that the motor is operating correctly. If the motor struggles or stops frequently, it can lead to low pressure. Check for any electrical issues that may require attention.
Lastly, check for air in the system. Air locked in the pump can prevent proper operation. To fix this, run the unit with the nozzle pointed downwards and pull the trigger until a steady stream of water flows.
Fixing Leaks in Hoses and Fittings
Begin by inspecting the entire length of the hose for visible cracks or damage. If any defects are found, replacing the section or the entire hose is necessary. Cut the hose cleanly with a sharp knife and attach a new fitting, ensuring a tight seal to prevent further leaks.
For fittings, check that they are securely attached. Loose connections can lead to water escaping. I recommend using a wrench to tighten them gently–over-tightening can risk damaging the threads.
If leaks persist, apply a suitable thread sealant to the fittings. This creates a better seal and can effectively stop minor leaks. Be sure to allow it to cure per the manufacturer’s instructions before testing the connections again.
Another common issue comes from worn-out o-rings in connectors. Inspect these rubber rings for signs of wear or deformation. If they appear damaged, replace them with identical-sized o-rings to ensure a watertight fit.
In some cases, a hose clamp may be needed to secure the connection further. Choose a clamp that fits snugly over the hose and fitting, and tighten it, but not excessively. Regularly check the connections for any signs of leakage after adjustments.
Replacing the Pump on Your Pressure Washer
Begin by disconnecting the unit from the power source and water supply. Drain any remaining water from the system to prevent spills. Remove the casing to access the pump section. Typically, you may need a screwdriver to detach the screws holding the casing in place. Be cautious to retain all screws and components for reassembly.
Next, identify the connections to the existing pump. Carefully disconnect the hoses–note their positions as you will reconnect them later in the same configuration. It may be necessary to use a wrench for stubborn fittings. Take a moment to inspect the old pump for any visible signs of wear or damage.
Once all connections are loosened, remove the mounting bolts securing the pump. This usually involves a socket wrench. As each bolt is disengaged, keep them organised for easier reassembly. With all fasteners removed, gently pull the pump away from the motor housing. Ensure that any gaskets or seals are removed as well, as you will want to replace these with the new unit.
Position the new pump in place, making sure it aligns properly with the motor and the mounting holes. Secure it using the original bolts, ensuring that they are tightened to an appropriate torque to prevent leaks. Reattach the hoses to their corresponding ports; apply plumber’s tape if necessary to create a watertight seal.
Before reassembling the casing, check that all connections are correctly fitted and that there are no obstructions. Power on the unit briefly to check for leaks and proper operation before fully enclosing the unit. If no issues arise, replace the casing and secure it with the original screws. Always conduct a final check of all components, ensuring functionality before use.
| Step | Action |
|---|---|
| 1 | Disconnect from power and water |
| 2 | Remove casing screws |
| 3 | Disconnect hoses |
| 4 | Remove pump mounting bolts |
| 5 | Install new pump |
| 6 | Reconnect hoses |
| 7 | Check for leaks and functionality |
| 8 | Replace casing and secure screws |
Cleaning the Nozzle for Optimal Performance
To enhance your machine’s efficiency, keep the nozzle clean. Blockages lead to reduced output and uneven spraying. Follow these steps for thorough cleaning:
- Disconnect the machine from the power source and water supply.
- Remove the nozzle gently by unscrewing or pulling it off the lance, depending on the model.
- Soak the nozzle in warm, soapy water for several minutes. This softens any accumulated debris.
- Use a soft brush or a cotton swab to clear any obstructed holes. Ensure all openings are free from grime.
For stubborn blockages, consider using a fine needle to clear the orifices, but do so cautiously to avoid damaging the nozzle.
Once clean, rinse the nozzle thoroughly under warm running water. Reattach it securely to the lance, ensuring a tight fit to prevent leaks during operation.
Regular cleaning after each use will maintain optimum performance and prolong the life of your equipment. Check the nozzle frequently for signs of wear and replace it if necessary to ensure consistent results.
Addressing Electrical Issues in Pressure Cleaners
Check the power source first; ensure the outlet is functioning correctly. Use a multimeter to test the voltage. If the outlet supplies insufficient power, try resetting any tripped circuit breakers.
Inspect the cord for damage. Look for frays or cuts that could disrupt the current flow. If found, replace the cord to prevent further complications.
Examine the switch. Sometimes, switches wear out and fail to make a proper connection. A multimeter can help in testing the switch for continuity. If it’s faulty, replacement is necessary.
Assess the motor. Listen for unusual sounds when the unit is operational. A humming noise with lack of movement may indicate a seized motor. In this case, disassemble and check for debris or burnt components that need replacement.
Consider the GFCI plug. If the device shuts off unexpectedly, it might be reacting to moisture or ground faults. Resetting it could resolve minor issues, but persistent problems may indicate a need for a thorough inspection.
Lastly, check internal wiring. Look for loose connections or burnt wires inside the unit. Repair or replace any damaged components to restore functionality.
Maintaining the Water Inlet Filter
Regular cleaning of the water inlet filter is key to preventing clogs that can impede performance. Begin by turning off the unit and disconnecting it from the power source. Locate the water inlet filter, typically found at the rear where the hose connects. Remove the filter gently, taking care not to damage it.
Cleaning Process
Soak the filter in warm, soapy water for around 15-20 minutes. After soaking, use a soft brush, like an old toothbrush, to scrub away any debris or mineral deposits. Rinse it thoroughly under running water to ensure no soap remains. Allow the filter to dry completely before reassembly.
Reinstallation Steps
Once dry, reinstall the filter carefully, ensuring it fits snugly in place. Reconnect the hose and power source. Run the equipment for a short period on a low setting to ensure everything is functioning smoothly. This maintenance routine should be performed every few months or more often if you notice reduced flow.
When to Seek Professional Help for Repairs
Addressing certain complexities may require professional intervention. If you encounter persistent issues despite thorough troubleshooting or if the equipment exhibits signs of internal damage, consulting an expert is advisable.
For instance, if the motor fails to start or is making unusual noises, this often indicates deeper electrical malfunctions. Professionals possess the specialised tools and knowledge to safely diagnose and rectify such problems.
Another scenario involves frequent overheating or loss of pressure, which may suggest an issue with the internal components. Continued use under these conditions can lead to further damage and higher repair costs.
Should you find structural defects, like cracks in the frame or housing, these can weaken functionality and safety. Technicians can provide solutions that an average user might not be equipped to handle.
In cases of extensive leakage, especially around internal seals or the pump, it’s prudent to reach out for assistance rather than attempt a DIY fix that could exacerbate the situation. Professionals can replace parts with precision, ensuring longevity.
Ultimately, if you’re uncertain about disassembly or reassembly, or if the repair involves intricate mechanical skills, enlisting the help of trained technicians will save time and eliminate the risk of damaging your equipment further.


