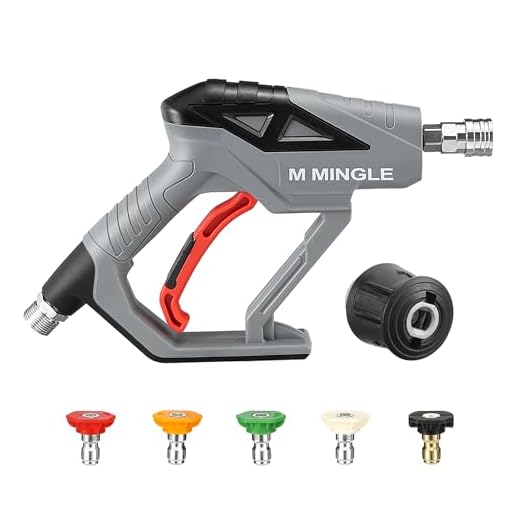


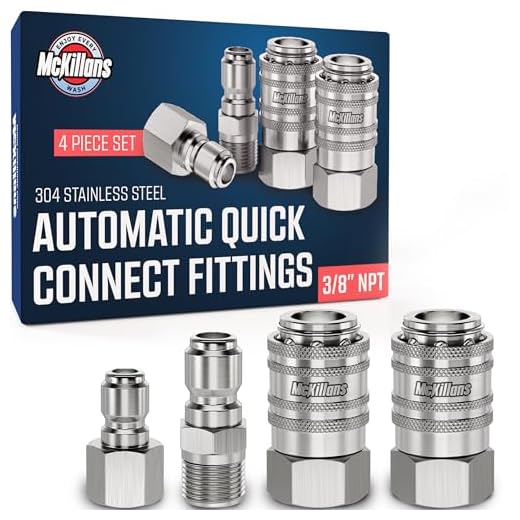
Start by identifying any unusual sounds or leaks. Often, these signs indicate common issues like a worn-out seal or hose damage. Check the hoses for cracks and ensure all connections are tight. If you notice water leaking, replacing the gasket can solve the problem effectively.
Next, investigate the pump. If the unit isn’t producing adequate pressure, verify that the inlet filter is clean and free of debris. Sediment accumulation can lead to performance issues. Cleaning or replacing this component usually restores functionality.
If the motor fails to start, inspect the electrical components. Ensure the power cord is intact and the outlet is functioning. If these are in order, the issue might stem from the switch or thermal overload, which can be addressed by replacing these parts. Regular maintenance can help prevent future electrical issues.
Lastly, remember to clean the nozzle. A clogged nozzle can significantly affect the spray pattern and pressure output. Clean or replace it as necessary to maintain optimal cleaning performance. Keeping these points in mind will ensure prolonged use of your cleaning device.
Repairing the Kärcher Pressure Cleaner
If the equipment shows signs of low water flow despite having a completely filled reservoir, inspect the inlet filter. Debris often accumulates, restricting water entry. Remove the filter, clean it thoroughly under running water, and check for cracks or damages before reinstallation.
Motor Performance Issues
A common frustration arises from the motor failing to start. First, verify the power supply. Ensure that the outlet is functioning, and confirm the power cord is intact without cuts or fraying. Next, examine the thermal overload switch; if it has tripped, allow it to cool for a few minutes before restarting the unit.
Hose and Nozzle Blockages
Inconsistent spray or lack of pressure usually signals a blockage in the hose or nozzle. Detach the nozzle and clear it of any build-up using a suitable pin or needle. For the hose, check for kinks or twists that could impede water flow. Running the unit without a nozzle briefly can often dislodge stubborn blockages.
For persistent issues, consult the user manual for detailed troubleshooting steps related to your specific model. Keeping the equipment regularly maintained will minimize problems and extend its lifespan.
Identifying Common Problems with Karcher Pressure Washers
Begin with checking for power supply issues; ensure the device is plugged in properly and the outlet is functional. A tripped circuit breaker or blown fuse can also halt operation. Inspect the power cord for any signs of damage.
If water does not flow, the inlet filter might be clogged. Regularly clean the filter to prevent debris build-up. Additionally, verify that the hose connections are tight and there are no kinks affecting water flow.
An unusual noise during operation could indicate a faulty motor or pump. Listen for rattling or grinding sounds. If heard, disconnect the unit immediately and conduct a thorough inspection.
Inconsistent pressure often results from a worn or damaged nozzle. Replacing the nozzle can restore optimal performance. Don’t forget to check the spray lance for blockages as well.
If leakage occurs around the connections, inspect O-rings and seals for wear. Replacing these components can effectively eliminate leaks and enhance performance.
Temperature issues during use may arise if the water is too hot or not suitable for the model; consult the specifications to ensure compliance. Excessive heating can damage internal parts.
Cleaning agents play a crucial role; using incompatible or low-quality detergents can lead to nozzle clogs and system failures. Only use products recommended by the manufacturer.
When a unit struggles to start, it may indicate an internal fault. In such cases, consulting a professional technician is advisable to avoid further damage.
Gathering Necessary Tools for Repair
Start with a quality multimeter to check electrical connections and components for faults. A screwdriver set with various sizes, including Phillips and flathead, is crucial for disassembly. Make sure to have pliers and wire cutters handy for gripping and cutting wires as needed.
A torque wrench will ensure screws are tightened to the manufacturer’s specifications, preventing future issues. Don’t overlook the utility of a small brush for cleaning debris from internal components.
Have a set of replacement seals and O-rings available. These parts often wear out and are essential for maintaining proper function. A wrench set, particularly adjustable wrenches, will assist in tightening or loosening hose fittings as necessary.
Keep a can of contact cleaner to ensure connections remain free of corrosion. A flashlight can be invaluable for illuminating dark areas during the inspection process.
If applicable, consider a pressure gauge for testing the water output after reassembly. Lastly, a clear workspace with a mat can help prevent loss of small components during the process.
Inspecting Electrical Connections and Cables
Examine all connections for signs of wear or damage. Ensure that plugs fit securely into outlets and inspect the cable for fraying or cuts. A damaged cord can lead to poor performance or even pose a safety hazard.
Disconnect the equipment from the power source before beginning any inspections. Check for loose terminals where the wires meet the motor or switch. These can cause intermittent power loss or complete failure. Tighten any loose screws firmly but avoid overtightening, which could strip the threads.
Testing Continuity
Use a multimeter to check the continuity of the cables. Set the multimeter to the continuity setting and touch the probes to each end of the cable. If there is no beep or reading, the cable is likely damaged and should be replaced. This quick test can save time and ensure that you are focusing on the correct components.
Inspecting Internal Wiring
If external cables and connections appear intact, access the internal wiring. Open the housing carefully and look for any disconnected or burnt wires. Use heat shrink tubing or electrical tape to secure or repair damaged wires. Ensure all internal connections are fitted correctly to avoid malfunction.
Cleaning the Water Filter and Nozzle
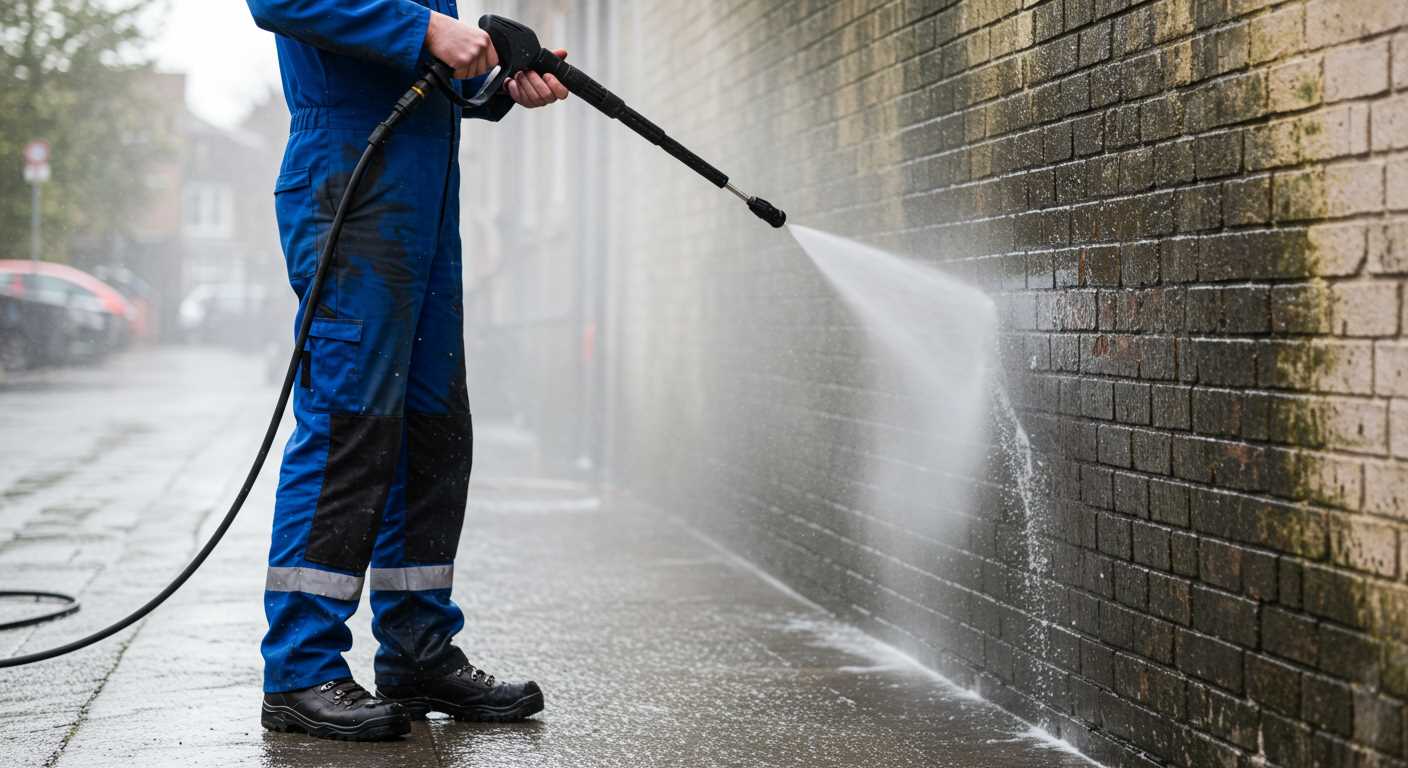
Start with disconnecting the unit from the power supply. Locate the water filter, typically situated where the hose connects to the machine. This filter captures debris and prevents blockages in the system.
To clean, detach the filter from its housing by twisting it counterclockwise. Rinse it under running water to remove any accumulated dirt. If the filter appears damaged or excessively worn, replace it with a new one. Ensure the filter is properly seated before reattaching it.
Next, focus on the nozzle, which directly impacts the spray pattern and pressure. Detach the nozzle by unscrewing or pulling it off, depending on the model. Examine the orifice for any clogs. You may use a small needle or toothpick to carefully remove any debris lodged inside. After clearing, rinse the nozzle under water to ensure it’s free from obstructions.
Reattach the nozzle firmly, ensuring a tight seal to prevent leaks. Lastly, run water through the system without power for a few moments to flush out any remaining particles before reconnecting the unit to the power source. This routine maintenance helps maintain optimal performance and prolongs the lifespan of the device.
| Component | Cleaning Method | Replacement Indicator |
|---|---|---|
| Water Filter | Rinse under water | Visible damage or heavy wear |
| Nozzle | Clear obstructions, rinse | Contaminated spray pattern |
Checking the Pump for Leaks and Performance Issues
Begin by disconnecting the unit from the power source and water supply. Inspect the pump body for any signs of moisture accumulation, which indicates leaks. If there are visible drips or puddles under the machine, this may point to a failure in the pump seals or other components.
Assessing Performance
Next, test the functionality by running the machine briefly with water. Observe the pressure output; if it fluctuates or drops significantly, the pump may require attention. A steady stream without interruption is essential for optimal cleaning performance.
Identifying and Fixing Leakage Sources
If leaks are detected, examine the inlet and outlet connections. Tighten any loose fittings to eliminate potential entry points for water. If tightening doesn’t resolve the issue, it may be necessary to replace damaged or worn seals. Keep in mind, using the correct replacement parts is vital to ensure a proper fit and function.
Additionally, consider the possibility of a cracked housing. Inspect the entire pump casing for any visible cracks or wear. A replacement may be necessary if you detect significant damage.
Regular maintenance of the pump can prevent future issues. Flush the system with clean water after each use to avoid debris accumulation which can lead to performance degradation.
Replacing Faulty Seals and O-rings
Begin by disconnecting the machine from the power supply and ensuring it is completely depressurised. Locate the areas where O-rings and seals are found, typically near the nozzles, hose connections, and pump housing. Use a flathead screwdriver to carefully pry off the old seals without damaging surrounding components.
Before installing new seals, clean the grooves thoroughly with a cloth to remove dirt and debris. Ensure the replacement O-rings are the correct size; using incorrect sizes can lead to further leaks. Apply a silicone lubricant to the new O-rings to aid installation and create a better seal.
Carefully position the new seals in their respective grooves, taking care not to twist or damage them. Reassemble the components, ensuring everything fits snugly. Once reassembled, connect the unit to the power source and run a short test cycle while observing for any signs of leakage.
Testing the Power Switch and Motor Functionality
Begin with the power switch. Disconnect the unit from the mains, then use a multimeter to check for continuity. Set the multimeter to the resistance setting, and place the probes on the switch terminals. If there is no reading, the switch is faulty and requires replacement.
Assessing the Motor
Next, examine the motor. With the device unplugged, inspect the motor for any visible damage or burnt components. If it appears intact, reattach the switch and plug in the unit. Listen for any unusual noises during operation. A humming sound may indicate the motor is trying to start but is stuck. This could lead to overheating and damage.
Voltage Test
For further analysis, carry out a voltage test at the motor terminals while the unit is connected. Use the multimeter to ensure that the correct voltage is reaching the motor. If the voltage is low or inconsistent, check the power supply cord and connections for any signs of wear or damage. Replace any faulty components promptly.
Checking for Overheating
- Run the unit for a short duration and touch the motor casing. A hot surface could signal an internal issue.
- Keep an eye out for tripped circuit breakers or blown fuses, which indicate electrical malfunctions.
If the power switch and motor both test positively yet the unit still fails to operate, consider further disassembling the device for more detailed inspections of internal components, such as capacitors or brushes.
Troubleshooting Pressure Loss Issues
If a cleaning device isn’t generating adequate water force, it’s crucial to methodically diagnose the situation. Begin by ensuring that the water supply is at the right pressure and that hoses are free from kinks or obstructions. Check all connections for leaks, as even a small leak can result in significant pressure loss.
Common Causes and Solutions
- Clogged Nozzle: Inspect the spray nozzle for blockages. A simple cleaning with water or a pin can restore its function.
- Dirty Filter: Remove and clean the water inlet filter. Debris accumulation here can impede water flow.
- Worn Seals: Examine seals and O-rings for wear. Replacing damaged components may be necessary to maintain pressure.
- Pump Issues: If the mechanism isn’t functioning optimally, look for signs of wear or damage. Lubrication or replacement may be needed.
Testing and Confirmation
After addressing potential issues, it’s important to conduct tests. Turn on the unit without a nozzle attached to observe the water flow. This helps confirm whether the problem lies with the nozzle or possibly deeper within the system. If pressure remains low, further inspection of the internal components is warranted.
Maintaining a detailed log of any issues and repairs will aid in future troubleshooting and uphold the device’s longevity.
FAQ:
What are the common problems that might require repairing a Karcher electric pressure washer?
There are several issues that users may encounter with a Karcher electric pressure washer. One common problem is loss of pressure during use, which can be caused by clogs in the nozzle or issues with the pump. Another frequent issue is the motor not starting, possibly due to electrical faults or a blown fuse. Additionally, leaks can occur in hoses or connections, which may need to be addressed. It is essential to identify the specific problem before attempting any repairs.
How can I troubleshoot and repair my Karcher electric pressure washer at home?
Troubleshooting your Karcher pressure washer begins with a thorough inspection. First, check the power supply; ensure the socket is functional and the power cable is intact. If the motor doesn’t start, examine the fuse and replace it if necessary. For pressure loss, inspect the nozzle for clogs and clean or replace it if required. If you find leaks, check all connections and hoses, tightening or replacing them as needed. Regular maintenance, such as clearing debris and using the correct detergent, can also prevent future issues.


