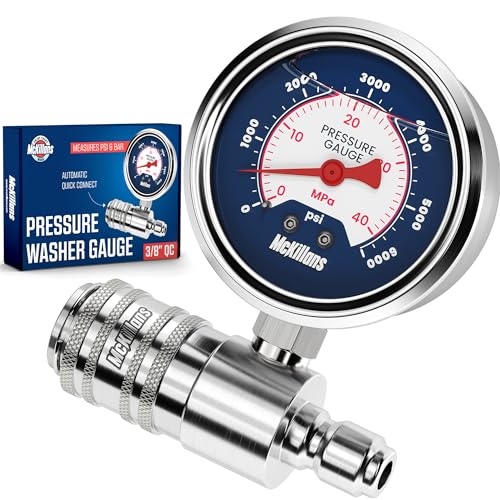
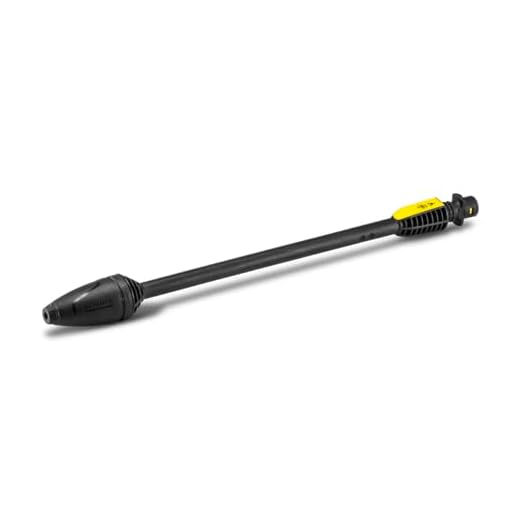


If water is leaking from the nozzle or if it fails to build pressure, the first step is to inspect the O-ring and seals. Often, these components wear out over time, leading to performance issues. Replacing a damaged O-ring can significantly enhance functionality and restore efficient operation.
Next, ensure the nozzle is free of debris. Blockages can impede water flow, causing inadequate pressure. Detach the nozzle, and flush it with clean water or use a soft brush to remove any particulates. Regular maintenance, including checking for clogs, can prevent future problems.
Pay attention to the hose connections as well. A loose or damaged hose can lead to leaks, reducing overall pressure. Check for wear signs and ensure all connections are tightly secured. If any parts look worn, consider replacing them to maintain optimal performance.
In cases where the sprayer still struggles, it may be beneficial to inspect the pressure settings on the unit. Incorrect pressure settings can affect performance, so refer to the manual for guidance on adjustments. With a few straightforward steps, you can restore your cleaning tool to its full potential.
Repairing a High-Pressure Cleaning Nozzle
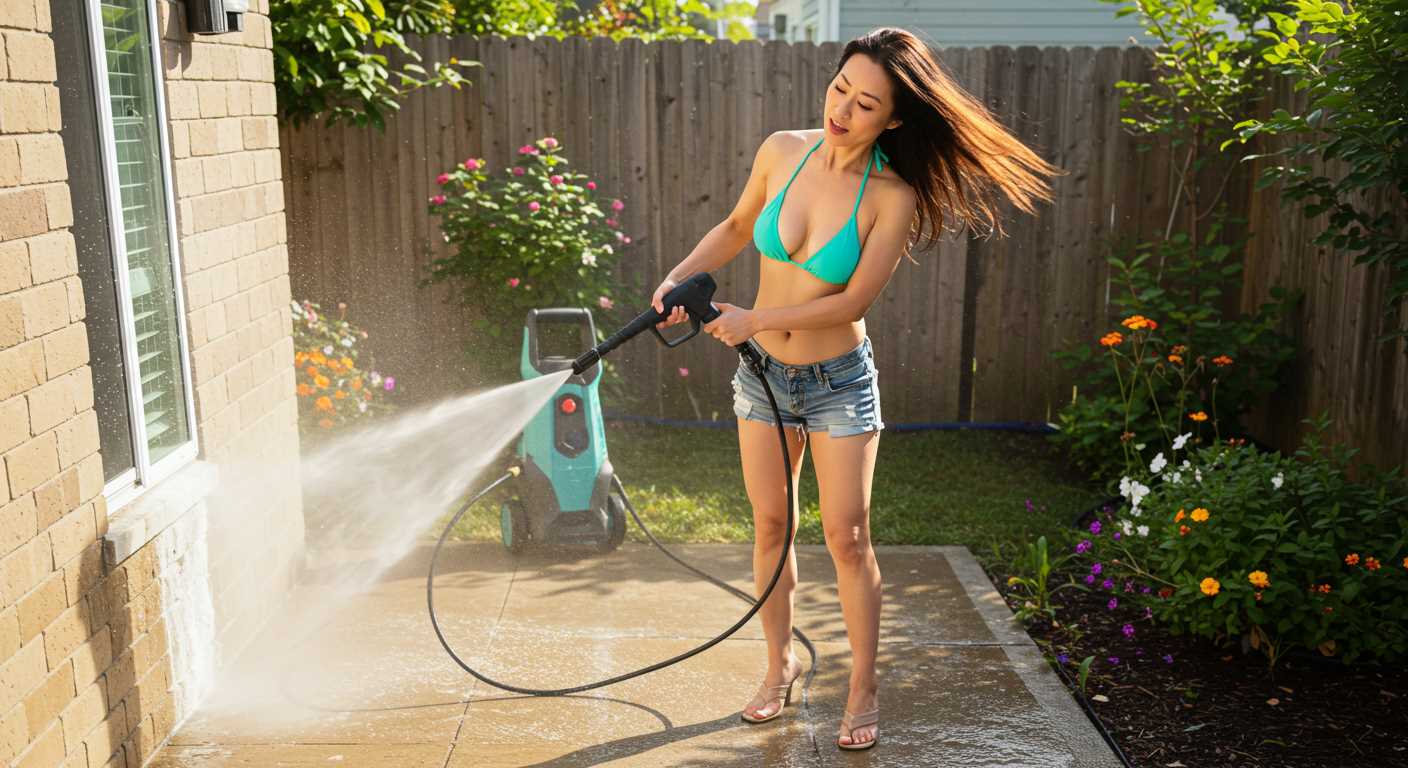
Inspect the connection points of your cleaning tool for any damage or misalignment. I recommend closely examining the fittings; often, tight seals are compromised due to wear. Replace any o-rings that appear cracked or flattened.
Identifying and Fixing Leaks
Leaks can often be traced back to the nozzle itself. Start by checking for any visible cracks in the plastic or metal components. Use a sealant specifically designed for high-pressure applications to seal minor cracks. For more significant breaks, consider replacing the entire nozzle assembly.
Clearing Blockages
Blockages in the nozzle can diminish performance. First, detach the nozzle and inspect the opening. Use a small, flexible wire or a nozzle cleaning kit to clear any debris. Create a mixture of warm water and soap, and gently soak the nozzle to dissolve stubborn clogs before rinsing it with clean water.
| Issue | Tip |
|---|---|
| Leaks from fittings | Check o-rings; replace if necessary. |
| Reduced water flow | Clean or replace the nozzle. |
| Strange noises | Inspect for blockages or damaged seals. |
Regular maintenance, such as cleaning and replacing worn parts, extends the life of your equipment. Always refer to the user manual for specific component recommendations and compatibility.
Identifying Common Issues with Karcher Guns
Leaky connections are often the first sign of problems. Check if the nozzle or handle is improperly tightened. For a definitive diagnosis, inspect seals for wear, as a damaged seal can lead to significant water loss.
Low Pressure Problems
If the force of the spray diminishes unexpectedly, the issue may reside in a blocked nozzle or filter. Detach the spray head and use a pin to clear any obstructions. Additionally, ensure the water supply is adequate; a low flow could be the culprit.
Erratic Spray Patterns
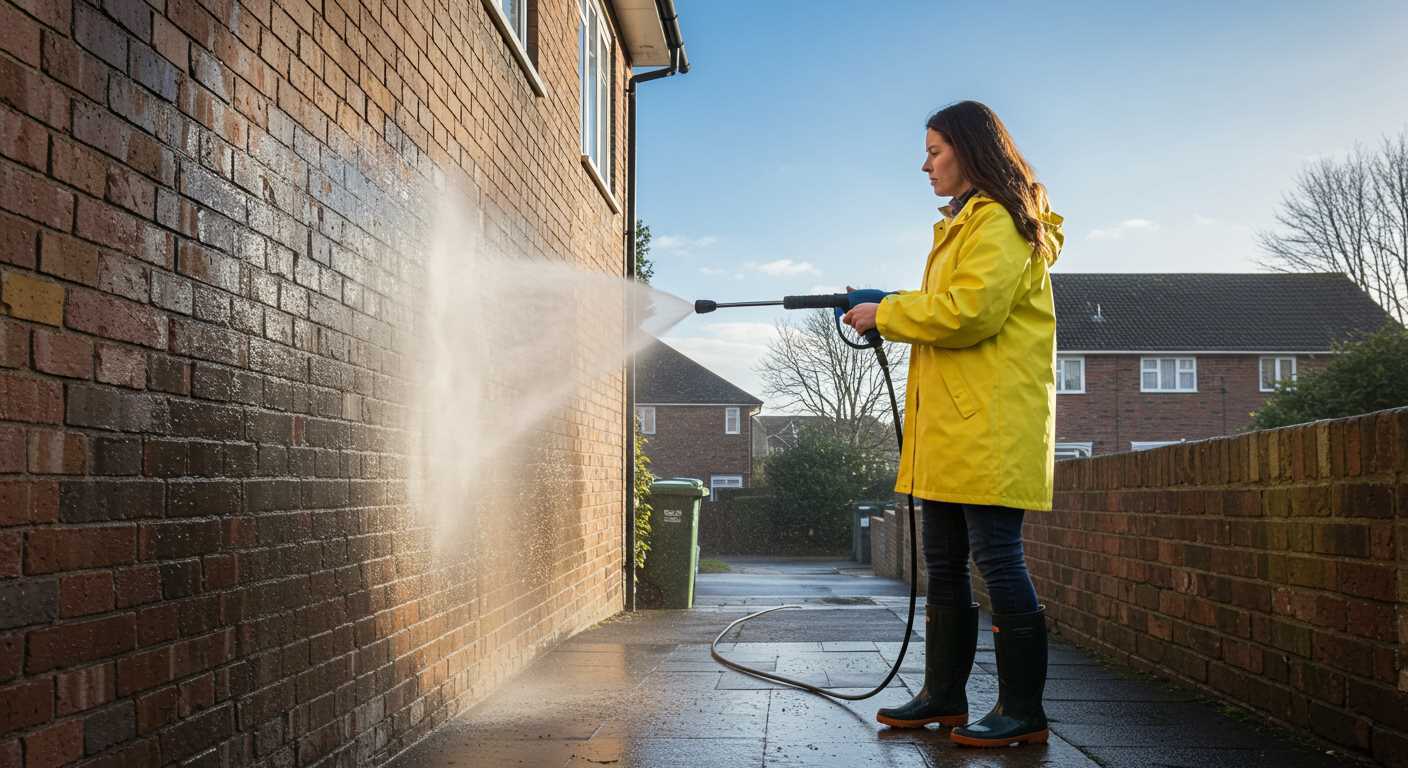
Irregular spray patterns typically indicate a malfunctioning nozzle. Examine it for clogs or damage. If cleaning does not resolve the spray inconsistency, consider replacing the nozzle. Another potential issue could be air trapped in the system; purge the air by briefly releasing the trigger until a steady stream emerges.
Tools Required for Fixing the Cleaning Equipment Nozzle
Begin with a set of screwdrivers, particularly flathead and Phillips types for accessing the inner mechanisms. A pair of pliers will assist in gripping and manipulating small components with ease. A wrench set is necessary for loosening or tightening fittings securely.
Cleaning Supplies
Ensure you have a soft brush and a small container of cleaning solution to remove debris and grime from the nozzle. A lint-free cloth will help to dry and polish parts after cleaning.
Replacement Parts
Have spare seals and O-rings on hand; wear and tear often leads to leaks. Also, consider keeping extra nozzles and connectors available as they can become damaged over time. Check the compatibility of replacement components with your specific model before proceeding.
Step-by-Step Guide to Disassemble the Gun
Gather the necessary tools: a screwdriver, a small wrench, and some clean cloths. Ensure the device is unplugged and any residual pressure is released.
Begin by removing the safety latch. Typically, this is done by locating a small screw at the base and unscrewing it. Keep this component in a safe place as you will need it later.
Next, take off the front nozzle. This area may require a gentle twist or pull. Check for any locking mechanisms that could be securing it in place.
Proceed to detach the trigger assembly. Locate the screws holding it in place and carefully remove them with your screwdriver. Gently pull the trigger away from the body, being cautious of any spring mechanisms that may pop out.
After removing the trigger, focus on the body of the tool. There are typically additional screws that secure the casing. Unscrew them and gently separate the two halves of the casing.
Once the casing is opened, examine the internal components for wear or damage. Pay attention to any seals or gaskets that may need replacing.
Conclude the disassembly by noting the placement of each component as you take it apart. This will simplify reassembly. Use the clean cloths to wipe away debris accumulated inside.
With these steps, you’ll have a complete disassembly of the cleaning instrument, ready for further inspection or replacement of faulty parts.
Inspecting Seals and O-Rings for Damage
Begin by carefully removing the outer casing of the device to gain access to seals and O-rings. Look for any visible cracks, tears, or deformities. A damaged seal can lead to leakage, while worn O-rings may result in a loss of pressure. Ensure you have good lighting, as small defects are often hard to spot.
Steps to Check Seals
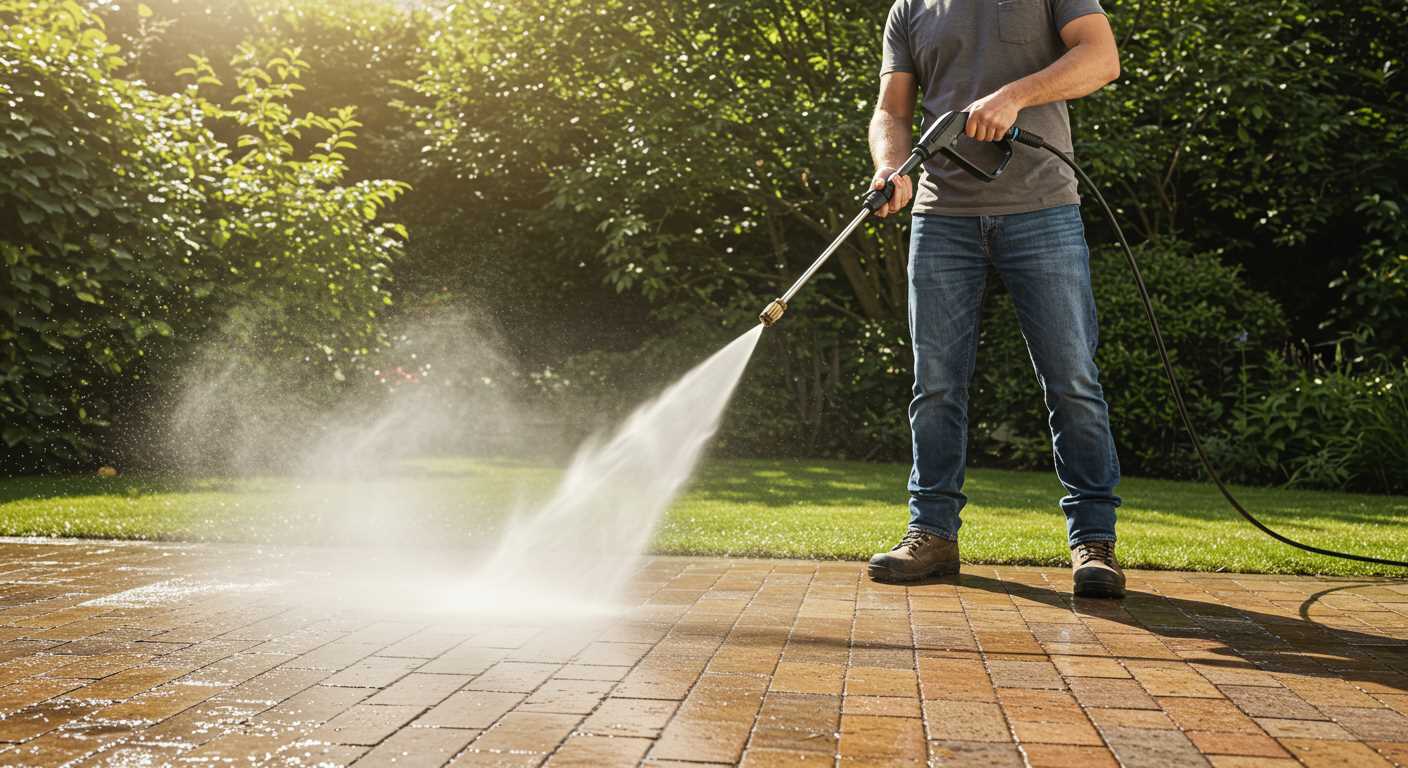
Gently press on the seals using a non-sharp tool; they should be flexible and return to their original shape. If they feel hard or brittle, replacement is necessary. Check the inner edges of the seals for any signs of wear that could compromise performance.
Examining O-Rings
Remove O-rings and inspect them closely for gouges or flat spots. To assess their condition, try rolling them on a flat surface. If they do not maintain a circular shape or are excessively hard, this indicates they have lost their sealing capability. Replacement with the correct size and material will ensure a proper seal.
Replacing the Trigger and Safety Lock Mechanism
Begin by gathering the replacement parts: a new trigger and safety lock specific to your equipment model. Ensure these components are genuine to avoid compatibility issues.
Disassembly Process
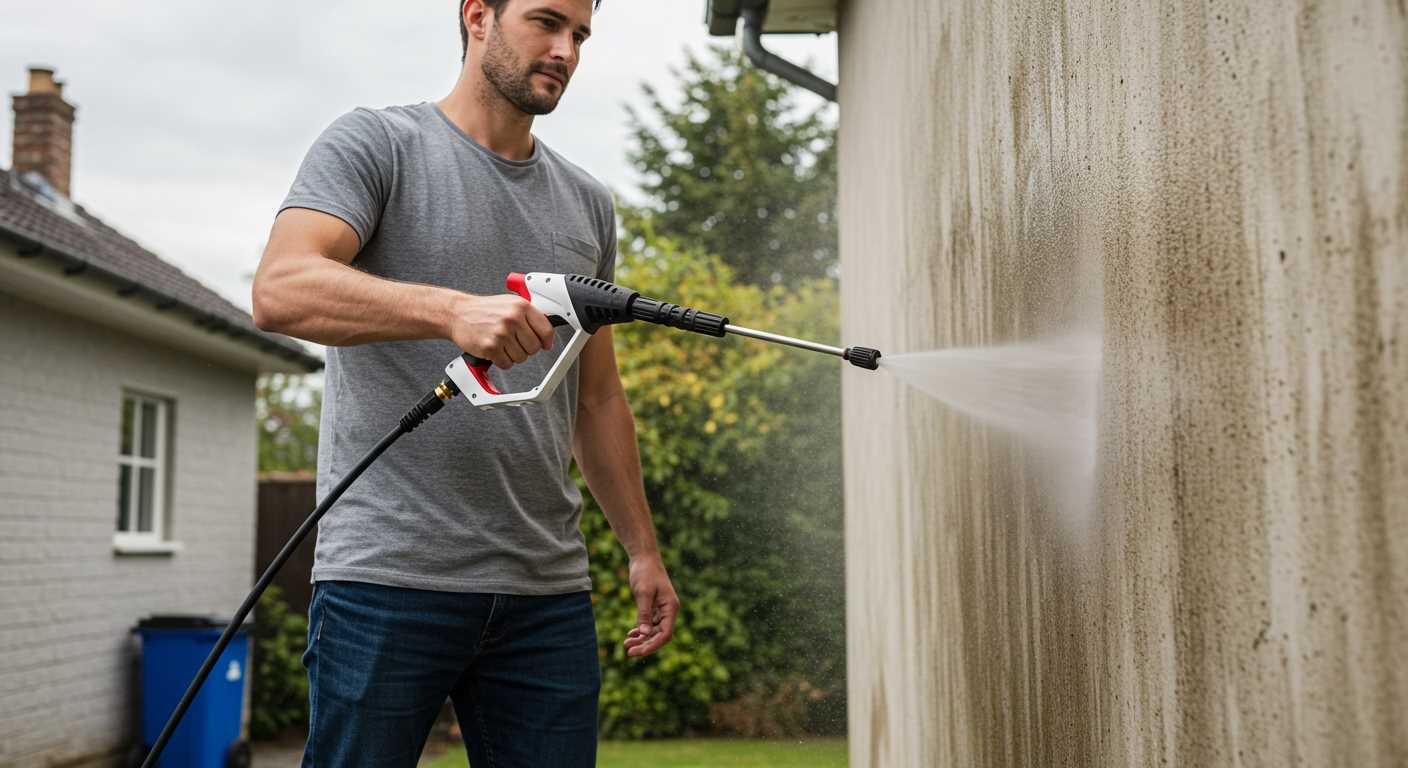
- Remove the outer casing screws using a suitable screwdriver. Keep these screws in a secure location for reassembly.
- Carefully detach the casing to expose the internal components. Take note of the layout for easier reassembly.
- Locate the trigger and safety lock mechanism. Ensure the unit is not under pressure before proceeding.
- Disconnect the old trigger from the mechanism. This typically involves unclipping or unscrewing it from its mount.
Installation of New Components

- Attach the new trigger where the old one was located. Ensure it clicks into place firmly, confirming proper alignment.
- Install the new safety lock mechanism. This usually requires positioning it accurately within the housing and securing it with screws or clips.
- Reassemble the outer casing, ensuring all components fit snugly. Tighten the screws to prevent any loose parts during operation.
- Test the new trigger and safety lock. Before reconnecting to a power source, ensure that the mechanism engages and releases smoothly.
Once everything is assembled, conduct a thorough test before regular use. Inspect for any unusual sounds or malfunctions to confirm successful installation.
Reassembling the Gun and Testing for Leaks
Start by carefully aligning all components back into their designated places. Ensure the seals and O-rings are seated properly to prevent leaks. Insert any screws or fasteners snugly without over-tightening, which could lead to damage. It’s advisable to revisit the manufacturer’s manual for specific torque specifications if available.
Securing Components
Begin with the main body, followed by the trigger mechanism. Ensure that the trigger moves smoothly without obstruction. Reattach the safety lock mechanism and give it a gentle test to confirm its functionality. After everything is secured, double-check for any loose parts that may affect operation.
Leak Testing
After reassembly, it’s essential to test for leaks. Connect the water supply without turning on the motor. Inspect all joints and seams for any signs of water seepage. If leaks occur, loosen the connection slightly and reseat the assembly before tightening again. If necessary, apply a silicone sealant to problematic areas. Once satisfied, connect to the power source and conduct a final operational test while watching for leaks under pressure.
Maintenance Tips to Prevent Future Problems
Regular upkeep is key to avoiding issues with your cleaning equipment. Following these practices can extend the life of the unit and keep it functioning at its best.
Routine Cleaning
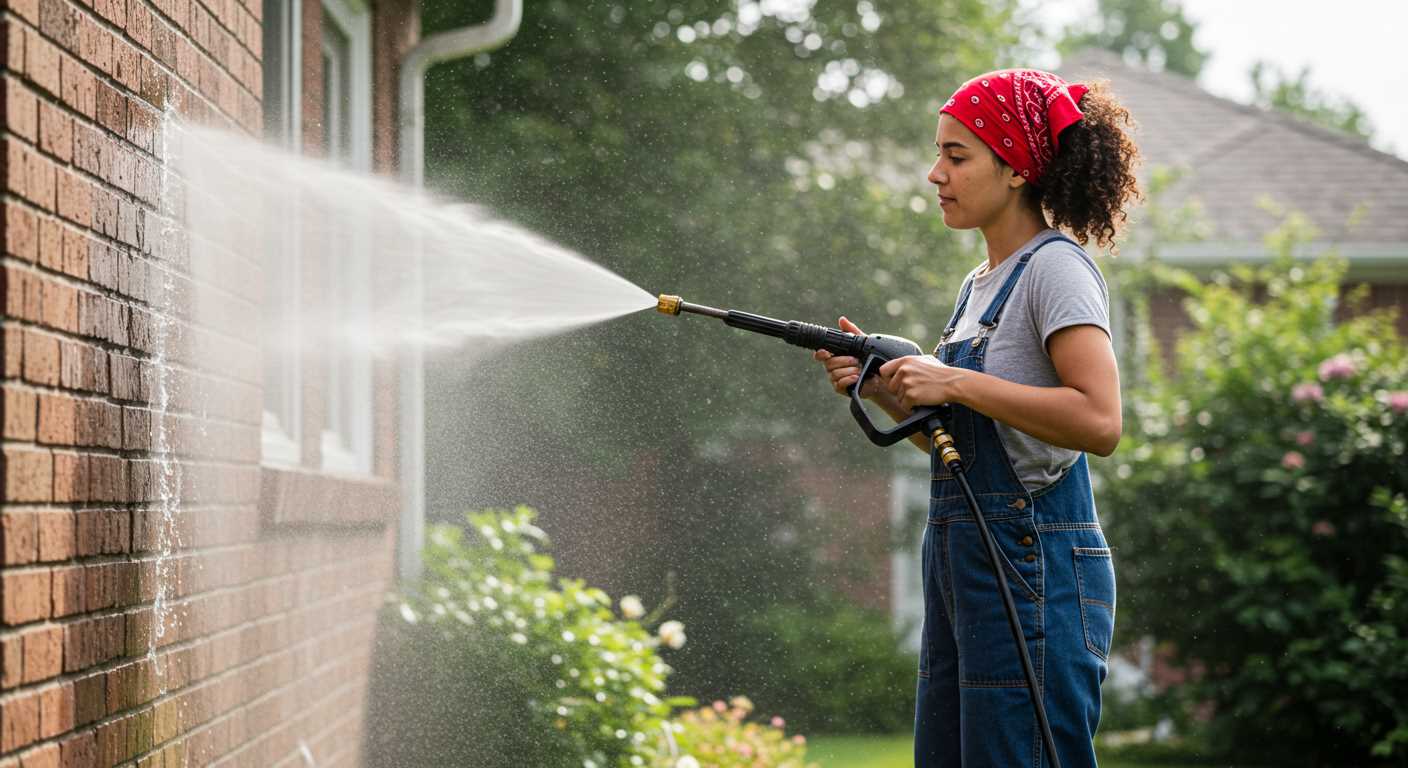
- Flush the system after each use by running clean water through the trigger and nozzle to prevent build-up of detergents or dirt.
- Clean the filter regularly to ensure smooth water flow and reduce strain on the machine.
Proper Storage
- Store in a dry, sheltered area to protect components from moisture that could cause rust or corrosion.
- Avoid leaving hoses coiled tightly; instead, lay them flat to prevent cracks and damage from kinking.
Check Seals and O-Rings
- Inspect seals and O-rings for wear every few months, replacing them if they appear cracked or brittle.
- Use lubricant designed for rubber components to maintain flexibility and prevent drying out.
Frequency of Use
- Limit prolonged sessions to reduce overheating, which can harm internal parts. Take breaks to allow the unit to cool down.
- Adjust settings appropriately based on the task, opting for lower pressure on delicate surfaces to reduce strain on the unit.
Annual Professional Check-Up
- Consider scheduling a yearly maintenance check with a qualified technician to catch potential issues before they escalate.
- This can include a thorough inspection of internal components and a test of safety features.
By maintaining a consistent routine of these practices, I’ve seen a significant reduction in problems, ultimately enhancing performance and reliability.


