
If you encounter issues with your high-pressure cleaning device, first inspect the power source. Ensure the plug is properly connected and check the circuit breaker for any trip. A faulty power supply can often be the simplest explanation for a device that fails to start.
Next, examine the hoses and connections for any signs of leaks or blockages. Kinks or obstructions in the hose can severely limit water flow, leading to performance issues. If you spot any leaks, replace the affected components to restore functionality. A clear, unobstructed path is crucial for optimal operation.
If the mechanical parts are running but the spray is weak or inconsistent, the nozzle may be clogged. Detach the nozzle and rinse it with clean water, using a fine wire or needle to remove any stubborn debris. Regular maintenance of the nozzle will significantly enhance your equipment’s performance over time. Additionally, check the pump for proper functioning, as it is essential for generating the required pressure.
In case the motor runs but emits unusual noises, this may indicate internal damage. It’s advisable to disassemble the casing following the manufacturer’s guidelines to inspect the internal components. Look for signs of wear and replace any damaged parts to prevent further complications.
Utilising these straightforward troubleshooting techniques can help bring your cleaning appliance back to life quickly and efficiently, saving both time and money.
Repairing Your High-Pressure Cleaning Device
Start by checking the power source to ensure it’s functioning. If the unit doesn’t start, inspect the outlet and power cord for any damage. A simple multimeter can help test the cord’s continuity.
Next, examine the water inlet. A blocked inlet screen can significantly reduce performance. Remove the screen and clean it thoroughly. If there’s debris in the hose, flush out the line using clean water.
Evaluate the nozzle for clogs. If water isn’t spraying correctly, clear any blockages using a needle or a thin wire. This prevents pressure loss and optimises cleaning efficiency.
If the pump makes unusual noises or operates intermittently, inspect the oil level. Top it up or replace it if it appears dark or contaminated. Also, ensure that all seals and gaskets are intact to prevent leaks.
For persistent leaks, identify their source. A common culprit is worn O-rings or damaged fittings. Replace these components to restore functionality.
Below is a quick troubleshooting guide:
| Issue | Possible Cause | Solution |
|---|---|---|
| No power | Faulty outlet or power cord | Check and replace damaged components |
| Weak spray | Clogged nozzle or inlet | Clean inlet and unclog nozzle |
| No water pressure | Faulty pump or leaks | Inspect and replace damaged parts |
| Excessive noise | Low oil or worn parts | Refill oil and replace worn components |
Use the right tools and genuine parts to ensure longevity. Regular maintenance, including seasonal checks, will help avoid major issues in the future.
Identifying Common Issues with Portable Pressure Washers
Begin with checking the power source. A common issue arises from incorrect voltage or a tripped circuit breaker. Ensure that the outlet is functional and capable of supplying adequate power. If using an extension cord, confirm it’s rated for the desired amperage.
Next, examine the water supply. Insufficient flow can stem from a kinked hose or a blocked inlet filter. Make sure the hose is straight, and inspect the filter for debris. Clean or replace it if necessary.
A noticeable drop in pressure indicates potential problems within the unit. Inspect the nozzle for clogs or wear. A faulty nozzle can impede optimal flow, thus affecting performance. Regularly cleaning or replacing the nozzle is advisable.
Listen for unusual sounds from the motor, which may suggest a malfunction. Grinding or rattling noises can imply loose components or worn bearings. Open the casing to check for any visibly damaged parts and tighten any loose screws.
Water leaks are often symptomatic of worn seals or connections. Examine all hoses, fittings, and the washer pump for signs of leaking. Replace any faulty seals to prevent further issues.
Lastly, if the washer emits excessive smoke or emits a burning smell, immediately disconnect the power. This usually indicates overheating, potentially from a clogged motor or internal damage. Allow the unit to cool before inspecting further.
Tools Needed for Pressure Cleaning Equipment Fixes
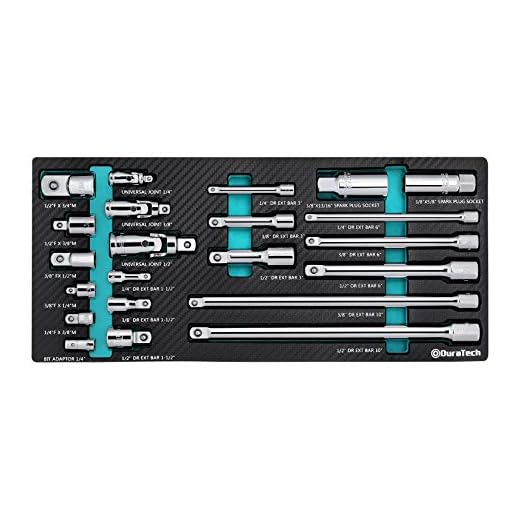
First, acquire a high-quality socket set. This is fundamental for loosening and tightening various fasteners on the machine. A ratchet-driven socket will speed up the process significantly.
A sturdy screwdriver set is crucial, particularly one that includes both flathead and Phillips options. You’ll find that many components rely on screws, and having the right size will prevent stripping.
For those tricky seals and hoses, a pair of pliers, specifically adjustable or locking ones, will make removal and installation easier. These tools provide the grip necessary for stubborn parts.
Next, get a multimeter. This device is invaluable for diagnosing electrical issues, enabling me to check voltage and continuity in various parts of the motor and wiring.
Don’t overlook a quality wrench set. Use it for hose connections or any larger fittings that requires a firm grip without slipping.
A compression tester can help you gauge pump performance. This is particularly useful for assessing whether the pump is generating the right amount of pressure.
Lastly, a soft brush is helpful for cleaning dirt from internal components without causing damage. It’s easy to overlook, but keeping parts clean ensures proper function.
With these tools in hand, any user can confidently tackle most issues that arise with cleaning machines.
Replacing the Hose and Nozzle Components
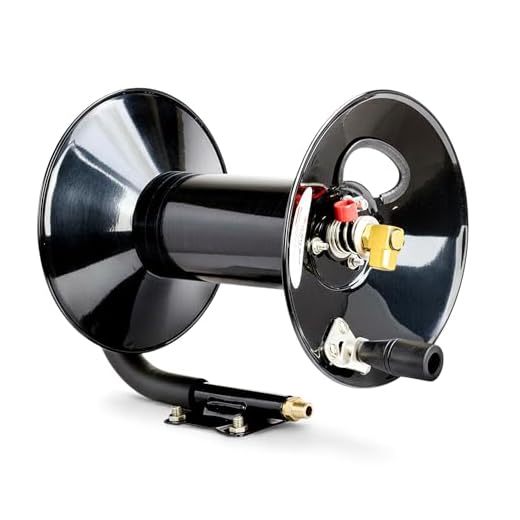
Replacing worn-out hoses and nozzles is crucial for maintaining performance. Begin by disconnecting the unit from the power and water sources.
Follow these steps for hose replacement:
- Inspect the existing hose for any signs of damage, including cracks or leaks.
- Use a wrench to loosen the fittings at both ends of the hose.
- Remove the old hose and discard it properly.
- Take the new hose and securely attach it, ensuring firm connections to prevent leaks.
Next, focus on the nozzle replacement:
- Examine the nozzle for blockages or corrosion that could affect water flow.
- Unscrew the nozzle from the wand carefully, using pliers if necessary.
- Take the new nozzle and screw it into place, ensuring it fits snugly without overtightening.
After replacing both components, reconnect the water supply and power source. Perform a test run to confirm proper operation. If there are any leaks or issues, double-check the connections and fittings.
Troubleshooting Electrical Problems in Pressure Cleaners
First, verify that the power source is functional. Plug another device into the same outlet to confirm it’s providing electricity. If the outlet works but the cleaner does not, inspect the power cord for damage, ensuring there are no frays or cuts.
Checking the Switch and Circuit Breaker
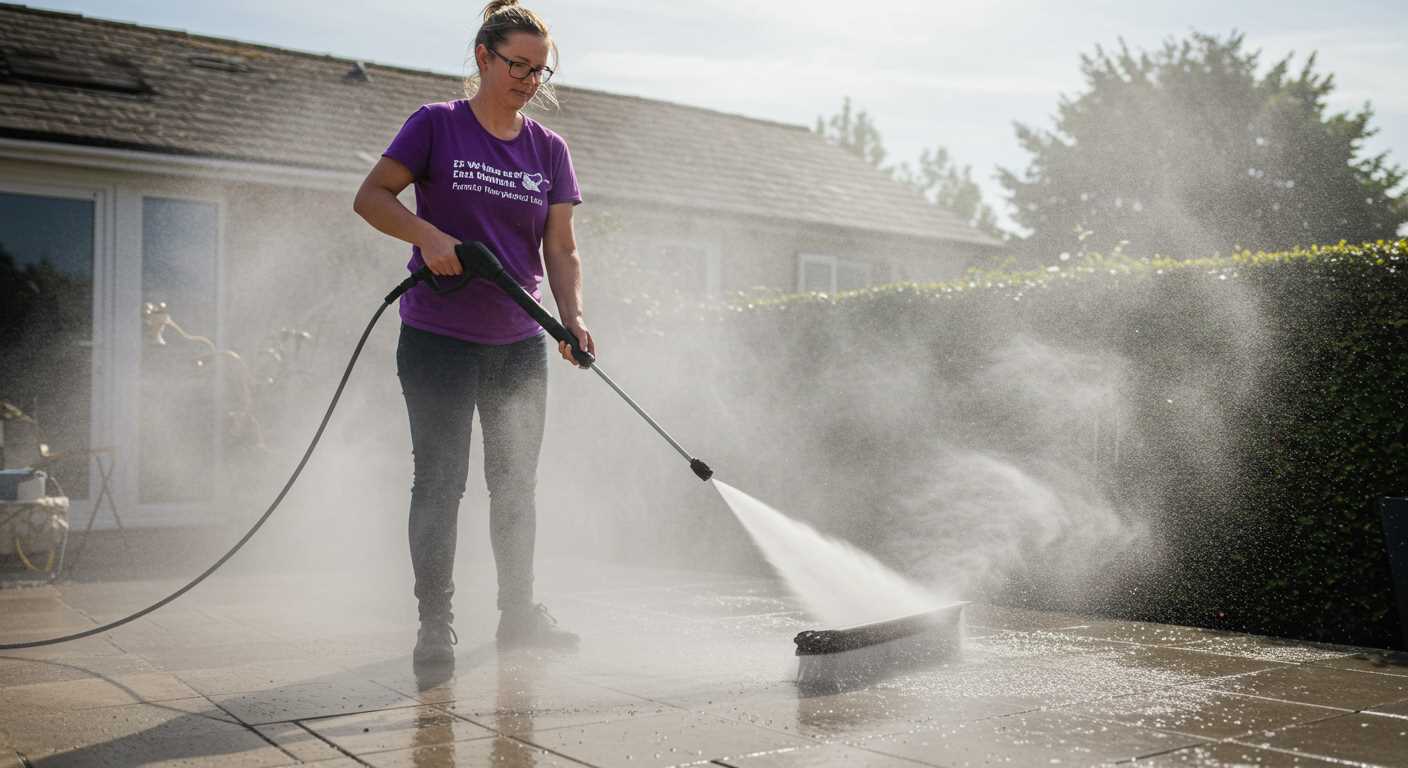
Next, examine the on/off switch. A faulty switch can prevent the cleaner from operating. Use a multimeter to test continuity in the switch. If it’s defective, replace it. Also, check the circuit breaker; reset it if necessary, especially if the unit has tripped.
Examining the Motor and Components
Open the casing to assess the motor for any signs of burn or wear. Listen for unusual noises when trying to start the unit, indicating internal issues. Brushes in the motor may need replacement if they’re worn down. Inspect other wiring connections for corrosion or loose fittings.
- Clean any dirt or debris from motor areas that could cause overheating.
- Check capacitors; a bulging or leaking capacitor suggests it should be replaced.
After performing these checks, reassemble the cleaner, ensuring all components are securely in place before testing the unit again. If problems persist, consider consulting a professional technician to assess deeper electrical issues that may require advanced tools and expertise.
Fixing a Leaking Pump on Your Pressure Washer
Inspect the entire assembly for cracks or signs of wear where the pump connects to other components. Replace any worn gaskets or seals that may be the source of the leak.
Begin by securely disconnecting the unit from the water supply and the power source to ensure safety during the process.
Use a socket wrench to remove the fastening bolts that secure the pump to the chassis. Lift the pump clear and check for physical damage or deformation on the surface that mates with the motor.
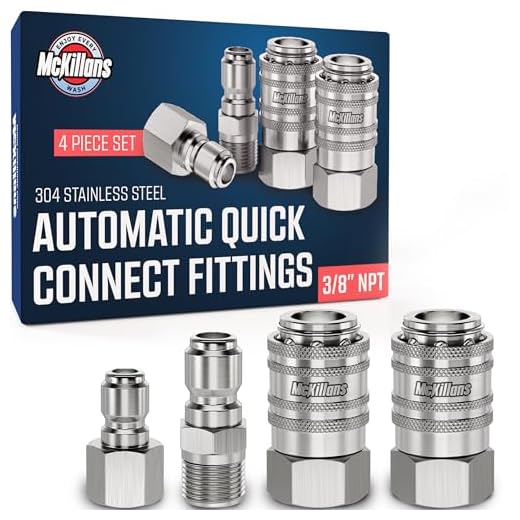
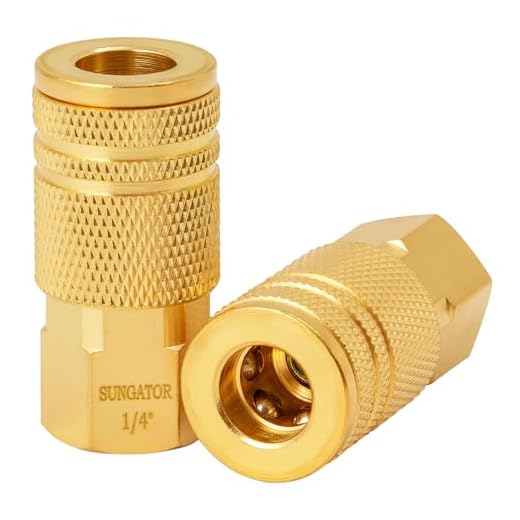
Check the inlet and outlet pressure fittings. A common weak point, these often develop leaks. Tighten them using an adjustable wrench. If tightening doesn’t stop the leak, replace the fittings with compatible parts.
Examine the O-rings that sit inside the fittings. If these rubber components are cracked or flattened, they won’t form a proper seal anymore. Remove the old O-rings carefully with a pick tool and replace them with new ones. Ensure you lubricate the new O-rings with a small amount of petroleum jelly before installation.
If the pump casing itself has a leak, it usually signifies a more significant issue. Look for signs of wear on the casing that could indicate the need for part replacement, as patching is seldom a viable long-term solution.
After making these repairs, reassemble the unit, ensuring all fasteners are tightened properly. Once everything is back in place, reconnect the water supply and power source. Test the decision by running the machine briefly to check for residual leaks. If water drips, re-assess the fittings and seals. If leaks persist, further disassembly may be required to locate other issues.
Cleaning and Maintaining the Water Filter
Remove the water filter for examination at least once every few months. It’s generally located at the inlet where the garden hose connects. After taking it out, rinse it thoroughly under running water to eliminate any debris and sediment.
If you notice stubborn dirt, soak the filter in a mixture of water and vinegar for several hours, then scrub gently with a soft-bristled brush. Ensure the filter is completely dry before reinserting it.
Always inspect the filter for any visible cracks or damage. If such issues are present, replace the filter to maintain proper flow and prevent clogging.
Regularly cleaning the water filter enhances the longevity of your unit and ensures optimal performance. Don’t forget to check it before starting any cleaning task.
Steps for Annual Maintenance to Prevent Future Issues
Perform a thorough inspection of all components. Check hoses for cracks and kinks, ensuring there are no leaks. Inspect the nozzle tips for clogs or signs of wear; replace as necessary to maintain optimal performance.
Clean the unit meticulously. Remove dirt and debris from the exterior, especially around air vents and moving parts. A clean machine runs more efficiently and prolongs its lifespan. Use a damp cloth for the body and a soft brush for crevices.
Fluid Checks and Replacement
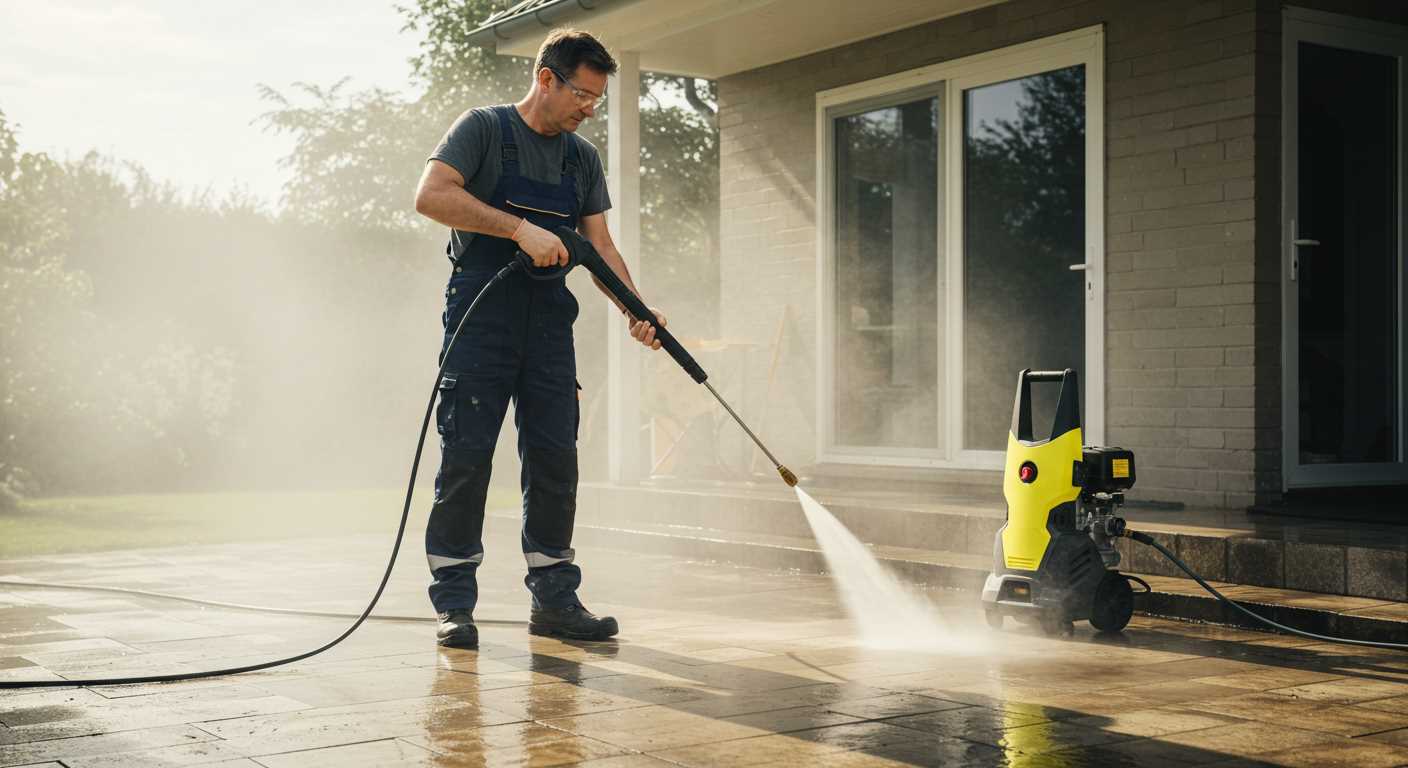
Examine and replace fluids regularly. Drain and refill the pump with the appropriate oil as specified by the manufacturer. Neglecting this can lead to overheating and premature failure. Additionally, ensure that detergent tanks are empty and rinsed out to prevent residue build-up.
Storage Preparation
.jpg)
Prior to long-term storage, winterise the unit if you live in a colder climate. This involves running a mixture of antifreeze through the system to prevent freezing and damage. Store the equipment in a dry, sheltered location to avoid exposure to the elements.


