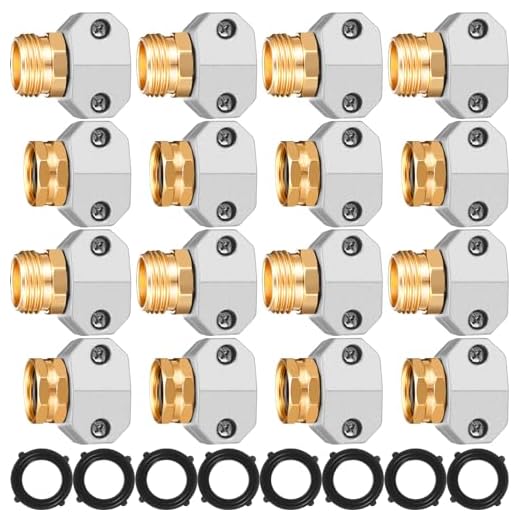
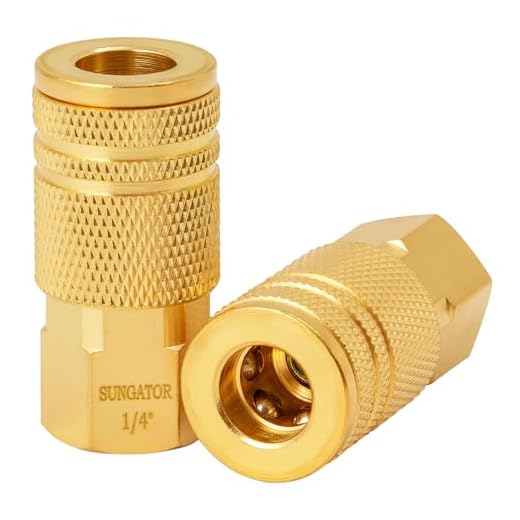

I recommend inspecting the end fittings for any signs of wear or damage first. Often, leaks occur at these connections due to worn o-rings or loose fittings. Remove the damaged part and replace it with a compatible fitting to ensure a tight seal.
If you notice any tears or punctures along the length, a durable hose repair kit can be your best friend. Cut the damaged section out and use the hose connector provided in the kit to join the remaining pieces, making sure to secure everything tightly to avoid future leaks.
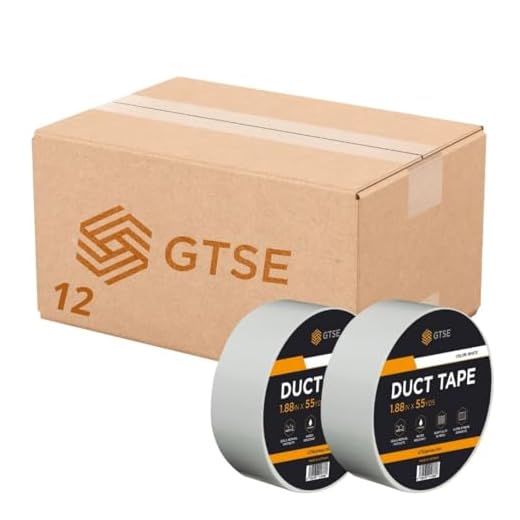
For minor abrasions, a simple adhesive tape can work wonders. Wrap the tape tightly around the affected area, ensuring that it covers the damage completely. This quick fix should suffice until you can replace the hose permanently.
As you work on these repairs, check for kinks or bends that can also affect functionality. Keeping the segment straight during use is essential to maintain the integrity of the tubing and prevent further damage.
Repair Techniques for High-Pressure Cleaning Equipment Tubing

Begin with assessing the damage. If you notice leaks, locate the exact point of failure. For small punctures, a strong adhesive patch specifically designed for high-pressure tubes can be a quick fix. Clean the area thoroughly with rubbing alcohol before applying the patch to ensure a strong bond.
For larger breaches, consider using a hose connector or a repair coupling. Cut out the damaged section with a sharp utility knife, ensuring the ends are even. Insert each cut end into the connector and secure it tightly. Use hose clamps to prevent future leaks at the junction.
In cases where the tubing shows signs of wear and tear but hasn’t burst, protective sleeves made from heavy-duty fabric can be installed. These sleeves provide additional shielding against abrasion and extend the longevity of the line.
Inspect fittings regularly for corrosion or wear. Replacing damaged fittings is crucial for maintaining water flow efficiency and preventing further issues. Use Teflon tape on the threads of new fittings to create a watertight seal.
Always test for pressure integrity after making any adjustments. Run the unit without a nozzle initially to check for leaks. If everything holds, replace the nozzle and test again at a lower pressure before reaching maximum operating levels.
Identifying Common Hose Damage Types
Inspecting for visible cracks or splits is the first step. A hose that’s compromised usually has obvious signs of damage at various points along its length. Look for jagged edges or missing sections, as these can lead to significant fluid loss.
Another frequent issue arises from kinks or twists in the material. These can restrict flow and create weak spots that might eventually burst under pressure. Make sure to straighten the hose thoroughly and watch for areas that seem to retain a bend even when laid flat.
Wear and tear from abrasive surfaces often results in thinning material. Check for any areas that look noticeably worn or lack the original texture. This type of degradation can lead to leaks and should be addressed before use.
Fittings and connections deserve attention as well. Inspect the ends where the hose attaches to other components. Loose or damaged fittings can create leaks and may require tightening or replacement. Look for signs of corrosion or significant wear around these points.
Lastly, make sure to evaluate any discolouration or swelling. Discolouration can indicate chemical damage, while swelling often points to internal pressure issues. Any signs of these variations should prompt a thorough examination and possible action.
Tools Required for Hose Repair
A few specific tools are indispensable for successful maintenance of your cleaning equipment’s tubing. Start with the following:
| Tool | Purpose |
|---|---|
| Utility Knife | Used for cutting damaged sections of the tubing cleanly. |
| Hose Clamp Tool | Enables secure fastening of connectors and ensures a tight seal. |
| Pliers | Handy for gripping and twisting components while disconnecting or reconnecting fittings. |
| Wrench Set | Facilitates the loosening or tightening of fittings, ensuring they are properly attached. |
| Pressure Tester | Identifies leaks in the tubing post-maintenance by measuring pressure consistency. |
| Sealant Tape | Provides additional sealing for threaded connections to prevent leaks. |
| Replacement Fittings | Necessary for swapping out damaged connectors or adapters. |
Collect these items before commencing, as they streamline the process and help in achieving reliable results. Always ensure the tools are suited for the specific size and type of tubing you are working with for optimal performance.
Step-by-Step Guide to Patching a Hose Leak
Begin by locating the leak. Inspect the entire length of the tubing carefully, looking for visible signs of damage or wear. Pressurise the line briefly to observe if any water escapes from pinholes or cracks.
Materials Needed
- Patching tape or a hose repair kit
- Utility knife or scissors
- Clean cloth
- Water-based adhesive (optional)
Patching Process
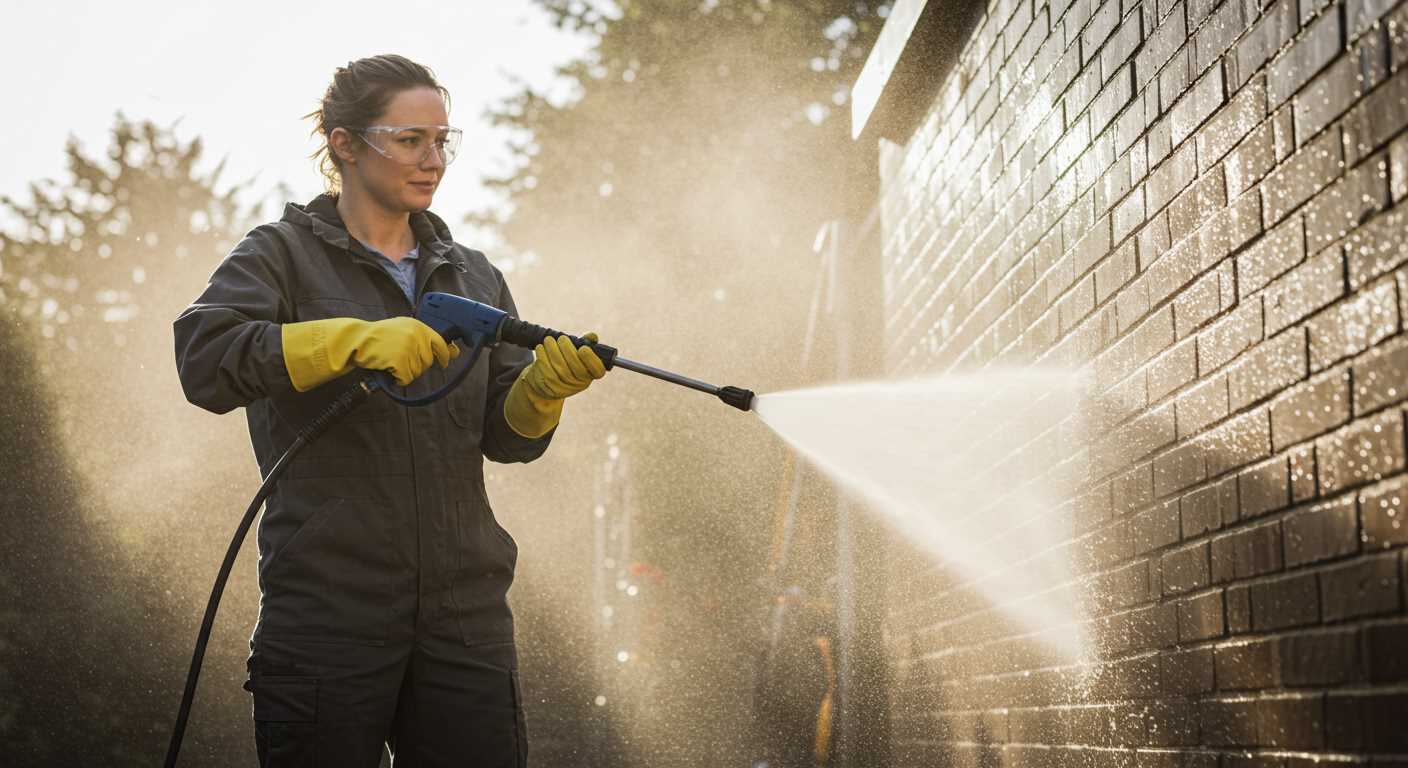
- Clean the damaged area using a cloth to remove any dirt or moisture.
- If the damage is substantial, consider cutting out the affected section. Use a utility knife to trim the area smoothly.
- Wrap the patching tape tightly around the area, ensuring it overlaps sufficiently. If using a hose repair kit, follow specific instructions provided.
- For added strength, you might apply a thin layer of adhesive beneath the tape.
- After finishing the patch, leave it to cure for the recommended time.
- Once cured, run water through the line to check for leaks. If water escapes, reapply tape or consider a new method.
Regular inspection can help prevent future leaks, maintaining the integrity of your cleaning equipment.
Replacing a Pressure Washer Hose: When and How
Identify the moments to replace your cleaning tool’s tubing when leaks are unmanageable or the material shows excessive wear. Regular use can lead to fatigue and damage, so inspect it for kinks, abrasions, or delamination. If patching is no longer viable, then replacement becomes necessary.
Gather all necessary items: a compatible replacement line, a pair of pliers, and possibly a wrench for connector removal. Ensure the new tube matches the original specifications in length and diameter. This compatibility guarantees optimal performance and maintains the integrity of connections.
To initiate the process, disconnect the existing line from the unit and nozzle. If the connectors are stubborn, apply penetrating oil and let it sit briefly. Once detached, match the old connection method to the new one, as there may be variations across different brands or models.
Attach the new tubing securely, ensuring the fittings are tight but not overdone. Over-tightening can lead to material stress and future issues. Inspect connections for alignment before your first use. After assembly, conduct a pressure test: turn on the system without a nozzle attached to check for leaks and ensure proper functioning.
Dispose of the replaced hose responsibly, following local guidelines for waste disposal. Keep a spare on hand to avoid unexpected interruptions in your cleaning tasks. With this knowledge, maintaining your equipment will be more manageable, consistent, and efficient.
Tips for Maintaining Hose Integrity After Repair
Always inspect the freshly patched area before reusing the tubing. Look for any signs of discolouration or unevenness that could indicate a weak bond.
Preventative Measures
- Store the tubing properly: Keep it coiled and avoid kinks or sharp bends that can stress joints.
- Use a protective jacket: Employ a hose jacket or sleeve to shield vulnerable patches from abrasion or impact.
- Avoid extreme temperatures: Store in a cool, dry place to prevent material degradation.
Regular Inspections
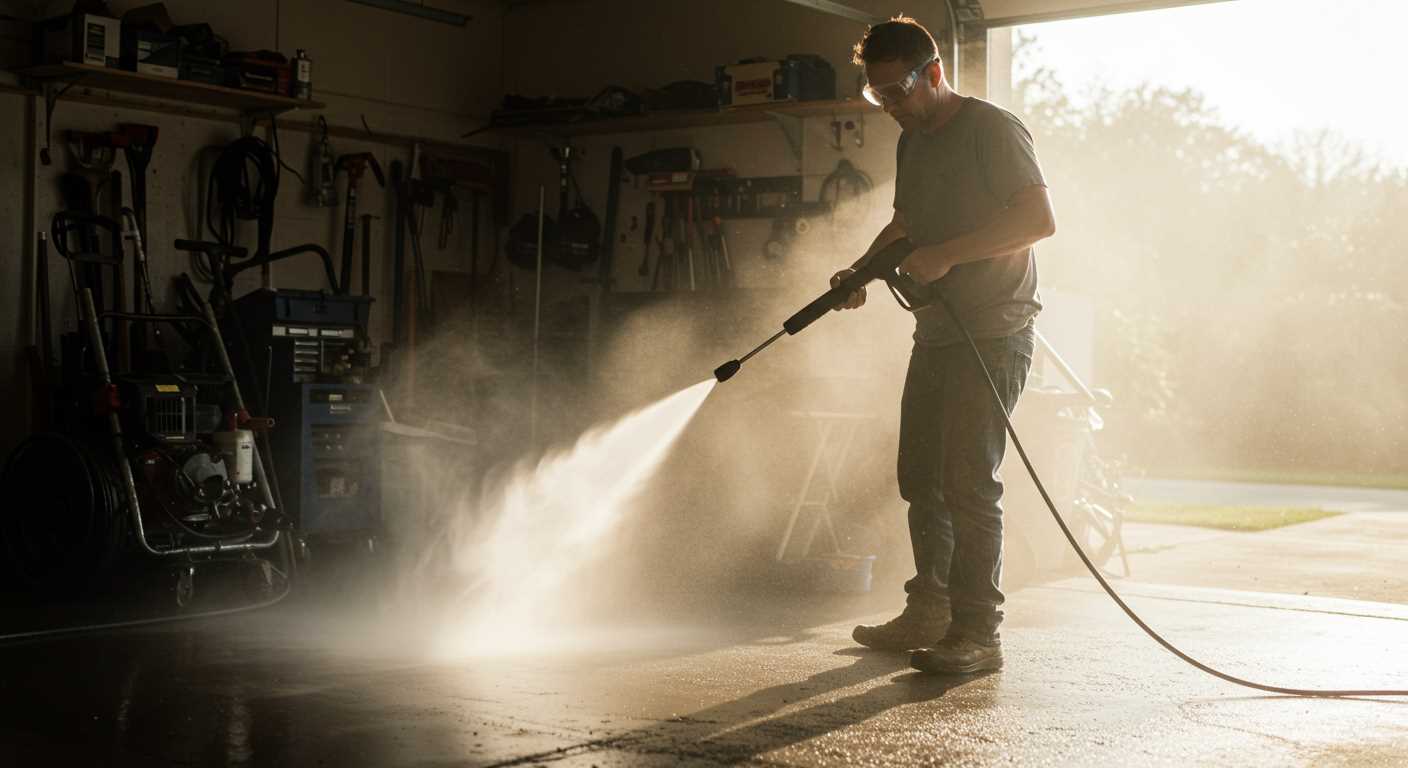
- Conduct frequent visual checks for leaks or swelling at the ends.
- Run water through the line while observing for any drops or signs of wear along the length.
- Ensure connectors are securely fastened and not loosening over time.
Maintaining cleanliness is paramount. Rinse the line after use to remove any debris, which might cause wear. Following these guidelines can significantly extend the life of your repaired tubing.
Safety Precautions During Hose Repair
I always prioritise safety during any maintenance task. When working on high-pressure equipment, particularly with hoses that can hold residual pressure, proper precautions are essential.
Personal Protective Equipment

Use the following protective gear:
- Safety goggles to shield your eyes from debris.
- Gloves resistant to chemicals and abrasion to protect your hands.
- Long sleeves and trousers to prevent skin exposure.
- Steel-toed boots for foot protection against heavy objects.
Environment and Equipment Checks
Before beginning any task, ensure your workspace is clean and well-lit. Check the following:
- Make sure the cleaning device is turned off and disconnected from the power source.
- Inspect for leaks or weak points in the remaining system to avoid unexpected pressure release.
- Ensure all tools are in good condition and suitable for the task.
| Potential Hazard | Precaution |
|---|---|
| Water exposure | Ensure hoses are drained completely before inspection. |
| Residual pressure | Depressurise the system by activating the trigger on the lance. |
| Injury from tools | Use tools as intended and avoid shortcuts that could lead to accidents. |
| Chemical exposure | Store and handle cleaning agents properly, following safety data sheets. |
By following these guidelines, I minimise risks significantly while performing any necessary fixes. Always prioritise your safety and well-being above all else during these tasks.
Frequently Asked Questions About Pressure Washer Hoses
What should I do if my tube is leaking? Apply a patch using the appropriate repair kit. Ensure it’s clean and dry before placing the patch, then secure it firmly. This method can often extend the life of your item substantially.
How can I tell if my line needs replacing? Look for visible cracks, severe kinks, or sections that feel overly soft. If the integrity is compromised significantly, replacing is advisable.
Can I use duct tape as a temporary fix? Yes, duct tape can serve as a short-term solution, but it’s not a long-term strategy. Consider it a stopgap until a proper patch or replacement can be applied.
Is it safe to use my equipment with a damaged tube? No, using faulty equipment poses risks such as bursts or leaks, leading to possible injuries. Always check the condition before use.
What type of materials are best for a replacement line? Look for reinforced PVC or high-pressure rubber options. Both provide durability under pressure and are resistant to wear and tear.
How do I maintain my tubing for longevity? Store it in a cool, dry place away from direct sunlight. Regularly check for wear and clean it after each use to avoid build-up that could lead to damage.
Can weather affect my hose? Yes, extreme temperatures and UV exposure can degrade the material. Protect it during harsh weather conditions to enhance durability.
What size should I choose for a replacement? Match the diameter and length to the original specifications to ensure compatibility with your equipment and avoid pressure loss.
Are reinforced options worth the investment? Absolutely, they typically last longer and resist abrasions better than standard versions. If you frequently use your unit, it’s a sensible choice.


