
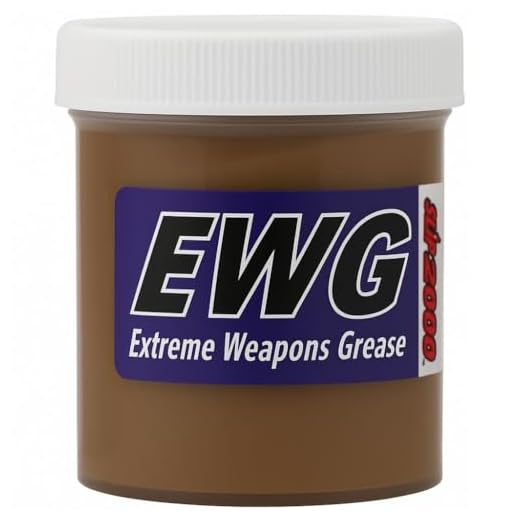


The first step in troubleshooting a malfunctioning nozzle is to ensure that it’s fully disassembled. Begin by unscrewing any attachments, then inspect the connections for blockages or debris. A blocked inlet can severely impact performance, so clearing any obstructions will be crucial.
Next, concentrate on the internal components. A worn-out O-ring can lead to leaks, so replacing this small but significant part often makes a marked difference. Ensure the replacement fits snugly to avoid any pressure loss.
After addressing the O-ring, turn your attention to the nozzle tip itself. If it shows signs of wear or damage, consider switching it out. A new tip can restore your cleaner’s pressure and spray pattern, resulting in a more effective cleaning experience.
Once all components are cleaned or replaced, reassemble the parts methodically. Ensure to tighten connections securely but avoid over-tightening, which can cause damage. After reassembly, conduct a brief test to verify functionality before proceeding with any cleaning tasks.
Identifying common nozzle issues
.jpg)
One common problem is inconsistent water flow. Typically, this can be attributed to a clogged nozzle. Inspect the tip for any blockages; a small object or mineral deposits may restrict the water passage. Use a pin or needle to clear debris, followed by flushing it with water to ensure a smooth stream.
Checking for leaks

Leaks can occur due to worn seals or damaged connections. Check for water escaping around the fittings. If present, replace the seals and tighten the couplings. It’s advisable to use plumber’s tape to improve the seal, preventing any future leakage.
Addressing trigger malfunctions
If the trigger fails to engage or sticks, the spring mechanism inside may be damaged. Disassemble the trigger assembly, inspect for broken parts, and replace them as necessary. Lubricate the moving parts to ensure a responsive action that allows for smooth operation.
Disassembling the Spray Tool for Inspection
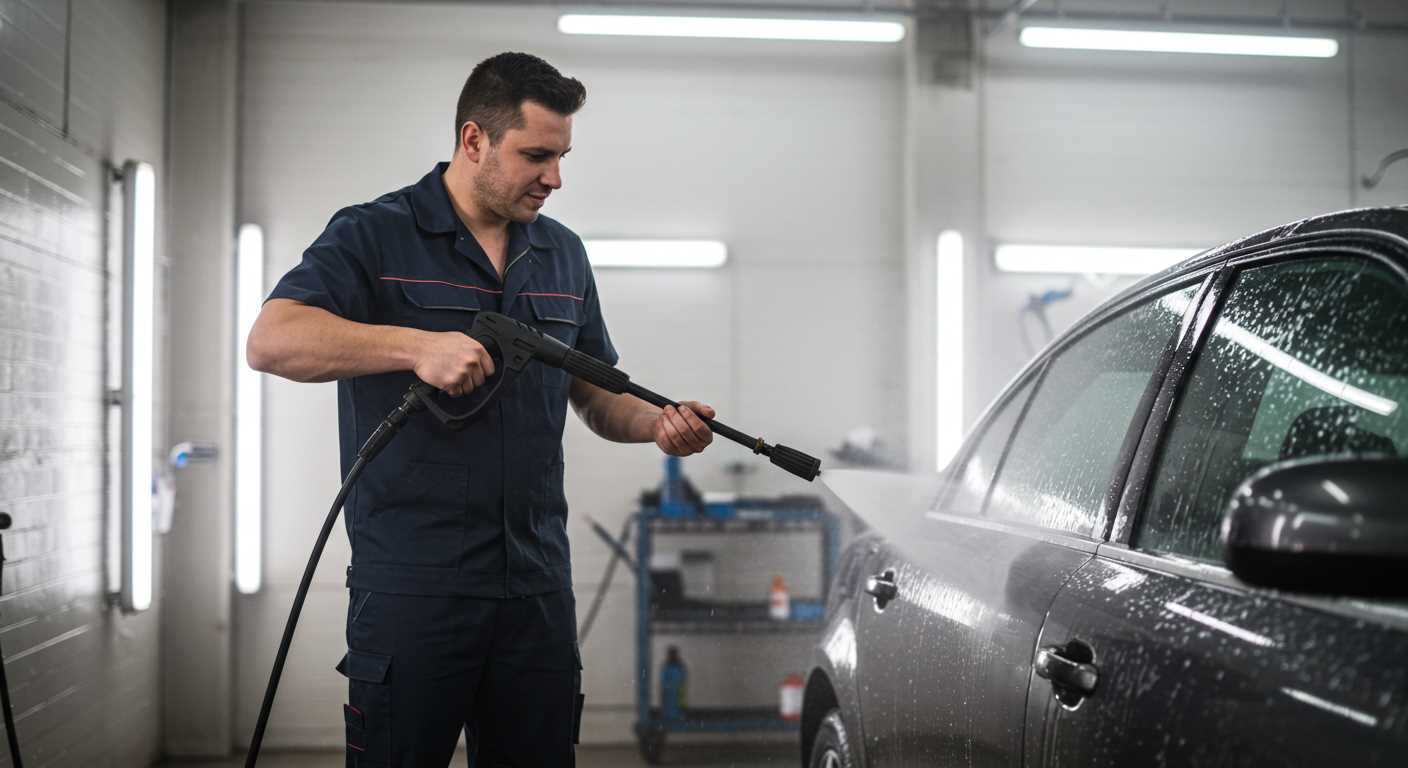
Begin by disconnecting the unit from its power source to ensure safety. Use a screwdriver to remove screws that secure the casing, typically found on the handle and body. Carefully keep track of all screws and components, as losing any part can complicate reassembly.
Once the casing is removed, examine the internal components. Look for signs of wear or damage. Fittings, seals, and washers are often the culprits behind performance issues. Gently pull apart any clips or connectors, taking care not to force them, as they may break. Check for blockages or debris that could hinder flow.
Next, inspect the trigger mechanism. This part can accumulate dirt, which may affect responsiveness. Clean it using a soft cloth and suitable cleaner to remove any grime. If the trigger doesn’t move smoothly, lubricate the joints with a light machine oil, ensuring no excess oil leaks into electrical components.
For a thorough inspection, check the nozzle assembly. This component may have different spray patterns; examine it for clogs or wear and replace it if necessary. Reassemble by reversing the disassembly steps, making sure all components fit snugly and screws are tightened adequately.
Before testing the tool again, double-check that everything is correctly in place, including the casing. This will prevent moisture or dirt from entering the internal mechanisms, which could lead to further malfunctions.
Cleaning and Unclogging Nozzles
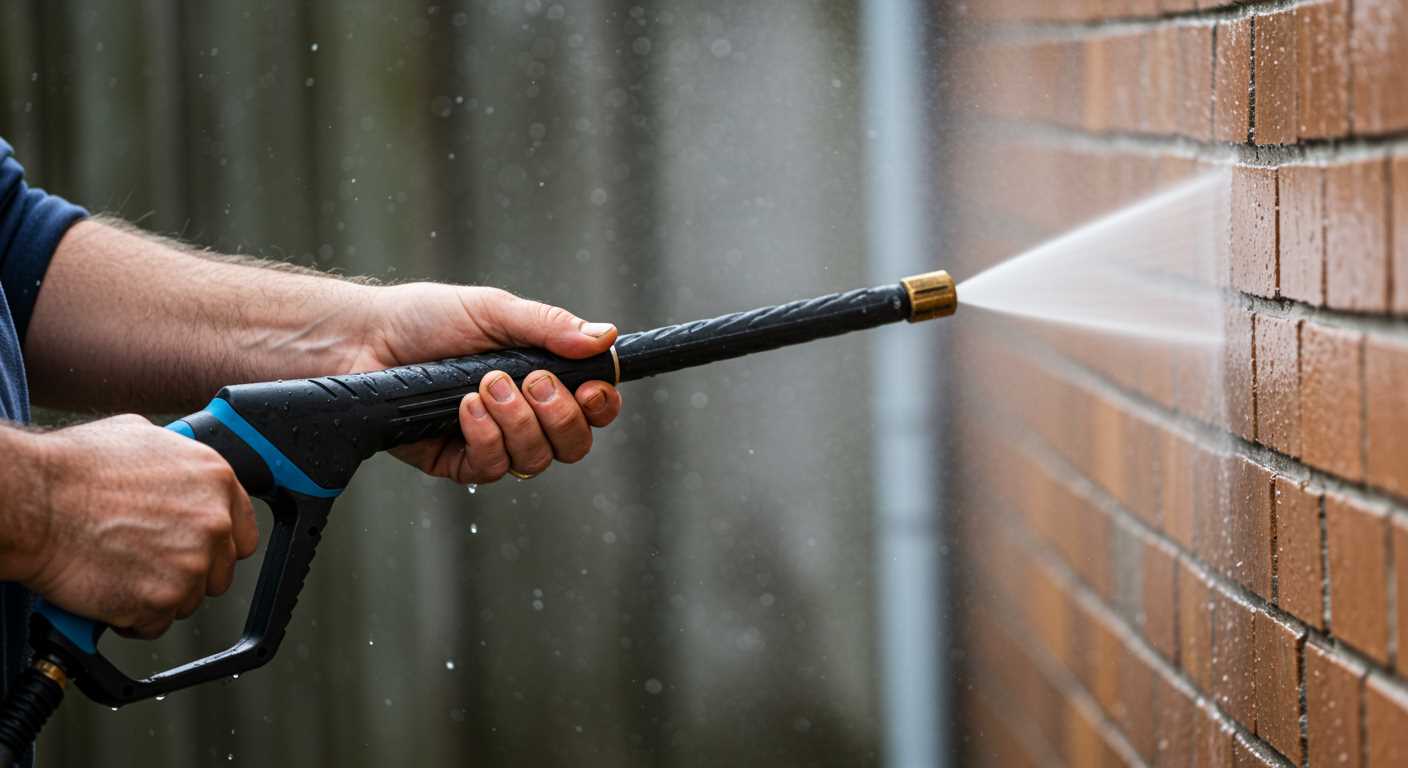
Using a straightened paperclip or a needle, gently probe the nozzle opening. This straightforward action clears away any debris blocking water flow. Avoid using excessive force to prevent damaging the nozzle’s delicate structure.
Soak the nozzle in a solution of warm water and vinegar for approximately 30 minutes. This mixture effectively dissolves mineral build-up and helps restore optimal performance. Rinse thoroughly with clean water afterwards.
Routine Maintenance Tips
- Inspect nozzles after each use for dirt or debris.
- Store the equipment in a dry place to avoid corrosion.
- Replace worn or damaged nozzles promptly to maintain efficiency.
Signs of Clogging

- Reduced water flow during operation.
- Uneven spraying pattern affecting cleaning effectiveness.
- Frequent nozzle blockages requiring constant attention.
For persistent clogs, consider using a specific nozzle cleaner designed for cleaning enhancement. Follow the manufacturer’s instructions for safe usage and maximum results.
Replacing damaged O-rings and seals
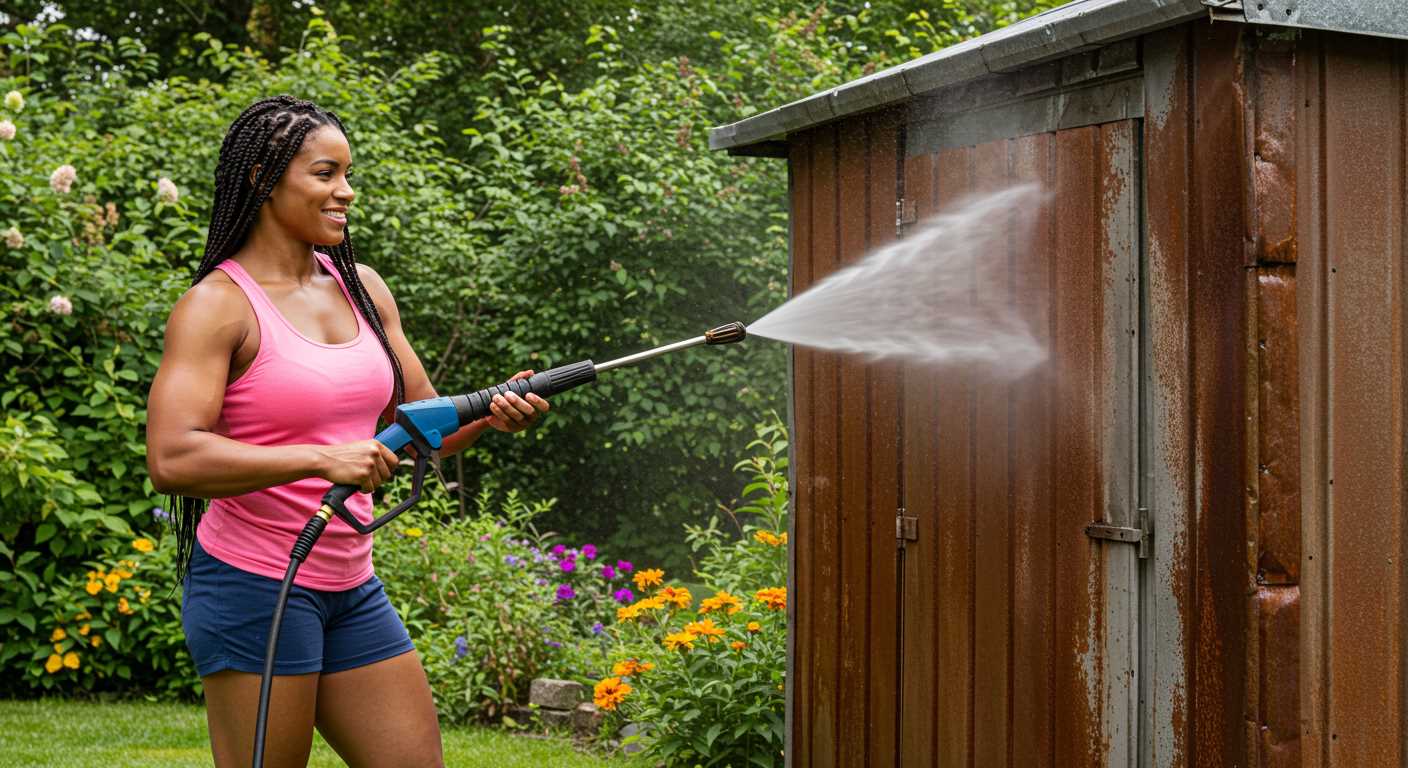
To proceed with replacing O-rings and seals, gather the necessary tools: a flathead screwdriver, pliers, and replacement O-rings or seals specific to your model. Identifying the correct size is essential; refer to your user manual if unsure. Begin by disassembling the component housing the damaged parts.
Once opened, carefully remove the old O-ring or seal. Use the flathead screwdriver to lift it out without scratching the surface. With the pliers, ensure that no remnants are left behind in the groove, as this can cause future leaks.
Before installing the new O-ring or seal, clean the seating area with a damp cloth to prevent dirt or debris from affecting the seal. Lightly lubricate the new O-ring with petroleum jelly or silicone grease to allow for a smooth fit–this prevents tearing during installation.
Position the new O-ring or seal in its groove, making sure it sits evenly all around. Reassemble the housing carefully, taking care not to pinch or displace the new seal. Finally, conduct a test by running the unit on a low setting to check for leaks before returning to regular use.
Testing the nozzle after repairs
Conduct a thorough functional test once all components are reassembled. Begin by reconnecting the unit to a suitable power source. Ensure that all connections are secure to avoid any leaks. Adjust the pressure settings to the manufacturer’s specifications before starting the device.
Observing water flow
Activate the machine and observe the water flow from the nozzle. A consistent and steady stream indicates successful reassembly. Any irregularities, such as sputtering or reduced pressure, may suggest incomplete fixes. In such cases, double-check the integrity of the seals and connections.
Testing different nozzle types
If your apparatus comes with interchangeable tips, switch between them during testing. Each nozzle should perform as intended, delivering a specific spray pattern. For instance, a wide fan should cover larger areas, while a narrow jet should focus on concentrated cleaning. Inconsistent performance across different nozzles may require a closer inspection of the fittings or internal parts.
Maintaining your sprayer for longevity
Regular upkeep significantly extends the lifespan of your equipment. After each usage, ensure thorough cleaning to prevent residue buildup. Rinse all components under warm water, paying special attention to nozzles and connectors.
| Action | Frequency | Notes |
|---|---|---|
| Clean nozzles | After every use | Use a soft brush or needle for stubborn blockages. |
| Inspect seals | Monthly | Check for cracks or wear; replace as necessary. |
| Lubricate moving parts | Every three months | Use silicone grease to maintain smooth operation. |
| Store in a dry place | Always | Avoid exposure to extreme temperatures and moisture. |
Keep an eye on the hose for kinks or wear, as this affects performance. A well-maintained connector minimizes leaks. Ensure that fittings are tightened but avoid over-tightening, which may cause damage.
Consider seasonal maintenance as well. Before winter, drain all fluid to prevent freezing, which can crack components. In warmer months, inspect frequently due to increased usage.
Regularly review the instruction manual for maintenance guidance specific to your model. Keeping detailed notes about any issues or repairs will help track performance and anticipate future needs.


